Love this? Save it for later!
Share the inspiration with your friends
“Why can’t you just mix the peanut butter and honey and call it a day for these granola bars?” my friend’s eight-year-old asked while I was meticulously measuring oats and nuts in my tiny kitchen. I started to explain why that wouldn’t work — then stopped. Honestly, I realized those two simple ingredients were the core of the whole recipe. That moment, with a sticky spoon in one hand and a slightly annoyed kid in the other, taught me more than I ever expected about making easy no-bake peanut butter granola bars kids love.
I mean, I had been fussing over the perfect ratio, worrying about baking temperatures, and stressing the bar texture for years. But sometimes, the simplest approach is exactly right. I remember the cracked mixing bowl from that afternoon, a reminder of my impatience and a mess that felt oddly like a breakthrough. Maybe you’ve been there—trying to craft the perfect healthy snack only to find the best results come from trusting the basics.
Ever since that day, this recipe has been my go-to for quick, kid-approved snacks that barely require cleanup or complicated steps. It’s the kind of recipe you turn to when you want reliable, tasty bars without fussing over the oven or exotic ingredients. And honestly? It’s the recipe that keeps surprising me every time I make it. Let me tell you, these bars aren’t just simple—they’re a little miracle in a pan, perfect for busy days and hungry little hands.
Why You’ll Love This Recipe
This easy no-bake peanut butter granola bars kids love because it ticks all the boxes for busy parents, snack enthusiasts, and even those who aren’t confident in the kitchen. I’ve tested this recipe multiple times (with a very honest panel of taste testers, aka neighborhood kids and my slightly picky nephew), and it always delivers. Here’s why it stands out:
- Quick & Easy: Comes together in under 15 minutes—no baking or cooling time required.
- Simple Ingredients: Uses pantry staples like oats, peanut butter, and honey—you probably have them right now.
- Perfect for On-the-Go: Great for school lunches, afternoon snacks, or after-sports fuel.
- Crowd-Pleaser: Kids love the chewy texture and sweet peanut butter flavor every time.
- Unbelievably Delicious: The blend of crunchy oats and creamy peanut butter hits that comfort-food spot without being overly sugary.
What makes this recipe different? It’s the balance of sticky and crunchy that’s key. I don’t just dump everything in; I take care to melt the peanut butter and honey just right, which creates a natural binder without any artificial additives. Plus, this recipe is totally customizable—you can add chocolate chips, dried fruit, or even a sprinkle of sea salt to give it that extra kick. It’s not your typical store-bought bar; it’s homemade goodness that you can feel good about sharing.
And honestly, it’s the kind of snack that feels like a little hug in bar form. You know when you want something quick but satisfying? This recipe hits that note perfectly every single time.
What Ingredients You Will Need
This recipe uses simple, wholesome ingredients to deliver bold flavor and satisfying texture without the fuss. Most of these ingredients are pantry staples, making it easy to whip up a batch whenever you need a quick snack.
- Old-fashioned rolled oats: 2 cups (about 180 grams) – I recommend Bob’s Red Mill for a nice, hearty texture.
- Natural creamy peanut butter: 1 cup (250 grams) – creamy works best for binding; avoid overly oily versions.
- Honey: ½ cup (170 grams) – the natural sweetener and sticky binder.
- Vanilla extract: 1 teaspoon – adds warmth and depth to the flavor.
- Mini chocolate chips (optional): ½ cup (90 grams) – for a little extra treat that kids adore.
- Chopped nuts (optional): ½ cup (60 grams) – walnuts or almonds add crunch and nutrition.
- Flaxseeds or chia seeds (optional): 2 tablespoons – for a boost of omega-3s and fiber.
- Salt: A pinch – balances the sweetness and enhances flavor.
If you need substitutions, almond butter or sunflower seed butter can replace peanut butter for allergies. For a gluten-free option, make sure to use certified gluten-free oats. I usually have everything on hand, but if you don’t, your local grocery store or even big-box stores carry these staples year-round.
Equipment Needed
- Mixing bowl: A medium to large bowl for combining ingredients. I use a glass bowl because it’s easy to clean and doesn’t retain odors.
- Microwave-safe bowl or small saucepan: To gently melt peanut butter and honey together. A double boiler works well if you prefer stovetop control.
- Wooden spoon or silicone spatula: For stirring the mixture thoroughly.
- 8×8-inch baking pan: To press the granola mixture into shape. Line it with parchment paper for easy removal.
- Measuring cups and spoons: Accurate measurements help keep the texture just right.
If you don’t have a baking pan that size, any similar shallow dish will do—just adjust the thickness of your bars accordingly. For budget-friendly options, thrift stores often have perfectly good pans. I’ve also found that a sturdy plastic container lined with parchment can serve in a pinch.
Preparation Method
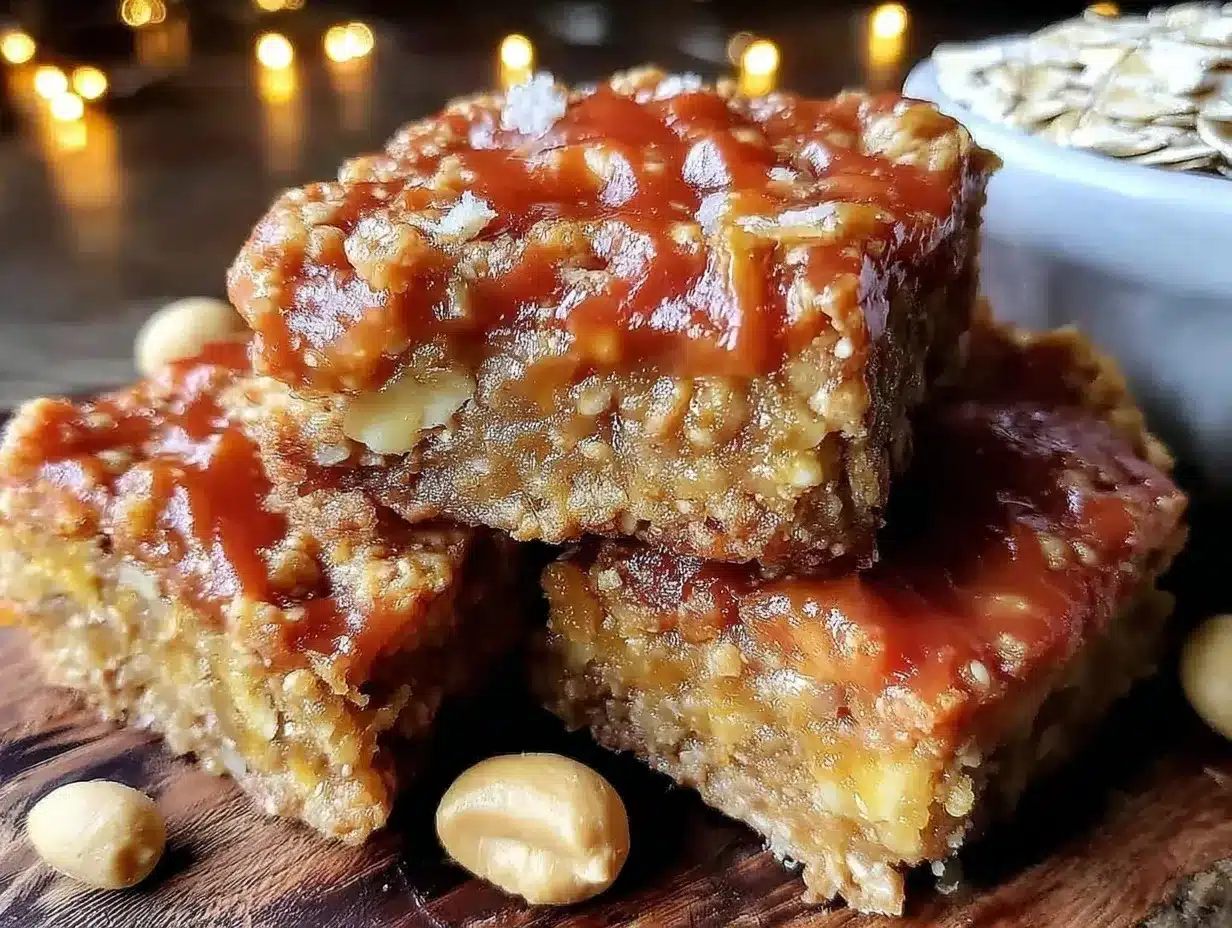
- Prepare your pan: Line an 8×8-inch (20×20 cm) baking pan with parchment paper, leaving some overhang for easy removal later. This takes about 2 minutes.
- Toast the oats (optional): For extra flavor, toast the oats in a dry skillet over medium heat for 3-4 minutes, stirring constantly until fragrant and slightly golden. This step is optional but adds a lovely nutty depth.
- Melt peanut butter and honey: In a microwave-safe bowl, combine 1 cup (250 g) natural creamy peanut butter with ½ cup (170 g) honey. Microwave in 30-second bursts, stirring in between until smooth and well combined (about 1-2 minutes total). Alternatively, melt them together in a small saucepan over low heat, stirring frequently to avoid burning.
- Add vanilla and salt: Stir 1 teaspoon vanilla extract and a pinch of salt into the peanut butter and honey mixture. This enhances the flavor beautifully.
- Combine dry ingredients: In your mixing bowl, add 2 cups (180 g) rolled oats along with any optional add-ins like ½ cup (90 g) mini chocolate chips, ½ cup (60 g) chopped nuts, and 2 tablespoons flax or chia seeds.
- Mix wet and dry: Pour the melted peanut butter and honey mixture over the dry ingredients. Use a wooden spoon or silicone spatula to stir everything together until every oat is coated and the mixture is sticky and well combined. This may take about 2-3 minutes. Don’t be shy to use your hands for the last bit if you’re comfortable!
- Press into pan: Transfer the mixture to your lined baking pan. Use the back of a spatula or your hands (lightly moistened) to press the mixture firmly and evenly into the pan. Pressing firmly is key to bars that hold together well.
- Chill: Place the pan in the refrigerator for at least 1 hour to set. If you’re in a hurry, 30 minutes in the freezer works too.
- Cut and serve: Once firm, lift the granola slab from the pan using the parchment paper edges. Place on a cutting board and slice into bars or squares with a sharp knife. Store leftovers in an airtight container in the fridge for up to a week.
Pro tip: If your bars crumble when cutting, try warming the knife slightly under hot water and drying it before slicing. It helps create clean cuts without squishing the bars.
Cooking Tips & Techniques
Making these easy no-bake peanut butter granola bars kids love is mostly about the right texture and balance. Here are some tips I learned the hard way:
- Don’t skip melting the peanut butter and honey: It helps everything bind smoothly and keeps the bars chewy instead of crumbly.
- Press firmly and evenly: This step is crucial. I once ignored this and ended up with crumbly bars—lesson learned.
- Use natural peanut butter: The ones without added sugar or oils give you better control over sweetness and texture.
- Chilling is non-negotiable: Letting the bars set in the fridge or freezer helps them hold their shape without baking.
- Customize add-ins carefully: Too many nuts or dried fruit can throw off the binding. Stick to about half a cup total for extras.
- Don’t overheat your peanut butter mixture: Heat just until smooth—overheating can change texture and flavor.
- Multitasking tip: Toasting oats while melting the peanut butter and honey saves time and adds flavor.
Honestly, I’ve made these bars dozens of times, and the biggest mistake was rushing the chilling step. Patience pays off with bars that hold together and taste amazing.
Variations & Adaptations
One of the best things about this recipe is how flexible it is. Here are a few ways to make it your own:
- Chocolate peanut butter bars: Add ½ cup (90 g) mini chocolate chips or drizzle melted chocolate on top once set.
- Nut-free version: Swap peanut butter for sunflower seed butter or tahini, and omit nuts for allergy-friendly bars.
- Fruit and seed boost: Add dried cranberries, raisins, or chopped apricots along with chia or hemp seeds for extra texture and nutrients.
- Spiced twist: Mix in a ½ teaspoon cinnamon or pumpkin pie spice for fall vibes.
- Protein-packed: Stir in a scoop of vanilla protein powder to the dry ingredients to make these bars more filling.
I personally love stirring in some shredded coconut and a handful of dark chocolate chunks for a tropical flavor that my niece can’t get enough of. Feel free to experiment—this recipe is forgiving and invites creativity.
Serving & Storage Suggestions
These easy no-bake peanut butter granola bars kids love are best served chilled or at room temperature. They make a perfect grab-and-go snack for school lunches or a quick energy boost after sports practice.
Pair them with a glass of cold milk or a cup of warm tea for a cozy treat. For a fun twist, cut the bars into bite-size pieces and serve them as party snacks or lunchbox treats.
Store leftover bars in an airtight container in the refrigerator for up to a week. They also freeze beautifully—wrap individual bars in parchment paper and place them in a freezer-safe bag. When you want a snack, just thaw at room temperature for 15 minutes or pop in the microwave for 10 seconds.
Flavors tend to mellow and meld after a day or two, making these bars even tastier as they rest. Just remember to keep them cool to maintain their chewy texture and fresh peanut butter flavor.
Nutritional Information & Benefits
Each serving (one bar, assuming 12 bars per batch) delivers approximately:
| Calories | 180 kcal |
|---|---|
| Protein | 5 g |
| Fat | 9 g (mostly healthy fats) |
| Carbohydrates | 20 g |
| Fiber | 3 g |
| Sugar | 9 g (natural sugars from honey) |
Peanut butter provides heart-healthy fats and protein, while oats contribute fiber and sustained energy. Adding flax or chia seeds boosts omega-3 fatty acids and antioxidants. Using honey as a sweetener keeps it natural and less processed than refined sugars. This recipe fits well into balanced diets and can be adjusted for gluten-free or nut-free needs.
I personally appreciate how this snack keeps my energy steady between meals, and it’s a way to sneak in some wholesome ingredients kids usually refuse otherwise.
Conclusion
If you’re looking for a quick, delicious, and kid-approved snack, this easy no-bake peanut butter granola bars kids love is a must-try. It’s simple enough for busy days yet satisfying enough to feel like a treat. Plus, the recipe’s flexibility means you can easily customize it to suit your family’s tastes and dietary needs.
I still think back to that afternoon when I doubted the simplest approach, and it turned out to be exactly right. That’s why I keep coming back to this recipe—it’s reliable, tasty, and makes snack time less stressful and more fun. I hope you enjoy making (and eating) these bars as much as I do!
Feel free to leave a comment below sharing your favorite twists or how these bars turn out for you—I love hearing your stories and tips!
FAQs
Can I use crunchy peanut butter instead of creamy?
Yes, but the bars might be a bit chunkier and less cohesive. Creamy peanut butter helps bind the ingredients better for a smoother texture.
How long do these granola bars last?
They keep well in the fridge for up to one week and can be frozen for up to three months if wrapped properly.
Can I make these bars vegan?
Absolutely! Substitute honey with maple syrup or agave nectar, and use a nut or seed butter of your choice.
What if I don’t have parchment paper?
You can lightly grease your baking pan with butter or oil to prevent sticking, but parchment paper makes removal and cleanup much easier.
Can I add protein powder to this recipe?
Yes, adding a scoop of protein powder to the dry ingredients works well. Just make sure to adjust the wet ingredients slightly if the mixture feels too dry.
Pin This Recipe!
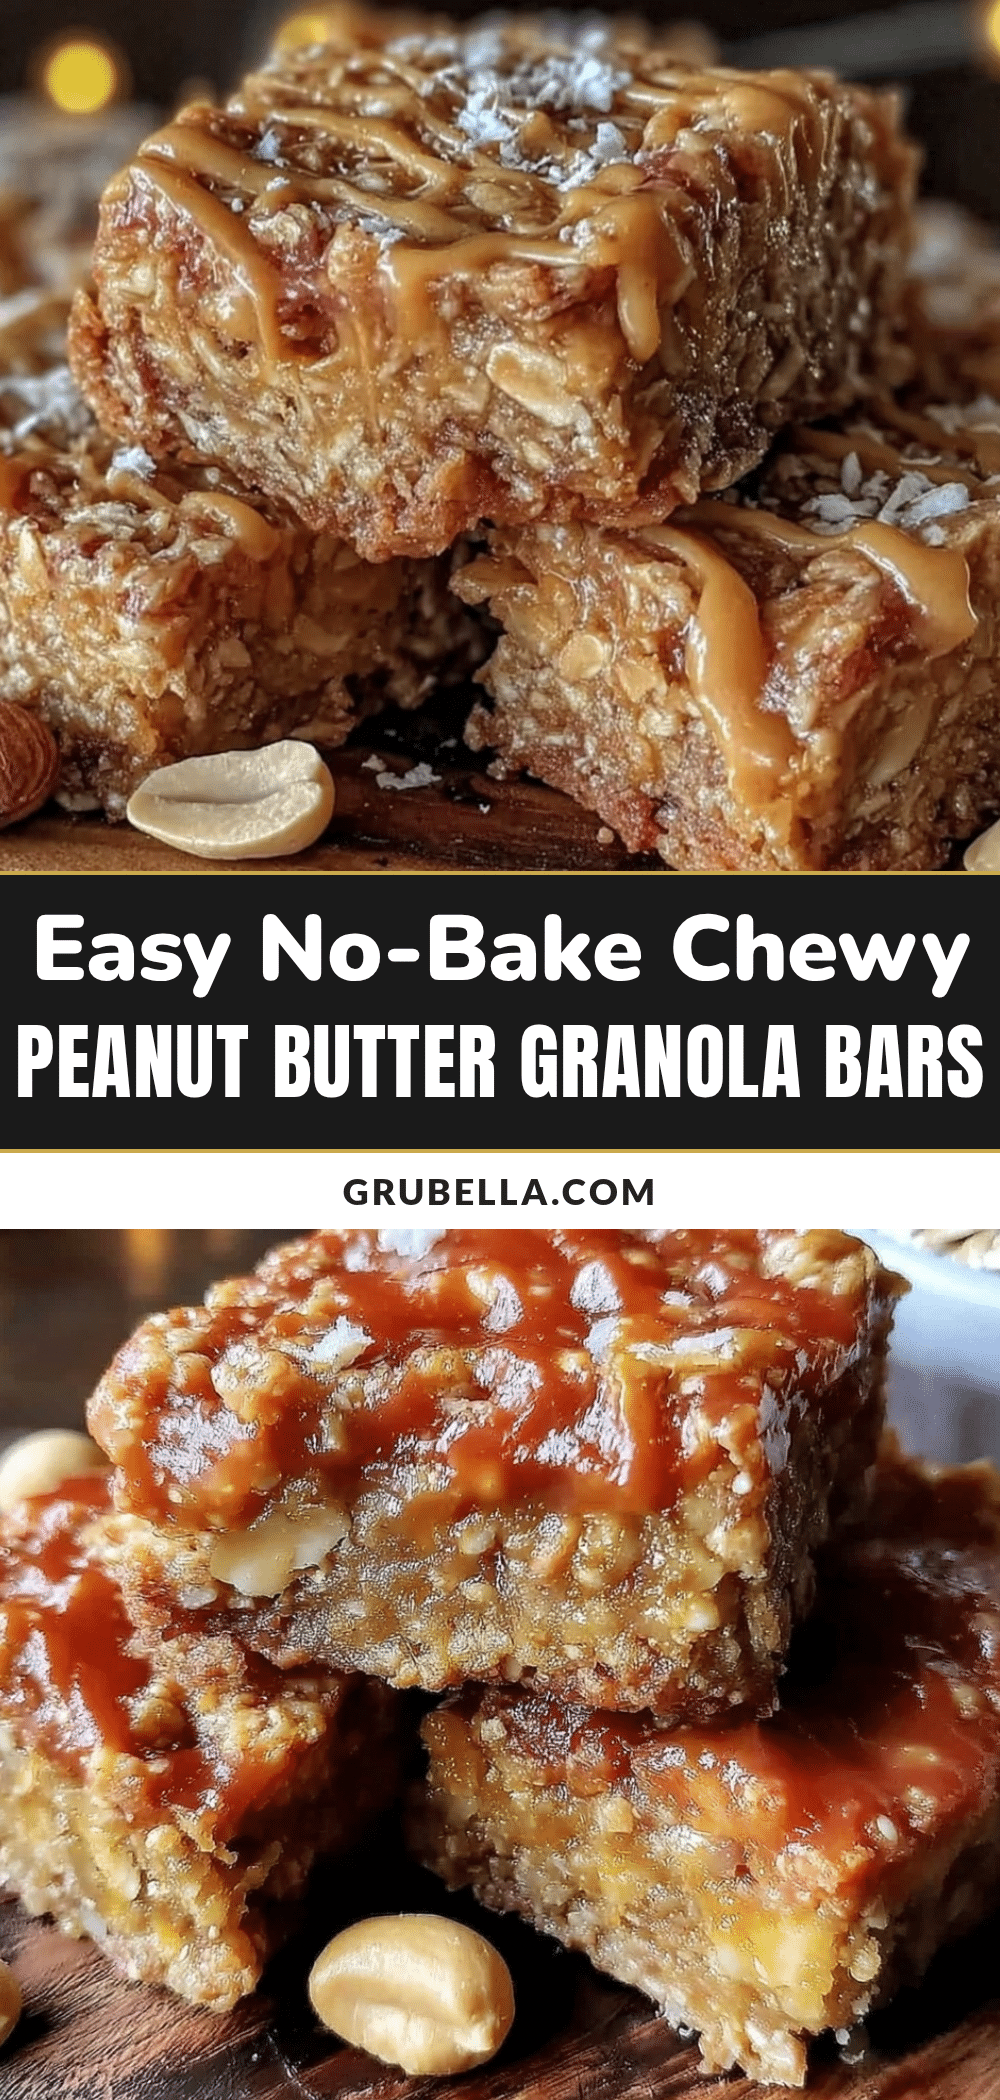
Easy No-Bake Peanut Butter Granola Bars Kids Will Love
A quick and simple no-bake granola bar recipe using pantry staples like oats, peanut butter, and honey. Perfect for busy parents and kids, these bars are chewy, delicious, and customizable.
- Prep Time: 10 minutes
- Cook Time: 0 minutes
- Total Time: 1 hour 10 minutes
- Yield: 12 bars 1x
- Category: Snack
- Cuisine: American
Ingredients
- 2 cups old-fashioned rolled oats (about 180 grams)
- 1 cup natural creamy peanut butter (250 grams)
- ½ cup honey (170 grams)
- 1 teaspoon vanilla extract
- ½ cup mini chocolate chips (optional, 90 grams)
- ½ cup chopped nuts (optional, 60 grams; walnuts or almonds)
- 2 tablespoons flaxseeds or chia seeds (optional)
- A pinch of salt
Instructions
- Line an 8×8-inch (20×20 cm) baking pan with parchment paper, leaving some overhang for easy removal.
- Optional: Toast the oats in a dry skillet over medium heat for 3-4 minutes, stirring constantly until fragrant and slightly golden.
- In a microwave-safe bowl, combine peanut butter and honey. Microwave in 30-second bursts, stirring in between until smooth and well combined (about 1-2 minutes total). Alternatively, melt together in a small saucepan over low heat, stirring frequently.
- Stir in vanilla extract and a pinch of salt into the peanut butter and honey mixture.
- In a mixing bowl, combine rolled oats and any optional add-ins like mini chocolate chips, chopped nuts, and flax or chia seeds.
- Pour the melted peanut butter and honey mixture over the dry ingredients. Stir thoroughly until every oat is coated and the mixture is sticky and well combined.
- Transfer the mixture to the lined baking pan. Press firmly and evenly using the back of a spatula or lightly moistened hands.
- Chill in the refrigerator for at least 1 hour to set, or 30 minutes in the freezer if in a hurry.
- Lift the granola slab from the pan using the parchment paper edges. Cut into bars or squares with a sharp knife. Store leftovers in an airtight container in the fridge for up to a week.
Notes
Do not skip melting the peanut butter and honey to ensure smooth binding and chewy texture. Press the mixture firmly and evenly into the pan to avoid crumbly bars. Chilling is essential for bars to hold their shape. Use natural peanut butter without added sugar or oils. Optional toasting of oats adds nutty flavor. Warm the knife before cutting bars for clean slices.
Nutrition
- Serving Size: 1 bar
- Calories: 180
- Sugar: 9
- Fat: 9
- Carbohydrates: 20
- Fiber: 3
- Protein: 5
Keywords: no-bake granola bars, peanut butter granola bars, easy snack recipe, kid-friendly snacks, healthy granola bars, quick granola bars, homemade granola bars



