Love this? Save it for later!
Share the inspiration with your friends
I was standing in the middle of my kitchen, staring at a box of store-bought granola bars that cost almost eight dollars. My oldest had just started kindergarten, and the school had sent home a bright orange note—no peanut products allowed anywhere in the building. I ripped open that expensive box, handed her a bar, and watched her take one bite before setting it down. The texture was too hard, the flavor was weirdly artificial, and honestly, I couldn’t blame her. I took a bite myself and immediately thought, I can do better than this.
That afternoon, I pulled out a mixing bowl and started experimenting. I wanted something that would actually hold together—not crumble into a million pieces inside a lunchbox. I wanted it to taste good enough that my kid would actually eat it, not trade it for someone else’s fruit pouch. And I wanted it to be completely safe for the nut-free table at school. The first batch came out a little too chewy, and I accidentally used honey that was a bit too thin, so the bars spread out like a pancake. But the flavor was there. My daughter ate three of them while standing at the counter, and I knew I was onto something.
Three more test batches later, I landed on this recipe. It uses just five simple ingredients, requires zero baking, and comes together in about fifteen minutes of hands-on time. The bars are soft, chewy, and just sweet enough without being sugary. They hold their shape beautifully, even after being tossed around in a backpack all morning. And the best part? No peanuts, no tree nuts, no stress. Maybe you’ve been there too—standing in the snack aisle, reading labels for the tenth time, wondering why safe school snacks have to cost so much. Let me tell you, these homemade peanut-free granola bars change everything.
Why You’ll Love This Recipe
These aren’t just another granola bar recipe. After countless rounds of testing—some that crumbled, some that were too sticky, some that turned into brittle little rocks—I finally cracked the code on the perfect nut-free school snack. Here is why I keep coming back to this recipe week after week:
- Quick & Easy: From start to finish, you are looking at about 15 minutes of active work. No baking, no complicated steps, no fancy equipment. Just mix, press, and chill.
- Simple Ingredients: You probably already have everything you need in your pantry. Rolled oats, honey or maple syrup, sunflower seed butter, chocolate chips, and a little coconut oil. That’s it.
- Perfect for School Lunches: These bars are completely peanut-free and tree nut-free, making them safe for nut-free classrooms and lunch tables. No more reading ingredient labels for twenty minutes at the grocery store.
- Crowd-Pleaser: My kids inhale these, my husband sneaks them from the fridge, and even my picky nephew asked for the recipe. They have that perfect balance of chewy and crunchy that everyone seems to love.
- Unbelievably Delicious: The sunflower seed butter gives these bars a rich, creamy texture that mimics traditional nut butter granola bars perfectly. You honestly won’t miss the peanuts at all.
What makes this recipe different from every other granola bar out there is the technique. Instead of using sticky syrups that make bars rock-hard when chilled, I use a combination of sunflower seed butter and honey that creates a soft, chewy texture that lasts for days. The coconut oil helps everything bind together without making the bars greasy. It took me a few tries to get the ratios right, but now these bars come out perfect every single time.
This recipe is the kind that makes you feel like you actually have your life together. It is that rare combination of healthy, affordable, and genuinely delicious. Perfect for busy school mornings, afternoon snacks, or even a quick breakfast when you are running late. And honestly, knowing exactly what is in your kid’s snack? That peace of mind is priceless.
What Ingredients You Will Need
This recipe keeps things refreshingly simple. Each ingredient has a specific job, and together they create a bar that is chewy, satisfying, and completely peanut-free. Here is what you will need:
- 2 cups rolled oats: Use old-fashioned rolled oats, not instant or quick-cooking. The texture is important here—rolled oats give the bars structure and a nice hearty chew. I prefer Bob’s Red Mill or Quaker old-fashioned oats for consistent results.
- 1 cup sunflower seed butter: This is the backbone of the recipe. Sunflower seed butter replaces traditional peanut butter perfectly and keeps these bars 100% nut-free. Look for a brand that is smooth and well-stirred—some sunflower seed butters can separate in the jar. I like SunButter or Once Again brands. If your sunflower seed butter seems dry, give it a good stir before measuring.
- 1/2 cup honey or maple syrup: Honey adds sweetness and helps bind everything together. For a vegan version, use pure maple syrup instead. Both work beautifully, though maple syrup creates a slightly softer bar. Local honey is always a nice choice if you can find it.
- 1/3 cup mini chocolate chips: This is the fun part. Mini chocolate chips distribute more evenly than regular-sized ones, so you get chocolate in every bite. Look for dairy-free chocolate chips if needed—Enjoy Life makes great nut-free and dairy-free options. You could also use chopped dark chocolate if that is what you have on hand.
- 2 tablespoons coconut oil: Refined or unrefined coconut oil both work here. Refined coconut oil has a neutral flavor, while unrefined adds a subtle coconut taste that pairs nicely with the oats and honey. Melt it before mixing so it incorporates smoothly.
That’s genuinely all you need. No weird additives, no preservatives, nothing you can’t pronounce. These ingredients are pantry staples in my house, and I bet they are in yours too. If you want to add a pinch of salt or a splash of vanilla extract, go for it—those are optional but nice additions.
One quick note about ingredient sourcing: sunflower seed butter can sometimes turn green when baked due to a natural reaction between chlorogenic acid and baking soda. Since this is a no-bake recipe, you don’t have to worry about that discoloration. Your bars will stay a nice golden brown color.
Equipment Needed
You do not need a fancy kitchen to make these granola bars. Here is what you will need:
- 8×8 inch baking pan: This is the perfect size for getting bars that are thick and satisfying. A 9×9 pan will work too, but your bars will be slightly thinner.
- Parchment paper: This is non-negotiable in my book. Parchment paper makes lifting the bars out of the pan so much easier than trying to pry them out with a spatula. Leave some overhang on two sides for easy removal.
- Large mixing bowl: Any medium-to-large bowl will work. You just need enough room to stir everything together without oats flying everywhere.
- Rubber spatula or wooden spoon: A sturdy spatula helps you mix the sticky ingredients thoroughly. I prefer a silicone spatula because nothing sticks to it.
- Measuring cups and spoons: Accurate measurements matter here. Too much honey and your bars will be sticky messes. Too little and they will crumble apart.
- Small microwave-safe bowl: For melting the coconut oil and honey together. You could also do this in a small saucepan on the stove if you prefer.
If you do not have an 8×8 pan, you can use a loaf pan and make thicker bars, or press the mixture into a rectangle on a parchment-lined baking sheet. The key is pressing everything down firmly so the bars hold together. I have used the bottom of a glass to press the mixture flat—works like a charm.
Preparation Method
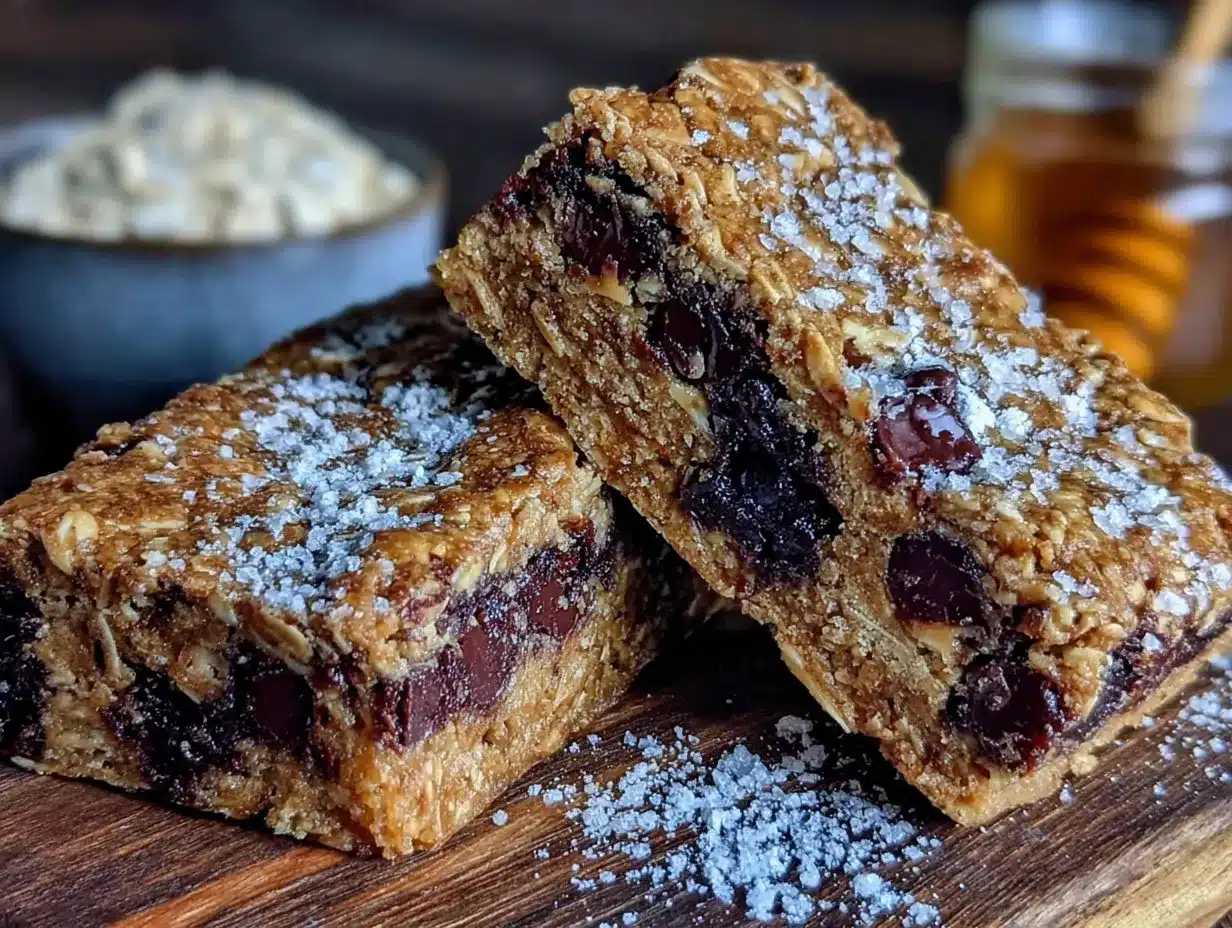
Follow these steps carefully, and you will have perfect peanut-free granola bars every time. I have included all the little details that make the difference between bars that crumble and bars that hold together beautifully.
- Line your pan with parchment paper. Cut a piece of parchment paper long enough to hang over two opposite sides of your 8×8 pan. Press it into the corners so it sits flat. This overhang is your handle for lifting the bars out later. I learned this the hard way after spending ten minutes trying to dig out my first batch with a butter knife.
- Melt the wet ingredients together. In a small microwave-safe bowl, combine 1/2 cup honey and 2 tablespoons coconut oil. Microwave in 20-second bursts, stirring between each, until everything is smooth and fully combined. This usually takes about 40 to 60 seconds total. Be careful not to overheat—you just want everything melted, not boiling.
- Combine the base ingredients. In your large mixing bowl, add 2 cups rolled oats and 1 cup sunflower seed butter. Pour the warm honey-coconut oil mixture over the top. Stir everything together with your rubber spatula until the oats are fully coated and the mixture looks uniform. This takes a minute or two of thorough stirring. The mixture will look slightly sticky and clumpy—that is exactly what you want.
- Fold in the chocolate chips. Add 1/3 cup mini chocolate chips to the bowl. Fold them in gently so they distribute evenly throughout the mixture. If you stir too aggressively, the chocolate chips might start melting from the warmth of the honey mixture. A few gentle folds is all you need.
- Press the mixture into the pan. Transfer the mixture to your parchment-lined pan. Spread it out as evenly as you can with your spatula. Then take a piece of parchment paper or wax paper and place it on top of the mixture. Use your hands or the bottom of a flat glass to press everything down firmly and evenly. This step is crucial—if you do not press hard enough, the bars will fall apart when you cut them. I press for a solid 30 seconds, making sure the corners and edges are compacted.
- Chill the bars. Place the pan in the refrigerator for at least 2 hours. Overnight is even better if you have the time. The chilling step allows the coconut oil and honey to set, creating a firm bar that holds its shape. Do not skip this step and try to cut them early—trust me, I have made that mistake, and you end up with granola crumbles instead of bars.
- Cut and serve. Once the mixture is fully chilled and firm, use the parchment overhang to lift the entire block out of the pan. Place it on a cutting board. Use a sharp knife to cut into 12 even bars. A serrated knife works best here—it cuts through cleanly without squishing the bars. Wipe the knife clean between cuts for the neatest edges.
Your kitchen will smell amazing at this point. The honey and oats combination is incredibly comforting. If you are like me, you will test one immediately—quality control is important, after all.
Cooking Tips & Techniques
After making these bars at least twenty times (no exaggeration), I have picked up some tricks that make the process even smoother. Here is what I have learned:
Press firmly and evenly. This is the number one tip I give everyone. The mixture needs to be compacted tightly so the bars hold their shape. I use the bottom of a measuring cup wrapped in plastic wrap to really press into the corners. If your bars crumble, it is almost always because they were not pressed firmly enough.
Use room temperature sunflower seed butter. Cold sunflower seed butter is stiff and hard to mix. If yours has been in the fridge, let it sit on the counter for 15 to 20 minutes before starting. This makes stirring much easier and ensures the ingredients combine evenly.
Watch your honey consistency. Thicker honey creates firmer bars, while thinner honey makes them slightly softer. If your honey is very runny, reduce it by a tablespoon. If it is thick and crystallized, warm it gently before measuring.
Do not overmix the chocolate chips. Warm honey mixture can melt the chocolate chips if you stir too much. Fold them in gently at the end, and you will get nice distinct chocolate pockets throughout the bars. I learned this after making a batch of completely brown, chocolate-swirled bars that looked nothing like the pretty ones I was going for.
Let the bars chill fully. Two hours is the minimum, but overnight is ideal. The bars continue to set as they chill, developing that perfect chewy texture. If you cut them too early, they will be soft and messy. Patience pays off here.
One mistake I made early on was using quick-cooking oats instead of rolled oats. The bars turned out mushy and didn’t hold together well. Rolled oats provide the perfect texture and structure. Stick with them for the best results.
Variations & Adaptations
This recipe is wonderfully adaptable. Here are some variations I have tried and loved:
Vegan Version: Swap the honey for pure maple syrup or agave nectar. Use dairy-free chocolate chips like Enjoy Life brand. The bars will be slightly softer but just as delicious. My vegan friend actually prefers this version over the original.
Seed Butter Swap: If sunflower seed butter is hard to find, try tahini (sesame seed paste) or pumpkin seed butter. Both are nut-free and work beautifully in this recipe. Tahini gives the bars a slightly savory, earthy flavor that pairs surprisingly well with the honey and chocolate.
Add-In Options: Feel free to mix in 1/4 cup of dried fruit like cranberries, raisins, or chopped apricots. Shredded coconut adds nice texture. A tablespoon of chia seeds or flax seeds boosts the nutritional profile without changing the flavor. Just keep the total add-ins to about 1/3 cup so the bars still hold together.
Lower Sugar Option: Reduce the honey to 1/3 cup and add 2 tablespoons of unsweetened applesauce to maintain moisture. The bars will be less sweet but still satisfying. My husband actually prefers this version for his afternoon snack.
Crunchy Version: Add 1/4 cup of crispy rice cereal or crushed cornflakes to the mixture before pressing. This gives the bars a delightful crunch that kids especially seem to love. Just fold them in gently so they don’t break into dust.
I once made a batch with pumpkin seed butter and added a pinch of cinnamon—it tasted like fall in bar form. Do not be afraid to experiment. This recipe is forgiving enough to handle some creative tweaks.
Serving & Storage Suggestions
These granola bars are incredibly versatile when it comes to serving. Here is how I handle them:
Serving Temperature: I prefer these bars straight from the fridge—they are firm, chewy, and hold together perfectly. They are also great at room temperature, especially if you are packing them in a lunchbox. If the bars seem too cold, let them sit on the counter for 5 minutes before eating.
Lunchbox Ready: Wrap individual bars in parchment paper or beeswax wraps for a zero-waste lunchbox snack. They travel beautifully and stay intact even after being tossed around in a backpack. I usually pack one bar with some fresh fruit and a yogurt tube for a complete school snack.
Storage Instructions: Store the bars in an airtight container in the refrigerator for up to 2 weeks. They actually get better after a day or two as the flavors meld together. You can also store them at room temperature for 3 to 4 days, but they will be softer and more prone to crumbling.
Freezer Instructions: These bars freeze beautifully. Wrap each bar individually in plastic wrap, then place them in a freezer-safe bag or container. They will keep for up to 3 months. When you need a quick snack, just grab one from the freezer and let it thaw on the counter for 10 minutes. They taste just as good as fresh.
Flavor Development: Here is something interesting—the bars actually taste better on day two. The flavors have time to settle and meld together. The honey and sunflower seed butter become more balanced, and the chocolate chips firm up perfectly. If you can resist eating them all on day one, you will be rewarded.
I always make a double batch and freeze half. That way, I have school snacks ready to go for weeks. It saves me money and stress, especially during busy school weeks.
Nutritional Information & Benefits
Here is the estimated nutritional breakdown for one bar (based on 12 bars per batch):
| Nutrient | Amount per Bar |
|---|---|
| Calories | 195 |
| Total Fat | 10g |
| Saturated Fat | 3g |
| Carbohydrates | 24g |
| Fiber | 3g |
| Sugar | 12g |
| Protein | 5g |
| Iron | 6% DV |
| Calcium | 2% DV |
These bars are packed with nutritional benefits. Rolled oats provide steady energy and fiber that keeps kids full until lunchtime. Sunflower seed butter is rich in vitamin E, magnesium, and healthy fats that support brain development. The honey offers natural sweetness without refined sugar, and the dark chocolate chips add antioxidants.
For parents managing food allergies, this recipe is naturally free of peanuts, tree nuts, dairy (if using dairy-free chocolate chips), and eggs. Always check your ingredient labels to confirm they are produced in nut-free facilities if that is a concern for your family.
I love that these bars give my kids sustained energy without the sugar crash that comes from many store-bought snacks. They are filling enough for an afternoon snack but not so heavy that they spoil dinner.
Conclusion
These easy 5-ingredient peanut-free granola bars have genuinely changed our school snack routine. No more expensive boxes that only last a few days. No more worrying about ingredient labels or cross-contamination. No more disappointed faces when the store-bought bar crumbles into dust before lunchtime.
This recipe is proof that homemade snacks do not have to be complicated or time-consuming. With just five simple ingredients and fifteen minutes of effort, you can create something that is healthier, tastier, and more affordable than anything you will find on a store shelf. Plus, you know exactly what went into every single bar.
I would love to hear how these turn out for you. Do you add any fun mix-ins? Did your kids help you make them? Drop a comment below and share your experience. And if you try a variation that works especially well, please share it—I am always looking for new ideas to keep snack time interesting.
Go ahead, grab those oats and that jar of sunflower seed butter. Your school lunch routine is about to get a whole lot easier. Happy snacking!
Frequently Asked Questions
Can I use quick oats instead of rolled oats?
I do not recommend it. Quick oats are more processed and absorb moisture differently, which can make your bars mushy and prone to falling apart. Rolled oats provide the perfect chewy texture and structure. Stick with old-fashioned rolled oats for the best results.
How do I keep these bars from falling apart?
The two most important factors are pressing the mixture firmly into the pan and letting the bars chill for at least 2 hours. Use the bottom of a glass or measuring cup to compact the mixture really well. Do not rush the chilling step—it is what allows the coconut oil and honey to set and hold everything together.
Can I substitute the sunflower seed butter?
Absolutely. Tahini, pumpkin seed butter, or soy nut butter all work well as nut-free alternatives. Each will give the bars a slightly different flavor, but the texture will remain similar. If you are not concerned about nut allergies, almond butter or cashew butter also work beautifully.
How long do these granola bars last?
Stored in an airtight container in the refrigerator, these bars stay fresh for up to 2 weeks. They also freeze beautifully for up to 3 months. Just wrap each bar individually and thaw at room temperature for 10 minutes before eating.
Are these bars safe for kids with nut allergies?
Yes, these bars are naturally free of peanuts and tree nuts. However, always check the labels on your specific ingredients—especially the chocolate chips and oats—to confirm they are produced in nut-free facilities if you have severe allergy concerns. Some brands process oats on shared equipment with nuts.
Pin This Recipe!
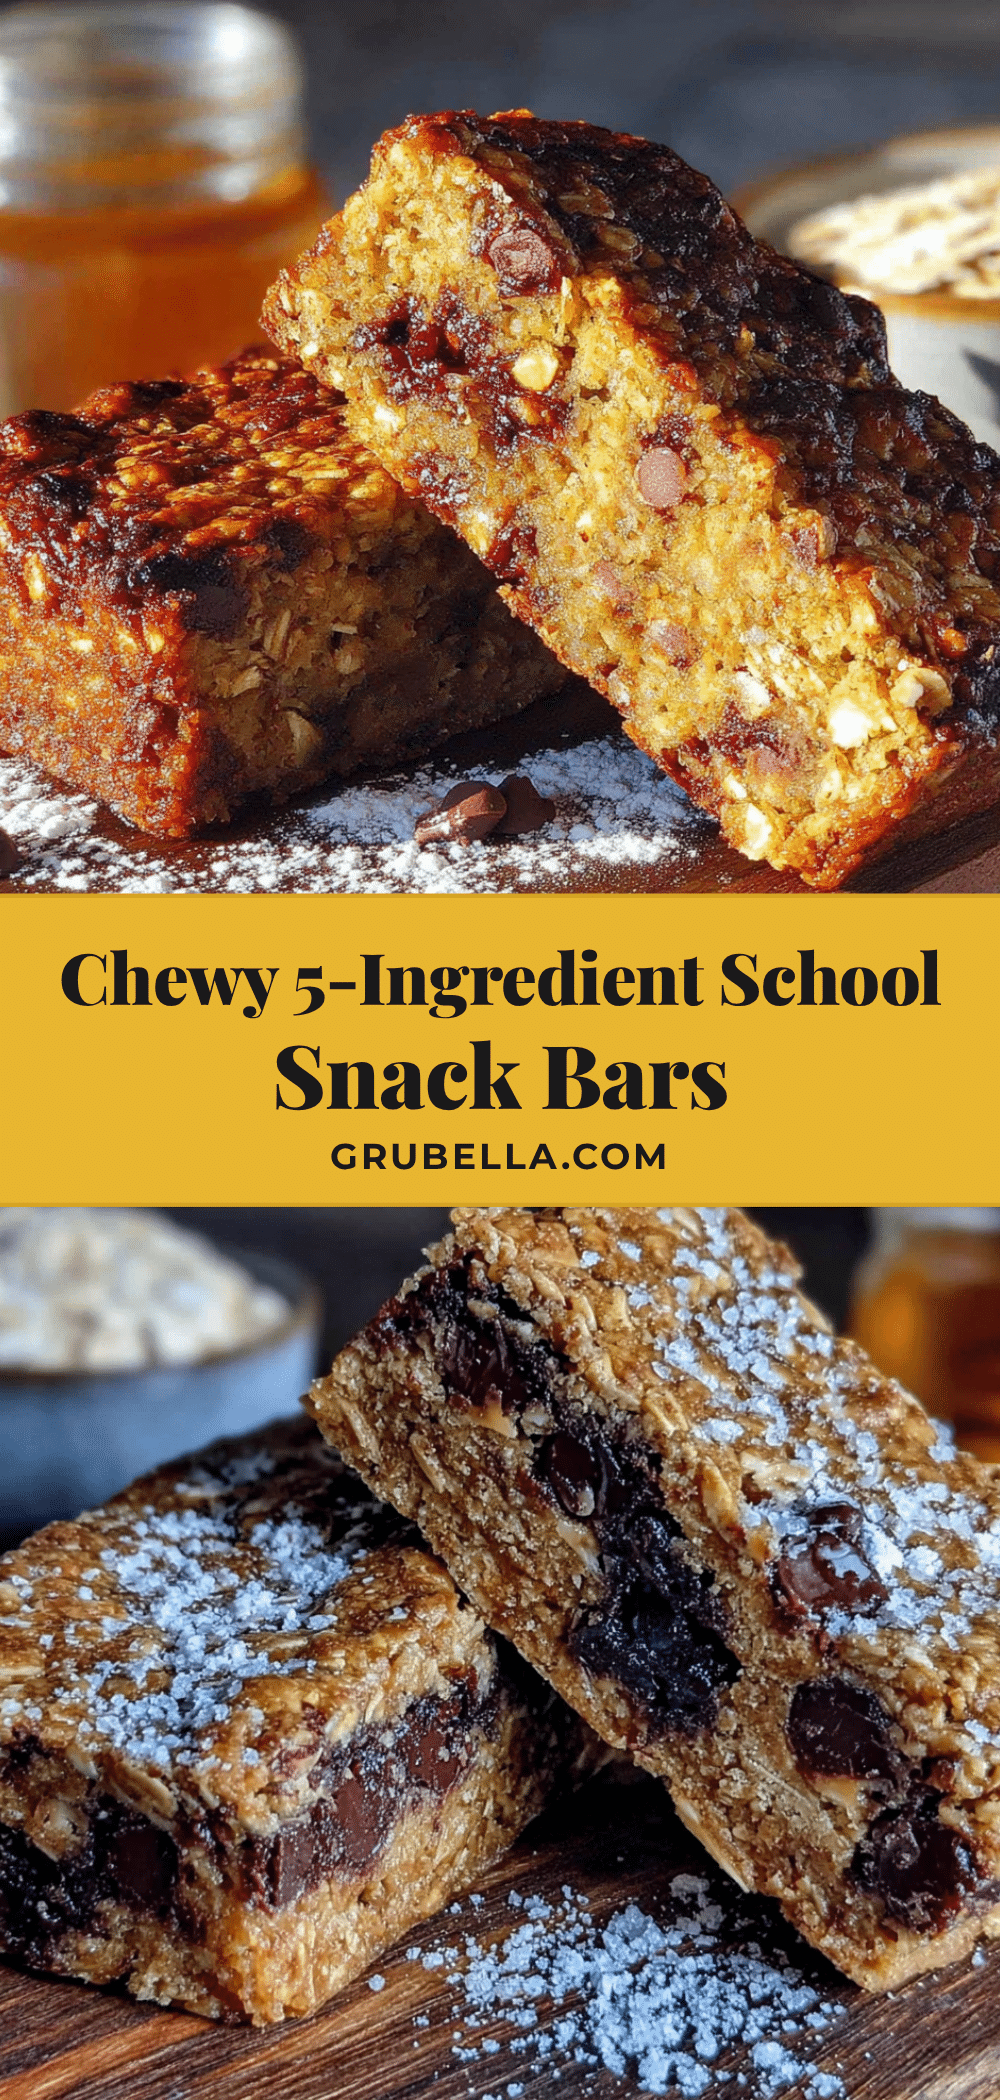
Best 5-Ingredient Peanut-Free Granola Bars for School Snacks
These easy, no-bake granola bars are made with just five simple ingredients and are completely peanut-free and tree nut-free. Perfect for school lunches, they are soft, chewy, and hold together beautifully.
- Prep Time: 15 minutes
- Cook Time: 0 minutes
- Total Time: 2 hours 15 minutes (includes chilling)
- Yield: 12 bars 1x
- Category: Snack
- Cuisine: American
Ingredients
- 2 cups rolled oats (old-fashioned)
- 1 cup sunflower seed butter
- 1/2 cup honey or maple syrup
- 1/3 cup mini chocolate chips
- 2 tablespoons coconut oil
Instructions
- Line an 8×8 inch baking pan with parchment paper, leaving overhang on two opposite sides.
- In a small microwave-safe bowl, combine 1/2 cup honey and 2 tablespoons coconut oil. Microwave in 20-second bursts, stirring between each, until smooth and fully combined (about 40-60 seconds total).
- In a large mixing bowl, combine 2 cups rolled oats and 1 cup sunflower seed butter. Pour the warm honey-coconut oil mixture over the top and stir with a rubber spatula until the oats are fully coated and the mixture is uniform and slightly sticky.
- Gently fold in 1/3 cup mini chocolate chips until evenly distributed.
- Transfer the mixture to the prepared pan. Spread evenly with a spatula, then place a piece of parchment or wax paper on top and press down firmly and evenly using your hands or the bottom of a flat glass. Press for about 30 seconds, ensuring corners and edges are compacted.
- Refrigerate for at least 2 hours, or overnight for best results, until firm.
- Use the parchment overhang to lift the block out of the pan. Place on a cutting board and cut into 12 even bars using a sharp serrated knife, wiping the knife clean between cuts.
Notes
Press the mixture firmly into the pan and chill for at least 2 hours to prevent crumbling. Use room temperature sunflower seed butter for easier mixing. For vegan version, use maple syrup and dairy-free chocolate chips. Bars can be stored in the refrigerator for up to 2 weeks or frozen for up to 3 months.
Nutrition
- Serving Size: 1 bar
- Calories: 195
- Sugar: 12
- Fat: 10
- Saturated Fat: 3
- Carbohydrates: 24
- Fiber: 3
- Protein: 5
Keywords: peanut-free granola bars, nut-free school snacks, no-bake granola bars, 5-ingredient granola bars, homemade granola bars, sunflower seed butter bars, healthy school snacks



