Love this? Save it for later!
Share the inspiration with your friends
“Mom, can we make the snakes again?” That’s what my six-year-old asked me last October, and for a second I had no idea what she was talking about. Then it clicked — she meant the mummy pigs in a blanket I’d made for her class Halloween party the year before. Not snakes. Mummies. Little crescent-wrapped hot dogs with tiny mustard eyes that had apparently become legendary in her kindergarten mind.
I’d honestly thrown them together in a panic the night before the party, using whatever I had in the fridge. Pillsbury crescent rolls, a pack of Lit’l Smokies, and some honey mustard I’d bought on a whim. I remember thinking they looked a little ridiculous — the mustard eyes kept sliding off, and the dough strips were definitely not uniform. But her teacher sent me a photo later that day of twenty kids sitting cross-legged on the carpet, each holding a little mummy with a proud grin. And my kid? She told everyone her mom made the best Halloween snack in the whole world.
So yeah. These easy mummy pigs in a blanket with honey mustard aren’t just cute. They’re the kind of recipe that makes you feel like a hero for twenty minutes of work. No fancy skills required, no specialty ingredients, and honestly? They’re way more fun to make than they have any right to be.
Let me show you how to make them — because every Halloween table deserves a little bit of that magic.
Why You’ll Love This Recipe
I’ve tested this recipe more times than I care to admit (my family has had “mummy night” about four times since October), and here’s what I’ve learned: these little guys deliver on every level.
- Quick & Easy : From start to finish, you’re looking at about 25 minutes. That’s less time than it takes to argue with your kids about what to watch on TV. Perfect for last-minute Halloween parties, school events, or just a fun Tuesday night dinner.
- Simple Ingredients : Crescent rolls, cocktail sausages, and honey mustard. That’s it. No trips to a specialty store, no hunting down obscure spices. You probably have everything except maybe the hot dogs.
- Perfect for Halloween : These are literally the cutest thing on any party table. Kids go nuts for them, adults pretend they’re too cool but grab three anyway, and they photograph beautifully for those Instagram stories.
- Crowd-Pleaser : I’ve brought these to three different gatherings now — a classroom party, a neighborhood potluck, and a family dinner. Every single time, they disappeared first. Even the picky eaters who “don’t like hot dogs” suddenly become fans.
- Unbelievably Delicious : Look, I know it’s just hot dogs wrapped in dough. But there’s something about that salty-sweet combo of the crescent roll with the smoky sausage, dipped in tangy honey mustard, that hits different. It’s comfort food at its most honest.
What makes this version different from the million other pigs-in-a-blanket recipes out there? Two things. First, the wrapping technique — I figured out a way to make the mummy bandages look legit without tearing the dough. Second, the honey mustard dip. Store-bought is fine, but I’ll show you how to make a quick version that takes this from “cute snack” to “everyone asks for the recipe.”
This isn’t just another Halloween appetizer. It’s the one that makes you feel like you actually pulled off something special — without breaking a sweat.
What Ingredients You Will Need
This recipe keeps things refreshingly simple. You only need a handful of ingredients, and most of them are probably already hanging out in your fridge or pantry. Here’s what you’ll grab:
For the Mummies
- 1 can (8 oz) refrigerated crescent roll dough — I prefer Pillsbury for consistency, but any brand works. The key is getting the kind that comes in the perforated triangle sheets, not the seamless dough. You’ll see why in a minute.
- 1 package (12-14 oz) Lit’l Smokies or mini cocktail sausages — These are the perfect size for mummy bodies. I’ve used both beef and pork varieties, and honestly, the flavor difference is minimal once they’re wrapped. Just get whatever’s on sale. If you want to go a little fancier, look for the smoked sausage links from Hillshire Farm — they have a nice snap.
- Mustard for the eyes — Yellow mustard works great because it’s bright and visible. But I’ve also used Dijon for a more sophisticated look (and taste). You only need a tiny dab per mummy, so don’t go crazy.
For the Honey Mustard Dip
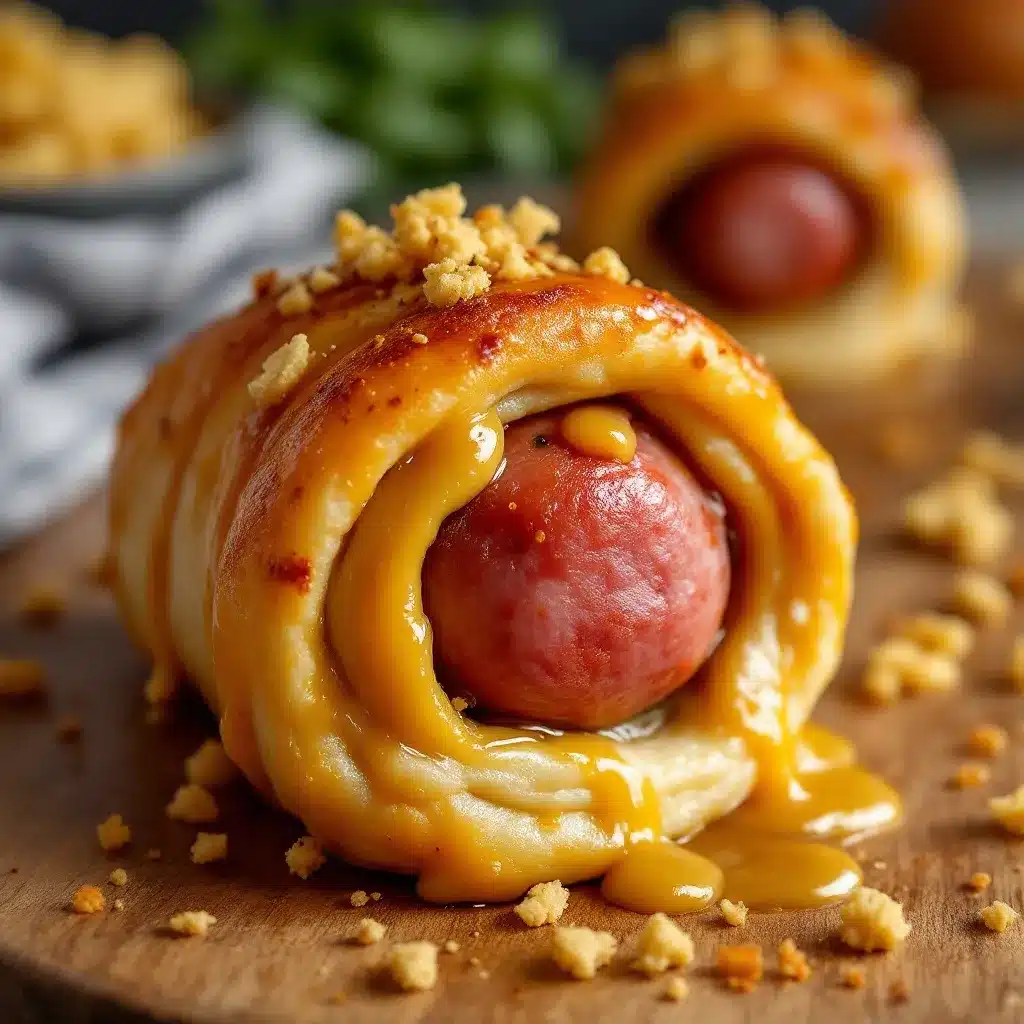
- 1/4 cup mayonnaise — Full-fat gives the creamiest texture, but light mayo works in a pinch. I’ve used Duke’s for years and swear by it.
- 2 tablespoons yellow mustard — This is the backbone of the dip. Don’t substitute with Dijon here unless you want a sharper flavor — stick with classic yellow for that nostalgic honey mustard taste.
- 2 tablespoons honey — Local honey is lovely if you have it, but any runny honey works. If your honey is crystallized, just microwave it for 10 seconds to loosen it up.
- 1 teaspoon apple cider vinegar — This is my secret ingredient. It brightens everything up and cuts through the richness. Don’t skip it — you won’t taste vinegar, I promise. It just makes the dip more interesting.
- Pinch of smoked paprika (optional) — I started adding this after a friend suggested it, and now I can’t stop. It adds a subtle warmth that pairs beautifully with the smoky sausages.
A quick note on substitutions: If you’re feeding a crowd with dietary restrictions, you can use gluten-free crescent roll dough (I’ve seen it at Whole Foods and some larger grocery chains). For a dairy-free version, check the crescent roll ingredients — some brands use butter, others use palm oil. And if you’re watching sodium, look for low-sodium cocktail sausages. The flavor won’t suffer, I promise.
Oh, and one more thing — if you can’t find Lit’l Smokies, you can absolutely use regular hot dogs cut into thirds. Just make sure they’re fully cooked before wrapping. I’ve done this in a pinch and it works fine, though the texture is slightly different. The little sausages just have a better snap.
Equipment Needed
You don’t need a fancy kitchen to pull these off. Here’s what you’ll want to have handy:
- Baking sheet — A standard half-sheet pan works perfectly. Line it with parchment paper or a silicone baking mat for easy cleanup. Trust me, you’ll thank yourself later when the honey mustard doesn’t get baked onto your pan.
- Sharp knife or pizza cutter — You’ll be cutting the crescent roll dough into thin strips, and a pizza cutter makes this infinitely easier than a butter knife. A sharp chef’s knife works too, just be careful not to drag the dough.
- Small bowl — For mixing the honey mustard dip. Nothing fancy needed.
- Pastry brush (optional) — If you want to brush the mummies with an egg wash for a golden finish, you’ll want a small pastry brush. Not required, but it does make them look prettier.
- Toothpicks — For applying the mustard eyes. You could use a squeeze bottle, but a toothpick gives you way more control for those tiny dots.
- Cooling rack — Not essential, but if you have one, placing the baked mummies on a rack keeps them from getting soggy on the bottom.
I’ve made these in a tiny apartment kitchen with a dollar-store baking sheet and a dull knife, and they still turned out adorable. Don’t stress about having the perfect tools. Your kids won’t care if the strips are uneven — trust me, mine certainly didn’t.
Preparation Method
Alright, let’s make some mummies. I’ll walk you through this step by step, including all the little tricks I’ve picked up along the way.
- Preheat your oven to 375°F (190°C). Line your baking sheet with parchment paper or a silicone mat. Do this first so the oven is ready when you are.
- Make the honey mustard dip. In a small bowl, whisk together the mayonnaise, yellow mustard, honey, apple cider vinegar, and smoked paprika if using. Taste it — you want a balance of tangy, sweet, and creamy. If it’s too sharp, add a little more honey. Too sweet? Another splash of vinegar. Set it aside while you work on the mummies. The flavors will meld as it sits.
- Prep the crescent roll dough. Open the can (try not to jump when it pops — I still do every single time) and unroll the dough. Separate it along the perforations so you have 8 triangles. Here’s the trick: instead of using the triangles whole, you’re going to cut each one into thin strips. Using your pizza cutter or knife, cut each triangle lengthwise into 4-5 strips, about 1/4 inch wide. The strips don’t need to be perfect — uneven ones actually look more like authentic mummy bandages.
- Wrap the sausages. Take one cocktail sausage and start wrapping a dough strip around it, leaving a small gap near the top for the eyes. Don’t wrap too tightly — the dough will expand as it bakes, and you want to see some “bandage” gaps. Overlap the strips slightly as you go. If a strip breaks (and it will sometimes), just press it back together — the heat will seal it. Each sausage needs about 2-3 strips depending on how thick you cut them. I usually use 2 strips per mummy and save the extra dough for snacking (baked plain with butter, yum).
- Place on the baking sheet. Arrange the wrapped mummies on your prepared sheet, leaving about an inch between each one. They won’t spread much, but you want air to circulate so the dough bakes evenly.
- Optional: Egg wash for golden color. If you want that beautiful golden-brown finish, whisk one egg with a tablespoon of water and brush it over the tops of the mummies. I skip this step half the time and they still look great — the crescent dough browns nicely on its own. But if you’re taking these to a party, the egg wash makes them look professionally done.
- Bake for 10-12 minutes. Keep an eye on them around the 8-minute mark. You want the dough to be golden brown and puffed, and the sausages should be heated through. Every oven runs a little different — mine takes exactly 11 minutes. If the bottoms are getting too dark but the tops are still pale, move the rack up a level.
- Add the eyes. Here’s the fun part. Let the mummies cool for about 2 minutes — you don’t want to burn your fingers, but the dough should still be warm so the mustard sticks. Dip a toothpick into your yellow mustard and dot two tiny eyes onto each mummy. Don’t overthink this. Some eyes will be bigger, some smaller, some slightly crooked. That’s what makes them look like cute little monsters. I’ve had some that looked cross-eyed and honestly, those were my favorites.
- Serve immediately with the honey mustard dip. Arrange them on a platter with the dip in the center or on the side. Watch them disappear.
A few troubleshooting notes I learned the hard way: If your dough strips are too thick, they won’t cook through in the center. If they’re too thin, they’ll tear easily. Aim for about 1/4 inch — roughly the width of a pencil. Also, don’t overcrowd the baking sheet. I tried fitting 24 mummies on one sheet once and the ones in the middle came out doughy. Two batches is better than one sad batch.
And here’s a time-saver: you can prep the wrapped mummies a few hours ahead and keep them in the fridge. Just add a couple of minutes to the bake time since they’ll be cold. The honey mustard dip can be made up to three days in advance — it actually gets better as the flavors meld.
Cooking Tips & Techniques
After making these more times than I’d like to admit (my freezer currently has three bags of Lit’l Smokies in it), I’ve collected a few tricks that make the process smoother and the results better.
Keep the dough cold. Crescent roll dough gets sticky and hard to work with when it warms up. If your kitchen is warm or you’re taking your time, pop the wrapped mummies into the fridge for 10 minutes before baking. Cold dough puffs up better and holds its shape. I learned this after a batch where the bandages all slid off during baking — not cute.
Don’t over-wrap. I know it’s tempting to wrap those sausages like you’re competing for Most Secure Mummy, but resist. Two to three strips per sausage is plenty. You want to see glimpses of the hot dog peeking through — that’s what makes them look like mummies instead of dough balls. Plus, too much dough means a higher dough-to-sausage ratio, and you’ll end up with bready mummies instead of balanced bites.
Use the parchment paper trick. When cutting your dough strips, lay the parchment paper you’ll use for baking underneath. This saves you from having to transfer each strip individually — just cut them right on the paper and lift the whole thing onto your baking sheet. It’s one of those small things that makes a big difference when you’re making a large batch.
My biggest failure: The first time I made these, I used hot dogs cut into thirds instead of cocktail sausages. They were huge and awkward, the dough didn’t wrap evenly, and they looked more like mutant caterpillars than mummies. Plus, the centers didn’t heat through properly. Stick with the little sausages — they’re the perfect size and they cook evenly. Learn from my mistakes, friends.
For consistent results: Make sure your sausages are at room temperature before wrapping. Cold sausages straight from the fridge will cool down the dough and throw off your bake time. Just let them sit on the counter for 10 minutes while you prep everything else.
Multitasking tip: While the first batch is baking, wrap the second batch. I usually do 12 mummies per sheet, and by the time one batch is done, the next is ready to go in. This keeps the workflow smooth and means you’re not standing around waiting.
Variations & Adaptations
One of the best things about this recipe is how easy it is to tweak. Here are some variations I’ve tried and loved:
Spicy Mummies: Add a dash of cayenne pepper or sriracha to your honey mustard dip for a kick. I also tried brushing the wrapped mummies with a little hot honey before baking — incredible. The sweet-heat combo works perfectly with the smoky sausage.
Cheesy Mummies: Before wrapping, cut a small slit in each sausage and tuck in a sliver of cheddar or pepper jack. The cheese melts out slightly during baking, and it looks like the mummy is oozing… something. It’s delicious and a little gross, which is perfect for Halloween.
Everything Bagel Mummies: After brushing with egg wash, sprinkle everything bagel seasoning over the top. The sesame seeds and garlic flakes add texture and flavor that takes these from kid snack to adult-approved appetizer. I brought these to a Halloween party and the adults couldn’t stop eating them.
Gluten-Free Version: Use gluten-free crescent roll dough (I’ve had good luck with the brand from Whole Foods) and check your mustard for gluten. Most mustards are gluten-free, but some blends contain wheat. The texture will be slightly different — gluten-free dough is a bit more fragile — but the taste is still spot-on.
Veggie Mummies: For a vegetarian option, swap the cocktail sausages for vegetarian cocktail sausages or even small pieces of firm tofu that have been marinated in soy sauce and liquid smoke. I tried this for a friend and while it’s not the same as the original, it’s a solid alternative that even my meat-loving family enjoyed.
Breakfast Mummies: Use breakfast sausage links instead of cocktail sausages and serve with maple syrup for dipping. I made these for a Halloween morning breakfast and my kids thought I was the coolest parent alive. The sweet-savory combo is surprisingly good.
My personal favorite variation? The Buffalo Mummy. Toss the baked mummies in buffalo sauce before serving and dip them in ranch instead of honey mustard. It’s messy and glorious and tastes exactly like something you’d eat at a Super Bowl party. If you love my crispy baked buffalo cauliflower bites, you’ll be all over these.
Serving & Storage Suggestions
These mummies are best served warm, right out of the oven. The dough is at its peak — crispy on the outside, soft and fluffy inside, with the sausage hot and juicy. Arrange them on a platter with the honey mustard dip in a small bowl in the center, or serve the dip on the side for dipping.
What to serve with them: These are perfect for a Halloween party spread alongside other finger foods. I love pairing them with my easy mummy wrapped baked brie with raspberry jam for a full spooky-themed appetizer table. Add some veggie sticks with ranch, maybe a bowl of popcorn, and you’ve got a party. For drinks, apple cider (hot or cold) is a natural fit, or a crisp lager if you’re serving adults.
Storage: If you somehow have leftovers (this has never happened in my house, but theoretically), let them cool completely, then store in an airtight container in the refrigerator for up to 3 days. The dough will soften slightly, but they’re still tasty.
Reheating: The best way to reheat these is in the oven or air fryer. Pop them in a 350°F oven for 5-7 minutes, or in an air fryer at 350°F for 3-4 minutes. The microwave works in a pinch, but the dough gets chewy and loses its crispness. If you’re microwaving, do it in 15-second bursts and eat them immediately.
Freezing: You can freeze the unbaked wrapped mummies! Arrange them on a baking sheet and freeze until solid (about 2 hours), then transfer to a freezer bag. When you’re ready to bake, add 3-5 minutes to the bake time — no need to thaw. I’ve done this for last-minute Halloween gatherings and it’s a lifesaver. I also love freezing a batch for game days — they’re perfect alongside my easy football peanut butter rice krispie treats for a full spread.
How flavors develop: The honey mustard dip actually gets better after a day in the fridge. The flavors meld together and mellow out. I always make it a day ahead if I’m planning ahead. The mummies themselves are best fresh, but the dip can be made up to 5 days in advance.
Nutritional Information & Benefits
Let’s be real — these are not health food. They’re a fun Halloween treat meant to be enjoyed in moderation. But here’s a rough breakdown per mummy (based on using standard ingredients):
- Calories: Approximately 120-140 per mummy (without dip)
- Protein: 4-5 grams
- Carbohydrates: 10-12 grams
- Fat: 8-10 grams
- Sodium: 350-400 mg
A few health notes: Cocktail sausages are a good source of protein and B vitamins, though they’re also high in sodium and saturated fat. Crescent roll dough is primarily refined flour and fat, so it’s not winning any nutrition awards. The honey mustard dip adds a small amount of healthy fats from the mayonnaise (especially if you use an avocado oil-based mayo) and antioxidants from the honey.
Dietary considerations: This recipe contains gluten (from the crescent rolls), dairy (some brands of crescent rolls contain butter), and eggs (if you use the egg wash). For a gluten-free version, use gluten-free crescent roll dough. For dairy-free, check your crescent roll ingredients and use a vegan mayonnaise in the dip.
My perspective: Look, I’m a firm believer that food should be enjoyed, not just measured. These mummies are a special occasion treat — they’re not meant to be an everyday snack. I make them for Halloween parties, game days, and the occasional “let’s have fun with dinner” night. Balance is key, and sometimes balance means eating a mummy pig in a blanket and being perfectly happy about it.
Conclusion
These easy mummy pigs in a blanket with honey mustard have become a non-negotiable part of my Halloween season. They’re the recipe I turn to when I want to feel like I put in effort without actually putting in effort. They’re the snack that makes my kids light up and my friends ask for the recipe. And honestly? They’re just fun.
I love that this recipe doesn’t take itself too seriously. It’s not trying to be gourmet or impressive. It’s just good, simple food that happens to look adorable. And there’s something really freeing about that — you can’t mess it up, and even if you do, it’ll still taste great.
I’d love to hear how yours turn out! Did your kids help wrap the mummies? Did you try any fun variations? Drop a comment below and let me know — I read every single one, and your ideas might inspire someone else’s Halloween spread. And if you’re looking for more easy party snacks, check out my creamy slow cooker buffalo chicken dip or my best loaded BBQ pulled pork nachos — they’re both crowd-pleasers that’ll make you the hero of any gathering.
Happy Halloween, friends. Go make some mummies.
Frequently Asked Questions
Can I make these ahead of time?
Absolutely! You can wrap the mummies up to 24 hours ahead and keep them in the fridge. Just add 2-3 minutes to the bake time since they’ll be cold. You can also freeze them unbaked for up to 3 months — bake straight from frozen, adding 3-5 minutes.
What if I don’t have cocktail sausages?
Regular hot dogs cut into thirds work in a pinch, but they’re larger and the dough-to-meat ratio will be off. For best results, stick with Lit’l Smokies or similar mini sausages. They’re the perfect size and cook evenly.
Can I use puff pastry instead of crescent rolls?
Yes! Puff pastry gives a flakier, more buttery texture. Just thaw it, cut it into thin strips, and wrap the same way. The bake time might be slightly longer — keep an eye on them and pull them out when golden brown and puffed.
How do I keep the mustard eyes from sliding off?
Make sure the mummies have cooled for at least 2 minutes before adding the eyes — the residual warmth helps the mustard stick. Also, use a toothpick to apply small dots rather than squeezing from a bottle. If they still slide, try using a tiny dab of cream cheese or mayo as “glue” under the mustard.
Can I make these in an air fryer?
Definitely! Air fry at 350°F for 6-8 minutes, checking halfway through. You might need to work in batches depending on your air fryer size. The texture comes out even crispier than the oven version — I actually prefer them this way when I’m making a small batch.
Pin This Recipe!
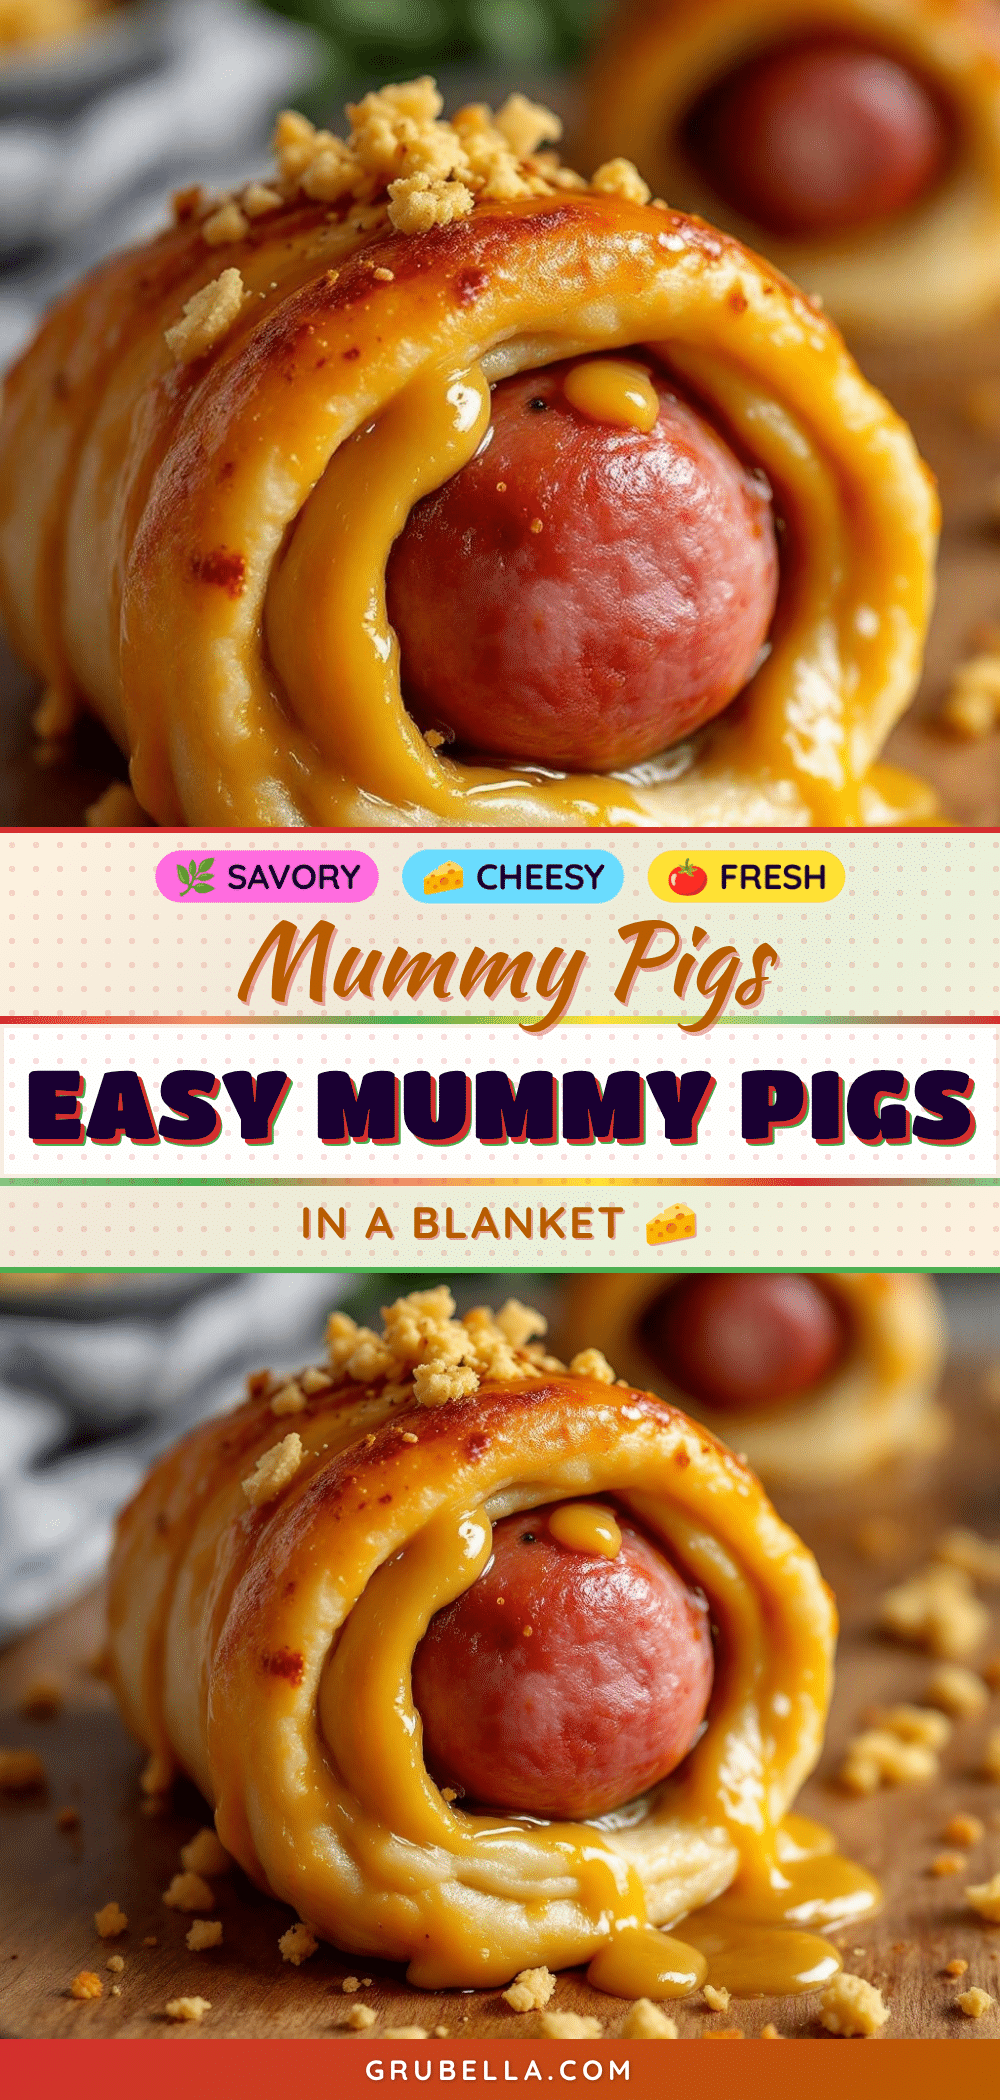
Easy Mummy Pigs in a Blanket with Honey Mustard
These easy mummy pigs in a blanket with honey mustard are a fun and delicious Halloween snack. Made with crescent rolls and cocktail sausages, they’re quick to prepare and perfect for parties.
- Prep Time: 15 minutes
- Cook Time: 12 minutes
- Total Time: 27 minutes
- Yield: 4 servings 1x
- Category: Appetizer
- Cuisine: American
Ingredients
- 1 can (8 oz) refrigerated crescent roll dough
- 1 package (12-14 oz) Lit’l Smokies or mini cocktail sausages
- Yellow mustard for the eyes
- 1/4 cup mayonnaise
- 2 tablespoons yellow mustard
- 2 tablespoons honey
- 1 teaspoon apple cider vinegar
- Pinch of smoked paprika (optional)
Instructions
- Preheat your oven to 375°F (190°C). Line your baking sheet with parchment paper or a silicone mat.
- Make the honey mustard dip: In a small bowl, whisk together the mayonnaise, yellow mustard, honey, apple cider vinegar, and smoked paprika if using. Set aside.
- Open the crescent roll dough and separate into 8 triangles. Cut each triangle lengthwise into 4-5 thin strips, about 1/4 inch wide.
- Wrap each cocktail sausage with 2-3 dough strips, leaving a small gap near the top for the eyes. Overlap strips slightly and do not wrap too tightly.
- Place the wrapped mummies on the prepared baking sheet, leaving about an inch between each.
- Optional: For a golden finish, whisk one egg with a tablespoon of water and brush over the tops.
- Bake for 10-12 minutes, until the dough is golden brown and puffed.
- Let the mummies cool for about 2 minutes, then dip a toothpick into yellow mustard and dot two tiny eyes onto each mummy.
- Serve immediately with the honey mustard dip.
Notes
Keep the dough cold for best results. Don’t over-wrap the sausages; 2-3 strips per mummy is plenty. For a golden finish, brush with egg wash before baking. The honey mustard dip can be made up to 3 days in advance.
Nutrition
- Serving Size: 1 mummy
- Calories: 130
- Sugar: 4
- Sodium: 375
- Fat: 9
- Saturated Fat: 3
- Carbohydrates: 11
- Protein: 4
Keywords: Halloween, mummy, pigs in a blanket, hot dogs, crescent rolls, honey mustard, appetizer, party snack



