Love this? Save it for later!
Share the inspiration with your friends
There used to be a tiny health food café tucked behind a used bookstore in my old neighborhood that made the most incredible no-bake energy bites. When they closed suddenly—poof, gone one Tuesday morning—I actually stood outside the locked door for a solid minute, honestly feeling a little betrayed. After twelve tries—some crumbly disasters, one that tasted like dusty oatmeal, and a batch that my kids politely refused to touch—I finally got it. These easy no-bake energy bites for quick snacking are the exact replica of those perfect little spheres I mourned for months.
I mean, maybe you have that one snack you keep chasing, you know? The one that hits every single craving without making you feel heavy or guilty. For me, it was these energy bites. The texture had to be just right—not too sticky, not too dry, with that satisfying chewiness that makes you forget you’re eating something actually good for you. I remember the owner, a quiet woman named Diane who always wore mismatched socks, telling me her secret was patience with the mixing. I didn’t get it until my fifth failed batch.
Let me tell you, the day I nailed it was a Thursday. I was rushing, the kids were arguing over a broken toy, and I almost gave up halfway through. But I kept going, and when I finally tasted one, I actually laughed out loud. That was it. That was Diane’s recipe. These energy bites became my little victory, and now they are yours too. They are the kind of snack you make once and immediately wonder why you ever bought packaged granola bars.
Why You’ll Love This Recipe
I have tested this recipe more times than I care to count—honestly, my countertop still has faint peanut butter smudges from the early attempts. What I love most is how forgiving it is. You can tweak it, swap things out, and it still works. That is the kind of recipe you can trust.
- Quick & Easy: These come together in just 5 minutes of active time. No oven, no stovetop, no waiting around. Perfect for those afternoons when hunger hits hard and you need something now.
- Simple Ingredients: You likely have everything in your pantry already. Oats, peanut butter, honey, chocolate chips—nothing fancy, nothing expensive. I recommend using a good quality natural peanut butter for the best texture, but any kind works.
- Perfect for Busy Days: Whether you need a pre-workout boost, a post-lunch treat, or something to toss in your bag before school pickup, these energy bites have your back. They travel beautifully and don’t melt or get messy.
- Crowd-Pleaser: My kids fight over the last one. My husband sneaks them from the fridge. Even my picky-eating niece asked for the recipe. That is a win in my book.
- Unbelievably Delicious: The combination of creamy peanut butter, sweet honey, and crunchy chocolate chips is pure comfort. But the texture—that soft, chewy, slightly dense bite—is what makes these next-level. It is not just another energy ball recipe; it is the one I make every single week without fail.
What sets this recipe apart is the technique. Most recipes tell you to just stir everything together and hope for the best. I learned the hard way that letting the mixture sit for a few minutes before rolling makes all the difference. The oats absorb the moisture, the flavors meld, and you get a perfectly cohesive bite that holds its shape without being dry. This is the version I wish I had from the start.
What Ingredients You Will Need
This recipe uses simple, wholesome ingredients that you probably already have in your kitchen. Each one plays a specific role in creating that perfect texture and flavor. Here is what you will need:
- 1 cup old-fashioned rolled oats (do not use instant oats—they get mushy and the texture suffers; I prefer Quaker Old Fashioned for consistent results)
- 1/2 cup creamy peanut butter (natural peanut butter works best; if your peanut butter is very oily, stir it well before measuring; you can also use almond butter or sunflower seed butter for a nut-free version)
- 1/3 cup honey (or maple syrup for a vegan option; the honey adds sweetness and helps bind everything together)
- 1/2 cup mini chocolate chips (I use semi-sweet; dark chocolate chips work too; if you prefer, you can chop a regular chocolate bar into small pieces)
- 1/4 cup ground flaxseed (optional but recommended; it adds fiber and omega-3s, plus it helps with binding; you can substitute chia seeds or hemp hearts)
- 1/2 teaspoon vanilla extract (pure vanilla extract adds warmth and depth; imitation vanilla works in a pinch)
- Pinch of sea salt (optional but highly recommended; it balances the sweetness and enhances all the flavors)
For add-ins, you can get creative. Sometimes I toss in a tablespoon of shredded coconut or a handful of dried cranberries. If I am feeling indulgent, I add a few chopped peanuts for extra crunch. The base recipe is incredibly forgiving, so feel free to experiment based on what you have on hand. Just keep the ratios roughly the same, and you will be fine.
Equipment Needed
You do not need much for these easy no-bake energy bites for quick snacking. That is part of the beauty. Here is what you will need:
- Large mixing bowl (any size works; I use a medium glass bowl because it is easy to scrape clean)
- Measuring cups and spoons (I recommend metal or plastic sets; glass ones can be slippery when wet)
- Rubber spatula or wooden spoon (for mixing; a spatula makes scraping the sides easier)
- Small cookie scoop or tablespoon (for portioning; a cookie scoop gives you uniform bites, but a spoon works just fine)
- Baking sheet or plate (to hold the rolled bites while they chill; line with parchment paper for easy cleanup)
- Parchment paper or wax paper (optional but helpful for preventing sticking)
- Refrigerator (for chilling; these need at least 30 minutes to set properly)
I have made these with nothing but a fork and a cereal bowl when I was camping. They turned out a little uneven, but they still tasted amazing. Do not let a lack of fancy equipment stop you. If you are using a very sticky peanut butter, lightly dampen your hands before rolling to prevent the mixture from sticking to your fingers. That little trick saves so much frustration.
Preparation Method
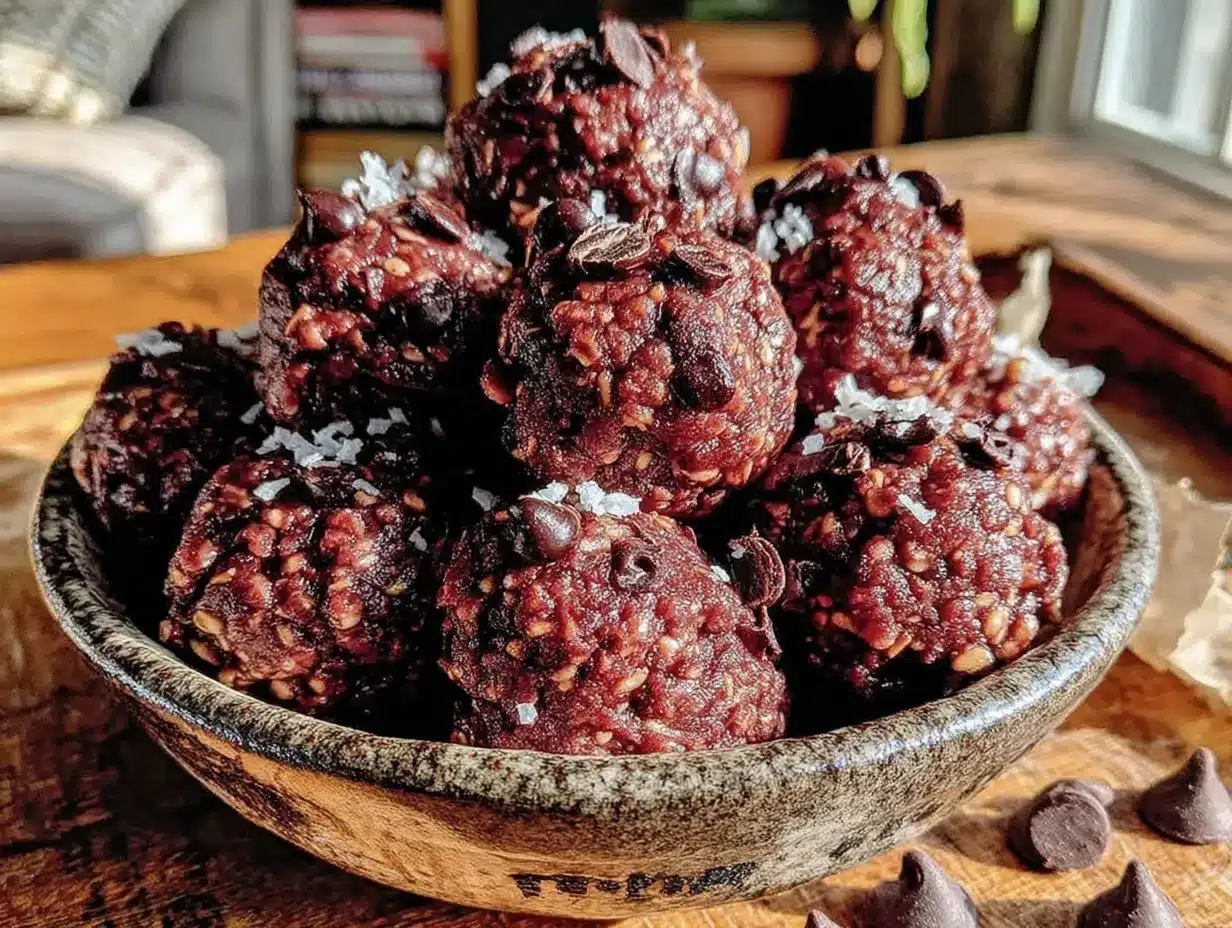
Making these energy bites is almost absurdly simple, but a few details make the difference between okay and incredible. Follow these steps, and you will have a batch of perfect bites every time.
- Combine the dry ingredients. In a large mixing bowl, add 1 cup rolled oats, 1/2 cup mini chocolate chips, and 1/4 cup ground flaxseed if using. Stir them together with a spatula or spoon until evenly distributed. This ensures the chocolate chips and flax are spread throughout, not clumped in one spot.
- Add the wet ingredients. Spoon in 1/2 cup peanut butter, 1/3 cup honey, and 1/2 teaspoon vanilla extract. Add a pinch of sea salt if you are using it. At this point, the mixture will look messy and uneven. That is normal. Do not panic.
- Mix thoroughly. Stir everything together with firm, steady strokes. The peanut butter and honey will start to coat the oats. Keep mixing until no dry spots remain. The mixture should be thick, slightly sticky, and hold together when pressed between your fingers. If it feels too dry, add a teaspoon of honey or peanut butter. If it feels too wet, add a tablespoon of oats. This is where patience matters—I learned this after my fifth failed batch.
- Let the mixture rest. This is my secret step. Cover the bowl with a clean kitchen towel or plastic wrap and let it sit at room temperature for 10 minutes. This allows the oats to absorb some of the moisture, which makes the bites hold their shape better. Do not skip this step. I promise it makes a difference.
- Chill the mixture. After resting, pop the bowl in the refrigerator for 15 to 20 minutes. Chilled mixture is much easier to handle and less sticky. If you are in a hurry, you can skip this, but your hands will get messier.
- Roll into bites. Line a baking sheet or plate with parchment paper. Using a small cookie scoop or a tablespoon, scoop out portions of the mixture. Roll each portion between your palms into a smooth ball, about 1 inch in diameter. If the mixture sticks to your hands, lightly dampen your palms with water. Place each rolled bite on the prepared sheet. This should yield about 12 to 15 bites, depending on size.
- Chill to set. Place the baking sheet in the refrigerator for at least 30 minutes. This firms them up so they hold their shape when you pick them up. If you cannot wait, you can eat one right away—it will just be a little softer.
- Store and enjoy. Transfer the chilled energy bites to an airtight container. Keep them in the refrigerator for up to one week, or freeze for up to three months. They are delicious straight from the fridge or at room temperature.
Cooking Tips & Techniques
Over the years, I have made plenty of mistakes with energy bites. Here are the lessons I learned so you do not have to repeat them.
Do not overmix. I know it sounds counterintuitive, but once the ingredients are combined, stop. Overmixing can make the texture gummy, especially if your peanut butter is very oily. Just mix until everything is evenly moistened.
Use room temperature ingredients. If your honey or peanut butter is straight from the fridge, it will be stiff and hard to mix. Let them sit out for 10 minutes before starting. A quick microwave zap (10 seconds) on the peanut butter helps too, but be careful not to overheat it.
Adjust for humidity. On humid days, the oats absorb moisture from the air, and the mixture can become stickier than usual. If that happens, add a tablespoon of oats at a time until the mixture feels right. On dry days, you might need a little extra honey or peanut butter. Trust your hands—they know.
Use a cookie scoop for uniformity. This is not just about looks. Uniform bites chill at the same rate, so they all set evenly. If you are making these for a party or to gift, uniform bites look much more professional.
Roll with damp hands. This is the number one tip I share with everyone. Lightly wet your palms before rolling, and the mixture will not stick to your skin. Keep a small bowl of water nearby and re-wet your hands every few bites. It makes the process so much smoother.
Let them rest after rolling. If you are not serving them immediately, let the rolled bites sit in the refrigerator for an hour before transferring to a container. This prevents them from sticking together or losing their shape.
Variations & Adaptations
One of the best things about these easy no-bake energy bites for quick snacking is how customizable they are. Here are some variations I have tried and loved.
Nut-Free Version: Swap the peanut butter for sunflower seed butter or tahini. The flavor changes slightly, but the texture stays the same. I have made these for school events where nut allergies are a concern, and they were a hit. Just be aware that sunflower seed butter can turn green when combined with baking soda—not an issue here, but good to know.
Vegan Version: Replace honey with maple syrup or agave nectar. Maple syrup adds a lovely caramel-like note that pairs beautifully with the chocolate. I have made this version for my vegan friends, and they always ask for more.
Gluten-Free Version: Use certified gluten-free oats. Most oats are naturally gluten-free, but cross-contamination can happen. If you are sensitive, look for the certified label. The recipe works exactly the same.
Protein-Packed Version: Add a scoop of your favorite protein powder. Reduce the oats by 2 tablespoons to compensate for the extra dry ingredient. Vanilla or chocolate protein powder works best. I have used a plant-based vanilla protein powder with great results.
Seasonal Twist: In the fall, I swap the chocolate chips for dried cranberries and add a pinch of cinnamon and nutmeg. In the summer, I use white chocolate chips and dried apricots. The possibilities are endless.
Lower Sugar Version: Reduce the honey to 1/4 cup and add an extra tablespoon of peanut butter. The bites will be less sweet but still delicious. You can also use sugar-free chocolate chips.
Serving & Storage Suggestions
These energy bites are wonderfully versatile when it comes to serving. Here is how I like to enjoy them and how to keep them fresh.
Serving Temperature: They are best straight from the refrigerator—firm, cool, and satisfying. If you prefer a softer texture, let them sit at room temperature for 5 to 10 minutes before eating. I personally love them cold, especially on a warm day.
Presentation Ideas: Arrange them on a small platter for a party, pack them in a lunchbox for a school treat, or keep a jar on your desk for a quick snack. They look beautiful when dusted with a little cocoa powder or shredded coconut. For gifting, layer them in a mason jar with a ribbon tied around the lid.
Complementary Pairings: These pair wonderfully with a glass of cold milk, a cup of coffee, or a smoothie. They also make a great post-workout snack alongside a banana or an apple. If I am feeling fancy, I serve them with a dollop of Greek yogurt for a protein-packed breakfast.
Storage Instructions: Store the energy bites in an airtight container in the refrigerator for up to one week. They will stay fresh and hold their shape perfectly. For longer storage, freeze them in a single layer on a baking sheet, then transfer to a freezer-safe bag or container. They will keep for up to three months. To thaw, simply move them to the refrigerator overnight or let them sit at room temperature for 15 minutes.
Flavor Development: Interestingly, these bites taste even better after a day in the fridge. The flavors meld together, and the texture becomes more uniform. So do not be discouraged if they seem a little plain right after making them. Give them time, and they will surprise you.
Nutritional Information & Benefits
These energy bites are not just delicious—they are packed with good-for-you ingredients that keep you fueled and satisfied. Here is a rough estimate per bite (based on 12 bites):
- Calories: Approximately 150-170
- Protein: 4-5 grams
- Fiber: 2-3 grams
- Healthy Fats: 7-8 grams
- Sugar: 10-12 grams (mostly from honey and chocolate chips)
Health Benefits: Rolled oats provide complex carbohydrates for sustained energy, while peanut butter offers protein and healthy fats that keep you full. Ground flaxseed adds omega-3 fatty acids and extra fiber, which supports digestive health. Dark chocolate chips contain antioxidants, and honey provides natural sweetness with trace amounts of vitamins and minerals. These bites are a balanced snack that can help curb cravings and prevent energy crashes.
Dietary Considerations: This recipe can easily be made gluten-free, vegan, or nut-free with simple substitutions. It is naturally dairy-free (check your chocolate chips if you are strictly dairy-free). The recipe is also egg-free and soy-free. If you are watching your sugar intake, you can reduce the honey or use sugar-free chocolate chips. Always check labels if you have specific allergies or dietary restrictions.
Conclusion
These easy no-bake energy bites for quick snacking have become a staple in my kitchen for a reason. They are simple, reliable, and endlessly customizable. Whether you are a seasoned cook or someone who rarely steps foot in the kitchen, you can make these. They take five minutes of effort and reward you with a week of satisfying snacks.
I love that this recipe is forgiving enough for beginners but satisfying enough for experienced home cooks. It is the kind of recipe you will come back to again and again, tweaking it each time to suit your mood or what you have on hand. That is the beauty of a good base recipe—it becomes yours.
So go ahead, give these a try. Roll them a little bigger or a little smaller. Add your favorite mix-ins. Make a mess in your kitchen and lick the spoon clean. And when you taste that first bite, let me know how it goes. I would love to hear about your variations, your successes, and even your happy accidents. Drop a comment below or tag me in your photos. Happy snacking!
Frequently Asked Questions
Can I use quick oats instead of rolled oats?
I do not recommend it. Quick oats are more finely processed and absorb moisture too quickly, resulting in a mushy, dense texture. Rolled oats give the bites a pleasant chewiness and hold their shape much better. If you only have quick oats, you can try it, but the texture will be noticeably different.
How long do these energy bites last?
Stored in an airtight container in the refrigerator, they stay fresh for up to one week. You can also freeze them for up to three months. Just thaw them in the fridge overnight or at room temperature for 15 minutes before eating. I have never had a batch last longer than a week in my house, though!
Can I make these without peanut butter?
Absolutely. Swap the peanut butter for almond butter, cashew butter, sunflower seed butter, or even tahini. Each will give a slightly different flavor, but the texture will remain similar. For a nut-free and seed-free option, you can try using sunflower seed butter—just be aware that the color might darken slightly.
Why are my energy bites falling apart?
This usually happens when the mixture is too dry. Add a little more honey or peanut butter, one teaspoon at a time, until the mixture holds together when pressed. Also, make sure you let the mixture rest for 10 minutes before rolling—this allows the oats to absorb moisture and helps everything bind. Chilling the mixture also helps.
Can I add protein powder to this recipe?
Yes, you can! Add one scoop of your favorite protein powder (vanilla or chocolate works best). To keep the texture right, reduce the oats by about 2 tablespoons to balance the extra dry ingredient. You might also need to add a tablespoon of milk or water if the mixture feels too dry. I have done this many times, and it works beautifully.
Pin This Recipe!
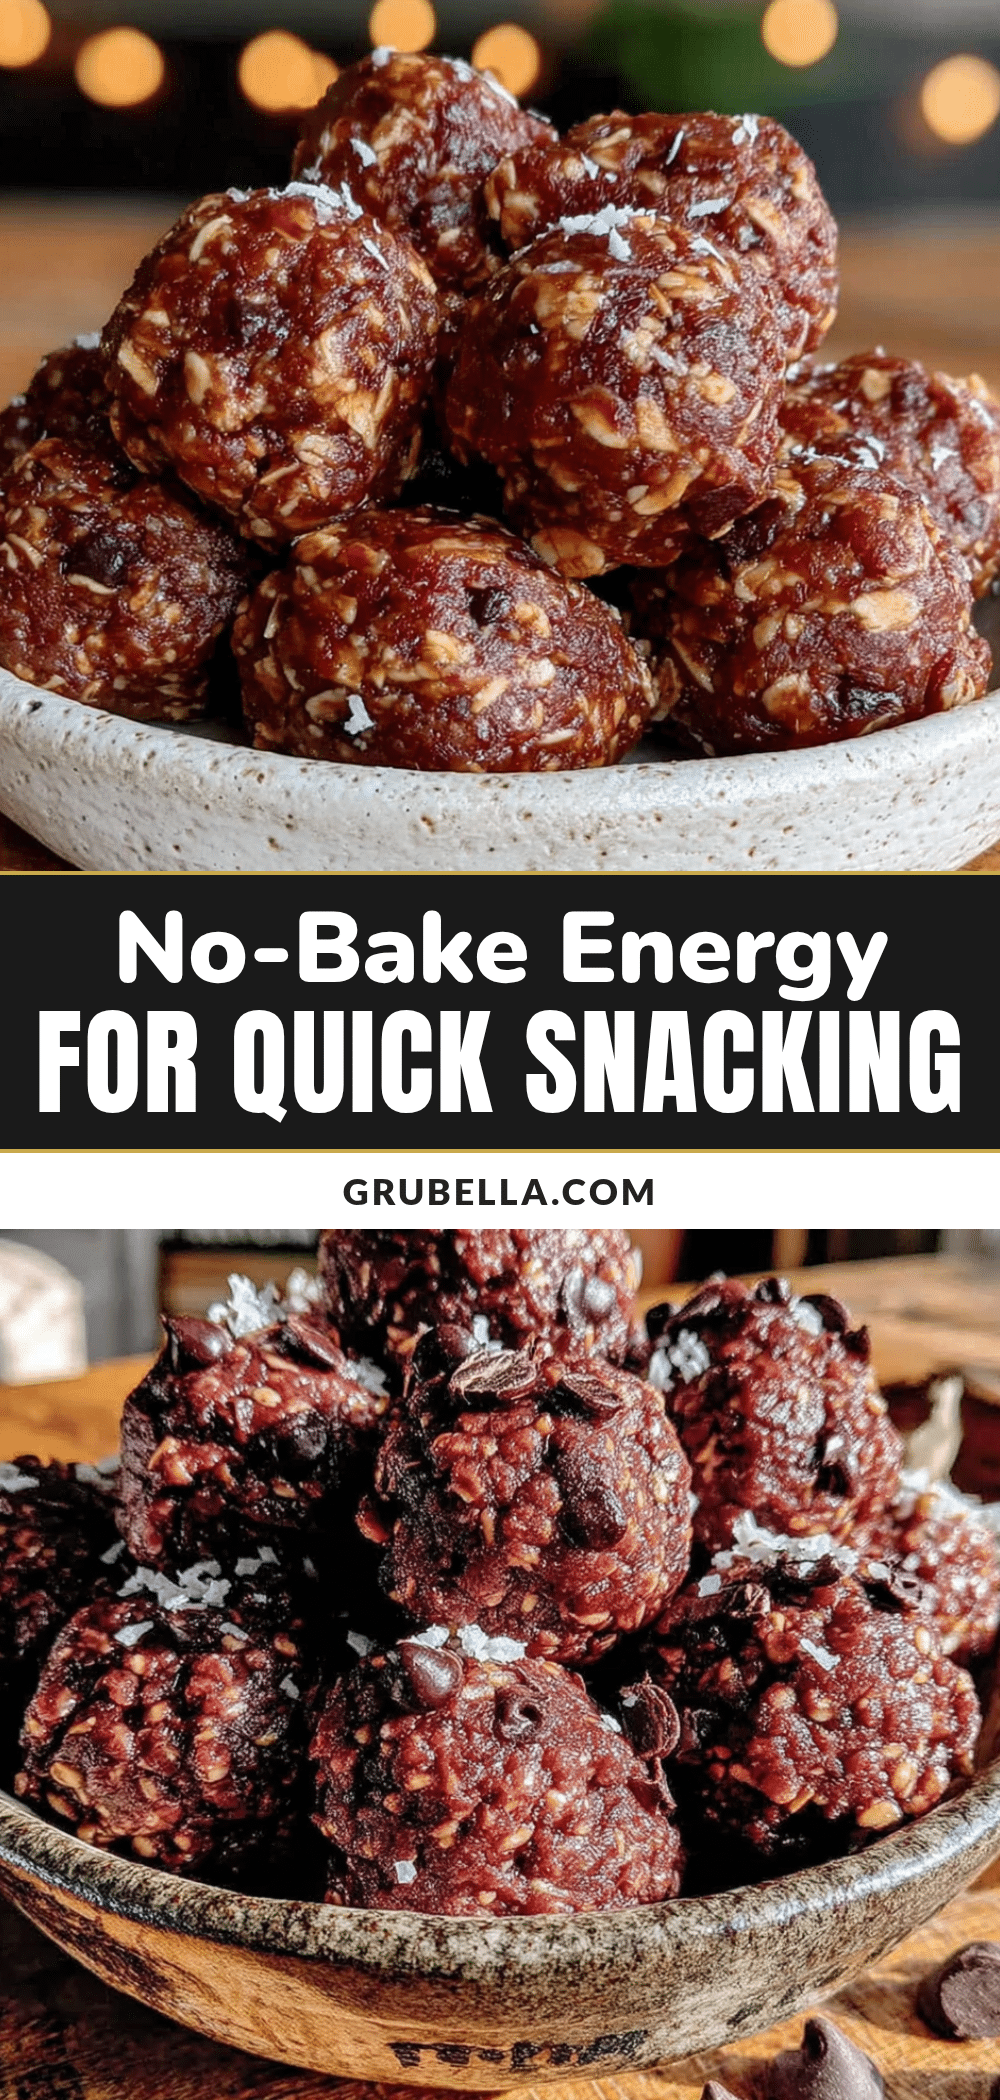
Easy No-Bake Energy Bites: 5-Minute Healthy Snack

These easy no-bake energy bites are a quick and healthy snack made with simple ingredients like oats, peanut butter, honey, and chocolate chips. They come together in just 5 minutes of active time and are perfect for busy days, pre-workout boosts, or a crowd-pleasing treat.
- Prep Time: 5 minutes
- Cook Time: 0 minutes
- Total Time: 45 minutes
- Yield: 12-15 bites 1x
- Category: Snack
- Cuisine: American
Ingredients
- 1 cup old-fashioned rolled oats
- 1/2 cup creamy peanut butter
- 1/3 cup honey
- 1/2 cup mini chocolate chips
- 1/4 cup ground flaxseed (optional)
- 1/2 teaspoon vanilla extract
- Pinch of sea salt (optional)
Instructions
- Combine the dry ingredients. In a large mixing bowl, add 1 cup rolled oats, 1/2 cup mini chocolate chips, and 1/4 cup ground flaxseed if using. Stir them together with a spatula or spoon until evenly distributed.
- Add the wet ingredients. Spoon in 1/2 cup peanut butter, 1/3 cup honey, and 1/2 teaspoon vanilla extract. Add a pinch of sea salt if you are using it. At this point, the mixture will look messy and uneven. That is normal.
- Mix thoroughly. Stir everything together with firm, steady strokes. The peanut butter and honey will start to coat the oats. Keep mixing until no dry spots remain. The mixture should be thick, slightly sticky, and hold together when pressed between your fingers. If it feels too dry, add a teaspoon of honey or peanut butter. If it feels too wet, add a tablespoon of oats.
- Let the mixture rest. Cover the bowl with a clean kitchen towel or plastic wrap and let it sit at room temperature for 10 minutes. This allows the oats to absorb some of the moisture, which makes the bites hold their shape better.
- Chill the mixture. After resting, pop the bowl in the refrigerator for 15 to 20 minutes. Chilled mixture is much easier to handle and less sticky.
- Roll into bites. Line a baking sheet or plate with parchment paper. Using a small cookie scoop or a tablespoon, scoop out portions of the mixture. Roll each portion between your palms into a smooth ball, about 1 inch in diameter. If the mixture sticks to your hands, lightly dampen your palms with water. Place each rolled bite on the prepared sheet. This should yield about 12 to 15 bites.
- Chill to set. Place the baking sheet in the refrigerator for at least 30 minutes. This firms them up so they hold their shape when you pick them up.
- Store and enjoy. Transfer the chilled energy bites to an airtight container. Keep them in the refrigerator for up to one week, or freeze for up to three months.
Notes
Let the mixture rest for 10 minutes before rolling to allow oats to absorb moisture. Chill the mixture for 15-20 minutes before rolling for easier handling. Roll with damp hands to prevent sticking. For best texture, use old-fashioned rolled oats, not instant oats. The bites taste even better after a day in the fridge as flavors meld.
Nutrition
- Serving Size: 1 bite
- Calories: 150170
- Sugar: 1012
- Sodium: 5070
- Fat: 78
- Saturated Fat: 23
- Carbohydrates: 1820
- Fiber: 23
- Protein: 45
Keywords: no-bake energy bites, healthy snack, peanut butter, oats, chocolate chips, quick snack, easy recipe



