Love this? Save it for later!
Share the inspiration with your friends
The butter was already softened on the counter and I had a bag of dark chocolate chips staring at me from the pantry. My three-year-old had been asking to “bake something spooky” for three days straight, and honestly, I was running out of ideas. The pumpkin stuff was starting to feel predictable, and I wanted something that felt like a treat, not just another fall-themed recipe. Then I spotted the spider ring my son had shoved into the utensil drawer last week, and it clicked.
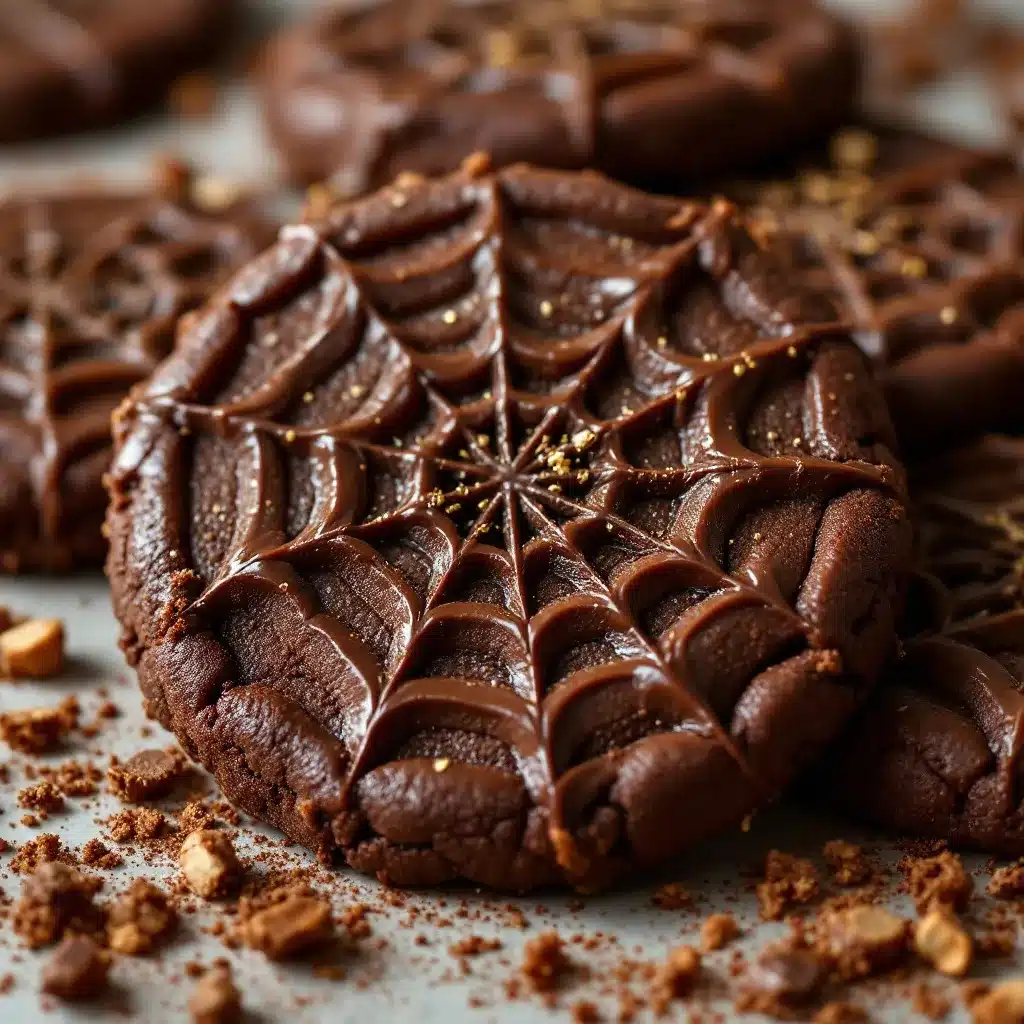
These Spooky Spider Web Chocolate Sugar Cookies happened because a preschooler demanded Halloween magic and I refused to buy a box of pre-made cookie dough with questionable ingredients. I wanted something that looked impressive enough for a class party but simple enough that I didn’t need a pastry degree to pull it off. The chocolate sugar cookie base is rich and fudgy, almost brownie-like around the edges, with that perfect crackly top that sugar cookies are famous for. And the spider web icing? That came from a happy accident involving a piping bag that was clogged and me squeezing too hard. Sometimes mistakes turn into the best ideas.
These cookies have become our official Halloween kickoff tradition. They are the kind of cookie that makes kids gasp and adults do a double-take. And honestly, they taste even better than they look, which is saying something.
Why You’ll Love This Recipe
I have tested this recipe six times to get the texture exactly right. Not too cakey, not too flat, just that perfect chewy center with slightly crisp edges that holds up to the icing without crumbling. Here is why these cookies deserve a spot on your Halloween baking list:
- Simple Ingredients: You probably have everything in your pantry right now. No specialty cocoa powder or fancy extracts. Just basic baking staples.
- Kid-Friendly Decorating: The spider web design looks complicated, but I promise it is foolproof. My three-year-old helped pipe the webs, and they still looked amazing.
- Make-Ahead Friendly: The dough chills beautifully, so you can prep it the night before your Halloween party and bake fresh the next day.
- Crowd-Pleaser: These disappear faster than anything else on the dessert table. I brought them to a neighborhood gathering and got asked for the recipe five times.
- No Artificial Colors Needed: The contrast comes from the dark chocolate base and the white icing. No neon green or electric orange required.
What makes these different from every other Halloween cookie recipe? It is the texture. Most spider web cookies use a cut-out sugar cookie base that ends up dry and bland. This is a drop cookie with a rich chocolate flavor that actually tastes like dessert, not just a vehicle for frosting. The dough uses melted butter for extra chewiness, and a touch of espresso powder deepens the chocolate without making it taste like coffee. Trust me on that one.
What Ingredients You Will Need
This recipe uses straightforward ingredients that work together to create that perfect chocolate sugar cookie texture. No weird stuff here.
- Unsalted butter, melted: Melted butter gives these cookies a chewier texture compared to creamed butter. Let it cool slightly before using so it doesn’t cook the eggs.
- Granulated sugar: Regular white sugar creates that signature crackly top when the cookies bake. You need the full amount for the right spread and texture.
- Light brown sugar, packed: Just a little brown sugar adds moisture and a subtle molasses note that complements the chocolate. Do not skip it.
- Large egg: Room temperature egg incorporates more evenly into the melted butter mixture. Take it out of the fridge about 20 minutes before you start.
- Vanilla extract: Use pure vanilla if you have it, but imitation works fine here since the chocolate is the star.
- All-purpose flour: Regular AP flour gives the best structure. Spoon and level your flour rather than scooping directly from the bag to avoid dense cookies.
- Unsweetened cocoa powder: Dutch-process cocoa gives a darker, richer color and a smoother flavor. Natural cocoa works too, but the cookies will be slightly lighter in color.
- Baking soda: Helps the cookies spread just enough without turning into puddles.
- Salt: A full teaspoon balances the sweetness and makes the chocolate taste more chocolatey.
- Espresso powder: Optional but highly recommended. It does not make the cookies taste like coffee. It just makes the chocolate taste deeper and more complex.
- Powdered sugar: For the spider web icing. Sift it to avoid lumpy webs.
- Milk: Whole milk gives the best consistency for piping, but any milk works. Add it gradually until the icing is thick but pipeable.
- Vanilla extract: For the icing. A tiny bit adds flavor without competing with the chocolate.
- Candy eyes: Optional but highly recommended for the spider decoration. You can find them at any craft store or online.
Equipment Needed
You do not need anything fancy to make these cookies look like they came from a bakery. Here is what you will need:
- Large mixing bowl and whisk
- Measuring cups and spoons
- Baking sheets (I prefer light-colored metal for even browning)
- Parchment paper or silicone baking mats
- Cookie scoop or tablespoon measure
- Cooling rack
- Small piping bag or zip-top bag for the icing
- Toothpick for creating the web pattern
If you do not have a piping bag, do not stress. A zip-top bag with a tiny corner snipped off works perfectly. I actually prefer it because the hole is easier to control. Just do not cut too much off, start with a tiny snip and test it on a paper towel first.
Preparation Method
- Melt the butter: In a large microwave-safe bowl, melt the butter in 20-second intervals until just melted. Do not let it boil. Set it aside to cool for about 5 minutes while you measure the other ingredients.
- Mix the wet ingredients: Add the granulated sugar and brown sugar to the melted butter and whisk until combined. It will look grainy, that is normal. Add the egg and vanilla extract and whisk vigorously until the mixture is smooth and slightly lighter in color, about 1 minute.
- Combine the dry ingredients: In a separate bowl, whisk together the flour, cocoa powder, baking soda, salt, and espresso powder if using. Make sure there are no lumps of cocoa, nobody wants a pocket of bitter powder in their cookie.
- Mix the dough: Add the dry ingredients to the wet ingredients and stir with a spatula until just combined. Do not overmix. Stop when you no longer see streaks of flour. The dough will be soft and slightly sticky, that is exactly what you want.
- Chill the dough: Cover the bowl with plastic wrap and refrigerate for at least 30 minutes. This step is non-negotiable. Chilled dough spreads less and gives you thicker, chewier cookies. You can chill it for up to 3 days if you want to get ahead.
- Preheat the oven: When you are ready to bake, preheat your oven to 350°F and line two baking sheets with parchment paper.
- Scoop the cookies: Use a cookie scoop or tablespoon to portion the dough into 1.5-tablespoon balls. Roll them between your palms until smooth. Place them 2 inches apart on the prepared baking sheets. These cookies spread, so give them room.
- Bake: Bake for 9 to 11 minutes. The cookies will look puffed and slightly cracked on top. The centers will look soft and slightly underdone, that is good. Overbaking makes them dry. Let them cool on the baking sheet for 5 minutes, then transfer to a cooling rack to cool completely.
- Make the icing: While the cookies cool, whisk together the powdered sugar, milk, and vanilla extract until smooth. The icing should be thick enough to hold its shape when piped but thin enough to flow through a tiny hole. Add more milk a teaspoon at a time if it is too thick.
- Pipe the webs: Transfer the icing to a piping bag or zip-top bag. Snip off a tiny corner. Pipe a spiral starting from the center of each cookie and working outward. Then, drag a toothpick from the center outward through the spiral lines to create the web effect. Wipe the toothpick clean between each cookie.
- Add the spiders: If using candy eyes, place a small dot of icing on the back of each eye and stick them onto a chocolate candy or a small piece of cookie. Place the spider on the web while the icing is still wet so it sticks.
- Let the icing set: Allow the cookies to sit at room temperature for about 30 minutes until the icing is firm. Then serve or store.
Cooking Tips & Techniques
The first time I made these, I skipped the chilling step because I was impatient. The cookies spread into flat, sad discs that looked more like chocolate pancakes than sugar cookies. Learn from my mistake. Chilling the dough solidifies the butter, which means the cookies hold their shape better and develop that perfect chewy texture. Thirty minutes is the minimum, but an hour is better.
For the spider web pattern, the key is working quickly while the icing is still wet. Pipe the spiral in one continuous motion if you can, but don’t worry if it breaks, the toothpick drag will hide most imperfections. Start the toothpick from the center and pull outward in a straight line, then repeat all the way around like spokes on a wheel. The icing will pull into a beautiful web pattern almost magically.
If your icing is too thick, it will not spread into the web pattern properly. If it is too thin, it will drip off the sides of the cookie. The perfect consistency is somewhere between pancake batter and craft glue. Test it on the back of a spoon first. If it drizzles in a smooth ribbon that holds its shape for a second before melting back in, you are golden.
Here is a trick I learned the hard way: bake a test cookie first. Scoop one cookie onto the baking sheet and bake it for 10 minutes. Let it cool and see how much it spread. If it spread too much, chill the remaining dough for another 15 minutes. If it did not spread enough, press the dough balls down slightly before baking. Every oven runs differently, and this little test saves an entire batch.
Variations & Adaptations
These cookies are surprisingly flexible. Here are some ways to make them your own:
- Gluten-Free Version: Substitute the all-purpose flour with a 1:1 gluten-free baking flour that contains xanthan gum. I have tested this with King Arthur’s measure-for-measure flour and the texture was almost identical. Chill the dough for an extra 15 minutes since gluten-free dough tends to be softer.
- White Chocolate Drizzle: Instead of powdered sugar icing, melt white chocolate chips with a teaspoon of coconut oil and drizzle it over the cooled cookies. The white chocolate sets up harder and gives a more professional look.
- Peppermint Spider Webs: Add 1/4 teaspoon of peppermint extract to the cookie dough and use peppermint extract in the icing instead of vanilla. These are amazing for a Christmas-themed cookie platter.
- Double Chocolate Version: Fold 1/2 cup of mini chocolate chips into the dough before chilling. The extra pockets of melted chocolate make these even more decadent.
- Spider-Free Option: Skip the candy spiders entirely and just do the web pattern. These are perfect for Halloween parties where some kids might be scared of the spiders.
I tried a version with orange zest in the icing last year, thinking it would be festive. It was not terrible, but it clashed with the chocolate. Stick to vanilla or peppermint if you want to add flavor to the icing. Chocolate and citrus can be tricky together.
Serving & Storage Suggestions
These cookies are best served at room temperature with a tall glass of cold milk. The contrast between the rich chocolate cookie and the sweet, simple icing is absolutely perfect. If you are serving them at a Halloween party, arrange them on a black or orange platter for maximum spooky effect. I like to scatter a few fake spiders around the platter for extra drama.
For storage, keep the cookies in an airtight container at room temperature for up to 5 days. Layer them between sheets of parchment paper so the icing does not stick together. Do not refrigerate them, the fridge dries out baked goods and makes the cookies lose their soft texture.
You can freeze the baked cookies (without icing) for up to 3 months. Wrap them individually in plastic wrap and place them in a freezer bag. When you are ready to serve, thaw them at room temperature, then pipe the webs fresh. The icing does not freeze well, it gets weepy and loses its crispness.
The dough itself freezes beautifully for up to 3 months. Scoop the dough into balls, place them on a baking sheet lined with parchment paper, and freeze until solid. Transfer the frozen dough balls to a freezer bag. When you want fresh cookies, bake them directly from frozen, adding 2 to 3 minutes to the baking time. This is my favorite trick for last-minute Halloween treats.
These cookies actually taste even better the day after baking. The flavors meld together and the texture softens slightly, becoming almost fudge-like in the center. If you can resist eating them all immediately, let them sit overnight in an airtight container. You will thank me.
Nutritional Information & Benefits
Let me be honest, these are not health cookies. They are a Halloween treat, and they should be enjoyed as such. But here is the breakdown so you know what you are working with:
- Calories: Approximately 180 calories per cookie (based on a 2-inch cookie with icing)
- Fat: 9g
- Carbohydrates: 24g
- Sugar: 16g
- Protein: 2g
- Fiber: 1g
The cocoa powder in these cookies provides a small amount of antioxidants, specifically flavonoids, which are linked to heart health. The espresso powder, if you use it, adds a tiny boost of energy, though not enough to keep anyone awake. The butter and sugar are what make these cookies taste amazing, and honestly, that is okay. Halloween comes once a year.
If you are looking for a slightly healthier option, you can reduce the sugar by 1/4 cup without dramatically affecting the texture. The cookies will be slightly less sweet and the crackly top will not be as pronounced, but they will still be delicious. I have also tested these with coconut sugar in place of the brown sugar, and it works well, though the cookies are slightly darker in color.
Conclusion
These Spooky Spider Web Chocolate Sugar Cookies are everything a Halloween treat should be. They are fun to make, gorgeous to look at, and absolutely delicious to eat. The rich, fudgy chocolate base pairs perfectly with the sweet, simple icing, and the spider web design adds that wow factor without requiring any artistic talent.
I love that this recipe brings people together. My son and I make these every October now, and it has become our little tradition. He pipes the webs (with varying degrees of success) and I add the spiders. The kitchen gets messy, the cookies get eaten, and we end up with memories that last longer than the sugar rush.
I would love to see your version of these cookies. Tag me when you make them, and let me know if you added any creative twists. Did you use candy spiders or skip them? Did your kids help with the webs? Share your photos and stories in the comments below. Happy Halloween, and happy baking!
Frequently Asked Questions
Can I use natural cocoa powder instead of Dutch-process?
Yes, you can. The cookies will be slightly lighter in color and the flavor will be a bit more sharp and less smooth. Dutch-process cocoa gives a darker, more dramatic look that works well for the spooky theme, but natural cocoa is perfectly fine.
Why did my cookies spread too much?
The most common reason is that the dough was not chilled long enough. Make sure you chill it for at least 30 minutes, and if your kitchen is warm, go for a full hour. Another culprit is melted butter that was too warm when you added the sugar. Let the melted butter cool for a few minutes before mixing.
Can I make the icing ahead of time?
You can, but it is best to make it fresh. The powdered sugar icing will harden as it sits, and you will need to add more milk to thin it out again. If you do make it ahead, store it in an airtight container at room temperature and whisk it well before using.
How do I get the spider web pattern to look perfect?
Practice on a piece of parchment paper first. Pipe a few practice spirals and drag the toothpick through them to get a feel for the motion. The key is working quickly while the icing is wet and wiping the toothpick clean between each drag. Imperfect webs actually look more authentic, so do not stress about perfection.
Can I double this recipe?
Absolutely. This recipe doubles beautifully. Just make sure your mixing bowl is large enough to hold everything, and do not overcrowd your baking sheets. Bake in batches and let the sheets cool completely between batches so the cookies do not spread unevenly on a hot pan.
Pin This Recipe!
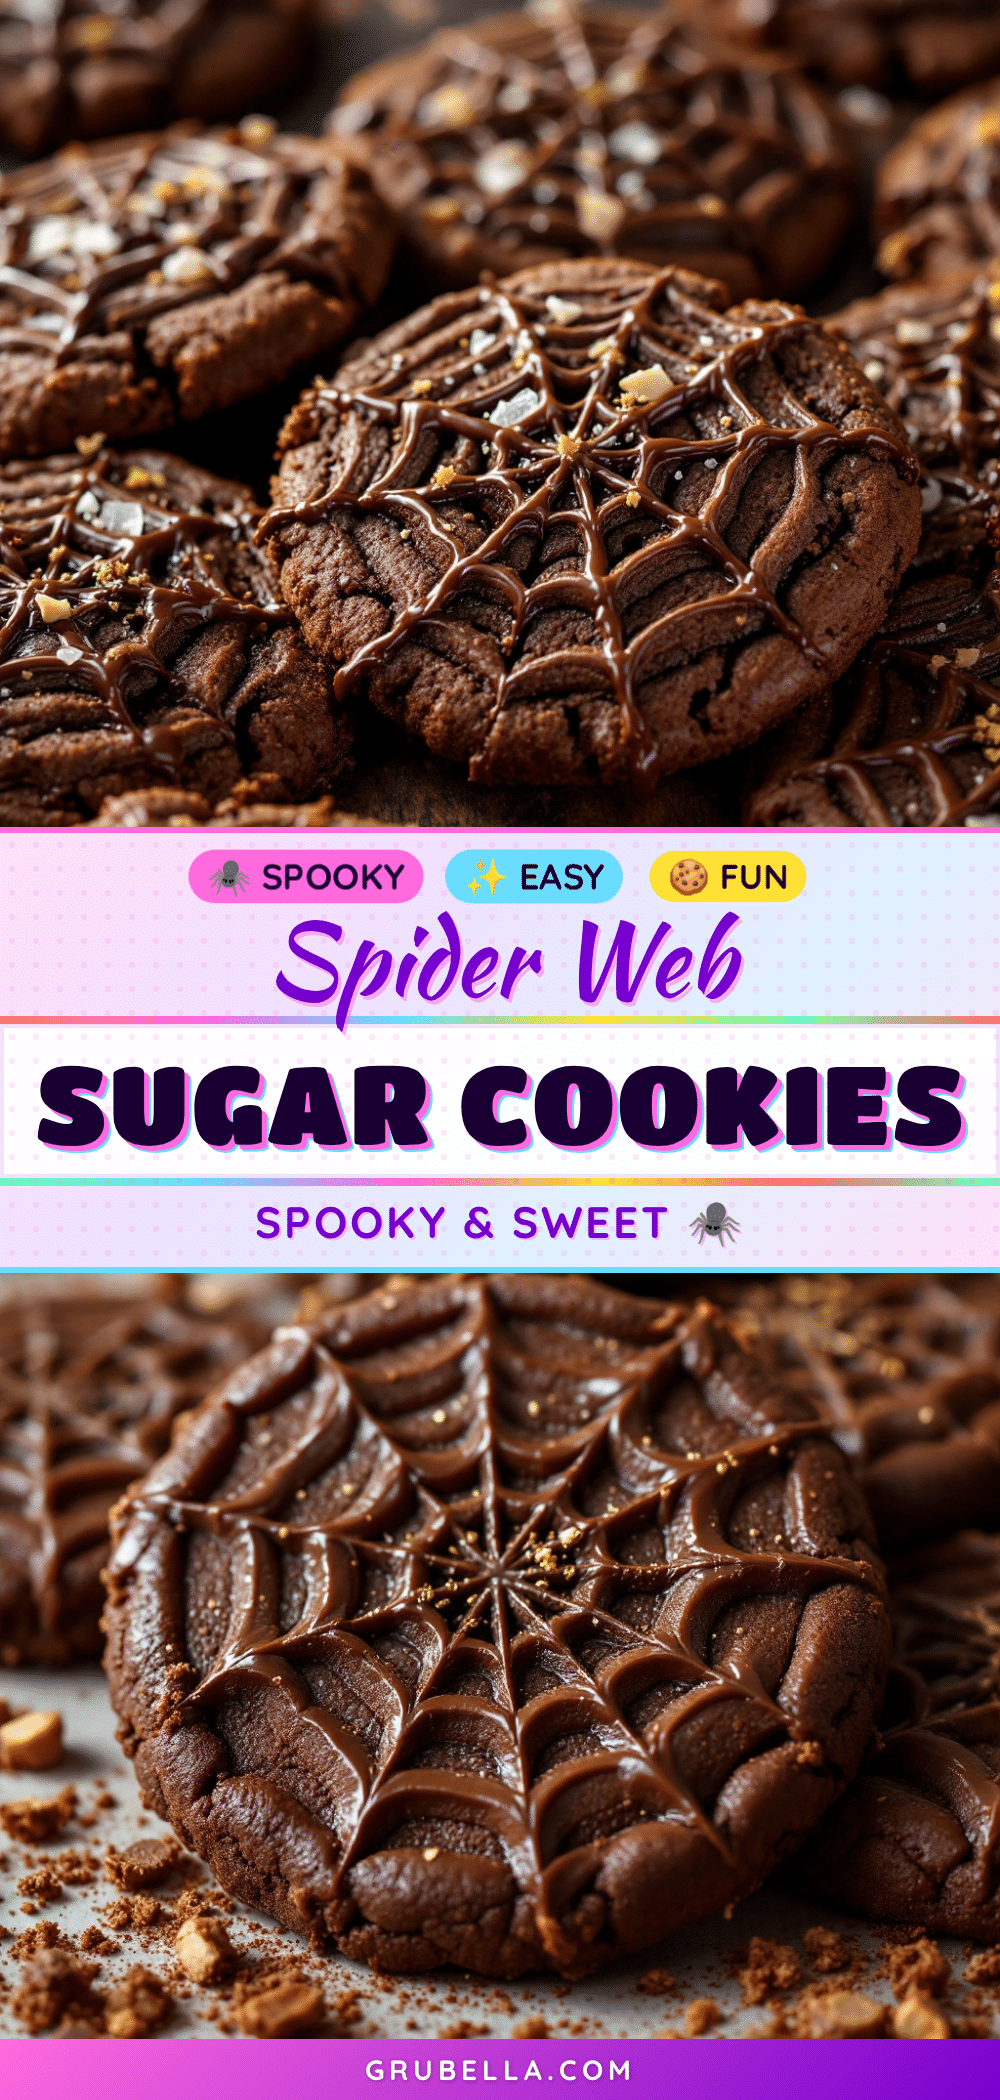
Spooky Spider Web Chocolate Sugar Cookies: Easy Halloween Recipe

Rich, fudgy chocolate sugar cookies topped with a simple spider web icing pattern. Perfect for Halloween parties, these cookies are easy to make and look impressive without requiring any artistic talent.
- Prep Time: 15 minutes
- Cook Time: 10 minutes
- Total Time: 55 minutes (includes 30 minutes chilling)
- Yield: 24 servings 1x
- Category: Dessert
- Cuisine: American
Ingredients
- 1 cup unsalted butter, melted
- 1 cup granulated sugar
- 1/2 cup light brown sugar, packed
- 1 large egg, room temperature
- 1 teaspoon vanilla extract
- 2 cups all-purpose flour
- 1/2 cup unsweetened cocoa powder (Dutch-process preferred)
- 1 teaspoon baking soda
- 1 teaspoon salt
- 1 teaspoon espresso powder (optional)
- 1 cup powdered sugar
- 2–3 tablespoons milk
- 1/2 teaspoon vanilla extract (for icing)
- Candy eyes (optional)
Instructions
- Melt the butter in a large microwave-safe bowl in 20-second intervals until just melted. Set aside to cool for about 5 minutes.
- Add granulated sugar and brown sugar to the melted butter and whisk until combined. Add egg and vanilla extract and whisk vigorously until smooth and slightly lighter in color, about 1 minute.
- In a separate bowl, whisk together flour, cocoa powder, baking soda, salt, and espresso powder (if using).
- Add dry ingredients to wet ingredients and stir with a spatula until just combined. Do not overmix.
- Cover the bowl with plastic wrap and refrigerate for at least 30 minutes (up to 3 days).
- Preheat oven to 350°F and line two baking sheets with parchment paper.
- Scoop dough into 1.5-tablespoon balls and roll smooth. Place 2 inches apart on prepared baking sheets.
- Bake for 9 to 11 minutes. Cookies should look puffed and slightly cracked on top. Let cool on baking sheet for 5 minutes, then transfer to a cooling rack to cool completely.
- For the icing: whisk together powdered sugar, milk, and vanilla extract until smooth. Icing should be thick but pipeable.
- Transfer icing to a piping bag or zip-top bag with a tiny corner snipped off. Pipe a spiral from the center of each cookie outward.
- Drag a toothpick from the center outward through the spiral lines to create the web effect. Wipe toothpick clean between each cookie.
- If using candy eyes, place a small dot of icing on the back of each eye and stick onto a chocolate candy or small piece of cookie. Place spider on the web while icing is still wet.
- Let cookies sit at room temperature for about 30 minutes until icing is firm.
Notes
Chilling the dough is essential to prevent spreading. For best results, chill for at least 30 minutes. The icing should be thick but pipeable; test on a paper towel first. Cookies taste even better the day after baking.
Nutrition
- Serving Size: 1 cookie
- Calories: 180
- Sugar: 16
- Sodium: 180
- Fat: 9
- Saturated Fat: 5
- Carbohydrates: 24
- Fiber: 1
- Protein: 2
Keywords: Halloween cookies, spider web cookies, chocolate sugar cookies, easy Halloween recipe, kid-friendly baking



