Love this? Save it for later!
Share the inspiration with your friends
Last Fourth of July, I found myself staring at a half-empty box of red velvet cake mix and a tub of cream cheese frosting in my fridge, wondering how to turn these simple ingredients into something that would wow my friends at the neighborhood barbecue. Honestly, the idea of a “flag cake” seemed a bit over the top at first—like those Pinterest projects that look stunning but take forever to pull off. But then, as I started assembling the layers and arranging stripes of red velvet and dollops of creamy white frosting, the cake began to take shape in a way that surprised even me.
There was a delightful chaos in the kitchen that day: frosting on my sleeves, a cracked mixing bowl (don’t ask), and the hum of summer tunes in the background. You know that feeling when a recipe just clicks despite the mess? This Show-Stopping Red Velvet Flag Cake with Cream Cheese Frosting was born from that kind of spontaneous kitchen magic. It’s not just a dessert; it’s a conversation starter, a centerpiece, and honestly, a little bit of a showstopper at any gathering.
Maybe you’ve been there—wanting something classic yet festive, easy yet impressive. This cake hits that sweet spot. The rich, velvety crumb paired with perfectly tangy, smooth cream cheese frosting creates a flavor and texture combo that keeps everyone coming back for seconds. It stayed with me long after that summer day, and I keep making it for celebrations big and small because it’s just that good.
Why You’ll Love This Recipe
This Red Velvet Flag Cake is not your average layered dessert. After testing this recipe multiple times, I can tell you it’s reliable, delicious, and surprisingly simple to put together. Here’s why it deserves a spot in your baking rotation:
- Quick & Easy: The cake layers come together in under 40 minutes, making it perfect for last-minute celebrations or when you feel like baking without the fuss.
- Simple Ingredients: You likely already have most ingredients in your pantry or fridge—no specialty stores needed.
- Perfect for Patriotic Holidays: Whether it’s Independence Day, Memorial Day, or just a fun summer get-together, this cake fits the occasion.
- Crowd-Pleaser: Kids and adults alike rave about the rich red velvet flavor combined with the creamy frosting balance.
- Unbelievably Delicious: The cream cheese frosting is smooth and tangy, complementing the moist, tender cake layers beautifully.
What sets this recipe apart is the way the layers and frosting are arranged to create the flag design without needing any fancy molds or tools. Plus, I’ve refined the frosting to be ultra-smooth and easy to spread, using a little cream cheese blending technique I picked up from a chef friend. The result? A cake that looks like you spent hours decorating but honestly took just a bit more effort than your usual red velvet cake.
This recipe isn’t just dessert; it’s a celebration on a plate, ready to make any occasion memorable. Trust me, once you slice into it and taste that perfect combo of flavors, you’ll want to make it your go-to showstopper too.
What Ingredients You Will Need
This recipe uses simple, wholesome ingredients to deliver bold flavor and a satisfying texture without any hassle. Most of these are pantry staples, and the fresh ingredients are easy to find year-round.
- For the Cake Layers:
- 2 ½ cups (312g) all-purpose flour (I prefer King Arthur for consistent texture)
- 1 ½ cups (300g) granulated sugar
- 1 teaspoon baking soda
- 1 teaspoon fine salt
- 1 teaspoon unsweetened cocoa powder (adds depth to the red velvet)
- 1 ½ cups (360ml) buttermilk, room temperature (can substitute with milk + 1 tablespoon vinegar)
- 1 ½ sticks (170g) unsalted butter, softened
- 2 large eggs, room temperature
- 2 tablespoons red food coloring (gel or liquid works; gel is less messy)
- 1 teaspoon pure vanilla extract
- 1 teaspoon distilled white vinegar (helps with the rise and tender crumb)
- For the Cream Cheese Frosting:
- 16 ounces (450g) cream cheese, softened (Philadelphia brand is a longtime favorite)
- ½ cup (115g) unsalted butter, softened
- 4 cups (480g) powdered sugar, sifted
- 1 teaspoon pure vanilla extract
- Pinch of salt (balances the sweetness)
Optional: For a slight twist, you can add a teaspoon of lemon zest to the frosting to brighten the flavor. In summer, fresh strawberries or blueberries can be added on top for extra color and freshness.
Equipment Needed
- Three 9-inch (23cm) round cake pans — If you don’t have three, you can bake in batches, but having all three ready speeds things up.
- Mixing bowls — One large for batter, one medium for frosting.
- Electric mixer or stand mixer — It really helps to get that smooth, creamy frosting texture. Hand mixing is possible but takes more effort.
- Rubber spatulas — For scraping batter and folding in ingredients.
- Cooling racks — Essential for letting the cake layers cool completely before frosting.
- Offset spatula or butter knife — For spreading frosting evenly.
- Measuring cups and spoons — Accurate measurements make a big difference in cake texture.
If you’re on a budget, consider using silicone baking mats or parchment paper to line your pans — it prevents sticking and makes cleanup easier. Also, I keep a small angled spatula in the kitchen just for frosting cakes; it’s a game-changer for clean edges.
Preparation Method

- Preheat your oven to 350°F (175°C). Grease and flour the three 9-inch pans or line with parchment paper. This prep step is key to prevent sticky layers.
- Mix dry ingredients: In a large bowl, sift together 2 ½ cups flour, 1 ½ cups sugar, 1 teaspoon baking soda, 1 teaspoon salt, and 1 teaspoon cocoa powder. Set aside.
- Combine wet ingredients: In your mixer bowl, beat 1 ½ sticks softened butter until creamy. Add eggs one at a time, then mix in red food coloring (2 tablespoons), vanilla (1 teaspoon), and vinegar (1 teaspoon).
- Alternate adding dry and buttermilk: Add the dry mixture and 1 ½ cups buttermilk alternately to the wet ingredients, starting and ending with dry. Use low speed to avoid overmixing (about 2-3 minutes total). The batter should be smooth and vibrant red.
- Divide batter evenly: Pour batter into the three prepared pans. You can weigh the pans on a kitchen scale to be sure the layers are even—a trick I learned from a pro baker friend.
- Bake: Place pans in the oven and bake for 25-30 minutes. Check doneness by inserting a toothpick in the center; it should come out clean or with a few moist crumbs.
- Cool: Remove pans from oven and let layers cool in pans for 10 minutes. Then transfer to cooling racks to cool completely before frosting. This step is crucial to avoid frosting meltdown.
- Prepare the cream cheese frosting: In a large bowl, beat 16 ounces softened cream cheese and ½ cup softened butter until smooth and fluffy (about 3-5 minutes). Slowly add 4 cups powdered sugar and beat until creamy. Mix in 1 teaspoon vanilla and a pinch of salt.
- Assemble the cake: Place one cake layer on your serving plate. Spread a generous amount of frosting evenly over the top. Repeat with the second layer. Place the final layer on top and cover the entire cake with a thin crumb coat of frosting. Chill for 20 minutes to set.
- Create the flag design: Use the remaining frosting to pipe or spread stripes across the cake’s surface. Add blueberries to represent stars (if desired) or use piped dots for a festive look. Let your creativity guide you!
Tip: If frosting seems too soft, chill it briefly before decorating. Also, keep a damp cloth nearby to wipe your spatula for cleaner edges.
Cooking Tips & Techniques
One thing I quickly learned is that temperature matters — cold eggs and butter can ruin the batter consistency. Always bring your ingredients to room temperature before starting. Also, don’t overmix the batter; it can make the cake dense instead of light and fluffy.
For cream cheese frosting, patience is key. Beat the cream cheese and butter well before adding sugar; this prevents lumps. I sometimes add powdered sugar in parts to avoid a powdered sugar cloud in my kitchen (you know what I mean!).
A common mistake is frosting a warm cake. Trust me, I’ve been there—it melts and turns into a frosting soup. Cool those layers completely, or chill briefly for easier handling.
When assembling, use a serrated knife to level the cake layers if they dome too much. This creates a neat, flat surface for frosting and stacking. And for multi-layer cakes, chilling between frosting layers helps keep everything stable.
Multitasking tip: While the cake bakes, prep the frosting. It saves time and keeps your momentum going. A stand mixer really shines here to get that silky texture.
Variations & Adaptations
- Gluten-Free Version: Substitute the all-purpose flour with a gluten-free blend (like Bob’s Red Mill 1-to-1). The texture will be slightly different but still delicious.
- Dairy-Free Option: Use dairy-free cream cheese and butter alternatives, plus almond or oat milk instead of buttermilk. Add 1 tablespoon lemon juice to the milk to mimic buttermilk’s acidity.
- Flavor Twists: Add a teaspoon of espresso powder to the batter for a subtle mocha note. Or mix in orange zest to the frosting for a fresh citrus kick.
- Mini Flag Cakes: Bake the batter in cupcake tins and decorate each with frosting stripes and blueberries for individual servings—perfect for picnics or parties.
- Personal Favorite Variation: I once swapped classic red food coloring for natural beet powder. The color was softer but still vibrant, and the earthiness added a unique depth to the cake.
Serving & Storage Suggestions
This cake is best served chilled or at room temperature. Let it sit out for about 15 minutes before slicing to soften the frosting slightly. To present, a simple white cake stand or a rustic wooden board works beautifully, letting the vibrant red and creamy white colors pop.
Pair it with a light, fruity beverage like sparkling lemonade or iced tea to balance the richness. For a grown-up twist, a glass of chilled rosé or a mild dessert wine complements the flavors nicely.
Store leftover cake covered tightly in the refrigerator for up to 4 days. For longer storage, wrap slices well and freeze for up to a month. Thaw in the fridge overnight, then bring to room temperature before serving.
Flavors tend to meld and soften after resting, so if possible, make the cake a few hours ahead of time. It’s a little secret for more harmonious taste.
Nutritional Information & Benefits
Per serving (based on 12 slices), this cake provides approximately:
| Calories | 350 |
|---|---|
| Fat | 18g |
| Carbohydrates | 45g |
| Protein | 4g |
The cream cheese adds a good dose of calcium and protein, while the buttermilk contributes probiotics and tangy flavor. This dessert is an occasional treat, but choosing quality ingredients like real butter and cream cheese makes a difference in taste and texture. For those watching gluten intake or dairy, the variations offer accessible alternatives without sacrificing flavor.
Conclusion
If you’re looking for a dessert that’s both visually stunning and irresistibly tasty, this Show-Stopping Red Velvet Flag Cake with Cream Cheese Frosting is the answer. It’s a recipe that’s as fun to make as it is to eat, perfect for marking special occasions or just turning an ordinary day into something festive.
Feel free to tweak the flavors, colors, or sizes to suit your style. I love how this cake brings people together around the table, sparking smiles and stories. Whether you’re a seasoned baker or just starting out, give this recipe a try—you might find it becomes your signature dessert too.
Let me know how your cake turns out, any flavor twists you try, or tips you discover along the way. I’m always excited to hear your baking adventures!
FAQs
Can I make this cake a day ahead?
Absolutely! The cake actually tastes better after resting overnight in the fridge. Just cover it well to keep it moist.
What if I don’t have buttermilk?
You can make a quick substitute by adding 1 tablespoon of white vinegar or lemon juice to 1 ½ cups of milk. Let it sit for 5 minutes before using.
How do I prevent the cake layers from sticking to the pans?
Grease the pans well and dust with flour, or line them with parchment paper circles. This helps the layers release easily after baking.
Can I use natural food coloring instead of artificial?
Yes! Beet powder is a great natural option, though it may produce a softer red hue. Adjust the amount to your preference.
What’s the best way to store leftover frosting?
Keep it in an airtight container in the fridge for up to one week. Bring it to room temperature and re-whip before using again.
Pin This Recipe!
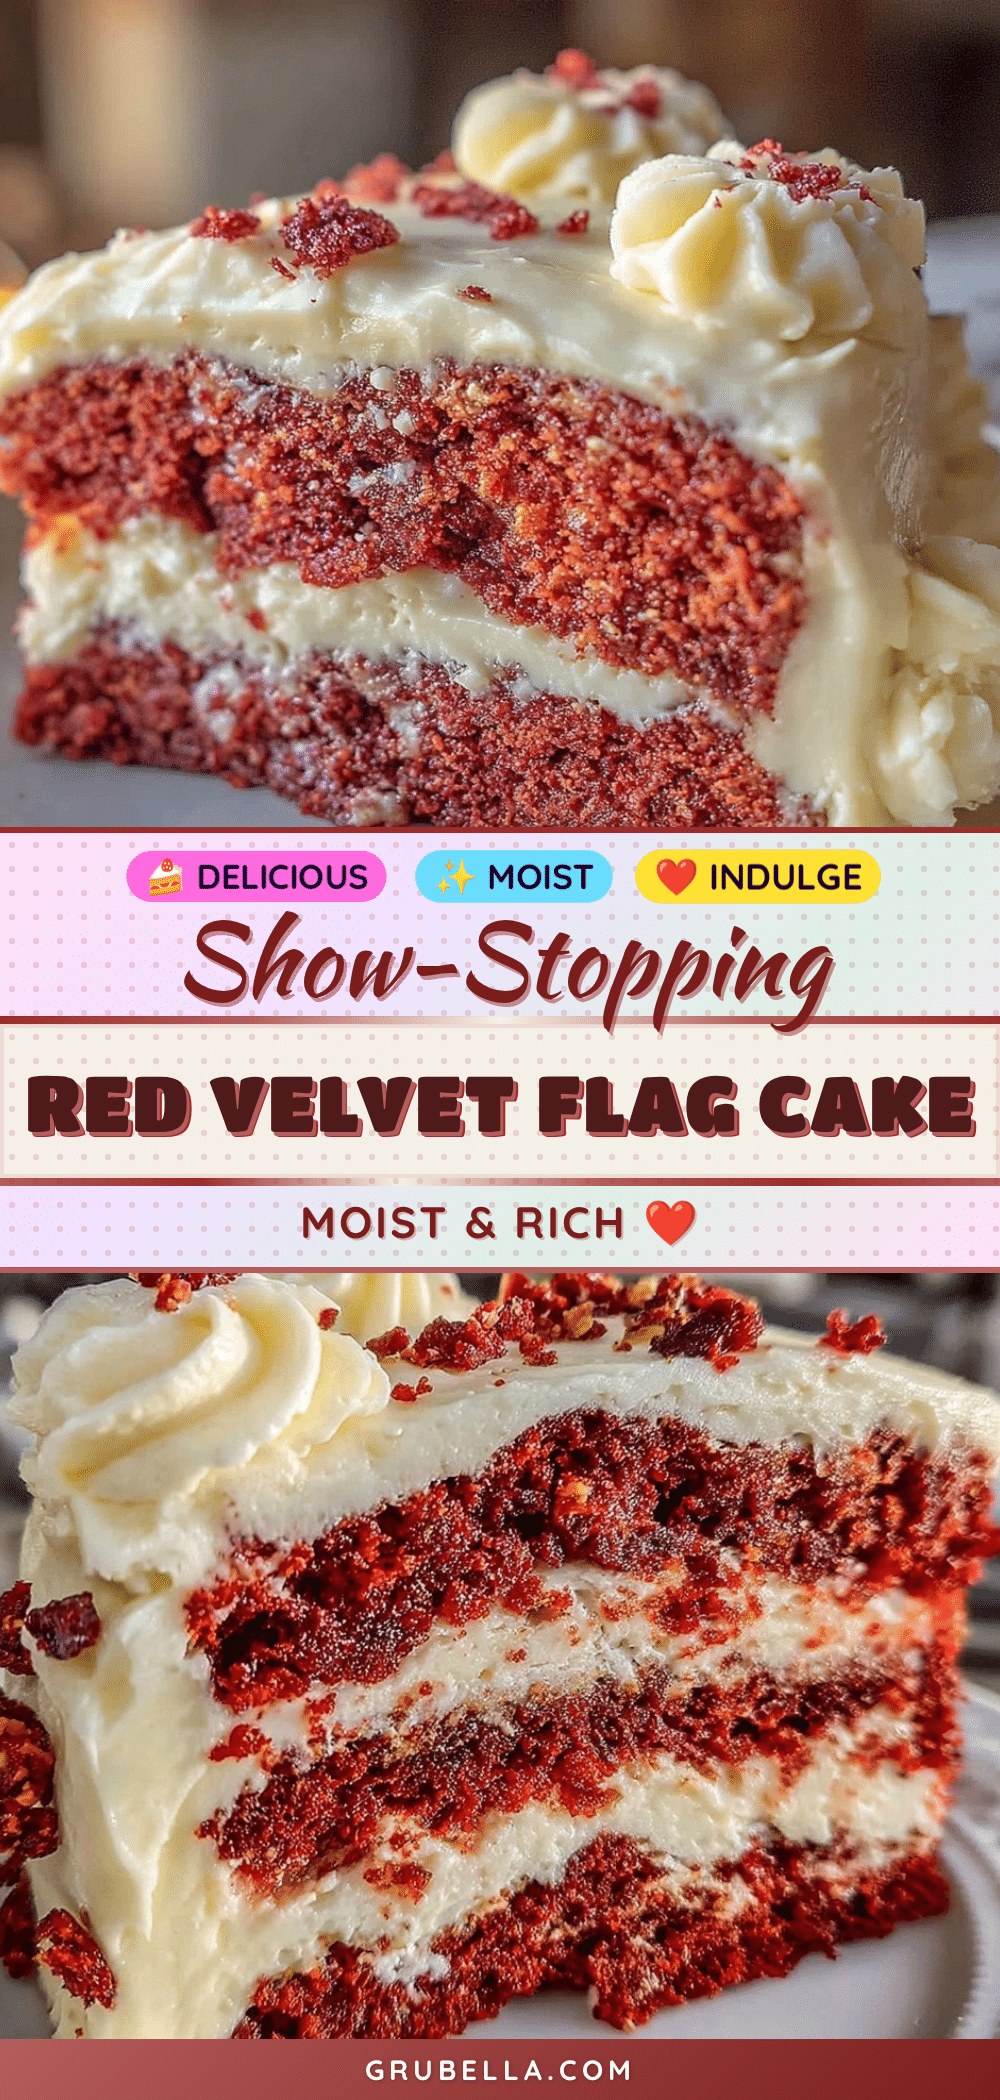
Red Velvet Flag Cake with Cream Cheese Frosting
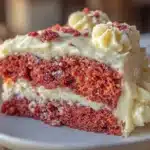
A show-stopping red velvet cake layered and decorated to resemble a flag, topped with smooth and tangy homemade cream cheese frosting. Perfect for patriotic holidays and celebrations.
- Prep Time: 20 minutes
- Cook Time: 30 minutes
- Total Time: 50 minutes
- Yield: 12 servings 1x
- Category: Dessert
- Cuisine: American
Ingredients
- 2 ½ cups (312g) all-purpose flour
- 1 ½ cups (300g) granulated sugar
- 1 teaspoon baking soda
- 1 teaspoon fine salt
- 1 teaspoon unsweetened cocoa powder
- 1 ½ cups (360ml) buttermilk, room temperature (or milk + 1 tablespoon vinegar)
- 1 ½ sticks (170g) unsalted butter, softened
- 2 large eggs, room temperature
- 2 tablespoons red food coloring (gel or liquid)
- 1 teaspoon pure vanilla extract
- 1 teaspoon distilled white vinegar
- 16 ounces (450g) cream cheese, softened
- ½ cup (115g) unsalted butter, softened
- 4 cups (480g) powdered sugar, sifted
- 1 teaspoon pure vanilla extract
- Pinch of salt
Instructions
- Preheat oven to 350°F (175°C). Grease and flour three 9-inch pans or line with parchment paper.
- In a large bowl, sift together flour, sugar, baking soda, salt, and cocoa powder. Set aside.
- In a mixer bowl, beat softened butter until creamy. Add eggs one at a time, then mix in red food coloring, vanilla, and vinegar.
- Alternately add dry mixture and buttermilk to wet ingredients, starting and ending with dry. Mix on low speed for 2-3 minutes until smooth and vibrant red.
- Divide batter evenly among prepared pans.
- Bake for 25-30 minutes or until a toothpick inserted in the center comes out clean or with a few moist crumbs.
- Cool pans for 10 minutes, then transfer layers to cooling racks to cool completely.
- For frosting, beat cream cheese and butter until smooth and fluffy (3-5 minutes). Gradually add powdered sugar and beat until creamy. Mix in vanilla and salt.
- Assemble cake by placing one layer on a plate, spreading frosting evenly. Repeat with second layer. Top with final layer and apply a thin crumb coat. Chill for 20 minutes.
- Decorate cake surface with remaining frosting to create flag stripes. Add blueberries for stars or pipe dots for a festive look.
Notes
Bring eggs and butter to room temperature before starting. Avoid overmixing batter to keep cake light and fluffy. Cool cake layers completely before frosting to prevent melting. Chill frosting briefly if too soft. Use a serrated knife to level cake layers if needed. For gluten-free or dairy-free versions, substitute ingredients as suggested in variations.
Nutrition
- Serving Size: 1 slice (1/12 of cak
- Calories: 350
- Fat: 18
- Carbohydrates: 45
- Protein: 4
Keywords: red velvet cake, cream cheese frosting, flag cake, patriotic dessert, easy cake recipe, Fourth of July cake, homemade frosting