Love this? Save it for later!
Share the inspiration with your friends
I burned garlic butter chicken thighs three times before figuring out why the skin was always tough and the garlic was bitter. It was a Tuesday night, and I was standing over a sizzling cast-iron skillet, holding my breath as the pan smoked. The recipe called for boneless thighs, but the high heat needed to crisp the skin turned the minced garlic into charcoal dust. I scraped the black bits into the sink, tasted the rubbery chicken, and decided I hated it. I didn’t hate the concept, though. I loved the idea of juicy, tender meat with a rich, savory sauce. I just hated the process.
For weeks, I stuck to baking them in the oven. It was safer, but the texture was never quite right. The chicken steamed in its own juices instead of browning. I wanted that restaurant-quality crispiness without the grease splatter or the burnt aromatics. Then, I remembered my air fryer gathering dust in the cabinet. I figured, what is the worst that could happen? I already had a burned reputation for this dish.
I tossed the thighs in the basket with olive oil and spices. I kept the garlic butter sauce separate, adding it only in the last few minutes of cooking. The result was shocking. The skin crunched when I pulled it apart, and the meat was so tender it fell off the bone. The garlic was fragrant, not charred. It was perfect. That single tweak changed everything. Now, this is my go-to weeknight dinner, and honestly, it is hard to go back to the old way. Once you try it this way, you won’t believe how much easier it is to get it right.
Why You’ll Love This Recipe
This isn’t just another chicken recipe. It is the result of trial, error, and a lot of burned garlic. I have tested this method dozens of times to ensure it works every single time, whether you are a beginner or a seasoned home cook. Here is why this version stands out from the rest:
- Quick & Easy: From start to finish, this takes less than 25 minutes. It is perfect for busy weeknights when you are hungry but don’t want to spend hours in the kitchen.
- Simple Ingredients: You likely have everything you need in your pantry right now. No fancy grocery trips needed. Just chicken, butter, garlic, and a few spices.
- Perfect for Meal Prep: These thighs store well and reheat beautifully. They are great for lunches or prepping ahead for a busy week.
- Crowd-Pleaser: Kids love the crispy skin, and adults love the rich flavor. It always gets rave reviews from everyone at the table.
- Unbelievably Delicious: The combination of crispy skin and juicy meat is next-level comfort food. It feels like a treat, even on a random Wednesday.
What makes this recipe different is the timing of the garlic. By adding the butter and garlic mixture at the end, you preserve the fresh, aromatic flavor without the bitterness of burnt bits. It is a small change that makes a huge difference. This isn’t just good; it is the kind of meal that makes you close your eyes after the first bite. It is comfort food reimagined—faster and easier, but with the same soul-soothing satisfaction. It is also a great way to use up chicken thighs, which are often cheaper than breasts but just as flavorful.
If you enjoy other quick chicken dinners, you might also appreciate my crispy parmesan garlic chicken bites for a different texture, or this easy one-pan garlic butter chicken and rice if you want a complete meal in one dish. Both are staples in my weekly rotation.
What Ingredients You Will Need
This recipe uses simple, wholesome ingredients to deliver bold flavor and satisfying texture without the fuss. The key is quality where it counts. You don’t need expensive cuts, but you do need fresh garlic and good butter. Here is what you need to gather:
- Chicken Thighs: Boneless, skin-on thighs are best. They stay juicier than breasts during the high heat of the air fryer. Look for thighs that are roughly the same size so they cook evenly. About 1.5 to 2 pounds should serve four people well.
- Unsalted Butter: Use high-quality butter for the sauce. It adds richness and helps the garlic stick to the chicken. Salted butter works too, but you will need to reduce the added salt in the seasoning.
- Garlic: Fresh garlic is non-negotiable here. Pre-minced jarred garlic has a different flavor profile and can burn faster. Peel and mince your own for the best aroma.
- Olive Oil: A light coating of olive oil helps the chicken skin crisp up in the air fryer. It also prevents the chicken from sticking to the basket.
- Dried Oregano: This adds an earthy, herbal note that pairs perfectly with garlic. It is a classic combination that never fails.
- Paprika: Smoked paprika adds a subtle depth, but regular paprika works fine if that is all you have. It also gives the chicken a beautiful golden color.
- Garlic Powder: This provides an extra layer of garlic flavor that isn’t dependent on the fresh cloves. It ensures every bite is seasoned.
- Salt and Black Pepper: Essential for balancing the flavors. Taste as you go, especially if your butter is salted.
- Fresh Parsley (Optional): Chopped parsley adds a pop of color and freshness. It cuts through the richness of the butter.
I recommend using Kerrygold or Plugrá butter if you can find it, as they have a higher fat content which helps with browning. If you are dairy-free, you can swap the butter for a high-quality plant-based alternative or just use extra olive oil, though the flavor will be slightly different. For a gluten-free option, this recipe is naturally gluten-free, so no adjustments are needed there.
Equipment Needed
You don’t need a lot of fancy gear to make this dish. The star of the show is your air fryer. Make sure it is clean and preheated for best results. A standard 4-quart air fryer is perfect for this amount of chicken. If you have a larger family, you might need to cook in two batches to avoid overcrowding, which is crucial for crispy skin.
You will also need a small saucepan or microwave-safe bowl for melting the butter and garlic. I prefer a small saucepan because it gives me more control over the heat. A silicone spatula is helpful for stirring the sauce without scratching the pan. For serving, a large platter works well to keep the chicken warm while you make the sauce.
If you don’t have an air fryer, you can use an oven broiler or a skillet, but the texture will be different. The air fryer circulates hot air, which mimics deep frying without the oil. It is a game-changer for quick dinners. Keep your air fryer basket clean; residual grease from previous cooks can cause smoking. A quick wipe down between uses keeps everything running smoothly.
Preparation Method
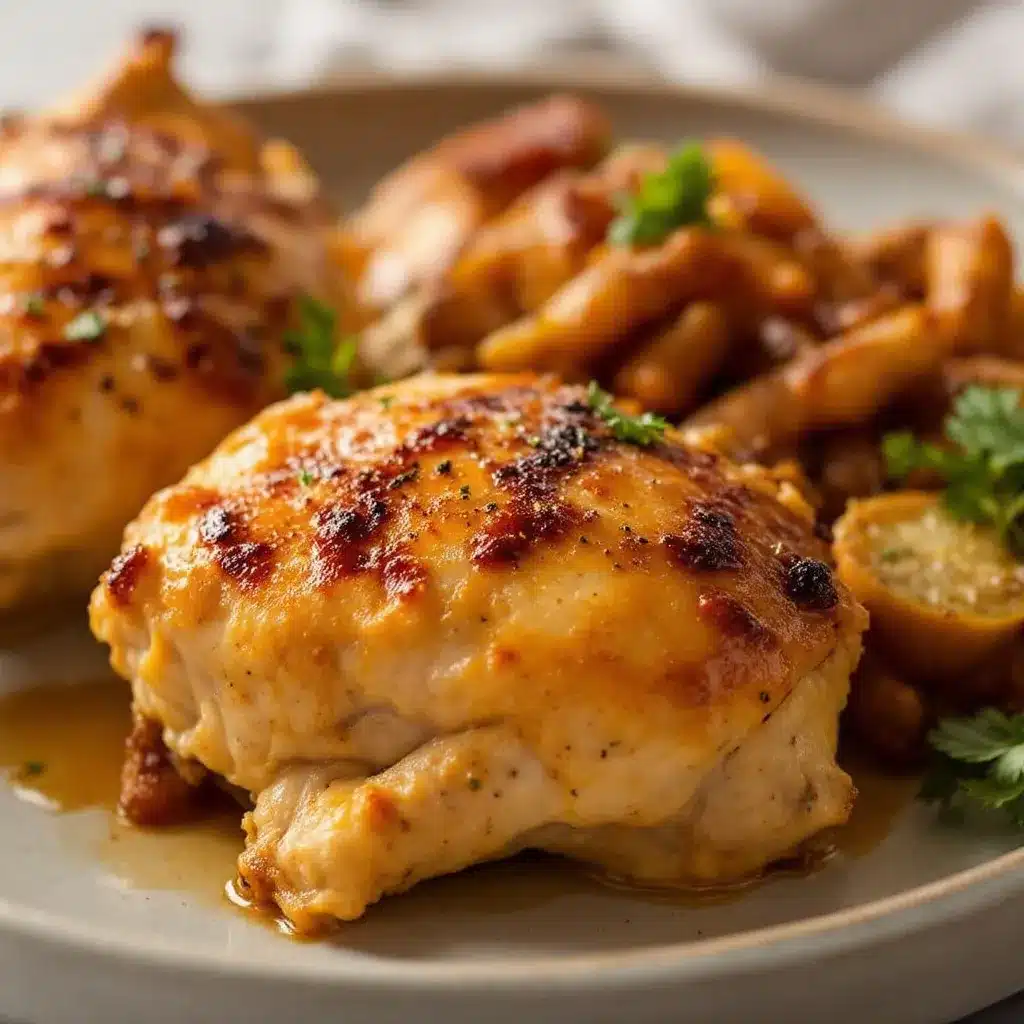
Getting the garlic butter chicken thighs right is simple if you follow these steps carefully. The key is patience with the chicken and speed with the sauce.
- Preheat the Air Fryer: Set your air fryer to 400°F (200°C). Let it preheat for about 3-5 minutes. This ensures the chicken starts cooking immediately and the skin crisps up fast. (Time: 5 minutes)
- Prepare the Chicken: Pat the chicken thighs dry with paper towels. This is the most important step for crispy skin. Moisture is the enemy of crispiness. Place them in a large bowl.
- Season the Chicken: Drizzle with olive oil and sprinkle with dried oregano, paprika, garlic powder, salt, and black pepper. Toss until every piece is evenly coated. (Time: 3 minutes)
- Arrange in the Basket: Place the chicken thighs in the air fryer basket in a single layer. Do not overlap them. If they touch, they will steam instead of crisp. You may need to cook in two batches. (Time: 1 minute)
- Air Fry: Cook for 10 minutes. Then, flip the chicken thighs over. Cook for another 8-10 minutes, or until the internal temperature reaches 165°F (74°C) and the skin is golden brown. (Time: 18-20 minutes)
- Make the Garlic Butter Sauce: While the chicken cooks, melt the butter in a small saucepan over low heat. Add the minced garlic and cook for just 30-60 seconds until fragrant. Do not let it brown. Remove from heat immediately.
- Combine: Once the chicken is done, transfer it to a serving platter. Brush or drizzle the warm garlic butter sauce generously over the hot chicken. The heat from the chicken will help the sauce adhere.
- Rest and Serve: Let the chicken rest for 2-3 minutes before serving. This allows the juices to redistribute. Garnish with fresh parsley if desired. (Time: 3 minutes)
Watch the chicken closely in the last few minutes. Air fryers vary in power, so your model might cook faster or slower. If the skin is browning too quickly, lower the temperature by 25°F. If the chicken isn’t cooked through, add a few more minutes. The goal is tender meat and crispy skin, not dry, overcooked chicken.
Cooking Tips & Techniques
There are a few tricks I have learned over the years to make this recipe foolproof. First, never skip the drying step. Wet chicken equals soggy skin. Use paper towels and be thorough. Second, do not crowd the basket. Air needs to circulate around each piece of chicken. If you pack them in, you get steamed chicken, which is not what you want. Cook in batches if necessary.
Another common mistake is burning the garlic. Garlic burns at a lower temperature than chicken skin. That is why I add the garlic butter at the end. If you add it at the beginning, it will turn bitter and black. Keep the heat low when melting the butter to keep the garlic fresh and sweet.
Multitasking is key here. While the chicken is cooking, you can prep side dishes or set the table. Use the last few minutes of cooking to melt the butter. This way, the sauce is ready the moment the chicken is done. Consistency comes from practice. Once you know your air fryer, you will be able to dial in the exact time needed. Start with the recommended times and adjust from there.
For extra crispiness, you can lightly spray the chicken with cooking spray before air frying. This helps the oil spread evenly and promotes browning. It is a small step that makes a big difference in texture.
Variations & Adaptations
This recipe is a great base for many variations. You can easily swap the herbs to match your mood or what you have on hand. Here are a few ideas:
- Lemon Herb: Add lemon zest to the garlic butter sauce and swap oregano for fresh thyme. It adds a bright, fresh flavor that is great for spring.
- Spicy Kick: Add a pinch of red pepper flakes to the garlic butter or sprinkle cayenne pepper on the chicken before cooking. It adds a nice heat without overwhelming the garlic.
- Honey Garlic: Stir a tablespoon of honey into the melted butter for a sweet and savory glaze. It caramelizes beautifully in the air fryer.
- Dairy-Free: Use olive oil or avocado oil instead of butter. The flavor will be slightly different, but the texture will still be crispy and delicious.
- Gluten-Free: This recipe is naturally gluten-free. Just ensure your spices are certified gluten-free if you have celiac disease.
I once tried making this with chicken breasts, but they dried out quickly. Thighs are much more forgiving. If you must use breasts, reduce the cooking time by 2-3 minutes and watch them closely. You can also add vegetables like asparagus or broccoli to the basket for the last 5 minutes of cooking. Just make sure they are cut into even pieces so they cook at the same rate as the chicken.
Serving & Storage Suggestions
Serve these chicken thighs hot, straight from the platter. They pair well with roasted vegetables, mashed potatoes, or a simple green salad. I also love serving them with a side of creamy butternut squash soup for a cozy fall dinner. For a lighter option, try them over a bed of quinoa or cauliflower rice.
Store leftovers in an airtight container in the refrigerator for up to 3 days. To reheat, use the air fryer at 350°F for 3-4 minutes. This restores the crispiness of the skin. Avoid the microwave, as it will make the skin soggy. You can also freeze the cooked chicken for up to 3 months. Thaw in the refrigerator overnight and reheat as above.
The flavors actually develop over time, so leftovers taste great on day two. Just make sure to brush on a little extra garlic butter when reheating to keep it moist and flavorful.
Nutritional Information & Benefits
Chicken thighs are a great source of protein and healthy fats. They contain essential vitamins like B6 and B12, which help with energy levels. The skin adds flavor and texture, but if you prefer to skip it, you can easily remove it before eating. This recipe is low-carb and gluten-free, making it suitable for many dietary preferences. One serving contains approximately 350 calories, with 25g of protein and 20g of fat. It is a balanced meal that keeps you full and satisfied. I find that eating a protein-rich dinner like this helps me avoid late-night snacking. It is a simple way to support your wellness goals without feeling deprived.
Conclusion
This quick garlic butter chicken thighs recipe is a game-changer for weeknight dinners. It is crispy, juicy, and packed with flavor. I hope you try it and find it as useful as I do. Feel free to customize it with your favorite herbs or spices. It is a versatile recipe that adapts to your tastes. If you make it, I would love to hear how it turned out. Leave a comment below with your thoughts or share a photo on social media. Tag me so I can see your creations. Happy cooking, and enjoy every bite!
FAQs
Can I use chicken breasts instead of thighs?
Yes, you can, but they cook faster and can dry out easily. Reduce the cooking time by 2-3 minutes and check the internal temperature frequently. Thighs are recommended for their juiciness.
How do I prevent the garlic from burning?
Add the garlic butter sauce at the very end of cooking. Garlic burns quickly at high temperatures. By adding it after the chicken is done, you preserve the fresh flavor.
Can I cook this in the oven?
Yes, bake at 400°F for 25-30 minutes, flipping halfway through. The skin won’t be as crispy as the air fryer, but it will still be delicious.
How do I store leftovers?
Store in an airtight container in the refrigerator for up to 3 days. Reheat in the air fryer to maintain crispiness.
Is this recipe gluten-free?
Yes, this recipe is naturally gluten-free. Just ensure your spices and butter are certified gluten-free if you have celiac disease.
Pin This Recipe!
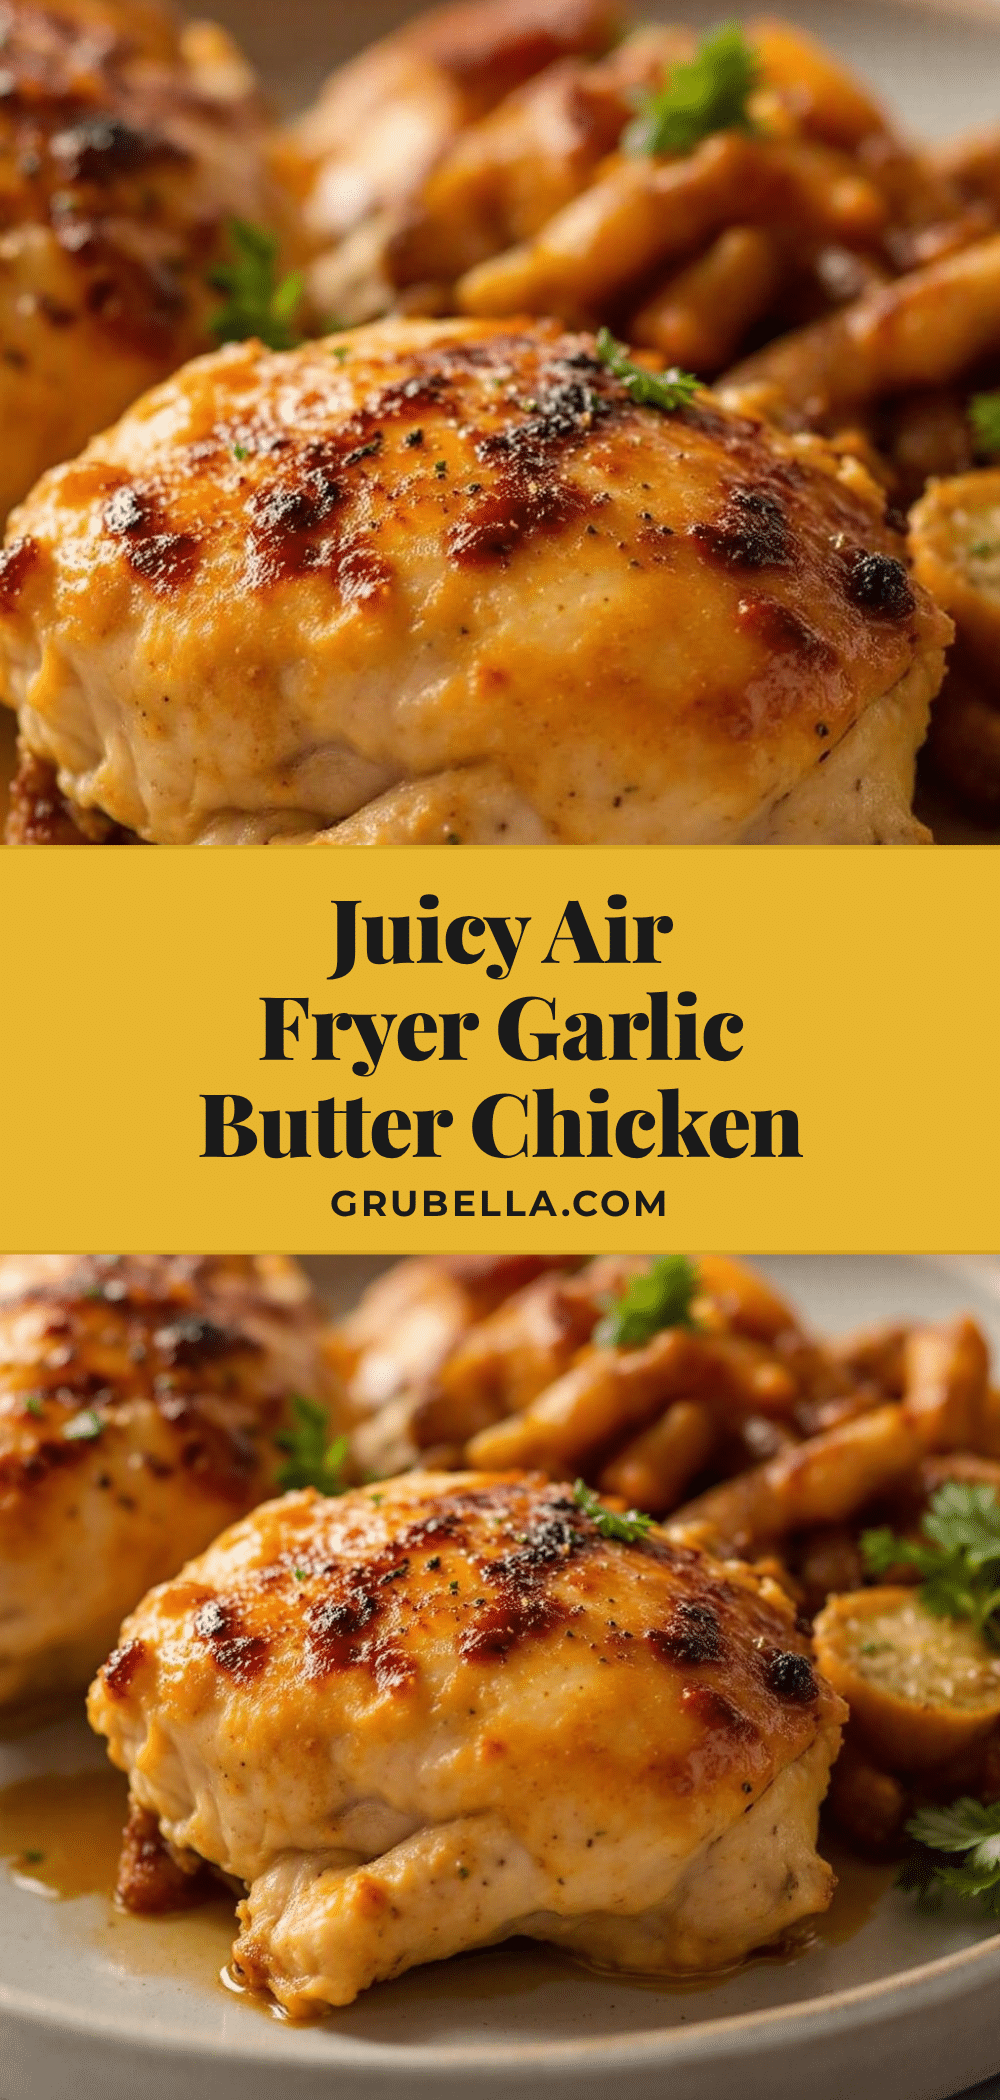
Quick Garlic Butter Chicken Thighs: Easy Air Fryer Recipe

Juicy, tender chicken thighs with crispy skin and a rich garlic butter sauce, cooked quickly in an air fryer. This recipe avoids burnt garlic by adding the sauce at the end for perfect flavor every time.
- Prep Time: 5 minutes
- Cook Time: 20 minutes
- Total Time: 25 minutes
- Yield: 4 servings 1x
- Category: Main Course
- Cuisine: American
Ingredients
- 1.5 to 2 pounds boneless, skin-on chicken thighs
- Olive oil (for coating)
- 1 tablespoon unsalted butter (high quality)
- 2–3 cloves fresh garlic, minced
- 1 teaspoon dried oregano
- 1 teaspoon paprika (smoked or regular)
- 1/2 teaspoon garlic powder
- Salt and black pepper to taste
- Fresh parsley, chopped (optional, for garnish)
Instructions
- Preheat the air fryer to 400°F (200°C) for 3-5 minutes.
- Pat the chicken thighs dry thoroughly with paper towels to ensure crispy skin.
- Place chicken in a bowl, drizzle with olive oil, and sprinkle with oregano, paprika, garlic powder, salt, and pepper. Toss to coat evenly.
- Arrange chicken thighs in the air fryer basket in a single layer without overlapping. Cook in batches if necessary.
- Air fry for 10 minutes, then flip the chicken. Cook for another 8-10 minutes until internal temperature reaches 165°F (74°C) and skin is golden brown.
- While chicken cooks, melt butter in a small saucepan over low heat. Add minced garlic and cook for 30-60 seconds until fragrant, being careful not to brown it.
- Remove chicken from air fryer and place on a serving platter.
- Brush or drizzle the warm garlic butter sauce generously over the hot chicken.
- Let chicken rest for 2-3 minutes before serving. Garnish with fresh parsley if desired.
Notes
Do not skip drying the chicken; moisture prevents crispiness. Do not crowd the basket to allow air circulation. Add garlic butter at the end to prevent burning. If your air fryer runs hot, lower temperature by 25°F. Leftovers can be reheated in the air fryer at 350°F for 3-4 minutes to restore crispiness.
Nutrition
- Serving Size: 1 chicken thigh with
- Calories: 350
- Sodium: 300
- Fat: 20
- Saturated Fat: 8
- Carbohydrates: 2
- Protein: 25
Keywords: air fryer chicken, garlic butter chicken, chicken thighs, quick dinner, weeknight meals, crispy chicken, gluten-free, low-carb



