Love this? Save it for later!
Share the inspiration with your friends
I swore I would never be a protein ball person. For years, I watched friends blend dates and oats into sticky little orbs, claiming they were “just like dessert.” I nodded politely and hid my skepticism behind a coffee cup. Then last Tuesday, my neighbor showed up at my door with a container of these peanut butter protein balls, practically shoving one into my hand before I could make an excuse. I took a bite to be polite. And then I took another. And then I asked for the recipe. Let me tell you, being wrong has never tasted so good.
I mean, honestly, I thought protein balls were always going to be that thing you eat because you should, not because you want to. You know that feeling when you’re trying to be healthy but you’re really just missing a real cookie? These are not that. These are the real deal. They’re sweet, they’re satisfying, and they come together in about five minutes flat. No baking, no fuss, no complicated ingredients. Just a bowl, a spoon, and a little bit of patience while they chill in the fridge.
The best part? I made these for a road trip last weekend and they saved me from three gas station stops. My kids ate them, my husband ate them, and I may have hidden a few in my purse for later. This recipe stayed with me because it actually works. It’s not a compromise. It’s a legit snack that happens to be good for you. And if you’ve been on the fence about protein balls like I was, let me be the one to shove one into your hand.
Why You’ll Love This Recipe
These no-bake peanut butter protein balls are the kind of recipe that makes you wonder why you ever bought pre-packaged snacks. They’re simple, they’re fast, and they deliver on flavor every single time. Here is why this version stands out from the rest:
- Quick & Easy: You can mix these up in under five minutes. No oven, no stove, no complicated steps. Perfect for busy mornings or last-minute snack emergencies.
- Simple Ingredients: You probably already have everything in your pantry. Peanut butter, oats, honey, chocolate chips—nothing fancy required.
- Perfect for Meal Prep: Make a batch on Sunday and grab them all week long. They’re great for lunchboxes, post-workout refueling, or that 3 PM slump.
- Crowd-Pleaser: Kids love them, adults love them, and even picky eaters ask for seconds. I’ve brought these to playdates and potlucks and they disappear fast.
- Unbelievably Delicious: The texture is soft and chewy, the peanut butter flavor is rich, and the chocolate chips add just the right amount of sweetness. It’s comfort food you can feel good about.
What makes this recipe different is the balance. I tested it about six times to get the ratio just right—not too dry, not too sticky, and sweet enough to feel like a treat without being over the top. I also add a pinch of sea salt because that little bit of saltiness makes the peanut butter sing. Trust me, it makes a difference.
This is the kind of recipe that makes you close your eyes after the first bite. It’s simple, it’s satisfying, and it’s proof that eating well does not have to be boring. Whether you need a quick breakfast, a post-gym snack, or something to get you through the afternoon, these protein balls have your back.
What Ingredients You Will Need
This recipe uses simple, wholesome ingredients to deliver big flavor without the fuss. Most of these are pantry staples, so you can whip up a batch anytime the craving hits.
- 1 cup creamy peanut butter (use natural or conventional; I prefer Skippy or Jif for consistency. If using natural, stir well and expect a slightly softer texture)
- 1/2 cup honey or maple syrup (honey gives a classic sweetness; maple syrup adds a subtle caramel note. Both work great)
- 1 1/2 cups old-fashioned rolled oats (quick oats also work, but the texture will be a bit softer. Gluten-free certified oats if needed)
- 1/2 cup mini chocolate chips (semi-sweet or dark chocolate. Mini chips distribute better, but regular chips work too. Dairy-free chips for a vegan option)
- 1/4 cup ground flaxseed or chia seeds (adds fiber and helps bind the mixture. You can skip it or substitute with hemp hearts)
- 1/2 teaspoon vanilla extract (pure vanilla adds warmth. Imitation works in a pinch)
- 1/4 teaspoon sea salt (optional but highly recommended. It balances the sweetness and makes the peanut butter pop)
Ingredient Tips: I recommend using a peanut butter that you actually like eating straight out of the jar. That flavor carries through. If you want a lower sugar option, use a natural peanut butter with no added sugar and reduce the honey to 1/3 cup. For a nut-free version, swap peanut butter with sunflower seed butter or tahini. Just note that sunflower seed butter can react with baking soda if you ever bake these, but since this is no-bake, you are safe.
I buy my oats in bulk from the local co-op and store them in a glass jar. It keeps them fresh longer and makes me feel very organized. The flaxseed I keep in the fridge because it goes rancid faster than you think. Trust me, I learned that the hard way.
Equipment Needed
You do not need much for this recipe. That is the beauty of it. Here is what you will need:
- Large mixing bowl (any size works, but a wide bowl makes mixing easier)
- Measuring cups and spoons (for accuracy, though you can eyeball it after a few batches)
- Rubber spatula or wooden spoon (for stirring. A spatula helps scrape the sides clean)
- Baking sheet or plate (to hold the balls while they chill. Line it with parchment paper for easy cleanup)
- Cookie scoop or tablespoon (for uniform balls. A small ice cream scoop works beautifully. If you do not have one, just use your hands)
- Parchment paper (optional but helpful for storage and cleanup)
If you do not have a cookie scoop, dampen your hands slightly before rolling the balls. It keeps the mixture from sticking to your fingers. I learned that trick after my first batch looked more like lumpy blobs than neat little spheres. They tasted the same, but presentation matters when you are trying to convince your kids they are “cookies.”
Preparation Method
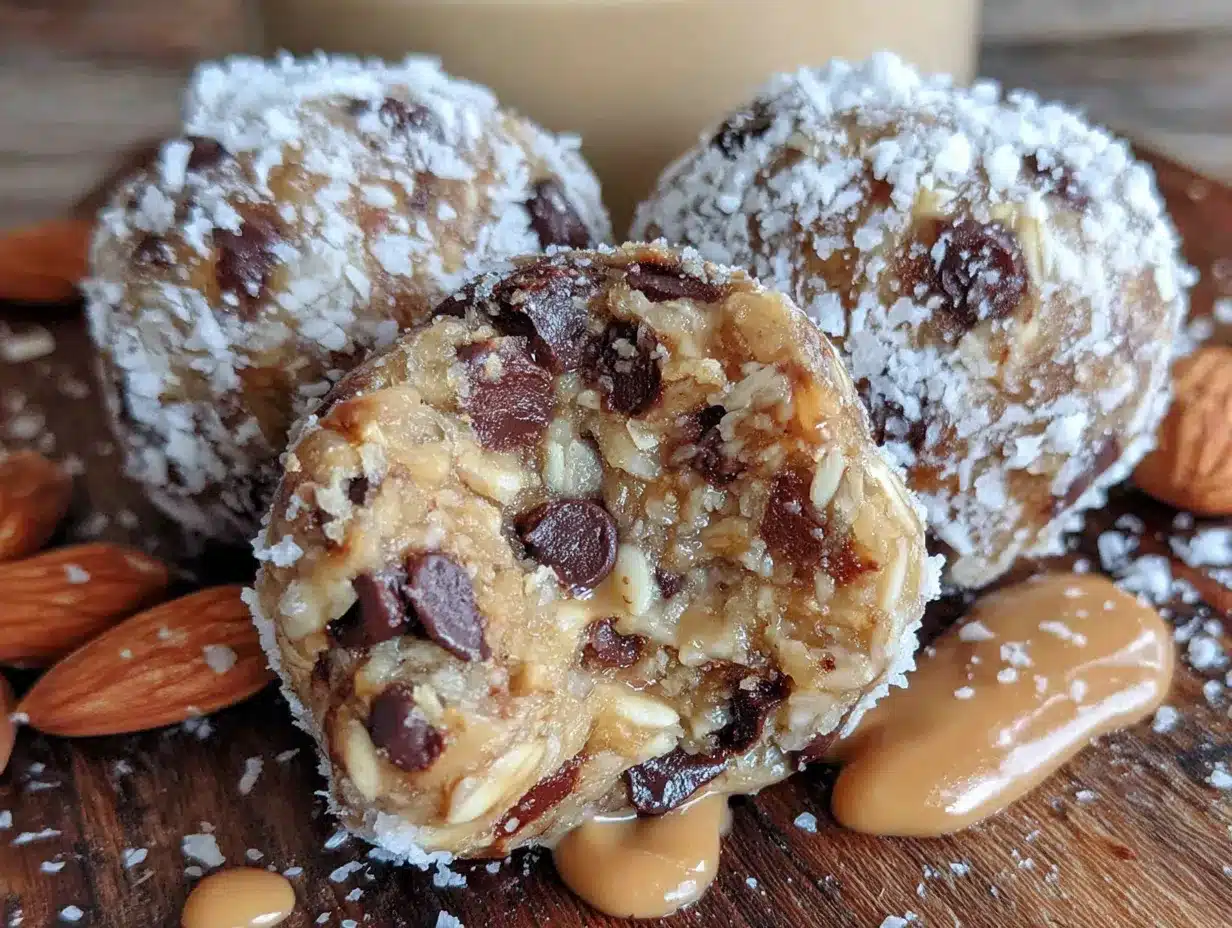
Follow these steps and you will have a batch of protein balls ready in about five minutes. Then you just need to let them chill for a bit.
- Combine the wet ingredients. In a large mixing bowl, add 1 cup creamy peanut butter, 1/2 cup honey, and 1/2 teaspoon vanilla extract. Stir until smooth and well combined. The mixture should look glossy and smell amazing. If your peanut butter is cold, microwave it for about 10 seconds to soften it. It makes mixing much easier.
- Add the dry ingredients. Add 1 1/2 cups rolled oats, 1/4 cup ground flaxseed, and 1/4 teaspoon sea salt to the bowl. Stir everything together until the oats are evenly coated. The mixture will start to look crumbly at first, but keep stirring. It will come together.
- Fold in the chocolate chips. Add 1/2 cup mini chocolate chips and fold them in gently. Make sure they are distributed throughout the mixture. If you add them too early, they might get crushed. Save them for last.
- Check the consistency. The mixture should hold together when you squeeze a small amount in your hand. If it is too dry, add a tablespoon of honey or a splash of milk. If it is too sticky, add a tablespoon of oats. I had to add a little extra honey my first time because my peanut butter was extra thick. No big deal.
- Roll into balls. Use a cookie scoop or tablespoon to portion out the mixture. Roll each portion between your palms to form a ball about 1 inch in diameter. You should get about 18 to 20 balls. If the mixture sticks to your hands, lightly dampen your fingers with water.
- Chill. Place the balls on a parchment-lined baking sheet or plate. Refrigerate for at least 30 minutes. This step is important. It helps them firm up and hold their shape. If you skip it, they will be soft and a bit messy to eat. Still delicious, but messy.
- Enjoy. Once chilled, they are ready to eat. Store them in an airtight container in the fridge for up to two weeks. Or freeze them for longer storage.
Pro tip from my third batch: Do not overmix once you add the oats. You want some texture, not a paste. Stop stirring as soon as everything is combined. Your hands will thank you later.
Cooking Tips & Techniques
Here are some things I learned the hard way so you do not have to. These tips will help you get perfect protein balls every time.
- Use room temperature peanut butter. Cold peanut butter is hard to mix and creates a lumpy texture. Let it sit out for 15 minutes or microwave it for 10 seconds. Your arm will thank you.
- Taste before you roll. Seriously. Take a tiny taste of the mixture before you shape the balls. This is your chance to adjust the sweetness or saltiness. I once made a batch that was way too sweet because I added extra honey without tasting first. Now I always taste.
- Chill is not optional. I know you are hungry. I get it. But if you skip the chilling step, the balls will be soft and fall apart easily. Give them at least 30 minutes in the fridge. They firm up beautifully and hold their shape much better.
- Wet hands are your friend. If the mixture sticks to your palms, wet your hands slightly with cold water. It creates a barrier and makes rolling much easier. This tip changed my protein ball game completely.
- Use a cookie scoop for uniform size. Not only does it look nicer, but uniform balls also chill at the same rate. If some are bigger and some are smaller, the small ones get hard while the big ones stay soft. A scoop solves that.
- Line your storage container with parchment. If you stack the balls, put a small piece of parchment between layers. It prevents them from sticking together. I learned this after pulling apart a clump of six balls that had fused into one giant protein blob.
One more thing: if you find the mixture too dry, it is usually because your oats are extra absorbent or your peanut butter is thick. Just add a tablespoon of honey or a splash of milk. If it is too wet, add a tablespoon of oats. It is an easy fix and happens to the best of us.
Variations & Adaptations
This recipe is incredibly flexible. Here are some ways to change it up based on what you have or what you crave.
- Chocolate Peanut Butter: Swap 1/4 cup of the oats for 2 tablespoons of cocoa powder. The result is a rich, chocolatey version that tastes like a brownie. My kids call these “healthy brownie bites.”
- Crunchy Texture: Use crunchy peanut butter instead of creamy. Or add 1/4 cup chopped peanuts, almonds, or walnuts. The crunch adds a nice contrast to the soft texture.
- Vegan Version: Use maple syrup instead of honey and dairy-free chocolate chips. Everything else is already plant-based. This version is just as good as the original.
- Nut-Free Option: Swap peanut butter with sunflower seed butter or tahini. The flavor changes slightly, but it is still delicious. Just note that sunflower seed butter can turn greenish when combined with certain ingredients. It is safe to eat, just a little weird looking.
- Low-Sugar Option: Reduce honey to 1/3 cup and use sugar-free chocolate chips. You can also add a few drops of stevia if you need extra sweetness. This version works great for anyone watching their sugar intake.
- Add-Ins: Try shredded coconut, dried cranberries, pumpkin seeds, or a scoop of your favorite protein powder. If you add protein powder, you may need an extra tablespoon of honey or milk to balance the dryness.
I personally love the chocolate peanut butter variation. I made it for a friend who claimed she hated protein balls, and she asked for the recipe. Another convert, just like me.
Serving & Storage Suggestions
These protein balls are versatile enough to fit into any part of your day. Here is how to serve and store them.
Serving: Serve them straight from the fridge for the best texture. They are firm, chewy, and perfectly chilled. If you prefer a softer bite, let them sit at room temperature for about 5 minutes. I like them cold, but my husband lets them soften a bit before eating. To each their own.
Pairing Ideas: These go great with a glass of cold milk, a cup of coffee, or a smoothie. They also make a great post-workout snack when paired with a banana. For a fun dessert, crumble one over a bowl of vanilla ice cream. Trust me on this one.
Storage: Store the balls in an airtight container in the refrigerator. They will stay fresh for up to two weeks. If you stack them, place a piece of parchment paper between layers to prevent sticking. I use a glass container with a tight lid and they last perfectly.
Freezing: These freeze beautifully. Place the balls on a baking sheet and freeze until solid, about 1 hour. Then transfer them to a freezer-safe bag or container. They will keep for up to three months. To thaw, just move them to the fridge overnight or let them sit at room temperature for 10 minutes. I always keep a stash in the freezer for busy weeks.
Flavor Development: The flavors actually meld together more after a day in the fridge. The oats soften slightly, the chocolate chips firm up, and everything tastes more cohesive. I honestly prefer them on day two. So if you can wait, do it.
Nutritional Information & Benefits
Here is the estimated nutritional breakdown for one protein ball (based on 20 balls per batch). Values are approximate and will vary based on specific ingredients used.
- Calories: 140-160
- Protein: 5-6 grams
- Carbohydrates: 16-18 grams
- Fiber: 3-4 grams
- Fat: 7-9 grams
- Sugar: 8-10 grams
Health Benefits: Peanut butter provides healthy fats and plant-based protein, which helps keep you full and satisfied. Oats are rich in fiber and complex carbohydrates for steady energy. Flaxseed adds omega-3 fatty acids and extra fiber for digestive health. Honey offers natural sweetness with trace antioxidants. These balls are a balanced snack that supports energy, satiety, and overall wellness.
Dietary Considerations: This recipe is naturally gluten-free if you use certified gluten-free oats. It is also dairy-free if you use dairy-free chocolate chips. For a vegan version, use maple syrup instead of honey. The recipe contains peanuts, which are a common allergen. For a nut-free version, use sunflower seed butter as suggested above.
I personally love that these give me a quick energy boost without the crash. They are my go-to for long afternoons when I need something substantial but do not want to cook a full meal.
Conclusion
These easy no-bake peanut butter protein balls are proof that healthy snacks do not have to be complicated or boring. With just a handful of simple ingredients and five minutes of your time, you can have a batch of delicious, satisfying bites ready to go. They are perfect for busy mornings, post-workout refueling, or that mid-afternoon slump when you need something real.
I love this recipe because it is forgiving. You can tweak it, swap ingredients, and make it your own without worrying about ruining it. It is the kind of recipe that builds confidence in the kitchen, even if you are just starting out. And honestly, it is just really, really good.
I would love to hear how yours turn out. Did you try a variation? Did your kids love them? Did you hide a few in your purse like I did? Drop a comment below and let me know. And if you share a photo on Pinterest, tag me so I can see your beautiful creations. Happy snacking, friend. You have got this.
Frequently Asked Questions
Can I use quick oats instead of rolled oats?
Yes, you can use quick oats. The texture will be slightly softer and less chewy, but the recipe will still work. I prefer rolled oats for a heartier texture, but quick oats are fine in a pinch.
How long do these protein balls last in the fridge?
They will stay fresh in an airtight container in the refrigerator for up to two weeks. Make sure they are sealed well to prevent them from drying out or absorbing other odors from the fridge.
Can I freeze these protein balls?
Absolutely. Freeze them on a baking sheet until solid, then transfer to a freezer bag. They will keep for up to three months. Thaw them in the fridge overnight or at room temperature for about 10 minutes before eating.
Why are my protein balls too dry or too sticky?
If they are too dry, add a tablespoon of honey or a splash of milk. If they are too sticky, add a tablespoon of oats. The consistency can vary based on the type of peanut butter and oats you use, so adjust as needed.
Can I add protein powder to this recipe?
Yes, you can add a scoop of your favorite protein powder. Reduce the oats by about 1/4 cup to compensate, and add an extra tablespoon of honey or milk if the mixture feels too dry. Vanilla or chocolate protein powder works best.
Pin This Recipe!
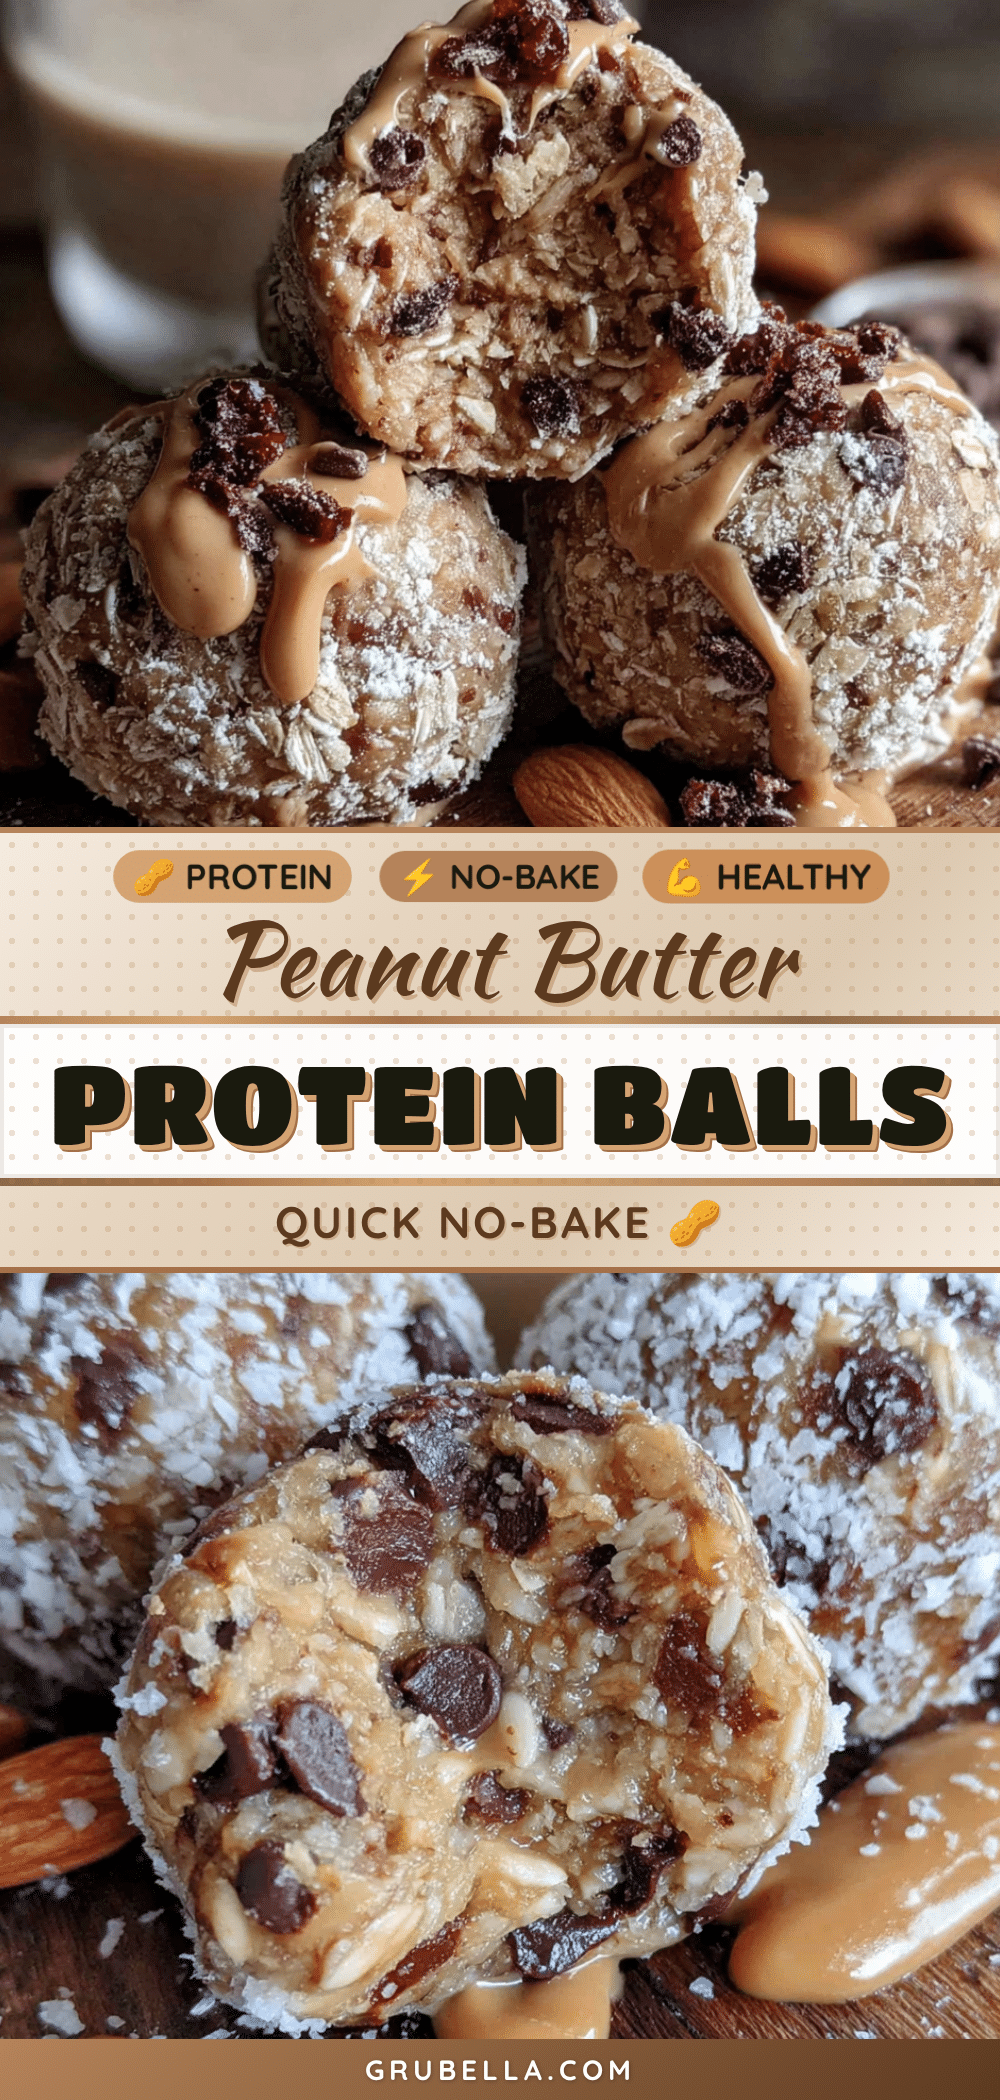
Easy No-Bake Peanut Butter Protein Balls: Best 5-Minute Recipe

These no-bake peanut butter protein balls are quick, easy, and made with simple ingredients. They are perfect for a healthy snack, meal prep, or post-workout refueling.
- Prep Time: 5 minutes
- Cook Time: 0 minutes
- Total Time: 35 minutes
- Yield: 18-20 balls 1x
- Category: Snack
- Cuisine: American
Ingredients
- 1 cup creamy peanut butter
- 1/2 cup honey or maple syrup
- 1 1/2 cups old-fashioned rolled oats
- 1/2 cup mini chocolate chips
- 1/4 cup ground flaxseed or chia seeds
- 1/2 teaspoon vanilla extract
- 1/4 teaspoon sea salt
Instructions
- Combine the wet ingredients: In a large mixing bowl, add 1 cup creamy peanut butter, 1/2 cup honey, and 1/2 teaspoon vanilla extract. Stir until smooth and well combined.
- Add the dry ingredients: Add 1 1/2 cups rolled oats, 1/4 cup ground flaxseed, and 1/4 teaspoon sea salt to the bowl. Stir everything together until the oats are evenly coated.
- Fold in the chocolate chips: Add 1/2 cup mini chocolate chips and fold them in gently.
- Check the consistency: The mixture should hold together when squeezed. If too dry, add a tablespoon of honey or a splash of milk. If too sticky, add a tablespoon of oats.
- Roll into balls: Use a cookie scoop or tablespoon to portion out the mixture. Roll each portion between your palms to form a ball about 1 inch in diameter. You should get about 18 to 20 balls.
- Chill: Place the balls on a parchment-lined baking sheet or plate. Refrigerate for at least 30 minutes.
- Enjoy: Once chilled, they are ready to eat. Store in an airtight container in the fridge for up to two weeks or freeze for longer storage.
Notes
Use room temperature peanut butter for easier mixing. Taste the mixture before rolling to adjust sweetness or saltiness. Chilling is essential for the balls to hold their shape. If the mixture sticks to your hands, dampen them slightly with water. For uniform size, use a cookie scoop. Store with parchment between layers to prevent sticking.
Nutrition
- Serving Size: 1 ball
- Calories: 140160
- Sugar: 810
- Sodium: 80100
- Fat: 79
- Saturated Fat: 23
- Carbohydrates: 1618
- Fiber: 34
- Protein: 56
Keywords: no-bake, peanut butter, protein balls, healthy snack, gluten-free, dairy-free, vegan option, meal prep



