Love this? Save it for later!
Share the inspiration with your friends
Ripped open the bag of marshmallows with my teeth—I was that person—staring down a counter covered in green food coloring, candy eyeballs, and a half-melted stick of butter. The kids were already in costume, which meant I had maybe twelve minutes before someone needed a snack or started crying because their plastic fangs kept falling out. This wasn’t planned. Nothing about Halloween morning ever is.
I needed something fast, something that looked like it took effort (it didn’t), and something that would make the neighbor kids lose their minds when they came over for our little pre-trick-or-treating hangout. Regular Rice Krispie treats felt too boring for a holiday that’s literally about being ridiculous. So I grabbed the gel food coloring I’d bought for a cake I never made, dumped in way too much neon green, and pressed googly eyes into the top before the marshmallow mixture could set.
Honestly? They looked terrifying in the best way. All lumpy and bright and staring at me with those little plastic eyes. The kids called them monster treats before I even had a name for them. And that’s how these Easy Monster Rice Krispie Treats for Halloween Parties were born—out of chaos, a single bag of marshmallows, and zero patience for anything complicated.
They’ve become our Halloween tradition now. Every year I make a double batch, and every year someone asks for the recipe before they’ve even finished chewing. There’s something about a no-bake dessert that looks this fun that just works for Halloween. No oven required, no fancy piping skills, just sticky fingers and a lot of candy eyes.
Why You’ll Love This Recipe
Let me tell you why these monster treats have earned a permanent spot in my Halloween rotation. I’ve tested this recipe more times than I care to admit—some batches were too hard, some fell apart, and one turned out looking more like swamp sludge than a monster. But I figured out the tricks, and now these come out perfect every single time.
- No Baking Required: You don’t even turn on the oven. Just a stovetop or microwave, a bowl, and a spatula. Perfect for when you’re already juggling costumes and candy.
- Ready in 15 Minutes: From start to finish, these come together faster than you can explain the plot of a Halloween movie. Seriously, set a timer.
- Simple Ingredients: Butter, marshmallows, cereal, and food coloring. That’s it. You probably have most of this in your pantry right now.
- Perfect for Halloween Parties: Whether you’re hosting a classroom party, a neighborhood gathering, or just want something fun for your own kids, these treats steal the show every time.
- Kid-Friendly to Make: My kids help press the eyes in and drizzle the chocolate. It’s messy and wonderful and they feel so proud of their monster creations.
- Completely Customizable: Change the colors, switch up the candy decorations, make them gluten-free with a different cereal—the possibilities are endless.
These aren’t just another Rice Krispie treat recipe. The trick is using gel food coloring instead of liquid—it gives you that vibrant monster green without making the marshmallow mixture too wet and sticky. I learned that the hard way after a batch that never set properly. Trust me on this one.
And honestly? There’s something deeply satisfying about watching people’s faces light up when they see these little monsters staring back at them. It’s the kind of treat that makes you feel like a Halloween hero without actually doing much work.
What Ingredients You Will Need
This recipe uses simple, everyday ingredients that you can find at any grocery store. The magic is in how you put them together and the little extras that turn basic treats into something truly monstrous.
- Unsalted butter – 3 tablespoons (42g). Use unsalted so you control the salt level. If you only have salted butter, just skip adding any extra salt later.
- Mini marshmallows – 10 ounces (about 6 cups or 283g). I prefer the mini ones because they melt faster and more evenly. Jet-Puffed is my go-to brand for consistent results.
- Crispy rice cereal – 6 cups (about 180g). Regular Rice Krispies work best, but you can use any puffed rice cereal. For a fun twist, try the cocoa version for chocolate monsters.
- Neon green gel food coloring – About 1/2 teaspoon. This is non-negotiable for that bright monster look. Liquid food coloring won’t give you the same vibrant color and can make the mixture too wet. I use Wilton brand gel colors.
- Candy eyeballs – About 24-30 pieces. You can find these at craft stores, baking supply shops, or online. The ones with flat backs stick best to the treats.
- Chocolate melting wafers – 1/2 cup (about 85g). Optional but highly recommended for making monster mouths and eyebrows. Wilton or Ghirardelli melting wafers work great.
- Vanilla extract – 1 teaspoon. This adds a subtle warmth to the marshmallow flavor. Pure vanilla is best, but imitation works fine too.
- Pinch of salt – Just a small pinch to balance the sweetness. You won’t taste it, but you’ll notice if it’s missing.
For the green color, I really recommend spending the extra dollar on gel food coloring. I tried using liquid green food coloring once because that’s all I had in the drawer, and the treats came out pale and streaky. Plus the extra moisture made them sticky and hard to cut. Gel coloring gives you that intense, fun monster green without changing the texture at all.
If you want to make different colored monsters, you can use purple gel coloring for a Frankenstein vibe or orange for a pumpkin monster. The kids at my house always demand at least two colors, so I usually split the batch and make half green and half purple.
One more thing about the cereal—make sure it’s fresh and crispy. If your box has been open for weeks, the cereal might be stale and won’t hold up as well. Fresh cereal gives you that satisfying crunch that makes these treats so good.
Equipment Needed
You don’t need anything fancy for these monster treats. Here’s what I use every time:
- Large pot or saucepan – A 4-5 quart pot works perfectly. You need room to stir everything together without spilling marshmallow goo everywhere.
- Rubber spatula or wooden spoon – A silicone spatula is my favorite because nothing sticks to it. Wooden spoons work too, but they’ll need a good soak afterward.
- 9×13 inch baking pan – This size gives you thick, satisfying treats. You can use an 8×8 pan for extra-thick monsters if that’s your style.
- Parchment paper or wax paper – Line your pan with this and thank me later. Nothing sticks, and cleanup takes about 10 seconds.
- Small microwave-safe bowl – For melting the chocolate wafers. Glass bowls work better than plastic for even melting.
- Piping bag or small zip-top bag – For drizzling the chocolate faces. A zip-top bag with the corner snipped off works perfectly and costs nothing.
- Measuring cups and spoons – You need standard measuring for the cereal and marshmallows.
If you don’t have a 9×13 pan, you can use a rimmed baking sheet. The treats will be thinner, but they’ll still taste amazing. I’ve also used disposable aluminum pans when I’m making these for a party and don’t want to worry about washing dishes. They work great and you can just toss them when you’re done.
Preparation Method
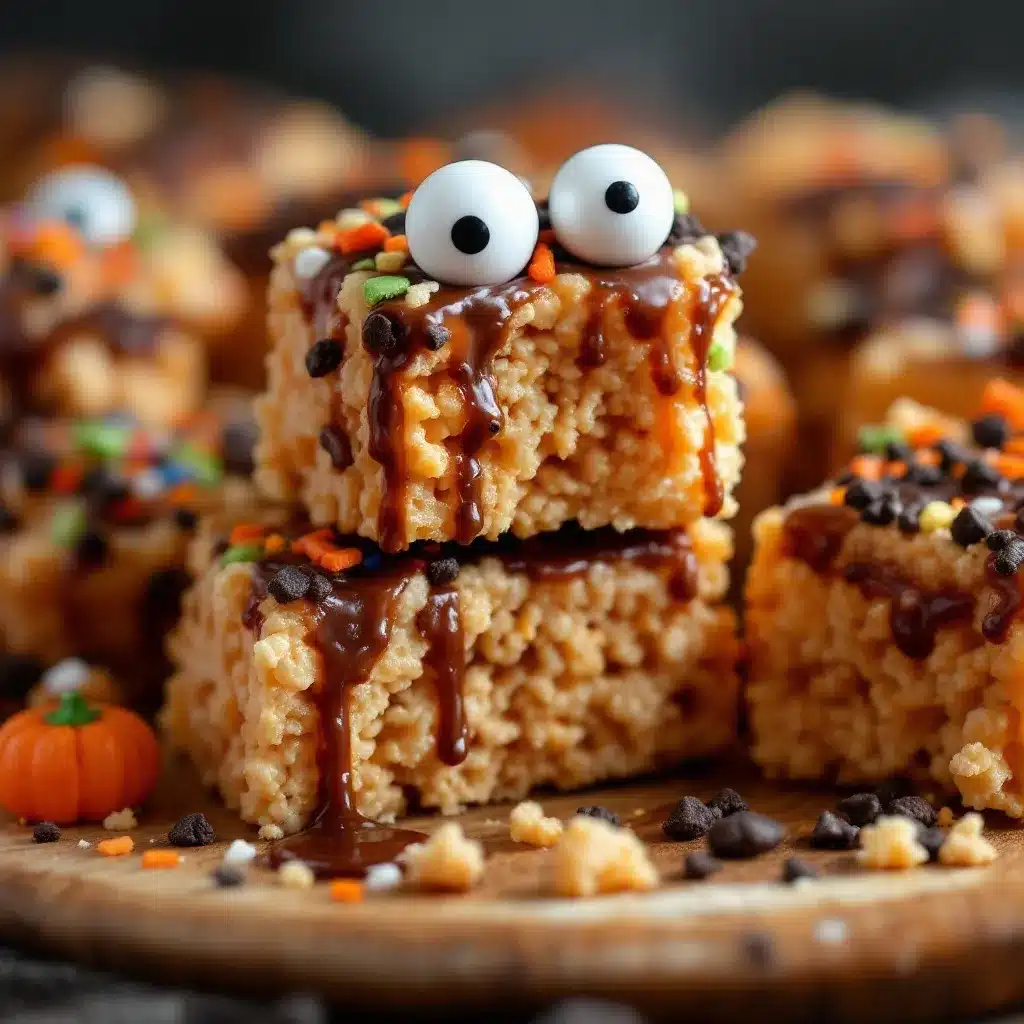
Okay, let’s make some monsters. This is straightforward, but I’ll walk you through every step so you get perfect results.
- Prep your pan. Line your 9×13 inch baking pan with parchment paper, leaving some overhang on two sides. This creates little handles you can use to lift the treats out later. Lightly spray the parchment with non-stick cooking spray so nothing sticks.
- Melt the butter. Place your large pot over medium-low heat and add the 3 tablespoons of butter. Let it melt slowly, swirling the pan occasionally. You want it fully melted but not bubbling or browning. This takes about 2 minutes.
- Add the marshmallows. Pour in all 6 cups of mini marshmallows. Stir constantly with your spatula until they’re completely melted and smooth. This takes about 3-4 minutes. Keep the heat on medium-low so the marshmallows don’t scorch. If you see any brown spots forming, your heat is too high—turn it down immediately.
- Add color and flavor. Once the marshmallows are smooth, remove the pot from the heat. Stir in the vanilla extract and a pinch of salt. Add about 1/2 teaspoon of neon green gel food coloring and stir until the color is completely even. Add more if you want a deeper green—just go slowly. You can always add more, but you can’t take it away.
- Mix in the cereal. Pour the 6 cups of crispy rice cereal into the pot. Fold everything together gently but thoroughly. You want every piece of cereal coated in green marshmallow goodness. Work quickly here because the mixture starts to set as it cools. If it gets too stiff to stir, you can put the pot back on low heat for 30 seconds to loosen it up.
- Press into the pan. Scrape the mixture into your prepared pan. Spray your spatula with cooking spray (or rub a little butter on your hands) and press the mixture into an even layer. Don’t press too hard or the treats will be dense and hard. You want them compact but not squished flat. This is where the parchment handles come in handy—you can lift the whole thing out later.
- Let them set. Allow the treats to cool at room temperature for about 20-30 minutes. Don’t put them in the fridge—that can make them too hard. You want them fully set but still slightly warm so the candy eyes stick better.
- Melt the chocolate. While the treats cool, put your chocolate melting wafers in a small microwave-safe bowl. Microwave in 20-second bursts, stirring between each, until the chocolate is smooth and fully melted. This usually takes about 60-90 seconds total. Be careful not to overheat it or the chocolate will seize up.
- Decorate the monsters. Once the treats are set but still slightly warm, lift them out of the pan using the parchment. Cut them into 12-15 rectangles using a sharp knife. Now for the fun part—dip the candy eyeballs into a tiny bit of melted chocolate and press them onto each treat. Use the remaining chocolate to pipe on silly monster mouths, eyebrows, or even little horns. Let your imagination go wild.
- Let the chocolate set. Let the decorated treats sit at room temperature for about 15 minutes so the chocolate hardens. Then they’re ready to serve. If you’re making them ahead, let the chocolate fully set before storing.
A few notes from my many batches of trial and error: If the marshmallow mixture starts getting too stiff while you’re pressing it into the pan, just microwave the whole pot for 10-15 seconds to soften it up again. And if your candy eyes won’t stick, it means the treats have cooled too much—just dab a tiny bit of melted chocolate on the back of each eye and they’ll stay put perfectly.
Cooking Tips & Techniques
I’ve made these monster treats at least twenty times over the past few Halloweens, and I’ve learned a few things the hard way. Let me save you some trouble.
Low and slow is the rule. When melting your marshmallows, keep the heat on medium-low. High heat turns marshmallows into rubbery, scorched blobs that never quite recover. I ruined my first batch by getting impatient and cranking up the heat. The marshmallows turned brown in spots and the treats had a weird, burnt flavor that no amount of green coloring could fix.
Use fresh marshmallows. Old marshmallows that have been sitting in your pantry since last Halloween won’t melt as smoothly. They get a little crusty and don’t create that silky marshmallow coating you want. Always start with a fresh bag for the best texture.
Don’t overmix the cereal. Fold the cereal in gently. If you stir too aggressively, you’ll crush the cereal pieces and end up with dense, compact treats instead of light, crispy ones. Think gentle folding, not aggressive mixing.
Grease everything. Spray your spatula, your hands (if you’re pressing by hand), and even the knife you’ll use to cut the treats. Marshmallow mixture sticks to everything like glue. A little cooking spray makes all the difference between a frustrating experience and a smooth one.
Work in batches for multiple colors. If you’re making different colored monsters, melt the butter and marshmallows separately for each color. Don’t try to color the whole batch and then split it—the colors won’t be as vibrant and you’ll end up with muddy green-purple blobs.
Cut with confidence. Use a sharp knife and cut straight down. Don’t saw back and forth. A clean cut gives you neat edges without crumbling. Wipe the knife clean between cuts for the best results.
Variations & Adaptations
One of the best things about this recipe is how easy it is to change up. Here are some of my favorite variations:
Purple Frankenstein Monsters: Swap the green food coloring for purple gel coloring. Use white candy eyes and pipe on a stitched mouth with black decorating gel. My youngest says these look like Frankenstein’s monster cousin, and honestly, she’s not wrong.
Orange Pumpkin Monsters: Use orange gel coloring and press candy corn into the top of each treat before it sets. Pipe on a little green stem with melted chocolate. These are perfect for Halloween parties that lean more toward fall harvest vibes.
Gluten-Free Version: Use a gluten-free crispy rice cereal like Nature’s Path or Erewhon. Everything else in the recipe is naturally gluten-free. Just double-check that your candy eyes and chocolate are certified gluten-free if that’s a concern.
Chocolate Monster Treats: Melt 1/4 cup of chocolate chips along with the butter and marshmallows. Use orange or purple food coloring instead of green. The chocolate flavor adds a whole new dimension, and the kids at my house can’t decide which version they like better.
Spider Treats: Instead of just eyes, press eight black licorice strings into the sides of each treat to create spider legs. Use red candy eyes for an extra-creepy effect. These take a little more time but are absolutely worth it for the reaction they get.
Mini Monster Bites: Press the mixture into a mini muffin tin instead of a baking pan. Spray the tin well with cooking spray first. These bite-sized monsters are perfect for classroom parties or snack tables where you want people to grab and go.
I tried a version last year with crushed Oreos mixed in for a dirt-and-monsters theme. It was messy and the treats didn’t hold together as well, but the flavor was incredible. Sometimes the experiments that don’t quite work out still taste amazing.
Serving & Storage Suggestions
These monster treats are best served at room temperature. The marshmallow coating stays soft and chewy, and the cereal keeps its satisfying crunch. If you’re serving them at a party, arrange them on a platter with the eyes facing up so everyone can see the silly faces.
For a Halloween party spread, I like to serve these alongside my Easy Candy Corn Popcorn Halloween Party Mix for a sweet and salty combo that disappears fast. They also pair great with warm apple cider or a pumpkin spice latte for the adults.
Storage: Store the treats in an airtight container at room temperature. Layer them between sheets of wax paper so the candy eyes don’t stick to each other. They’ll stay fresh for up to 5 days, though I doubt they’ll last that long.
Freezer Instructions: You can freeze these treats for up to 2 months. Wrap each treat individually in plastic wrap, then place them in a freezer-safe bag. Thaw at room temperature for about 20 minutes before serving. The texture stays surprisingly good—I’ve done this several times when I wanted to get ahead on Halloween prep.
Reheating: If your treats have been sitting out for a while and feel a little firm, microwave them for 5-8 seconds. This softens the marshmallow and makes them taste freshly made. Just don’t overdo it or the candy eyes might slide off.
One thing I’ve noticed is that these treats actually get better after a day or two. The marshmallow softens slightly and the flavors meld together. They’re still delicious on day one, but day two is when they really hit their stride.
Nutritional Information & Benefits
Let’s be real—these are a treat, not a health food. But here’s the approximate nutritional breakdown for one monster treat (based on 12 servings):
- Calories: Approximately 180-200
- Total Fat: 6g
- Saturated Fat: 3.5g
- Carbohydrates: 33g
- Sugar: 18g
- Protein: 1.5g
- Sodium: 115mg
On the positive side, crispy rice cereal is fortified with iron and B vitamins, so you’re getting a tiny bit of nutritional value. The butter adds a small amount of vitamin A, and if you use dark chocolate for the decorations, you’ll get some antioxidants. But honestly, this is a Halloween treat. It’s meant to be fun and indulgent, not a source of daily nutrition.
For those with dietary concerns, this recipe can be made gluten-free as mentioned above. It’s naturally nut-free (just check your chocolate and candy eyes for cross-contamination warnings). And if you use vegan marshmallows and butter, these can be made completely plant-based.
I personally believe that Halloween is one of those days where you just enjoy yourself. One of these treats isn’t going to derail anyone’s healthy eating habits. They’re small, they’re fun, and they bring so much joy to the people who eat them.
Conclusion
These Easy Monster Rice Krispie Treats have become the most requested Halloween recipe in my house, and I completely understand why. They’re simple enough to make on a busy weeknight, fun enough to impress at parties, and customizable enough that you never get bored making them.
Whether you stick with classic green monsters or branch out into purple, orange, or chocolate versions, these treats are guaranteed to bring smiles to your Halloween celebrations. The best part? You don’t need any special skills or equipment. If you can melt butter and stir, you can make these.
I’d love to see what kind of monsters you create. Tag me in your photos, leave a comment below with your favorite variation, or share how you decorated your treats. Halloween is all about creativity and fun, and these little monsters are the perfect canvas for both.
So go ahead—grab a bag of marshmallows, find those candy eyes you bought last year, and make some memories with your family. The kitchen will be sticky, the kids will be sugared up, and everyone will be happy. That’s what Halloween is really about.
Frequently Asked Questions
Can I use regular food coloring instead of gel?
You can, but I don’t recommend it. Liquid food coloring adds extra moisture to the marshmallow mixture, which can make the treats sticky and harder to cut. Gel coloring gives you a much more vibrant color without affecting the texture. If you only have liquid, use it sparingly and expect slightly stickier treats.
How do I keep the candy eyes from falling off?
The key is to press the eyes into the treats while they’re still slightly warm. If they’ve cooled completely, dip each eye into a tiny bit of melted chocolate before pressing it on. The chocolate acts like glue and holds everything in place once it sets.
Can I make these treats ahead of time?
Absolutely. You can make them up to 2 days ahead and store them in an airtight container at room temperature. For longer storage, freeze them for up to 2 months. Just wrap each treat individually in plastic wrap before freezing.
What if my treats come out too hard?
This usually happens from pressing the mixture too firmly into the pan or overcooking the marshmallows. Next time, press the mixture gently and keep the heat low when melting. If your current batch is too hard, microwave each treat for 5-8 seconds to soften it up.
Can I use a different cereal?
Yes! Cocoa Rice Krispies, Fruity Pebbles, or even corn flakes can work. Just keep in mind that different cereals have different textures and sweetness levels. Fruity Pebbles will give you a sweeter, more colorful treat, while corn flakes will be crunchier and less sweet.
Pin This Recipe!
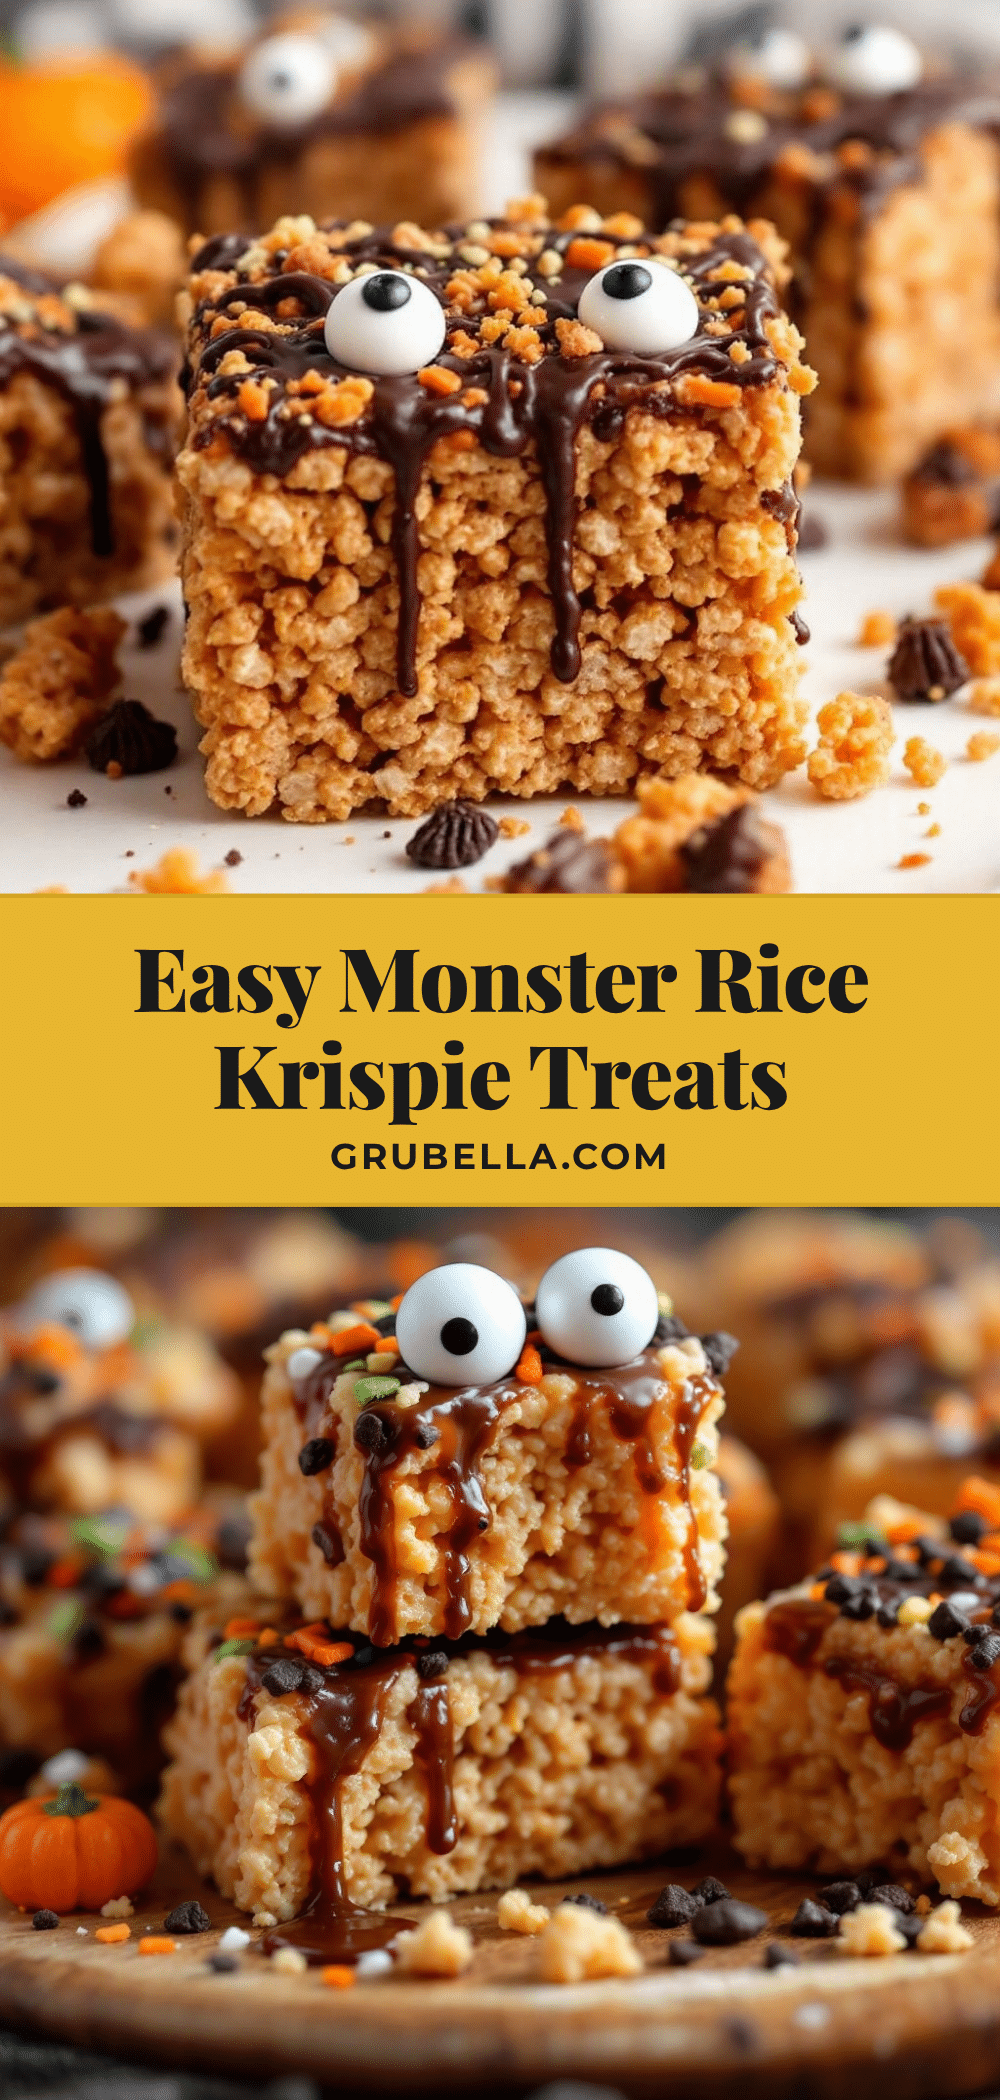
Easy Monster Rice Krispie Treats: Best Halloween Dessert
These no-bake Monster Rice Krispie Treats are the perfect Halloween dessert—ready in 15 minutes with simple ingredients like butter, marshmallows, and neon green gel food coloring. Customize with candy eyes and chocolate faces for a fun, kid-friendly treat that steals the show at any Halloween party.
- Prep Time: 10 minutes
- Cook Time: 5 minutes
- Total Time: 15 minutes
- Yield: 12-15 servings 1x
- Category: Dessert
- Cuisine: American
Ingredients
- 3 tablespoons (42g) unsalted butter
- 10 ounces (about 6 cups or 283g) mini marshmallows
- 6 cups (about 180g) crispy rice cereal
- 1/2 teaspoon neon green gel food coloring
- 24–30 candy eyeballs
- 1/2 cup (about 85g) chocolate melting wafers (optional)
- 1 teaspoon vanilla extract
- Pinch of salt
Instructions
- Line a 9×13 inch baking pan with parchment paper, leaving overhang on two sides. Lightly spray with non-stick cooking spray.
- In a large pot over medium-low heat, melt 3 tablespoons unsalted butter until fully melted but not browning, about 2 minutes.
- Add 6 cups mini marshmallows and stir constantly until completely melted and smooth, about 3-4 minutes. Keep heat on medium-low to avoid scorching.
- Remove pot from heat. Stir in 1 teaspoon vanilla extract, a pinch of salt, and 1/2 teaspoon neon green gel food coloring until color is even.
- Pour in 6 cups crispy rice cereal and fold gently until all cereal is coated. Work quickly as mixture sets fast.
- Scrape mixture into prepared pan. Spray spatula with cooking spray and press into an even layer—don’t press too hard.
- Let treats cool at room temperature for 20-30 minutes until set but still slightly warm.
- While treats cool, microwave chocolate melting wafers in a small bowl in 20-second bursts, stirring between each, until smooth (about 60-90 seconds total).
- Lift treats from pan using parchment. Cut into 12-15 rectangles. Dip candy eyeballs in melted chocolate and press onto each treat. Pipe on monster mouths, eyebrows, or horns with remaining chocolate.
- Let chocolate set at room temperature for about 15 minutes before serving.
Notes
Use gel food coloring instead of liquid for vibrant color without extra moisture. If mixture gets too stiff while pressing, microwave the pot for 10-15 seconds. If candy eyes won’t stick, dip in melted chocolate. Store in airtight container at room temperature for up to 5 days, or freeze individually wrapped for up to 2 months. Microwave 5-8 seconds to soften if needed.
Nutrition
- Serving Size: 1 monster treat
- Calories: 180200
- Sugar: 18
- Sodium: 115
- Fat: 6
- Saturated Fat: 3.5
- Carbohydrates: 33
- Protein: 1.5
Keywords: Halloween treats, monster Rice Krispie treats, no-bake dessert, Halloween dessert, kid-friendly Halloween recipe, easy Halloween treats



