Love this? Save it for later!
Share the inspiration with your friends
November 2nd, and the house is finally quiet. The last of the Halloween decorations are being taken down, the plastic pumpkins stacked in a closet somewhere, and the kids are asleep. Honestly, I was expecting to feel a sense of loss, but instead, I just felt tired. Tired of sugar, tired of costumes, tired of the noise. I wandered into the kitchen not for a snack, but for a distraction. The oven was still warm from dinner, and I had a bowl of egg whites staring back at me. I didn’t want a heavy cake. I didn’t want a dense brownie. I wanted something light. Something that would vanish.
That is when I decided to make these crispy ghost meringue cookies. It wasn’t planned. It just felt right. The kind of quiet, solitary ritual that only happens when the house is silent. There is something meditative about whipping egg whites until they hold their shape. It forces you to slow down. You have to pay attention to the peaks, the shine, the way the light catches the sugar. It’s not performance cooking. It’s just you and the bowl and the quiet.
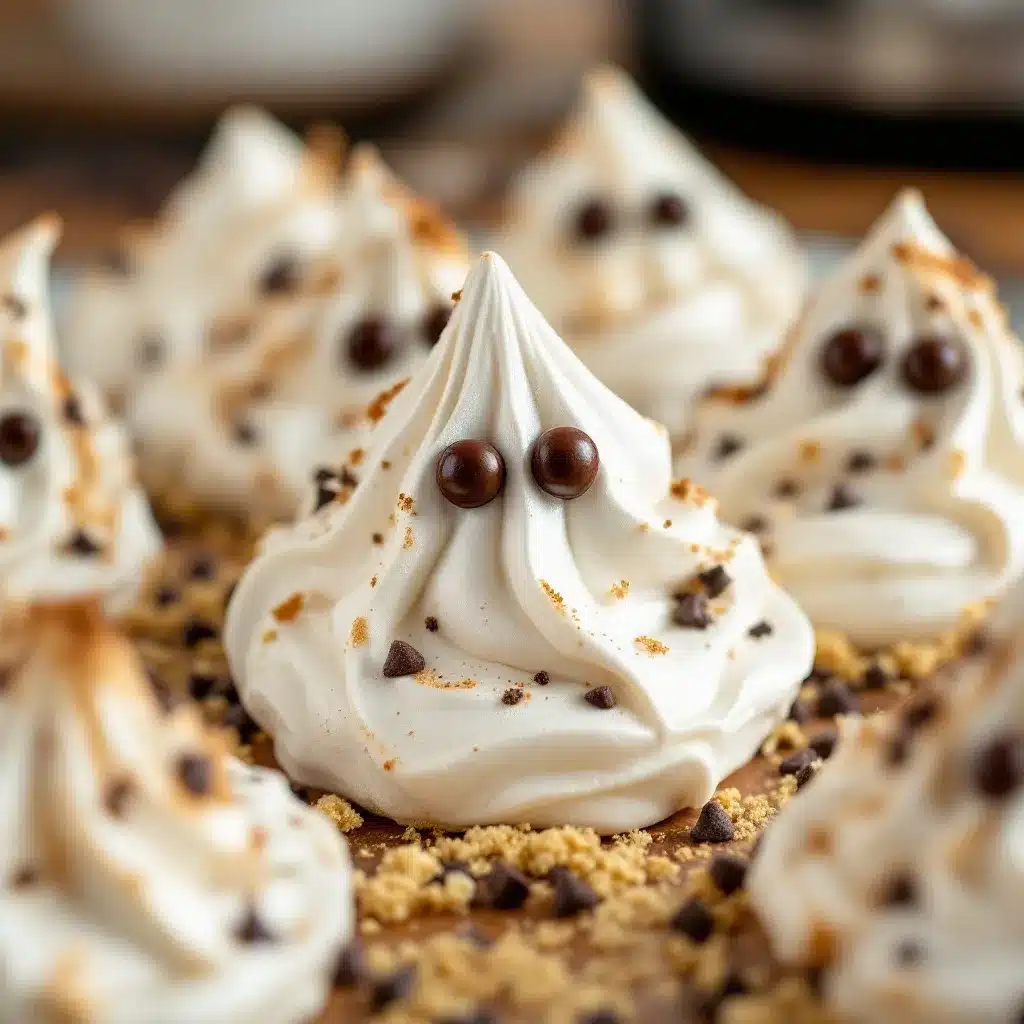
I piped them into little ghost shapes, simple and rounded, with two chocolate chips for eyes. They looked a bit silly, but also kind of peaceful. I baked them low and slow, watching them dry out rather than brown. When they came out, they were pure white, crisp, and fragile. One bite and they dissolve. No crumb, no mess, just sweetness. It felt like a small victory in the middle of the post-holiday slump. A tiny, sweet reminder that sometimes the best things are the simplest. I ate one standing at the counter, listening to the silence, and it was enough.
Why You’ll Love This Recipe
Making meringue can feel intimidating if you’ve never done it before. You might worry about it collapsing or turning out chewy instead of crisp. But this recipe for crispy ghost meringue cookies with chocolate chip eyes is designed to be foolproof. I’ve tested this method over and over, adjusting the temperature and time until it was perfect. It’s not about fancy techniques; it’s about patience and understanding your oven.
- Quick & Easy Prep: The actual mixing time is minimal. You just whip the egg whites and sugar. The baking time is long, but that’s mostly hands-off. You can set it and forget it while you read a book.
- Simple Ingredients: You only need egg whites, sugar, and chocolate chips. That’s it. No exotic flours or hard-to-find spices. If you have these in your pantry, you’re good to go.
- Perfect for Halloween: Even if you’re done with October, these cookies fit the season. They are spooky-cute without being overly festive. Great for school parties or a quiet treat.
- Crowd-Pleaser: Kids love the ghost shape. Adults love the light texture. It’s a safe bet for any gathering where you don’t want to bring another heavy dessert.
- Unbelievably Delicious: The texture is the key. It’s like eating a cloud that crunches. The sweetness is clean, not cloying. It’s the kind of cookie you don’t even realize you’re eating until the plate is empty.
What makes this different from other meringue recipes is the specific use of chocolate chips for the eyes. It adds a tiny bit of savory-sweet contrast and makes the ghost shape instantly recognizable. It’s a small detail, but it changes everything. It’s not just a white disc; it’s a character. And emotionally, these cookies bring back a sense of playfulness. Cooking doesn’t always have to be serious. Sometimes it’s just about making something cute and tasty.
What Ingredients You Will Need
This recipe relies on the chemistry of egg whites and sugar to create that signature crisp texture. You don’t need much, but what you do use matters. Quality counts, especially with the sugar and the eggs. I prefer using fresh, large eggs because they whip up better. Older eggs separate easier, but fresh ones have more structure.
- Egg Whites: You will need 3 large egg whites. Let them come to room temperature. This is crucial. Room temperature whites whip up to a greater volume than cold ones. It’s a simple step that makes a big difference.
- Granulated Sugar: Use 3/4 cup of fine granulated sugar. I recommend using a high-quality brand like Domino or C&H. The finer the grain, the easier it dissolves into the egg whites. Coarse sugars can leave gritty spots, and nobody wants that in a delicate cookie.
- Vinegar or Cream of Tartar: Add 1/2 teaspoon of white vinegar or cream of tartar. This stabilizes the egg whites. It helps them hold their shape and prevents them from deflating. Vinegar adds a tiny bit of tang that balances the sweetness, but you won’t taste it.
- Vanilla Extract: 1/2 teaspoon of pure vanilla extract. It adds depth. Skip the imitation stuff. It’s not worth the risk of an artificial aftertaste in such a simple recipe.
- Chocolate Chips: Mini chocolate chips are best for the eyes. They are small enough to fit on the ghost shape without weighing it down. I use semi-sweet chips because they aren’t too sweet. If you can’t find mini chips, you can chop regular chips into tiny pieces.
- Food Coloring (Optional): If you want colored eyes, you can use gel food coloring mixed with a drop of water. But honestly, the chocolate chips are easier and look more natural.
Substitutions are limited here. You can’t swap the egg whites for aquafaba if you want this specific crisp texture; it changes the chemistry too much. You can use brown sugar, but it will make the meringues chewy and off-white. Stick to white sugar for that classic ghost look. And for the chocolate, dark chips work too if you prefer less sweetness.
Equipment Needed
You don’t need a lot of fancy gear for this. A few basic tools are all you need to succeed.
- Electric Mixer: A hand mixer or stand mixer is highly recommended. Whipping egg whites by hand takes a lot of effort and time. I’ve tried it, and it’s not fun. A mixer gets those peaks in minutes.
- Bowl: You need a large, clean bowl. Glass or metal is best. Plastic can retain oils, which can prevent the egg whites from whipping properly. Make sure it’s spotless.
- Piping Bags: Standard piping bags work well. If you don’t have them, you can use a ziplock bag with the corner cut off. It’s not as precise, but it works.
- Baking Sheets: Two large baking sheets. Line them with parchment paper. Do not use silicone mats if you want maximum crispness; parchment allows more airflow.
- Spatula: A rubber spatula for folding in the chocolate chips gently.
I once tried using a plastic bowl that had residual oil from making dressing, and the egg whites never stiffened. Lesson learned. Always wash your bowl with soap and water, then wipe it with a little vinegar to be sure. It’s a small step that saves you from a failed batch.
Preparation Method
- Prep the Oven and Sheets: Preheat your oven to 200°F (95°C). This is a low temperature. You are drying the meringues, not baking them. Line your baking sheets with parchment paper. This prevents sticking and makes cleanup easy.
- Separate the Eggs: Separate the egg whites from the yolks carefully. Make sure no yolk gets into the whites. Even a tiny drop of yolk can stop the whites from whipping. Place the whites in your clean bowl.
- Whip the Egg Whites: Start mixing on medium speed. Once they become foamy, add the vinegar or cream of tartar. Increase the speed to high. Whip until soft peaks form. This takes about 2-3 minutes. The whites should look like whipped cream.
- Add the Sugar: While continuing to whip, slowly add the granulated sugar. Pour it in a thin stream. Don’t dump it all in at once. Add it over the course of 2-3 minutes. Keep whipping until stiff, glossy peaks form. This is the key stage. When you lift the beaters, the peaks should stand straight up without drooping. This takes about 5-7 minutes total.
- Check the Texture: Rub a little meringue between your fingers. If it feels gritty, keep whipping. You want the sugar to be fully dissolved. The meringue should be smooth and shiny.
- Fold in the Vanilla: Add the vanilla extract. Fold it in gently with a spatula. Just a few strokes to incorporate it. Don’t overmix.
- Pipe the Ghosts: Spoon the meringue into a piping bag fitted with a round tip (or use the ziplock method). Pipe small, rounded shapes onto the baking sheets. Leave space between them as they spread slightly. Try to make them look like little ghosts. Wide at the bottom, narrower at the top.
- Add the Eyes: Place two mini chocolate chips on each ghost for eyes. Press them in slightly so they stick. If you are using colored eyes, add them now.
- Bake: Place the sheets in the oven. Bake for 1.5 to 2 hours. The meringues should be dry to the touch and easily lift off the parchment. They should not brown at all. If they start to brown, your oven is too hot. Lower the temperature slightly.
- Cool: Turn off the oven and leave the meringues inside with the door cracked open. Let them cool completely. This residual heat helps dry them out further and prevents cracking.
Cooking Tips & Techniques
Making meringue is science, but it’s forgiving if you know the rules. The biggest mistake people make is under-whipping. If your peaks are soft, your ghosts will spread into flat puddles. You need stiff peaks. If you are using a hand mixer, be patient. It takes longer, but the result is worth it.
Humidity is the enemy of meringue. If you live in a humid climate, these cookies might turn out chewy. Try making them on a dry day. Avoid making them right after a shower or when it’s raining heavily. The sugar in the meringue attracts moisture from the air.
I once baked meringues at 250°F instead of 200°F. They came out brown and cracked. They tasted good, but they looked like burnt rocks. Stick to the low temperature. It’s the secret to that pure white, cloud-like appearance. Also, make sure your bowl is completely clean. Any oil will kill the volume. I wipe my bowl with lemon juice before starting. It’s a trick my grandmother taught me.
Don’t open the oven door while they are baking. The temperature change can cause them to collapse. Be patient. Let the oven do its work. The long baking time is necessary to dry them out completely.
Variations & Adaptations
While the classic ghost shape is fun, you can play with this recipe. Here are a few ideas:
- Colored Meringues: Add a drop of gel food coloring to the egg whites before whipping. You can make pink, blue, or orange ghosts. Just a tiny drop goes a long way. Gel colors are better than liquid because they don’t add extra water.
- Flavored Extracts: Swap the vanilla for almond or lemon extract. Almond meringues are classic. Lemon adds a bright, tart note that cuts the sweetness. Be careful with strong flavors; a little goes a long way.
- Gluten-Free: This recipe is naturally gluten-free. Just make sure your chocolate chips are certified gluten-free if you have a severe allergy.
- Dairy-Free: Use dairy-free chocolate chips. Most mini chips are already dairy-free, but check the label. The meringue itself is just egg and sugar, so it’s always dairy-free.
I tried making these with brown sugar once. They turned out chewy and caramel-colored. They were tasty, but they didn’t look like ghosts. They looked like little clouds. If you want the ghost look, stick to white sugar. But if you like chewy meringues, brown sugar is a fun variation.
Serving & Storage Suggestions
These cookies are best served at room temperature. They are crisp and delicate. If you refrigerate them, they might absorb moisture and become soft. Store them in an airtight container at room temperature. They will last for up to two weeks. I doubt they will last that long, though. They disappear quickly.
Pair them with a hot beverage. Coffee or tea works well. The bitterness of the coffee balances the sweetness of the meringue. I also like serving them with a glass of cold milk. It’s a classic combination. If you want to make a platter, add some fresh fruit or nuts. The contrast in texture and flavor is nice.
If you need to make them ahead, you can prepare the meringue batter and pipe it onto the sheets. Cover them loosely with plastic wrap and refrigerate for up to 4 hours. Then bake as directed. This is useful if you are hosting a party and want to have them ready to go.
Do not freeze them. Meringues do not freeze well. They become sticky and lose their crispness when thawed. It’s not worth the risk. Make them fresh when you need them.
Nutritional Information & Benefits
These cookies are light and airy, but they are mostly sugar. Each cookie has about 15-20 calories. They are low in fat and protein, but high in carbohydrates. They are a treat, not a health food. Enjoy them in moderation.
They are naturally gluten-free and dairy-free, which makes them accessible for many people with dietary restrictions. If you use dairy-free chocolate chips, they are vegan-friendly. Egg whites are a good source of protein, but the amount in each cookie is small.
I like these because they satisfy a sweet tooth without leaving you feeling heavy. After a big meal, a small meringue is the perfect ending. It’s light and refreshing. It doesn’t weigh you down. It’s a guilty pleasure that doesn’t feel too guilty.
Conclusion
Making crispy ghost meringue cookies with chocolate chip eyes is a simple, joyful activity. It doesn’t require fancy skills or expensive ingredients. It just requires a little patience and a clean bowl. The result is a delicate, sweet treat that is perfect for Halloween or any time of year.
I hope you try this recipe. It’s a great way to use up extra egg whites if you’ve been making custards or ice cream. It’s also a fun project to do with kids. They love the ghost shape and the chocolate eyes. It’s a memory I’ll keep. So grab your mixer, preheat your oven, and make some ghosts. You won’t regret it.
Leave a comment below if you make these. I’d love to hear how they turned out. And if you need more easy dessert ideas, check out this soft baked iced maple pumpkin cookies for a spiced alternative. Or try this easy baked pumpkin spice donuts if you want something a bit more substantial. Happy baking!
FAQs
Why are my meringues chewy instead of crisp?
This usually happens if the oven temperature is too high or if they aren’t baked long enough. Make sure your oven is at 200°F and bake them for the full 1.5 to 2 hours. Humidity can also cause chewiness, so try making them on a dry day.
Can I use egg whites from a carton?
Yes, you can use pasteurized liquid egg whites. However, fresh egg whites whip up better and have more volume. If you use carton whites, you might need to whip them longer to get stiff peaks.
How do I store these cookies?
Store them in an airtight container at room temperature. They will last for up to two weeks. Do not refrigerate them, as they will absorb moisture and become soft.
Can I make these gluten-free?
Yes, this recipe is naturally gluten-free. Just ensure your chocolate chips are certified gluten-free if you have a severe allergy.
Why did my meringues collapse?
This can happen if the egg whites are under-whipped or if the oven door was opened too early. Make sure you whip until stiff peaks form and do not open the oven door while baking. Also, ensure your bowl is completely clean and free of oil.
Pin This Recipe!
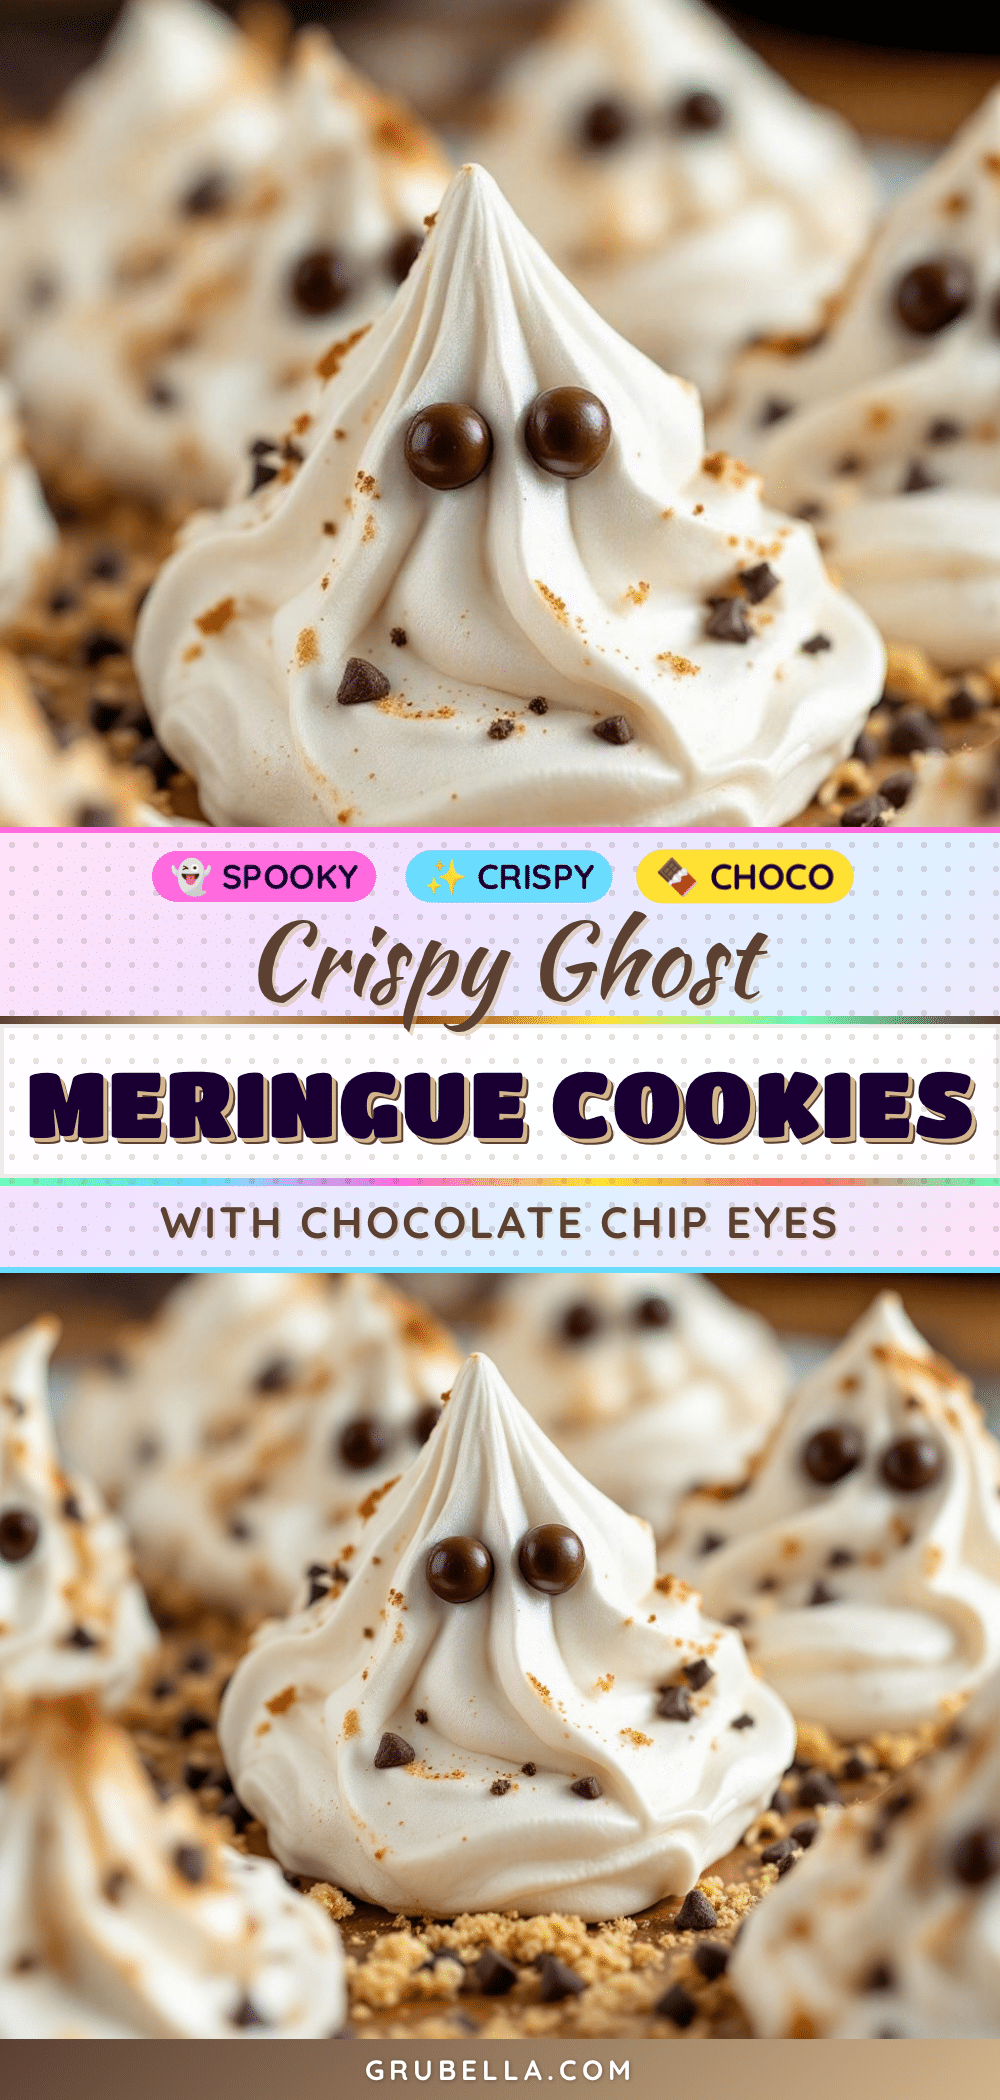
Crispy Ghost Meringue Cookies: Easy Halloween Treat
Light, airy, and crisp meringue cookies piped into ghost shapes with chocolate chip eyes. These simple, gluten-free treats are perfect for Halloween or any time you need a delicate, sweet snack.
- Prep Time: 15 minutes
- Cook Time: 1.5 to 2 hours
- Total Time: 2 hours 15 minutes
- Yield: Approximately 20-24 cookies 1x
- Category: Dessert
- Cuisine: American
Ingredients
- 3 large egg whites, room temperature
- 3/4 cup granulated sugar
- 1/2 teaspoon white vinegar or cream of tartar
- 1/2 teaspoon pure vanilla extract
- Mini semi-sweet chocolate chips (for eyes)
Instructions
- Preheat oven to 200°F (95°C). Line two large baking sheets with parchment paper.
- Separate egg whites from yolks, ensuring no yolk contaminates the whites. Place whites in a large, clean glass or metal bowl.
- Whip egg whites on medium speed until foamy. Add vinegar or cream of tartar, then increase speed to high.
- Whip until soft peaks form (about 2-3 minutes).
- While continuing to whip, slowly add granulated sugar in a thin stream over 2-3 minutes.
- Whip until stiff, glossy peaks form (about 5-7 minutes total). Rub a small amount between fingers to ensure sugar is fully dissolved.
- Gently fold in vanilla extract with a rubber spatula.
- Spoon meringue into a piping bag fitted with a round tip. Pipe small, rounded ghost shapes onto baking sheets, leaving space between them.
- Place two mini chocolate chips on each ghost for eyes, pressing slightly to adhere.
- Bake for 1.5 to 2 hours until dry to the touch and easily lifted from parchment. Do not let them brown.
- Turn off the oven and leave meringues inside with the door cracked open to cool completely.
Notes
Ensure all equipment is completely clean and free of oil, as even a tiny drop of yolk or oil can prevent egg whites from whipping. Humidity can cause chewiness, so bake on a dry day. Do not open the oven door during baking. Store in an airtight container at room temperature for up to two weeks. Do not refrigerate or freeze.
Nutrition
- Serving Size: 1 cookie
- Calories: 18
- Sugar: 4
- Carbohydrates: 4
Keywords: meringue cookies, halloween treats, ghost cookies, gluten-free dessert, easy baking, egg whites, crispy cookies



