Love this? Save it for later!
Share the inspiration with your friends
“Is that mint or did I just hallucinate the smell of Christmas?”
My husband, Dave, stood in the kitchen doorway, holding his phone like a shield. He looked half-asleep, his hair doing that thing it does when he’s been scrolling social media for too long. The house was quiet, the kind of heavy, snowy quiet that only happens when the power flickers out during a winter storm. We had been huddled on the couch for an hour, trying to read by candlelight, when the smell hit him.
It wasn’t just hot chocolate. It was sharp, cool, and sweet all at once.
I didn’t even look up from my book. “It’s peppermint,” I said. “And if you don’t come over here, I’m drinking it all.”
That was it. He dropped his phone and padded over in his socks. That night, with the wind howling outside and the lights out inside, we didn’t need a fancy party or a holiday gathering. We just needed mugs, a pot of rich cocoa, and a handful of crushed candy canes.
I’ve made this Cozy Peppermint Hot Chocolate Bar Station a dozen times since then, but that first night still sticks with me. It wasn’t about the presentation or the fancy syrups. It was about creating a little pocket of warmth in the middle of a freezing night.
People always think a hot chocolate bar requires a lot of planning and expensive ingredients. Honestly, it’s just about mixing the right base and letting everyone build their own cup. You know how kids (and adults) love feeling like they have control over their dinner? This is exactly that, but warm and comforting.
The best part is that the smell alone draws people in. It makes the house feel like a bakery, but cozier. Like a cabin.
I started tweaking the recipe over the years, adding different toppings and trying various milks. But the core idea remains the same: simple, minty, and deeply satisfying. It’s not just a drink; it’s an experience that brings everyone to the kitchen.
Now, whenever there’s a blizzard or just a really cold Tuesday, I set up this station. It’s become our tradition. And honestly, it’s the easiest way to make the holidays feel special without any stress.
Why You’ll Love This Recipe
Let’s be real for a second. We all love hot chocolate, but store-bought packets taste like sugar and regret. This homemade Cozy Peppermint Hot Chocolate Bar Station is completely different. It’s rich, creamy, and has that authentic peppermint kick that makes you feel like you’re in a movie.
I’ve tested this recipe probably fifty times. Some versions were too sweet, others were too watery. But this one? This one hits the sweet spot. It’s the kind of drink that makes you close your eyes after the first sip and just sigh. It’s comfort food in a mug.
Here is why this setup is going to become your new favorite winter ritual:
- Quick & Easy: The base cocoa mix takes less than ten minutes to prepare. You can have it ready before the water even boils. Perfect for those last-minute guests who show up unannounced (we’ve all had them).
- Simple Ingredients: You likely already have most of this in your pantry. Cocoa powder, sugar, milk, and peppermint extract are staples. No fancy grocery trips needed for obscure items.
- Perfect for Winter Gatherings: Whether it’s a holiday party, a snowy night in, or just a cozy Sunday morning, this fits every occasion. It pairs beautifully with other warm treats like classic apple crisp for a full dessert spread.
- Crowd-Pleaser: Kids love the candy canes. Adults love the real cream and high-quality cocoa. It gets rave reviews from everyone, even the pickiest eaters.
- Unbelievably Delicious: The texture is velvety smooth, and the flavor combo of chocolate and mint is next-level. It’s not just good; it’s the kind of recipe that makes you want to make it every week.
- Interactive Fun: Unlike a pot of soup or a casserole, this is interactive. Setting up a bar station lets everyone customize their drink. It’s great for impressing guests without you having to cook for everyone individually.
What makes this recipe different from the rest is the balance. A lot of peppermint drinks are too strong, tasting like toothpaste. This one uses a careful ratio of cocoa to mint extract so it tastes like a treat, not a cleaning product. It’s my best version, and I’m confident you’ll agree.
What Ingredients You Will Need
This recipe uses simple, wholesome ingredients to deliver bold flavor and satisfying texture without the fuss. The beauty of a hot chocolate bar is that the base is consistent, but the toppings allow for endless creativity. I like to keep the base rich and the toppings varied so everyone finds something they love.
For the base hot chocolate mix, you’ll need:
- Unsweetened Cocoa Powder: Use a good quality Dutch-processed cocoa for a darker, smoother flavor. I recommend Hershey’s Special Dark or Ghirardelli for best texture.
- Granulated Sugar: White sugar balances the bitterness of the cocoa. If you prefer a deeper flavor, you can swap half for brown sugar.
- Instant Espresso Powder: This is the secret weapon. It doesn’t make it taste like coffee; it just deepens the chocolate flavor. If you don’t have any, it’s optional, but I highly recommend it.
- Salt: A pinch of sea salt is non-negotiable. It makes the chocolate taste more like chocolate.
- Whole Milk: For the creamiest result, use whole milk. You can use oat milk or almond milk for a dairy-free version, but it will be thinner.
- Heavy Cream: Adding a splash of heavy cream at the end gives it that café-quality richness.
- Peppermint Extract: Use pure peppermint extract, not artificial flavoring. A little goes a long way. Avoid using peppermint oil unless you measure carefully, as it is extremely potent.
- Vanilla Extract: A teaspoon of vanilla adds warmth and rounds out the minty notes.
For the bar station toppings, here are some ideas to get you started:
- Candy Canes: Crushed or whole. They add crunch and visual appeal.
- Marshmallows: Mini marshmallows are classic, but toasted marshmallows take it to the next level.
- Chocolate Shavings: Dark, milk, or white chocolate shavings add elegance.
- Whipped Cream: Make it from scratch if you can. It’s light and airy, unlike the canned stuff.
- Peppermint Syrup: For those who want an extra mint kick.
- Cinnamon Sticks: Great for stirring and adding a spicy aroma.
I usually buy my peppermint extract from a local spice shop because the brands in the grocery store can sometimes taste synthetic. Also, look for candy canes that are firm and not sticky. Freshness matters for the crunch.
Equipment Needed
You don’t need a lot of fancy gear to pull this off. In fact, keeping it simple is part of the charm. Here is what you’ll need to get started:
- Large Saucepan: A heavy-bottomed saucepan is best. It prevents the milk from scorching on the bottom. I use a 3-quart saucepan for a batch serving 4-6 people.
- Whisk: A good silicone whisk helps blend the cocoa powder smoothly. No lumps allowed.
- Mugs: Use sturdy mugs. Ceramic is best because it retains heat. If you don’t have enough matching mugs, mix and match—it adds to the cozy, eclectic vibe.
- Serving Bowls: Small glass bowls for the toppings. Clear glass looks nice on a table, showing off the colors of the candy canes and marshmallows.
- Measuring Spoons: For the extract and espresso powder. Precision matters here, especially with the mint.
- Blender (Optional): If you want an extra frothy texture, you can blend the hot chocolate for 10 seconds before pouring. It’s a nice touch for special occasions.
If you don’t have a large saucepan, you can make individual cups in the microwave, but the bar station works best when you make a big batch. It feels more communal. Also, keep a towel nearby. Hot milk can bubble over if you’re not paying attention. I learned that the hard way one Christmas Eve.
Preparation Method
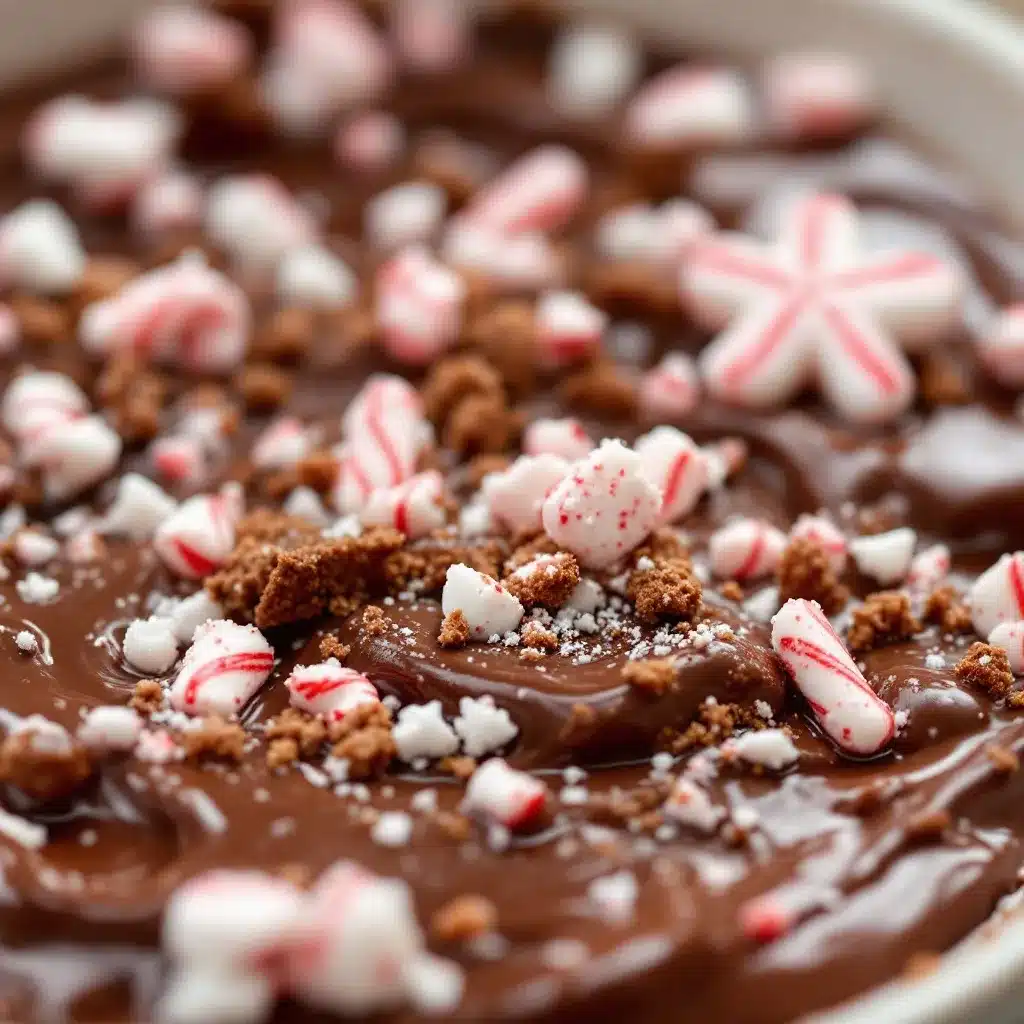
Making the base hot chocolate is straightforward, but there are a few tricks to make it perfect. Follow these steps carefully, and you’ll have a bar that looks and tastes professional.
- Measure Your Dry Ingredients: In a large bowl, combine ½ cup of unsweetened cocoa powder, ½ cup of granulated sugar, 1 tablespoon of instant espresso powder, and ¼ teaspoon of salt. Whisk these together until they are well blended. This step ensures you don’t get clumps of sugar or cocoa in your final drink. It takes about 30 seconds.
- Heat the Milk: Pour 4 cups of whole milk into your saucepan. Place it over medium heat. You want to warm the milk, not boil it. Boiling can scald the milk and give it a cooked taste. Watch for small bubbles forming around the edges. This takes about 5-7 minutes.
- Combine Wet and Dry: Once the milk is hot, reduce the heat to low. Sprinkle the cocoa mixture over the milk while whisking constantly. Whisk for about 2-3 minutes until the mixture is smooth and slightly thickened. The aroma should be rich and chocolatey.
- Add the Flavors: Remove the saucepan from the heat. Stir in 1 teaspoon of pure peppermint extract and 1 teaspoon of vanilla extract. Taste it now. If you want it sweeter, add more sugar. If you want more mint, add a few more drops of extract. Remember, the mint will mellow slightly as it cools.
- Keep it Warm: Pour the hot chocolate into a thermos or a slow cooker set to “warm.” This keeps it at the perfect drinking temperature without further cooking. If you don’t have these, keep the saucepan on the lowest possible heat setting, stirring occasionally.
- Set Up the Bar: Arrange your mugs on a tray or table. Place the bowls of toppings next to the hot chocolate. Arrange the candy canes, marshmallows, and chocolate shavings in separate bowls. Add a ladle or heat-proof pitcher for serving.
- Serve: Ladle the hot chocolate into mugs. Let everyone add their own toppings. Stir gently and enjoy immediately while it’s hot.
The total active time is about 15 minutes. The rest is just waiting for the milk to heat up. Don’t rush the heating process; low and slow is the key to creamy hot chocolate.
Cooking Tips & Techniques
I’ve made my fair share of burnt milk and lumpy cocoa, so here are some tips to help you avoid common mistakes.
First, never let the milk boil. High heat breaks down the proteins in the milk, leading to a skin forming on top and a weird texture. Medium-low heat is your friend. If you see bubbles breaking the surface, take it off the heat for a moment.
Second, whisk the dry ingredients with a little cold milk first to make a paste. This is a professional technique called “tempering.” It ensures the cocoa dissolves completely before you add the rest of the hot milk. It’s an extra step, but it guarantees a silky smooth drink.
Third, taste as you go. Peppermint extract varies in strength depending on the brand. Some are very potent. Start with 1 teaspoon and add more only if needed. You can always add more mint, but you can’t take it out.
Also, if you’re making this for a crowd, double the batch. But make sure your saucepan is large enough. Hot chocolate expands slightly when heated. If it’s too full, it might bubble over.
Finally, don’t skip the salt. It’s easy to forget, but it’s crucial for balancing the sweetness. Without it, the drink tastes flat and cloying.
Variations & Adaptations
While the classic peppermint version is my favorite, there are plenty of ways to twist this recipe.
- Spicy Peppermint: Add a pinch of cayenne pepper or a dash of cinnamon to the base. It adds a warmth that complements the mint beautifully.
- White Chocolate Mint: Swap the dark cocoa for white chocolate chips. Melt them into the hot milk for a sweeter, creamier drink. This is a huge hit with kids.
- Decaf Option: If you’re serving kids or people sensitive to caffeine, skip the espresso powder. The flavor change is negligible.
- Vegan Version: Use oat milk or coconut milk instead of dairy milk. Use vegan marshmallows and dark chocolate shavings. The result is surprisingly rich and satisfying.
- Adults Only: Stir in a shot of peppermint schnapps or a splash of coffee liqueur for a grown-up version.
I once tried making this with almond milk, and it was too thin. Coconut milk works better because of its higher fat content. If you’re vegan, stick to coconut or oat milk for the best texture.
Serving & Storage Suggestions
Serve this hot chocolate immediately after making it. It’s best enjoyed piping hot. If you let it sit, the flavor can change, and the toppings might get soggy.
For presentation, use a wooden tray or a slate board for the bar. It adds to the rustic, cozy feel. Garnish the mugs with a cinnamon stick or a mini candy cane on the rim.
If you have leftover hot chocolate, store it in an airtight container in the refrigerator for up to 3 days. Reheat it gently on the stove or in the microwave. Stir well before serving, as the cocoa may settle at the bottom.
You can also store the dry mix in an airtight jar for up to 2 months. Just add hot milk and extract when you’re ready to use it. It’s a great gift idea, by the way.
Nutritional Information & Benefits
This recipe is rich and indulgent, so enjoy it in moderation. A typical serving (1 cup) contains approximately 250 calories, 12g of fat, and 30g of sugar.
The cocoa powder provides antioxidants, which are good for heart health. The milk adds calcium and protein. If you use dark chocolate, it also contains flavonoids.
For those watching their sugar intake, you can reduce the sugar in the base mix by half and use a sugar-free syrup for the toppings. It’s still delicious, just less sweet.
Conclusion
This Cozy Peppermint Hot Chocolate Bar Station is more than just a drink. It’s a way to bring people together during the cold winter months. It’s easy to make, customizable, and absolutely delicious.
I hope you try this recipe and make it your own. Add your favorite toppings, experiment with different milks, and enjoy the process. It’s a simple pleasure that makes a big impact.
Please share your creations with me! I’d love to see how you set up your bar. Leave a comment below with your favorite topping combination.
Stay warm and happy sipping!
FAQs
Can I make this hot chocolate in advance?
Yes, you can make the base up to 3 days in advance. Store it in the fridge and reheat gently on the stove. Do not add the peppermint extract until you reheat it, as the flavor can fade over time.
What is the best milk to use for hot chocolate?
Whole milk provides the creamiest texture. However, oat milk and coconut milk are excellent dairy-free alternatives that also provide a rich mouthfeel.
How do I prevent lumps in my hot chocolate?
Whisk the cocoa powder with a little cold milk to form a paste before adding the rest of the hot milk. This ensures it dissolves completely.
Can I use peppermint oil instead of extract?
Yes, but be very careful. Peppermint oil is much stronger. Start with just a drop or two. Extract is safer for beginners.
How do I store leftover candy cane toppings?
Store crushed candy canes in an airtight container at room temperature. They will stay crunchy for weeks if kept dry.
Pin This Recipe!
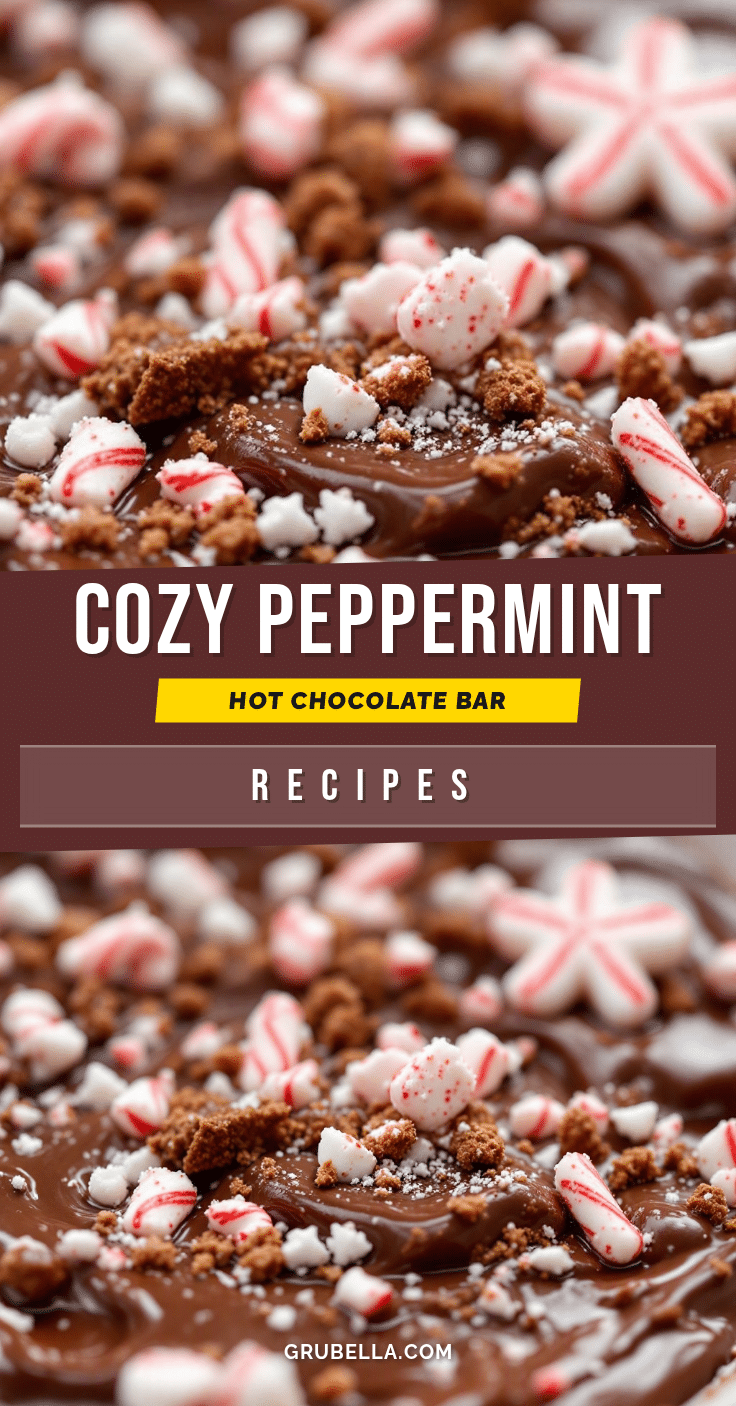
Cozy Peppermint Hot Chocolate Bar Station
A rich, creamy homemade peppermint hot chocolate served as an interactive bar station with customizable toppings like crushed candy canes, marshmallows, and chocolate shavings.
- Prep Time: 5 minutes
- Cook Time: 10 minutes
- Total Time: 15 minutes
- Yield: 4 servings 1x
- Category: Beverage
- Cuisine: American
Ingredients
- 1/2 cup unsweetened cocoa powder (Dutch-processed recommended)
- 1/2 cup granulated sugar
- 1 tablespoon instant espresso powder
- 1/4 teaspoon sea salt
- 4 cups whole milk (or oat/coconut milk for dairy-free)
- 1 teaspoon pure peppermint extract
- 1 teaspoon vanilla extract
- Splash of heavy cream (optional)
- Toppings: Crushed candy canes, mini marshmallows, chocolate shavings, whipped cream, peppermint syrup, cinnamon sticks
Instructions
- In a large bowl, whisk together cocoa powder, sugar, espresso powder, and salt until well blended.
- Pour 4 cups of milk into a large heavy-bottomed saucepan and heat over medium heat until warm (do not boil).
- Reduce heat to low. Sprinkle the dry cocoa mixture over the milk while whisking constantly for 2-3 minutes until smooth and slightly thickened.
- Remove from heat and stir in peppermint extract and vanilla extract. Taste and adjust sweetness or mint intensity if desired.
- Keep warm in a thermos, slow cooker on ‘warm’, or on the stove on the lowest setting.
- Set up the bar station with mugs, the hot chocolate, and bowls of toppings.
- Ladle hot chocolate into mugs and let guests add their preferred toppings.
Notes
Do not let the milk boil to prevent scalding. For extra smoothness, whisk dry ingredients with a little cold milk to form a paste before adding hot milk. Peppermint extract varies in strength, so taste before adding more. Leftover dry mix can be stored in an airtight jar for up to 2 months.
Nutrition
- Serving Size: 1 cup
- Calories: 250
- Sugar: 30
- Sodium: 100
- Fat: 12
- Saturated Fat: 7
- Carbohydrates: 30
- Fiber: 2
- Protein: 8
Keywords: peppermint hot chocolate, hot chocolate bar, winter drinks, holiday recipes, cozy drinks, DIY hot chocolate, peppermint cocoa