Love this? Save it for later!
Share the inspiration with your friends
I figured a charcuterie board was just fancy adult lunchables—pretty to look at, but nothing special. It took about one Friendsgiving dinner for that to fall apart completely. I’d spent two days making a complicated casserole that turned out dry, and in a panic, I threw together a board with whatever I had: a wedge of brie, some sad apples, and crackers that were definitely stale. Everyone ignored the casserole. They stood around the coffee table, picking at that sad little board, laughing, and refilling their plates three times. That’s when I realized the magic of a good board isn’t the food itself—it’s the way it makes people gather. You don’t have to pass dishes or wait for a plate. You just stand there, talk, and grab a piece of apple with a chunk of cheese.
Since then, I’ve perfected the formula for a Friendsgiving charcuterie board that actually works. This one leans hard into fall fruits—think crisp honeycrisp apples, juicy Anjou pears, and a handful of dried figs that feel fancy without trying hard. It’s not about being perfect. It’s about having enough variety that everyone finds something they love, from the person who only eats cheese to the one who picks out every single prosciutto slice. Honestly, this board has saved me more times than I can count, and it’s become the thing I’m actually known for among my friends. It’s the recipe that stuck because it’s not really a recipe—it’s a blueprint for a good time.
Why You’ll Love This Recipe
This isn’t just another cheese board. This is the one that disappears first at every gathering, and I’ve got the empty plates to prove it. Here’s what makes it stand out:
- Quick & Easy: You can assemble this in about 20 minutes. Seriously. No cooking, no complicated steps—just slicing, arranging, and watching it vanish.
- Simple Ingredients: Everything comes from a regular grocery store. No specialty shops, no weird ingredients you’ll never use again. You probably already have half of this in your fridge.
- Perfect for Friendsgiving: This board is the hero of any casual gathering. It’s the thing people stand around and talk about while the turkey rests. It sets the tone for the whole meal—relaxed, generous, and fun.
- Crowd-Pleaser: I’ve served this to groups with picky eaters, dairy-free folks, and people who “don’t like cheese.” Every single person found something to love. It’s practically magic.
- Unbelievably Delicious: The combination of creamy brie, sharp cheddar, salty prosciutto, and sweet fall fruits is next-level. The texture contrast alone—crunchy apples, soft cheese, chewy figs—keeps you coming back for just one more bite.
What makes this board different from every other one you’ve seen? It’s the balance. I’ve tested dozens of combos, and this one hits every note: salty, sweet, tangy, creamy, and crunchy. It’s not overloaded with random stuff that looks good but doesn’t work together. Every single element has a job. And the best part? You can swap things out based on what’s in season or what your friends actually like. It’s flexible, forgiving, and always delicious.
This is the kind of board that makes you close your eyes after the first bite. It’s comfort food reimagined—fresher, faster, but with the same soul-soothing satisfaction. Perfect for impressing your friends without stress, or turning a simple Tuesday night hangout into something memorable.
What Ingredients You Will Need
This recipe uses simple, seasonal ingredients to deliver bold flavor and a beautiful presentation without the fuss. Here’s what you’ll need to gather:
For the Cheeses
- 8 ounces brie cheese – (look for a double or triple cream for extra richness)
- 6 ounces aged sharp cheddar – (I prefer Cabot or Kerrygold for consistent quality)
- 4 ounces goat cheese log – (adds a tangy, creamy contrast)
For the Meats
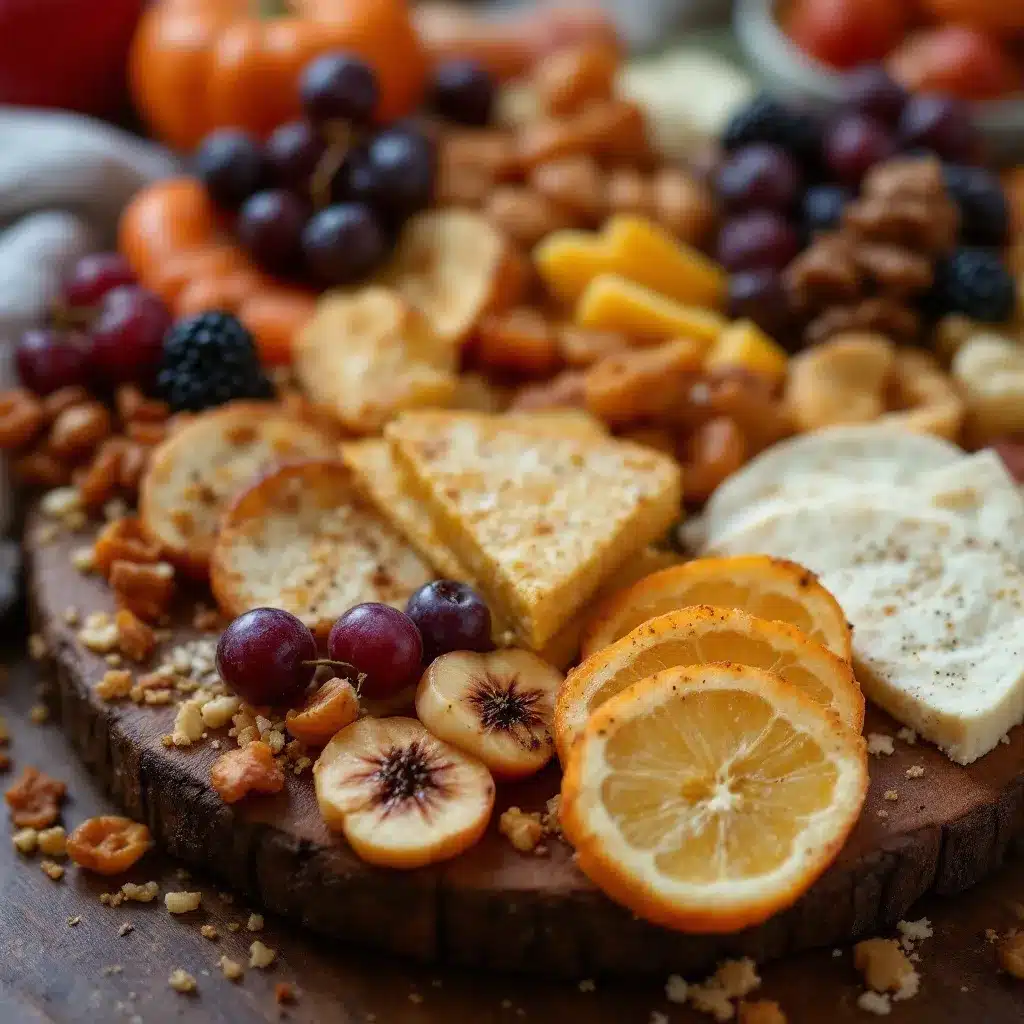
- 4 ounces prosciutto – (thinly sliced, look for De Medici or Boar’s Head)
- 4 ounces salami – (I like Genoa salami, sliced into thin rounds)
For the Fall Fruits
- 2 medium honeycrisp apples – (or any crisp, sweet variety like Fuji or Gala)
- 2 medium Anjou pears – (ripe but still firm, so they hold up on the board)
- 1 cup dried figs – (Calimyrna or Mission figs work great; they add a chewy sweetness)
- ½ cup dried cranberries – (unsweetened if possible, for a tart pop of color)
For the Crunch & Spread
- 1 cup mixed nuts – (I use a combo of candied pecans and salted almonds; the sweet-savory mix is perfect)
- ½ cup honey – (local honey adds a nice floral note, but any good honey works)
- 1 small baguette or artisan crackers – (sliced into thin rounds; I prefer Raincoast Crisps or a simple sourdough baguette)
- ¼ cup fig jam or honeycomb – (optional but highly recommended for an extra layer of sweetness)
For Garnish (Optional but Pretty)
- Fresh rosemary sprigs – (for color and a subtle earthy aroma)
- Fresh thyme leaves – (sprinkled over the goat cheese for a pop of green)
Ingredient Tips: For the best texture, make sure your apples and pears are at room temperature—they taste sweeter and feel less harsh on the palate. If you can’t find dried figs, dried apricots work beautifully as a substitute. And honestly, don’t stress about getting the “perfect” cheese. Any good-quality brie and cheddar will do the job. The magic is in the combination, not the brand.
Equipment Needed
You don’t need much for this board, which is part of its charm. Here’s what I use:
- A large wooden cutting board or serving platter – (at least 12×16 inches; a slate board or marble slab works too, but wood feels cozier)
- A sharp chef’s knife – (for slicing apples, pears, and the baguette)
- A small cheese knife or spreader – (for the brie and goat cheese)
- Small ramekins or bowls – (for the honey, fig jam, and dried cranberries; keeps things tidy)
- Parchment paper – (optional, but I like to line the board for easy cleanup, especially if guests are grazing for hours)
Budget-Friendly Options: If you don’t have a large board, use a baking sheet or a large cutting board. I’ve even used a clean pizza pan in a pinch—it works perfectly. For small ramekins, any small bowl or even a coffee mug will do. The presentation is forgiving; the taste is what matters.
Preparation Method
This comes together fast, so I like to prep everything before I start arranging. Here’s the step-by-step:
- Prep the fruits (5 minutes): Wash and dry the apples and pears. Slice them into thin wedges—about 8 slices per apple, 6 per pear. Leave the skin on for color and texture. Place them in a bowl of cold water with a squeeze of lemon juice to prevent browning while you work. Pat them dry before arranging.
- Slice the cheeses (3 minutes): Cut the brie into thin wedges (about 1-inch wide at the rind). Slice the aged cheddar into small cubes or thin triangles. Leave the goat cheese log whole—just slice it into ½-inch rounds right before serving, so it doesn’t dry out.
- Prep the meats (2 minutes): Gently separate the prosciutto slices and fold them loosely into ribbons or small piles. Slice the salami into thin rounds. If you want to get fancy, you can fold the salami into little triangles, but honestly, just piling it works.
- Prep the crunchy bits (2 minutes): Slice the baguette into thin rounds (about ¼-inch thick). If you prefer them toasted, pop them in a 350°F oven for 5 minutes. But I like them soft for this board—it balances the crunchy nuts and crisp apples.
- Arrange the board (8-10 minutes): Start by placing your small ramekins of honey, fig jam, and dried cranberries on the board. Space them out so they act as anchors. Then, place the cheeses in different spots—brie on one side, cheddar in the middle, goat cheese near the corner. This forces people to move around the board and discover new combos.
- Fill in the gaps: Lay the prosciutto in loose folds near the brie. Pile the salami rounds near the cheddar. Arrange the apple and pear slices in fan patterns or small clusters. Scatter the dried figs and mixed nuts in the empty spaces. Finally, tuck the baguette slices and crackers into any remaining gaps.
- Garnish and serve: Drizzle a little honey over the brie and goat cheese. Sprinkle fresh thyme leaves over the goat cheese. Tuck a few rosemary sprigs around the board for color. Serve immediately at room temperature—cheeses taste best when they’ve been out for about 30 minutes.
Pro Tip: Don’t overthink the arrangement. The best boards look a little messy, like you just threw it together (even if you spent 10 minutes fussing). If something falls over, just push it back into place. It’s food, not art.
Cooking Tips & Techniques
I’ve made enough boards to know what works and what doesn’t. Here are the things I wish someone had told me:
Don’t overcrowd the board. I know it’s tempting to pile everything on, but a crowded board is harder to eat from. Leave a little breathing room between elements. People need space to grab things without knocking over the honey bowl. Trust me, I’ve learned this the hard way—twice.
Room temperature is non-negotiable. Cold cheese tastes like rubber. Take everything out of the fridge at least 30 minutes before serving. The prosciutto, too. Cold cured meat loses its silky texture and just feels greasy. If you’re short on time, pop the cheese in a warm spot (not the microwave!) for 10 minutes.
Balance textures and flavors. Every bite should have a mix of something soft, something crunchy, something sweet, and something salty. That’s why I always include both brie (soft, creamy) and aged cheddar (firm, sharp). The contrast keeps people coming back for more.
Slice apples and pears right before serving. Even with lemon juice, they start to brown after about 30 minutes. If you’re prepping ahead, slice them and store them in a bowl of cold water with lemon juice. Pat them dry right before arranging.
Don’t forget the honey drizzle. A thin ribbon of honey over the brie transforms it. It sounds simple, but it’s the thing people always mention. It adds a floral sweetness that cuts through the richness of the cheese. I’ve had friends ask for the “recipe” just for that drizzle.
One mistake I made: I once arranged the entire board an hour before guests arrived and left it in the fridge. The bread got stale, the cheese hardened, and the apples turned brown. Now I always assemble it right before serving. If I need to prep ahead, I slice everything and store it separately, then arrange it in 10 minutes flat.
Variations & Adaptations
This board is endlessly flexible. Here are some of my favorite twists:
Dairy-Free Version: Swap the brie and cheddar for your favorite dairy-free cheeses. I’ve had good luck with Miyoko’s brand—their smoked farmhouse style is fantastic. Use a nut-based cheese for the goat cheese replacement. The rest of the board is naturally dairy-free.
Gluten-Free Option: Replace the baguette with gluten-free crackers or rice cakes. I like Simple Mills almond flour crackers—they’re sturdy enough to hold cheese and have a nice nutty flavor that works with the fall fruits.
Seasonal Swaps: In late fall, swap the honeycrisp apples for Fuji or Braeburn. In winter, add pomegranate seeds and persimmons. In spring, try fresh figs and strawberries. The structure stays the same; just change the fruits based on what looks good at the market.
Add a Sweet Element: If you have a sweet tooth, add a small bowl of dark chocolate chips or a few squares of dark chocolate. The bitterness of the chocolate pairs beautifully with the sharp cheddar and sweet figs. It sounds weird, but it’s incredible.
Spicy Twist: For a kick, add a drizzle of hot honey over the goat cheese or a few slices of pickled jalapeño. The heat cuts through the richness and adds an unexpected pop. I tried this once on a whim, and now it’s my go-to for parties with adventurous eaters.
Personal Variation: My favorite version includes a small bowl of Buffalo chicken dip on the side. It sounds strange on a fall fruit board, but the spicy, creamy dip is incredible with crisp apple slices. It’s become my secret weapon for Friendsgiving—everyone fights over it.
Serving & Storage Suggestions
This board is best served at room temperature, so take it out of the fridge about 20-30 minutes before your guests arrive. Arrange everything on the board right before serving. If you’re hosting a larger gathering, set up a small station with extra crackers and napkins nearby so people can refill easily.
What to serve with it: This board pairs beautifully with a crisp white wine like Sauvignon Blanc or a dry rosé. For a non-alcoholic option, try sparkling apple cider—it complements the fall fruits perfectly. I also love serving it alongside a bowl of slow cooker tomato basil soup for a cozy, complete meal. The soup adds warmth and balances the cold cheese and fruit.
Storage: If you have leftovers (which is rare!), store the components separately. Wrap the cheeses in wax paper or parchment paper (not plastic wrap—it suffocates them) and keep them in the fridge. Store the meats in an airtight container. The fruits and nuts can be kept at room temperature in separate containers. The bread or crackers should be stored in a sealed bag to keep them from going stale.
Reheating: You don’t really reheat a charcuterie board, but if you want to refresh the bread, pop it in a 350°F oven for 3-4 minutes. The cheese is best eaten cold or at room temperature, so don’t microwave it—it gets greasy and weird.
Flavor development: The flavors actually get better after about an hour at room temperature. The cheese softens, the fruits release their juices, and everything melds together. If you’re serving this at a party, I recommend setting it out about 30 minutes before guests arrive and letting it sit. It’s one of the few dishes that improves with a little waiting.
Nutritional Information & Benefits
This board is packed with nutrients from the fruits, nuts, and cheeses. Here’s a rough estimate per serving (about ¼ of the board):
- Calories: ~450-550
- Protein: 18-22g (from cheese and meats)
- Fat: 28-35g (mostly healthy fats from nuts and cheese)
- Carbohydrates: 35-45g (from fruits and bread)
- Fiber: 6-8g (from apples, pears, and figs)
- Sugar: 20-25g (natural sugars from fruit and honey)
Health Benefits: This board is surprisingly balanced. The apples and pears provide fiber and vitamin C, while the nuts offer healthy fats and protein. Cheese is a good source of calcium and protein. The honey has antioxidants and can help with seasonal allergies if you use local honey. It’s a treat, but it’s a treat that actually has nutritional value.
Dietary Considerations: This recipe can be made gluten-free by swapping the bread for gluten-free crackers. It’s naturally vegetarian (just skip the meats) and can be made dairy-free with plant-based cheeses. The main allergens are dairy (cheese), gluten (bread), and nuts. If you’re serving a crowd with allergies, I recommend labeling the components so everyone knows what’s safe.
Conclusion
This Friendsgiving charcuterie board with fall fruits is the kind of recipe that makes you look like a hero without actually working that hard. It’s flexible, forgiving, and always delicious. Whether you’re hosting a big Friendsgiving dinner or just having a few friends over for a casual night, this board sets the tone—relaxed, generous, and full of good food.
I love this recipe because it reminds me that the best meals aren’t always the most complicated. Sometimes, the thing that brings people together is just a beautiful board of cheese, fruit, and good conversation. It’s the kind of food that makes you slow down and actually enjoy the company you’re with.
So go ahead—customize it, make it your own, and don’t stress about perfection. If you try this recipe, I’d love to hear about it. Drop a comment below and tell me what combos you tried, or share a photo of your board. And if you’re looking for more easy appetizer ideas, don’t miss my mummy-wrapped baked brie for a fun Halloween twist, or these peanut butter Rice Krispie treats for a sweet finish. Happy Friendsgiving!
Frequently Asked Questions
How far in advance can I make this board?
You can prep all the components up to 24 hours in advance. Slice the fruits and store them in water with lemon juice, wrap the cheeses in wax paper, and keep the meats in the fridge. Assemble everything about 30 minutes before serving for the best texture and flavor.
Can I use different fruits?
Absolutely. This board works with any firm, crisp fruit. Try pomegranate seeds, fresh figs, or sliced persimmons in the fall. In summer, swap in berries and peaches. Just avoid overly soft fruits like bananas—they get mushy and messy on the board.
What if I don’t have a large board?
No problem. Use a large baking sheet, a clean pizza pan, or even a cutting board. If you’re really stuck, arrange everything on individual plates and let people graze. The presentation matters less than the taste.
How do I keep the apples from turning brown?
Slice them right before serving, or store them in a bowl of cold water with a squeeze of lemon juice. Pat them dry before arranging. They’ll stay fresh for about an hour on the board. If they start to brown, just swap them out with fresh slices—it takes 30 seconds.
Can I make this board for a crowd of 10+ people?
Yes, just double or triple the quantities. Use a larger board or two separate boards to avoid overcrowding. Set up a small station with extra crackers and napkins so people can refill easily. For big groups, I recommend adding a second cheese and a third meat option for variety.
Pin This Recipe!
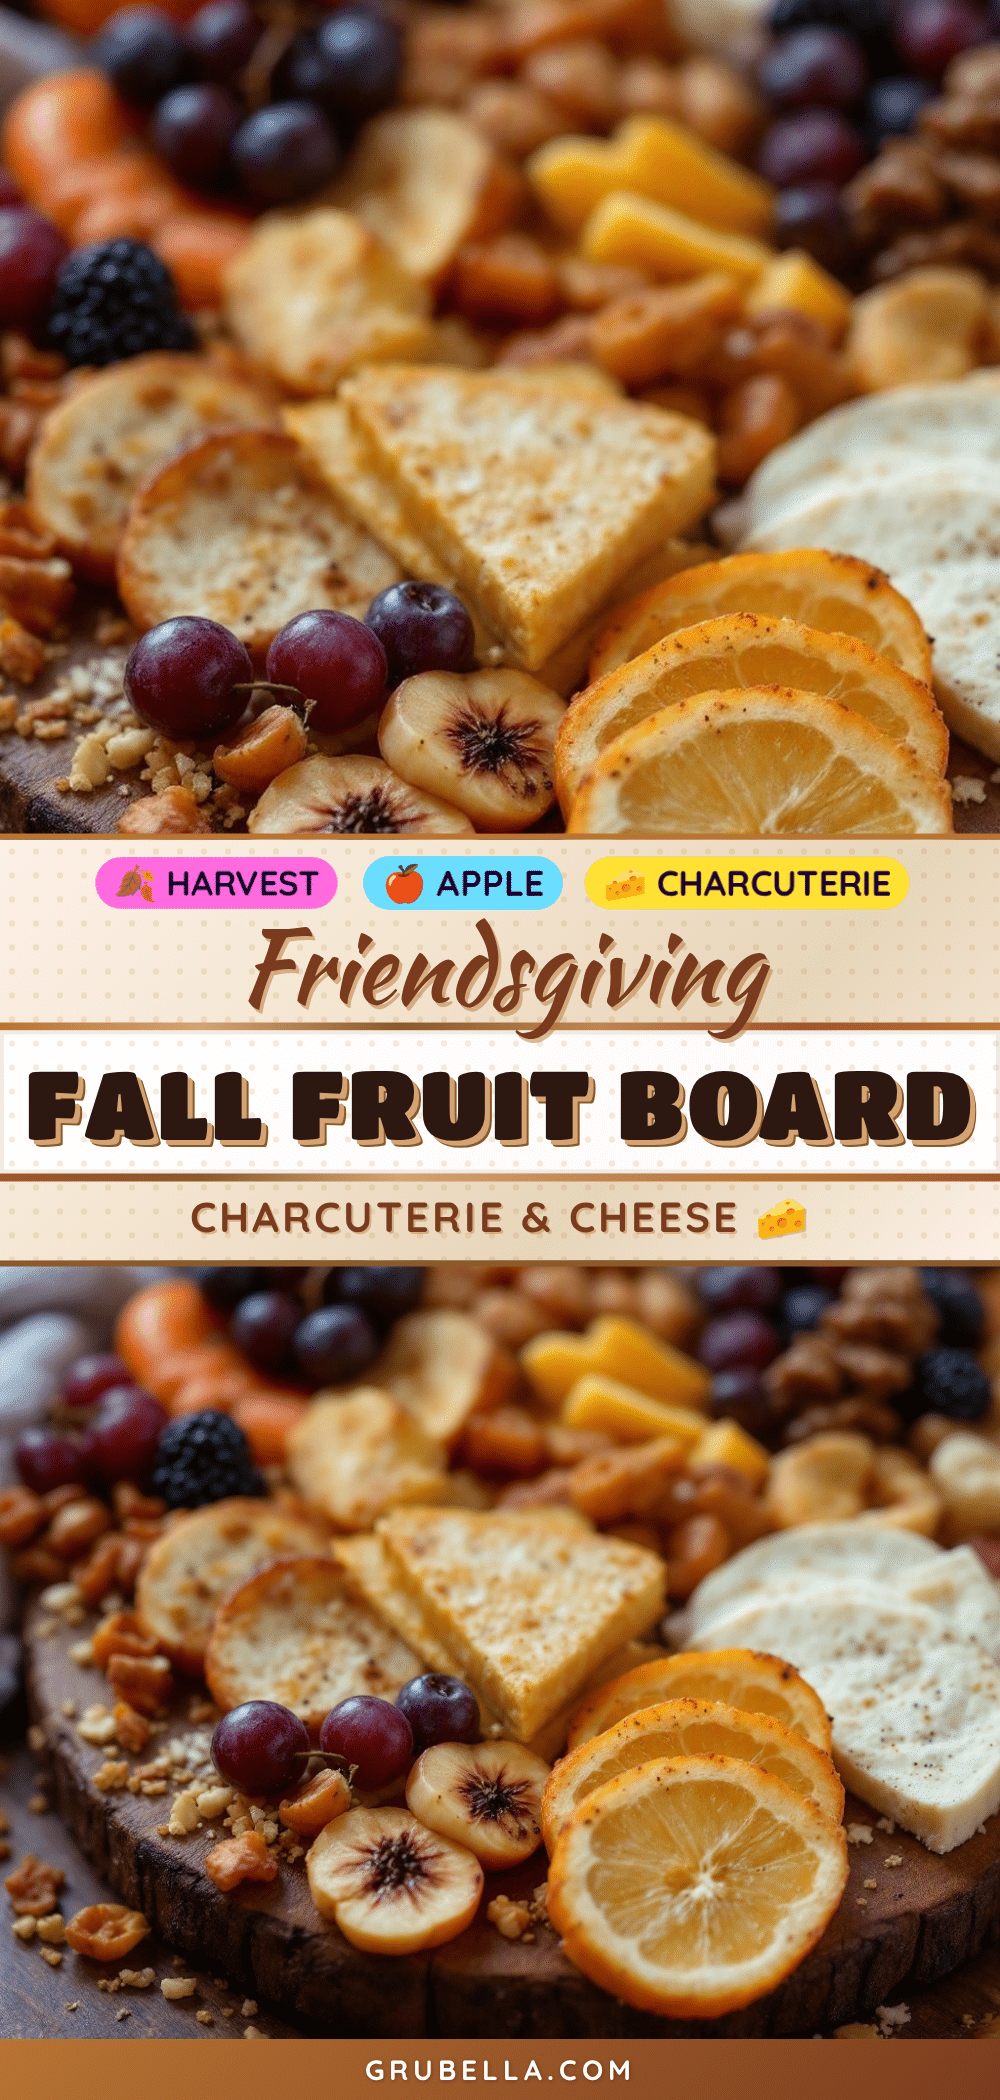
Best Friendsgiving Charcuterie Board with Fall Fruits

A beautiful and easy charcuterie board featuring fall fruits, creamy cheeses, and savory meats. Perfect for Friendsgiving or any casual gathering, this board is designed to bring people together with its balance of sweet, salty, and crunchy elements.
- Prep Time: 20 minutes
- Cook Time: 0 minutes
- Total Time: 20 minutes
- Yield: 4 servings 1x
- Category: Appetizer
- Cuisine: American
Ingredients
- 8 ounces brie cheese (double or triple cream)
- 6 ounces aged sharp cheddar (Cabot or Kerrygold)
- 4 ounces goat cheese log
- 4 ounces prosciutto (thinly sliced)
- 4 ounces Genoa salami (sliced into thin rounds)
- 2 medium honeycrisp apples (or Fuji/Gala)
- 2 medium Anjou pears (ripe but firm)
- 1 cup dried figs (Calimyrna or Mission)
- ½ cup dried cranberries (unsweetened if possible)
- 1 cup mixed nuts (candied pecans and salted almonds)
- ½ cup honey (local honey preferred)
- 1 small baguette or artisan crackers (sliced into thin rounds)
- ¼ cup fig jam or honeycomb (optional)
- Fresh rosemary sprigs (for garnish)
- Fresh thyme leaves (for garnish)
Instructions
- Prep the fruits: Wash and dry the apples and pears. Slice into thin wedges (about 8 slices per apple, 6 per pear). Leave the skin on. Place in a bowl of cold water with a squeeze of lemon juice to prevent browning. Pat dry before arranging.
- Slice the cheeses: Cut the brie into thin wedges (about 1-inch wide at the rind). Slice the aged cheddar into small cubes or thin triangles. Leave the goat cheese log whole; slice into ½-inch rounds right before serving.
- Prep the meats: Gently separate the prosciutto slices and fold into loose ribbons or small piles. Slice the salami into thin rounds.
- Prep the crunchy bits: Slice the baguette into thin rounds (about ¼-inch thick). Optionally toast at 350°F for 5 minutes, but soft is preferred for this board.
- Arrange the board: Place small ramekins of honey, fig jam, and dried cranberries on the board. Space them out as anchors. Place the cheeses in different spots—brie on one side, cheddar in the middle, goat cheese near a corner.
- Fill in the gaps: Lay the prosciutto in loose folds near the brie. Pile the salami rounds near the cheddar. Arrange apple and pear slices in fan patterns or small clusters. Scatter dried figs and mixed nuts in empty spaces. Tuck baguette slices and crackers into remaining gaps.
- Garnish and serve: Drizzle honey over the brie and goat cheese. Sprinkle fresh thyme leaves over the goat cheese. Tuck rosemary sprigs around the board for color. Serve immediately at room temperature.
Notes
For best flavor, take cheeses and meats out of the fridge 30 minutes before serving. Slice apples and pears right before serving to prevent browning. Don’t overcrowd the board; leave space for easy grabbing. The board can be prepped up to 24 hours in advance (store components separately) and assembled 30 minutes before serving.
Nutrition
- Serving Size: ¼ of the board
- Calories: 450550
- Sugar: 2025
- Sodium: 8001000
- Fat: 2835
- Saturated Fat: 1215
- Carbohydrates: 3545
- Fiber: 68
- Protein: 1822
Keywords: charcuterie board, Friendsgiving, fall fruits, cheese board, appetizer, easy, no-cook



