Love this? Save it for later!
Share the inspiration with your friends
Half a bag of chocolate chips sitting in the pantry and no mixer to be found—that’s how these perfect small-batch chocolate chip cookies came to be. It was one of those late Tuesday evenings where I really wanted something sweet but didn’t want to drag out the stand mixer or deal with a mountain of dishes afterward. You know those nights when you just need one warm, gooey cookie, maybe two, but definitely not three dozen staring at you from the counter? Yeah, that was the moment.
I rummaged through the kitchen, found a single stick of butter, some brown sugar that was still soft (miracle), and that half-bag of semi-sweet chips from the last baking project. The problem was every recipe I found online made twelve to twenty-four cookies, and I honestly didn’t trust myself with that many fresh-baked cookies within arm’s reach. So I started scaling down, tweaking ratios, and testing until I landed on exactly eight perfect cookies. No mixer required. No complicated techniques. Just a bowl, a spatula, and about twenty minutes of your time.
There is something special about making cookies by hand. You feel every stir, the butter softening against the sugar, the flour slowly disappearing into the dough. It is almost meditative in a way that a whirring mixer just doesn’t capture. These cookies turned out to be everything I wanted—crispy edges, soft centers, that perfect crackly top that bakery cookies always seem to have. And the best part? The recipe is so simple I can almost make it from memory now. This is the kind of cookie recipe that sticks with you, the one you’ll text to your sister or scribble on a sticky note for your neighbor. Trust me on this one.
Why You’ll Love This Recipe
Let me tell you why this small-batch chocolate chip cookie recipe has become my go-to for those late-night cravings or when I just want something homemade without the commitment of a full batch. I’ve tested this recipe at least a dozen times to get the texture exactly right, and I can say with confidence it delivers every single time.
- No Mixer Needed: Everything comes together in one bowl with just a wooden spoon or spatula. Less cleanup, less fuss, more cookies.
- Perfect for Two (or Just You): Eight cookies is the ideal amount. Not so many that you feel guilty eating half of them, but enough to share if you’re feeling generous.
- Simple Pantry Ingredients: You probably have everything already. Butter, sugar, flour, egg, vanilla, chocolate chips. No fancy extracts or specialty flours here.
- Ready in Under 30 Minutes: From start to finish, you’re looking at about 25-30 minutes. That includes chilling time, which I promise is worth it.
- Bakery-Style Results: Those crackly tops and chewy centers aren’t just for professional bakers. This recipe nails that texture at home.
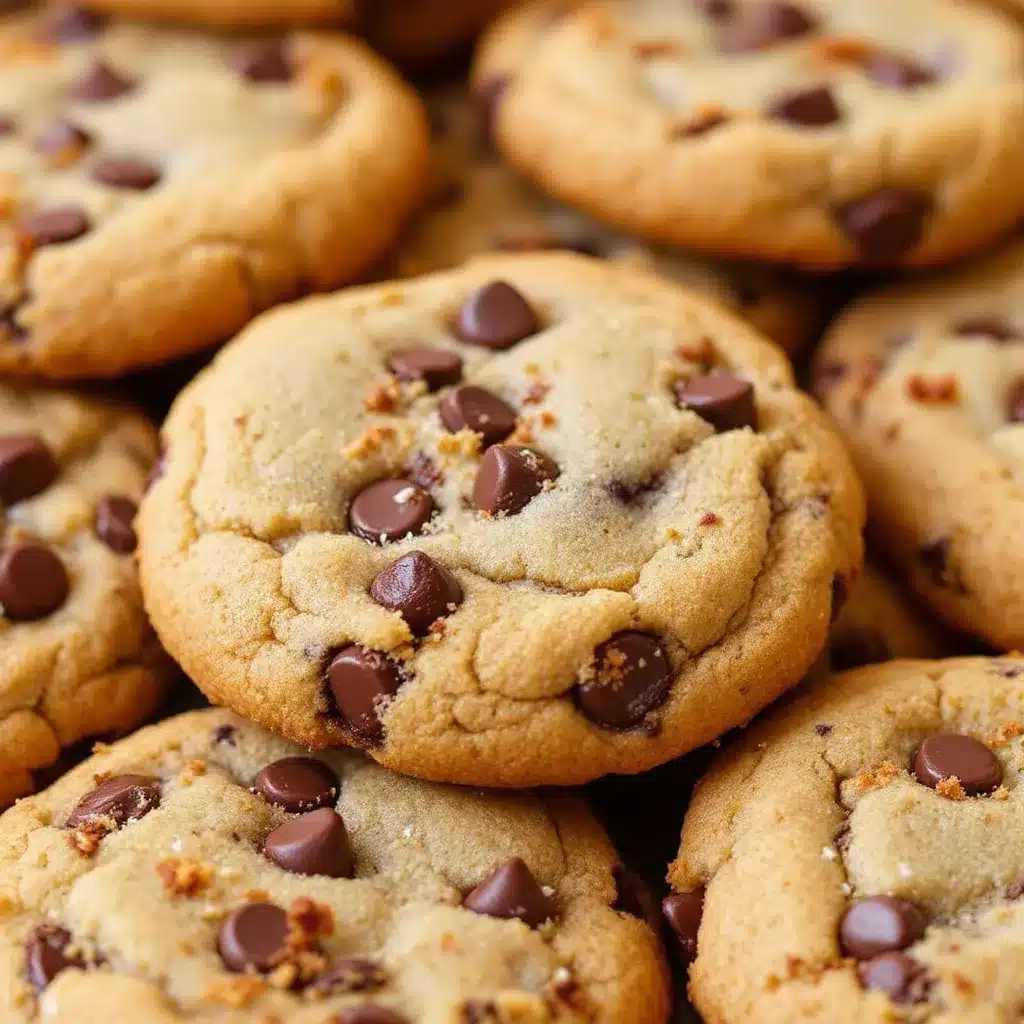
What makes these cookies different from other small-batch recipes is the technique. I use melted butter instead of softened, which gives you that chewy texture without needing to wait for butter to come to room temperature. And the ratio of brown sugar to white sugar is carefully balanced to give you maximum flavor without making the cookies too sweet or too flat. Honestly, after testing this recipe on my family, my neighbors, and even my skeptical husband, I can say these are the best small-batch cookies I’ve ever made. They have that homemade taste that reminds you of baking with your grandma, but with a slightly elevated texture that feels special.
These cookies are perfect for when you want something warm and comforting without the commitment of a full batch. They are great for date night desserts, after-school treats, or just because it’s Tuesday and you deserve a cookie. The first time I made these, I actually closed my eyes after the first bite—that’s how good they are.
What Ingredients You Will Need
This recipe uses simple, everyday ingredients that you probably already have in your kitchen. The magic is in how they come together, not in fancy components. Here is everything you need for eight perfect cookies.
For the Cookie Dough
- Unsalted butter, 4 tablespoons (56 grams), melted and slightly cooled. I prefer unsalted so I can control the salt level. If you only have salted butter, just reduce the added salt by half.
- Granulated sugar, 2 tablespoons (25 grams). This helps create those crispy edges we all love.
- Light brown sugar, 3 tablespoons (40 grams), packed. The brown sugar adds moisture and that deep, caramel-like flavor. Make sure it’s packed firmly into the measuring spoon.
- Large egg yolk, 1 yolk only. Save the white for scrambled eggs tomorrow. The yolk gives richness without making the dough too wet.
- Vanilla extract, 1/2 teaspoon. Pure vanilla makes a difference here, but imitation works fine too. I use Nielsen-Massey when I want to feel fancy.
- All-purpose flour, 1/2 cup plus 1 tablespoon (about 75 grams). Spoon and level your flour—don’t scoop directly from the bag or you’ll end up with dry cookies.
- Baking soda, 1/4 teaspoon. This helps the cookies spread just the right amount.
- Salt, 1/4 teaspoon. I use fine sea salt. Salt balances the sweetness and enhances the chocolate flavor.
- Chocolate chips, 1/3 cup (about 60 grams). Semi-sweet is my go-to, but milk chocolate or dark chocolate work beautifully too. I sometimes use Ghirardelli or Toll House, but honestly, store brands work fine.
Optional Add-Ins
- Flaky sea salt, for sprinkling on top before baking. This takes the cookies to another level.
- Chopped nuts, 2 tablespoons, like walnuts or pecans. Toast them first for extra flavor.
- White chocolate chips, swap half the chocolate chips for a different flavor profile.
One thing I learned the hard way is that ingredient temperature matters here. Your egg yolk should be at room temperature, and your melted butter should be cooled slightly before mixing. If the butter is too hot, it will cook the egg yolk and you’ll end up with scrambled egg bits in your cookies. Not ideal, trust me. I also recommend using a kitchen scale for the flour if you have one—it makes a noticeable difference in texture. But if you don’t have one, just be gentle when measuring.
Equipment Needed
You don’t need much for this recipe, which is honestly my favorite part about it. Here is what you’ll need:
- Mixing bowl, one medium-sized bowl. Any bowl works, but I prefer a glass or ceramic one.
- Whisk or wooden spoon, for mixing the wet ingredients and then combining everything.
- Spatula, a silicone spatula is great for scraping down the sides.
- Measuring cups and spoons, standard set. A liquid measuring cup for the butter if you’re measuring that way.
- Baking sheet, one standard half-sheet pan. You can use a smaller pan if that’s all you have.
- Parchment paper or silicone baking mat, this prevents sticking and helps the cookies brown evenly.
- Cookie scoop or tablespoon, for portioning the dough evenly. A 1.5-tablespoon scoop is perfect.
- Cooling rack, optional but helps the cookies cool without getting soggy bottoms.
If you don’t have a cookie scoop, just use a regular tablespoon and shape the dough balls with your hands. I’ve done it both ways and honestly, hand-shaping gives you a more rustic look that I actually prefer. The baking sheet should be light-colored if possible—dark sheets can cause the bottoms to brown too quickly. I learned that one after burning my first batch. If you only have a dark sheet, reduce the baking time by a minute or two.
Preparation Method
Alright, let’s make some cookies. This process is straightforward, but I’ll share every little detail I’ve learned from making these dozens of times.
- Preheat your oven to 350°F (175°C). Line your baking sheet with parchment paper or a silicone mat. Do this first so the oven is ready when you are.
- Melt the butter. Place 4 tablespoons of butter in a microwave-safe bowl and heat in 15-second increments until mostly melted. Stir until completely melted, then let it cool for 2-3 minutes. You want it warm but not hot—test it with your finger, it should feel like warm bath water, not hot tea.
- Mix the sugars and butter. In your medium mixing bowl, add the melted butter, 2 tablespoons granulated sugar, and 3 tablespoons packed brown sugar. Whisk them together until well combined. The mixture should look like wet sand and smell amazing. Whisk for about 30 seconds to help the sugar dissolve a bit.
- Add the egg yolk and vanilla. Drop in the room temperature egg yolk and 1/2 teaspoon vanilla extract. Whisk vigorously for about 45 seconds until the mixture becomes lighter in color and slightly thicker. This step is important—it helps create that crackly top. The mixture should look almost like caramel sauce when you’re done.
- Combine the dry ingredients. In a small separate bowl, whisk together 1/2 cup plus 1 tablespoon flour, 1/4 teaspoon baking soda, and 1/4 teaspoon salt. This ensures the baking soda is evenly distributed so you don’t get one super puffy cookie and seven flat ones.
- Mix dry into wet. Add the flour mixture to the butter mixture. Use your spatula to fold everything together gently. Stir just until no streaks of flour remain—about 15-20 folds. Overmixing will make your cookies tough. The dough should be soft and slightly sticky but not wet.
- Fold in the chocolate chips. Add 1/3 cup chocolate chips and fold them in with a few gentle strokes. Reserve a few chips to press onto the tops of the dough balls later—this makes them look extra pretty.
- Chill the dough. This is non-negotiable. Cover the bowl and refrigerate for at least 15 minutes, or up to 30 minutes if you have time. Chilling prevents the cookies from spreading too much and develops the flavor. I’ve skipped this step before and ended up with flat, greasy cookies. Don’t be like me.
- Portion the dough. Use a cookie scoop or tablespoon to scoop 8 equal portions of dough. Roll each one into a smooth ball. Place them on the prepared baking sheet, spacing them about 2 inches apart. They will spread, so give them room.
- Top with extra chips. Press a few of the reserved chocolate chips onto the tops of each dough ball. This gives you those pretty chocolate pools on top of the baked cookies.
- Bake. Place the baking sheet in the preheated oven and bake for 9-11 minutes. At 9 minutes, the edges should be golden brown but the centers will still look slightly underdone and puffy. That’s exactly what you want. The cookies will continue to bake on the hot sheet after you pull them out.
- Cool on the baking sheet. Let the cookies rest on the baking sheet for 5 minutes. This is crucial—if you try to move them right away, they will fall apart. After 5 minutes, transfer them to a cooling rack. If you don’t have a rack, just move them to a plate carefully.
- Optional finishing touch. While the cookies are still warm, sprinkle a tiny pinch of flaky sea salt on top. This balances the sweetness and makes the chocolate flavor pop.
Your kitchen should smell absolutely incredible right now. The cookies will be soft and chewy with slightly crispy edges and pools of melted chocolate on top. Let them cool completely if you can resist, but honestly, warm cookies are a gift to yourself.
Cooking Tips & Techniques
After making these cookies more times than I care to admit, I’ve picked up a few tricks that make a real difference. Here are the things I wish someone had told me earlier.
Don’t skip the chilling step. I know it’s tempting to skip it when you want cookies right now, but trust me on this. Chilling the dough for at least 15 minutes solidifies the butter, which means the cookies spread slower and end up thicker and chewier. Without chilling, you get thin, greasy cookies that spread into one giant cookie pancake. Not the worst problem to have, but not what we’re going for here.
Use a light-colored baking sheet. Dark pans absorb more heat and can burn the bottoms of your cookies before the tops are done. If you only have a dark pan, reduce the oven temperature by 25°F and watch them closely. I learned this after my first batch came out with perfectly golden tops and completely black bottoms.
Measure your flour correctly. The most common mistake in cookie baking is using too much flour. Spoon the flour into your measuring cup and level it off with a knife. Don’t scoop directly from the bag—you’ll pack in extra flour and end up with dry, cakey cookies instead of chewy ones. If you have a kitchen scale, use it. 75 grams of flour is your target.
Let the butter cool. After melting your butter, give it a few minutes to cool down. If it’s too hot when you add the egg yolk, you’ll end up with scrambled egg bits in your dough. I’ve done this exactly once and it was not a pleasant discovery while eating a cookie later.
Whisk the egg yolk and sugar well. That 45-second whisking step where you beat the egg yolk into the sugar-butter mixture? That’s what creates the crackly, shiny tops that bakery cookies have. It incorporates air and helps the sugar dissolve, which gives you that beautiful texture. Don’t rush this step.
Bake one tray at a time. If you’re doubling the recipe and using two baking sheets, bake them one at a time on the middle rack. Baking two sheets at once can lead to uneven baking. If you must do both, rotate the pans halfway through and add a minute or two to the baking time.
One of my biggest failures was the time I forgot the baking soda entirely. The cookies came out flat, dense, and almost cracker-like. Not my finest moment. So double-check that you’ve added it before you bake. Another time, I used cold butter straight from the fridge thinking I could just melt it and go—the dough was lumpy and the cookies spread unevenly. Take the extra few minutes to do it right.
Variations & Adaptations
This recipe is wonderfully adaptable, and I’ve tried quite a few variations over the months. Here are some of my favorites.
Double Chocolate Chip Cookies
Replace 1 tablespoon of flour with 1 tablespoon of unsweetened cocoa powder. Use dark chocolate chips instead of semi-sweet. You get a rich, fudgy cookie that tastes like a brownie and a cookie had a baby. I made these for a friend who claims she doesn’t like chocolate chip cookies, and she ate three before admitting she was wrong.
Gluten-Free Version
Swap the all-purpose flour with a 1:1 gluten-free baking flour blend that contains xanthan gum. I use King Arthur’s Measure for Measure blend with great results. The cookies will be slightly more delicate, so handle them gently. No one in my family could tell the difference when I tested this version.
Vegan Adaptation
Use vegan butter sticks (I like Miyoko’s or Earth Balance) and replace the egg yolk with 1 tablespoon of aquafaba (the liquid from a can of chickpeas) mixed with 1 teaspoon of cornstarch. The texture is slightly different but still delicious. I brought these to a potluck and they disappeared before the regular cookies.
Peanut Butter Chocolate Chip
Reduce the butter to 3 tablespoons and add 2 tablespoons of creamy peanut butter. Mix the peanut butter in with the butter and sugars. Use milk chocolate chips for a classic combination. These are dangerously good and perfect for when you want something more substantial.
Brown Butter Version
Brown the 4 tablespoons of butter in a small saucepan over medium heat until it turns golden brown and smells nutty, about 3-4 minutes. Let it cool completely before using. This adds an incredible depth of flavor that makes the cookies taste almost caramel-like. It takes a few extra minutes but is absolutely worth it for special occasions.
Feel free to experiment with different mix-ins too. Dried cherries, toffee bits, chopped pretzels, or even crushed potato chips can add interesting textures and flavors. I once added chopped bacon to a batch and my husband declared them the best cookies I’d ever made. The possibilities are endless.
Serving & Storage Suggestions
These cookies are best served warm, about 5-10 minutes after they come out of the oven. The chocolate is still melty, the edges are crispy, and the centers are soft and gooey. Pair them with a cold glass of milk, a hot cup of coffee, or a scoop of vanilla ice cream for an extra special treat. I personally love them with a tall glass of cold brew coffee—the bitterness balances the sweetness perfectly.
If you’re serving these for a gathering, arrange them on a nice plate or platter. They look beautiful with a light dusting of powdered sugar or a few extra chocolate chips pressed into the tops. For a dessert board, these cookies pair wonderfully with fresh berries, sliced apples, and a cheese board featuring brie or goat cheese.
Storage Instructions:
- Room temperature: Store baked cookies in an airtight container at room temperature for up to 4 days. Place a slice of bread in the container to keep them soft—the bread absorbs excess moisture and the cookies stay chewy longer.
- Freezer (baked cookies): Freeze cooled cookies in a single layer on a baking sheet, then transfer to a freezer-safe bag or container. They’ll keep for up to 3 months. Thaw at room temperature for about 15 minutes or microwave for 10-15 seconds for that fresh-baked warmth.
- Freezer (unbaked dough): Roll the dough into balls and freeze on a baking sheet until solid. Transfer to a freezer bag and store for up to 3 months. Bake from frozen, adding 2-3 minutes to the baking time. This is perfect for when you want just one or two cookies without making a whole batch.
I’ve noticed that these cookies actually taste even better the next day. The flavors meld together and the texture becomes perfectly balanced. If you can resist eating them all on day one, you’re in for a treat on day two. They also reheat beautifully in the microwave for about 10 seconds or in a 300°F oven for 5 minutes.
Nutritional Information & Benefits
While cookies aren’t exactly health food, knowing what’s in them helps with mindful eating. Here is the approximate nutritional breakdown for one cookie (based on 8 cookies per batch):
| Nutrient | Amount Per Cookie |
|---|---|
| Calories | 185 |
| Total Fat | 11g |
| Saturated Fat | 7g |
| Cholesterol | 45mg |
| Sodium | 125mg |
| Total Carbohydrates | 22g |
| Dietary Fiber | 1g |
| Sugars | 14g |
| Protein | 3g |
These cookies contain dairy (butter), eggs, and gluten (flour). If you have allergies, check the variations section for suitable substitutions. Dark chocolate chips do contain some antioxidants, and the small batch size makes portion control easier. I like to think of these as a treat to enjoy mindfully rather than something to feel guilty about.
One cookie is perfectly satisfying, especially when paired with a hot beverage. The combination of protein from the egg and fat from the butter and chocolate helps keep you full and satisfied. Plus, making them yourself means you know exactly what’s in them—no preservatives, artificial flavors, or mystery ingredients.
Conclusion
These perfect small-batch chocolate chip cookies have become a staple in my kitchen for good reason. They deliver everything you want from a cookie—crispy edges, soft centers, melty chocolate, and that satisfying homemade taste—without the commitment of a full batch or the need for fancy equipment. Whether you’re baking for yourself, surprising someone special, or just need a little comfort on a Tuesday night, this recipe delivers every single time.
I love that this recipe is forgiving enough for beginners but produces results that impress even experienced bakers. The no-mixer requirement means anyone can make them, anywhere, anytime. And the small batch size means you never have to worry about stale cookies sitting around for days—though honestly, I’ve never had these last more than 24 hours in my house.
I encourage you to make these your own. Try different chocolate chips, add some nuts, experiment with extracts, or go wild with mix-ins. The base recipe is solid, and the possibilities are endless. When you make them, I’d love to hear how they turned out. Drop a comment below sharing your favorite variation or any questions you have. And if you loved this recipe, share it with a friend who needs a little cookie magic in their life.
Happy baking, friends. You deserve these cookies.
Frequently Asked Questions
Can I double this recipe?
Absolutely. Simply double all the ingredients and use a whole egg instead of just a yolk. The baking time stays the same, but you might need to bake in batches if your oven can’t fit two sheets at once.
Why did my cookies spread too much?
This usually happens if the dough wasn’t chilled long enough or if the butter was too warm when mixed. Make sure to chill the dough for at least 15 minutes, and let your melted butter cool before adding the egg yolk.
Can I use margarine instead of butter?
You can, but the texture will be different. Butter gives the cookies a richer flavor and better texture. If using margarine, make sure it’s at least 80% fat content for best results.
How do I know when the cookies are done baking?
The edges should be golden brown and the centers should look slightly underdone and puffy. They will continue to bake on the hot sheet for 5 minutes after you pull them out. If they look fully done in the oven, they’ll be overbaked once cooled.
Can I make these cookies ahead of time?
Yes! You can prepare the dough up to 3 days in advance and keep it covered in the refrigerator. You can also freeze the dough balls for up to 3 months and bake them straight from frozen, adding 2-3 minutes to the baking time.
Pin This Recipe!
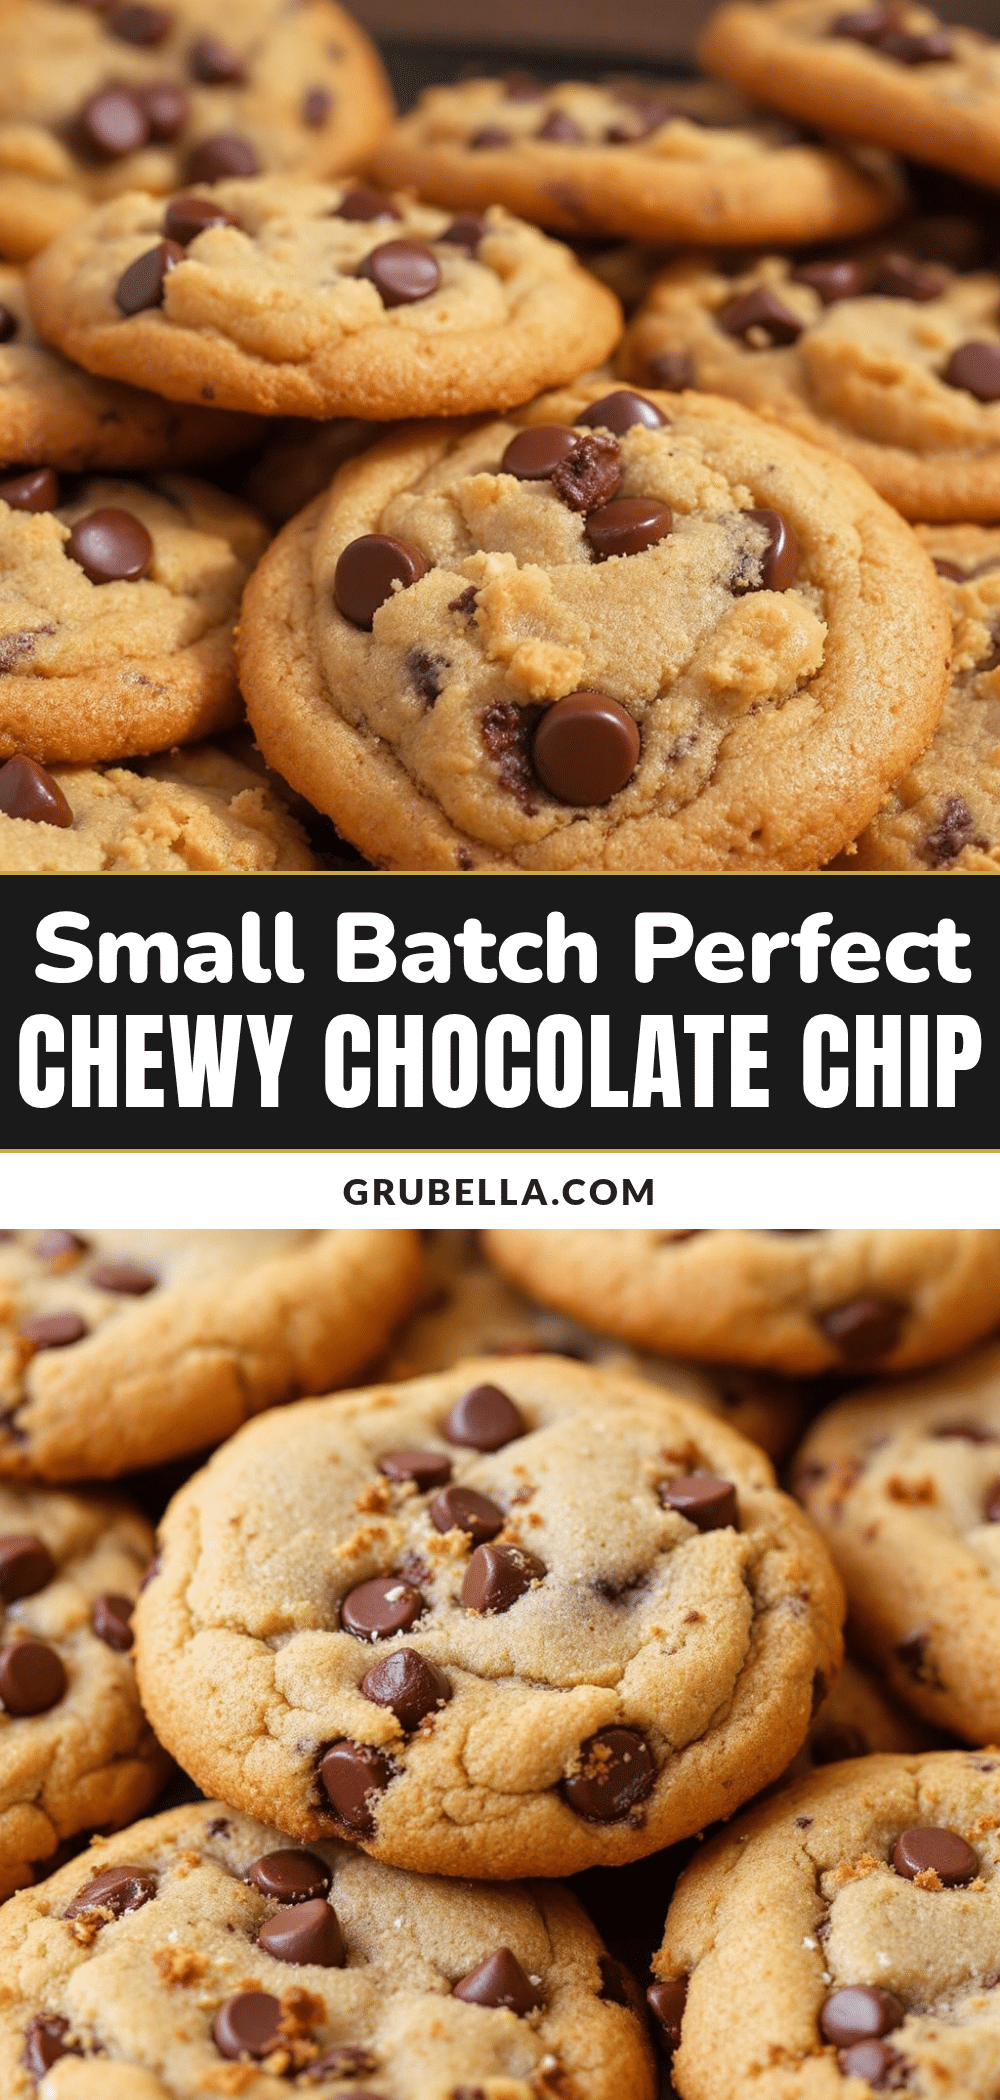
Perfect Small-Batch Chocolate Chip Cookies (Easy No-Mixer Recipe)

These perfect small-batch chocolate chip cookies deliver crispy edges, soft centers, and melty chocolate without the need for a mixer or a full batch. Ready in under 30 minutes, they’re ideal for late-night cravings or a quick homemade treat.
- Prep Time: 15 minutes
- Cook Time: 10 minutes
- Total Time: 25 minutes
- Yield: 8 cookies 1x
- Category: Dessert
- Cuisine: American
Ingredients
- 4 tablespoons (56 grams) unsalted butter, melted and slightly cooled
- 2 tablespoons (25 grams) granulated sugar
- 3 tablespoons (40 grams) light brown sugar, packed
- 1 large egg yolk, at room temperature
- 1/2 teaspoon vanilla extract
- 1/2 cup plus 1 tablespoon (about 75 grams) all-purpose flour, spooned and leveled
- 1/4 teaspoon baking soda
- 1/4 teaspoon fine sea salt
- 1/3 cup (about 60 grams) semi-sweet chocolate chips
- Flaky sea salt, for sprinkling (optional)
- 2 tablespoons chopped nuts like walnuts or pecans, toasted (optional)
- White chocolate chips, for swapping (optional)
Instructions
- Preheat your oven to 350°F (175°C). Line a baking sheet with parchment paper or a silicone mat.
- Melt the butter in a microwave-safe bowl in 15-second increments until mostly melted. Stir until completely melted, then let cool for 2-3 minutes until warm but not hot.
- In a medium mixing bowl, whisk together the melted butter, granulated sugar, and packed brown sugar until well combined and looks like wet sand, about 30 seconds.
- Add the room temperature egg yolk and vanilla extract. Whisk vigorously for about 45 seconds until the mixture becomes lighter in color and slightly thicker, like caramel sauce.
- In a small separate bowl, whisk together the flour, baking soda, and salt.
- Add the flour mixture to the butter mixture. Fold gently with a spatula just until no streaks of flour remain, about 15-20 folds. Do not overmix.
- Fold in the chocolate chips with a few gentle strokes. Reserve a few chips to press onto the tops of the dough balls later.
- Cover the bowl and refrigerate the dough for at least 15 minutes, or up to 30 minutes.
- Use a cookie scoop or tablespoon to scoop 8 equal portions of dough. Roll each into a smooth ball and place on the prepared baking sheet, spacing them about 2 inches apart.
- Press a few reserved chocolate chips onto the tops of each dough ball.
- Bake for 9-11 minutes. The edges should be golden brown but the centers will still look slightly underdone and puffy.
- Let the cookies rest on the baking sheet for 5 minutes, then transfer to a cooling rack.
- While still warm, sprinkle a tiny pinch of flaky sea salt on top if desired.
Notes
Chilling the dough is non-negotiable for thick, chewy cookies. Use a light-colored baking sheet to prevent burning. Measure flour correctly by spooning and leveling. Let melted butter cool before adding egg yolk to avoid scrambling. Whisk egg yolk and sugar well for crackly tops. Bake one tray at a time for even results.
Nutrition
- Serving Size: 1 cookie
- Calories: 185
- Sugar: 14
- Sodium: 125
- Fat: 11
- Saturated Fat: 7
- Carbohydrates: 22
- Fiber: 1
- Protein: 3
Keywords: small-batch chocolate chip cookies, no-mixer cookies, easy cookie recipe, chewy chocolate chip cookies, homemade cookies



