Love this? Save it for later!
Share the inspiration with your friends
The plastic cup was empty. Not just scraped clean, but actually devoid of anything but a few crumbs of chocolate cookie and a smear of pudding on the side. My nephew, who usually treats dessert like a chore he has to endure before getting back to his tablet, looked at me with wide eyes. He didn’t even say thank you. He just pointed at the empty rim and asked if I had made any more. That was the third party this month where this simple dessert became the main event.
Honestly, I was surprised. I expected it to be a novelty that lasted ten minutes. Instead, it became the thing everyone fought over. It’s funny how a little dirt and a worm can create such a buzz. You know how some recipes are just background noise at a gathering? This one is the spotlight.
I remember standing in the kitchen earlier that afternoon, feeling a bit skeptical about the whole “dirt cup” trend. It seemed too simple. Too childish. But then I tasted it. The creamy, sweet contrast to the crunchy, dark cookie base was unexpected. It wasn’t just sugar; it was texture. It was fun.
Now, every time Halloween approaches, my calendar fills up with requests for these cups. People assume it’s complicated because of the theme. They think I’m spending hours piping frosting or baking intricate cakes. But the reality is much quieter. It’s just mixing, scooping, and hiding worms.
The best part isn’t the praise, though that’s nice. It’s seeing the genuine delight on kids’ faces. And let’s be honest, the adults enjoy it too. It’s nostalgic in a weird way. It reminds me of my own childhood treats, but with a bit more sophistication.
I didn’t plan for this recipe to become a staple. It just happened. One night, I needed something fast. Something that looked impressive but required zero oven time. So I threw some cookies, pudding, and yogurt together. I didn’t expect much. But the empty cup told a different story. It told me that sometimes, the simplest things work best.
That’s why I keep coming back to this. It’s not about showing off culinary skills. It’s about creating a moment. A moment where everyone stops, looks at their dessert, and smiles. Even if that smile is covered in chocolate crumbs. It’s a small thing, but it sticks with you.
Why You’ll Love This Recipe
Let’s be real for a second. Not every dessert needs to be a five-course ordeal. Sometimes, you just want something that tastes amazing without requiring a degree in pastry arts. This no-bake Halloween dirt cup is exactly that. It’s the kind of recipe that respects your time while still delivering on flavor and fun. I’ve tested this version multiple times, tweaking the ratios until it hit that perfect sweet spot, and I can confidently say this is the best way to make it.
Here is why this recipe has earned its place in my regular rotation:
- Quick & Easy: You can have these ready in under 15 minutes. No baking, no cooling racks, no waiting. Just mix and scoop. It’s perfect for those last-minute Halloween gatherings or when you need to feed a crowd without sweating in the kitchen.
- Simple Ingredients: You likely already have everything you need in your pantry and fridge. Chocolate cookies, instant pudding mix, and yogurt. No fancy specialty items or hard-to-find spices. It’s accessible cooking at its finest.
- Perfect for Halloween Parties: Whether it’s a classroom party, a neighborhood trick-or-treat drop-off, or a spooky movie night, these cups fit the theme perfectly. They are visually striking and instantly recognizable.
- Crowd-Pleaser: Kids love the “dirt” and the worms. Adults love the creamy, rich texture. It bridges the gap between a treat for children and a dessert for adults. I’ve seen picky eaters clear their plates and adults ask for seconds.
- Unbelievably Delicious: The combination of the crunchy cookie crumbs and the smooth, vanilla pudding-yogurt mixture is next-level comfort food. It’s light yet satisfying, sweet but not cloying.
What makes this recipe different from the rest is the use of yogurt in the pudding mixture. Many traditional recipes call for heavy cream or whipped topping, which can be heavy and overly rich. By swapping in some Greek yogurt, I found a way to keep the texture airy and light while adding a subtle tang that balances the sweetness of the pudding and cookies. It’s a small change, but it makes a huge difference in the overall experience.
This isn’t just another version of a dirt cup. It’s a smarter version. It’s the kind of dessert that makes you close your eyes after the first bite and appreciate the simplicity. It’s comfort food reimagined for the modern, busy home cook.
I remember making these for a last-minute school party. I didn’t have time to bake a cake or make cookies from scratch. These cups saved the day. They looked professional, tasted homemade, and required almost no effort. That’s the power of this recipe. It takes the stress out of dessert making.
It’s also great for impressing guests without the stress. You can prepare them ahead of time and just add the worms right before serving. It’s practical, delicious, and fun. That’s why it’s stuck in my repertoire. It works every time.
What Ingredients You Will Need
This recipe relies on a few key components that work together to create that signature “dirt” texture and creamy filling. You don’t need a gourmet grocery store for this. The beauty of this dessert lies in its simplicity and the quality of a few standard ingredients. Here is what you need to make it right.
For the “Dirt” Base
- Chocolate Sandwich Cookies: You need about 24 standard cookies. I prefer the classic variety with the white cream filling. They crush easily and provide a nice crunch. (Tip: If you can’t find standard ones, chocolate wafers work well too, but they are less sweet.)
- Unsalted Butter: You’ll need 4 tablespoons of melted butter. This helps the cookie crumbs stick together slightly, so the “dirt” doesn’t just fall apart in the cup. (Use high-quality butter for the best flavor.)
For the Creamy Filling
- Vanilla Instant Pudding Mix: One 3.4-ounce box is all you need. This is the secret to getting that thick, smooth texture without cooking. (I recommend Jell-O or a store-brand equivalent. Avoid the “light” versions as they don’t thicken as well.)
- Milk: You’ll need 2 cups of cold milk. Whole milk works best for richness, but 2% is fine if you prefer something lighter. (Make sure the milk is cold for the pudding to set properly.)
- Greek Yogurt: One 8-ounce container of plain or vanilla Greek yogurt. This is the game-changer. It adds protein and a tangy contrast to the sweet pudding. (Full-fat yogurt gives the creamiest texture, but low-fat works too.)
- Whipped Topping (Optional): One 8-ounce tub of thawed whipped topping. If you want it extra fluffy, fold this in at the end. (I often skip this because the yogurt is light enough, but it’s a good option for parties.)
For the Spooky Garnish
- Gummy Worms: A pack of colorful gummy worms. You can use the standard size or the mini ones for smaller cups. (Look for brands with less artificial aftertaste if possible.)
- Mini Chocolate Chips: A handful of mini chocolate chips. These add extra “pebbles” to the dirt look. (Dark chocolate chips offer a nice bitter contrast.)
Substitutions and Tips
If you need a dairy-free option, you can use coconut milk yogurt and dairy-free whipped topping. For a gluten-free version, simply use gluten-free chocolate cookies. The pudding mix is typically gluten-free, but always check the label. I’ve tried this with almond milk instead of dairy milk, and it works, though the pudding may be slightly less thick. Adjust the milk amount as needed. The key is to taste the filling before adding it to the cups to ensure the sweetness level is right for your family.
Equipment Needed
You don’t need a fancy kitchen for this. Here is what you’ll actually use.
- Food Processor or Ziplock Bag: To crush the cookies. A food processor is fastest, but a rolling pin and a sturdy bag work just as well. (I use the bag method because cleanup is easier.)
- Mixing Bowls: Two medium bowls. One for the pudding, one for folding in the yogurt. (Stainless steel or glass is best.)
- Whisk or Electric Mixer: To blend the pudding and milk smoothly. (A whisk is fine, but a mixer ensures no lumps.)
- Spatula: For folding the yogurt into the pudding. (A silicone spatula is ideal.)
- Serving Cups: Clear plastic cups or small mason jars. (Clear cups show off the layers better.)
- Measuring Cups and Spoons: Standard kitchen tools. (Precision matters for the pudding ratio.)
Preparation Method
Making these dirt cups is straightforward, but there are a few steps to get the texture just right. Follow these steps carefully for the best results.
- Crush the Cookies (5 minutes): Place 24 chocolate sandwich cookies into a food processor. Pulse until they are finely crumbled. If you don’t have a food processor, put the cookies in a heavy-duty ziplock bag. Remove as much air as possible, seal it, and use a rolling pin to crush them. You want fine crumbs, not large chunks. (Keep some larger chunks if you want extra crunch.)
- Mix the Cookie Base (2 minutes): Transfer the cookie crumbs to a medium bowl. Add 4 tablespoons of melted unsalted butter. Stir until the crumbs are evenly coated and look like wet sand. This mixture should hold together when squeezed. (If it’s too dry, add a teaspoon more butter.)
- Prepare the Pudding (3 minutes): In a separate large bowl, whisk together the 3.4-ounce box of vanilla instant pudding mix and 2 cups of cold milk. Whisk vigorously for about 2 minutes until the mixture thickens and no lumps remain. (Let it sit for 1 minute to fully set.)
- Fold in the Yogurt (2 minutes): Add the 8-ounce container of Greek yogurt to the thickened pudding. Gently fold it in using a spatula. Do not overmix, or you’ll deflate the pudding. You want a smooth, creamy, slightly lighter mixture. (If using whipped topping, fold it in now as well.)
- Assemble the Cups (5 minutes): Take your serving cups. Spoon about 2 tablespoons of the cookie crumb mixture into the bottom of each cup. Press it down lightly with the back of a spoon. (This creates the “ground” layer.)
- Add the Filling (5 minutes): Spoon the creamy pudding-yogurt mixture over the cookie base. Fill the cups about three-quarters full. (Don’t press too hard, or the layers will mix.)
- Create the Dirt Effect (2 minutes): Sprinkle another tablespoon of cookie crumbs over the top of each cup. This is the “dirt” layer. (You can also sprinkle mini chocolate chips here for extra texture.)
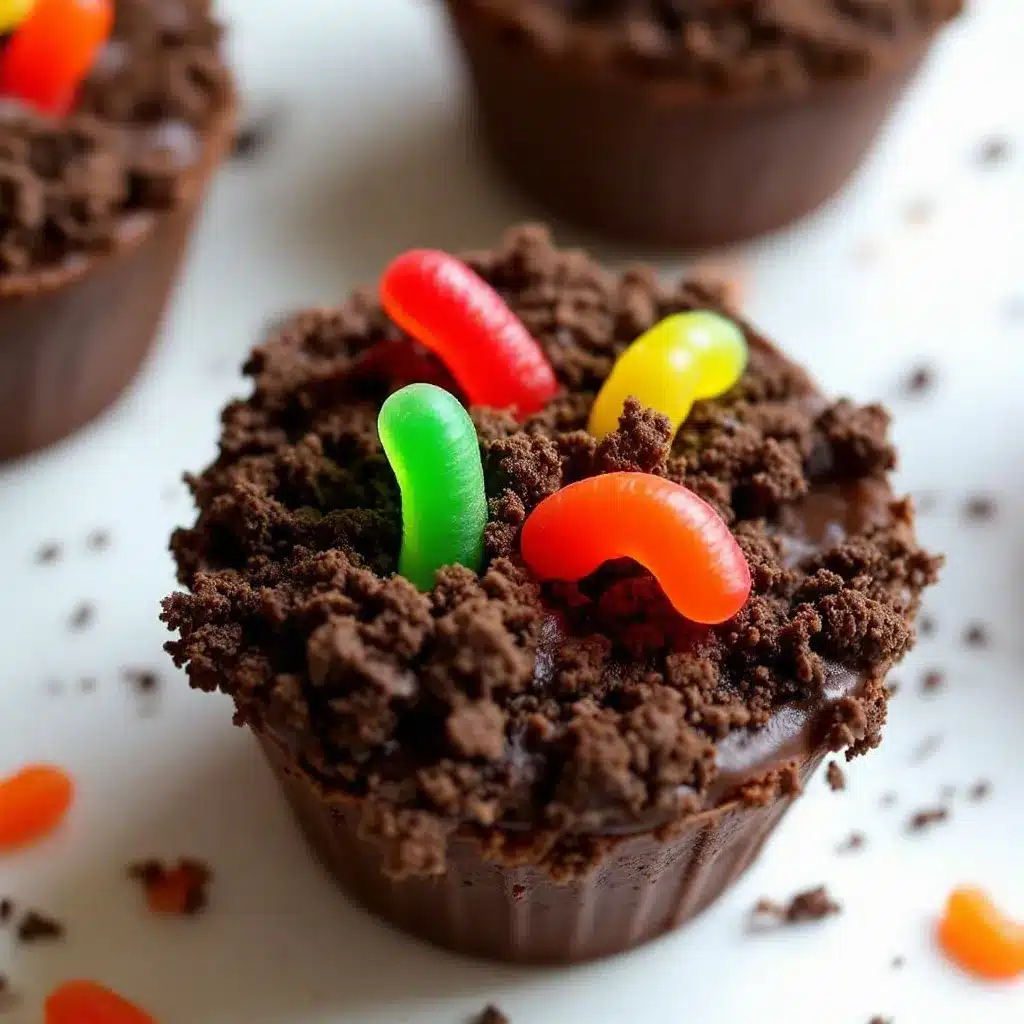
- Insert the Worms (2 minutes): Take your gummy worms and push them into the top layer of crumbs so they look like they are burrowing out of the dirt. (Twist them slightly for a more natural look.)
- Chill and Serve: Place the cups in the refrigerator for at least 30 minutes before serving. This helps the layers set and the flavors meld. (They can be made up to 24 hours in advance.)
Troubleshooting Tips
If the pudding is too runny, check your milk temperature. Cold milk is essential for instant pudding to thicken. If the cookie crumbs are too dry, add a bit more butter. If the filling is too tangy, use vanilla yogurt instead of plain. These small adjustments can make a big difference.
Cooking Tips & Techniques
Even though this is no-bake, technique matters. Here are some pro tips to make your dirt cups stand out.
- Crush Cookies to the Right Size: You want fine crumbs for the “dirt” effect, but not powder. If they are too fine, the texture will be muddy. Aim for a consistency similar to wet sand.
- Don’t Skip the Chill Time: While you can eat them immediately, chilling for 30 minutes allows the flavors to blend and the layers to set. It makes the eating experience much cleaner.
- Use a Piping Bag for Neatness: If you want a more professional look, put the pudding mixture in a piping bag and pipe it into the cups. It creates nice swirls and looks fancy.
- Balance the Sweetness: Since the cookies and pudding are both sweet, the yogurt adds a necessary tang. Don’t skip the yogurt, or the dessert will be too one-dimensional.
- Worm Placement: Don’t just lay the worms on top. Push them in. It looks more realistic and prevents them from sliding off when served.
Variations & Adaptations
This recipe is a blank canvas. Here are some ways to customize it.
- Chocolate Pudding: Swap the vanilla pudding mix for chocolate. It creates a richer, chocolateier dessert. Pair it with chocolate cookies for a double chocolate experience.
- Fruit Dirt Cups: Add a layer of mixed berries or sliced strawberries between the pudding and the dirt. It adds freshness and color.
- Spooky Spiderwebs: Drizzle white chocolate or caramel over the top before adding the worms. It looks like spiderwebs and adds extra sweetness.
- Dairy-Free Option: Use coconut milk yogurt and dairy-free whipped topping. The pudding mix is usually dairy-free, but check the label. Use gluten-free cookies if needed.
- Mini Cups: Make these in shot glasses or mini muffin tins for bite-sized portions. Great for parties where you want many options.
I once made these with pumpkin pudding mix for fall. It was surprisingly delicious. The spice complemented the chocolate cookies well. It’s a great way to reuse the recipe for different seasons.
Serving & Storage Suggestions
Serve these dirt cups chilled. They taste best cold. They pair well with a glass of milk or a spooky cocktail like a caramel apple cider margarita. For a non-alcoholic option, try a spiced apple cider (minus the bourbon).
Store leftovers in an airtight container in the refrigerator for up to 3 days. The cookies will soften over time, so they won’t stay crunchy. If you want to keep them crunchy, store the cookie crumbs separately and add them right before serving. You can also freeze the assembled cups for up to 1 month. Thaw in the refrigerator overnight. The texture may change slightly, but they will still taste good.
Nutritional Information & Benefits
Each cup contains approximately 250 calories. This is an estimate and will vary based on the specific brands used. The recipe provides some protein from the Greek yogurt and calcium from the milk and yogurt. It is not a health food, but it is a balanced treat. It contains carbohydrates from the cookies and pudding, and fat from the butter and yogurt. For those with allergies, note that it contains dairy and gluten. Use substitutions as mentioned in the variations section. I like this recipe because it feels indulgent but isn’t overly heavy, thanks to the yogurt.
Conclusion
These no-bake Halloween dirt cups are a winner. They are easy, fun, and delicious. I love them because they bring joy to both kids and adults. They are a testament to the power of simple ingredients. I encourage you to try this recipe. Customize it with your favorite flavors and garnishes. Share your results in the comments below. I’d love to hear how they turned out for you. Happy Halloween!
FAQs
Can I make these ahead of time?
Yes, you can make them up to 24 hours in advance. Store them in the refrigerator. The cookies will soften, so add fresh crumbs right before serving if you want maximum crunch.
Can I use homemade cookie crumbs?
Absolutely. Any chocolate cookie works. Oreo-style cookies are the most common, but chocolate wafers or even chocolate cake crumbs work well.
What can I use instead of Greek yogurt?
You can use sour cream, whipped cream, or Cool Whip. Greek yogurt is recommended for its tang and protein, but other options work too.
Are these gluten-free?
Not by default. Use gluten-free cookies and check the pudding mix label. Many pudding mixes are gluten-free, but always verify.
How many cups does this recipe make?
This recipe makes about 8-10 standard-sized cups, depending on how you scoop them.
Pin This Recipe!
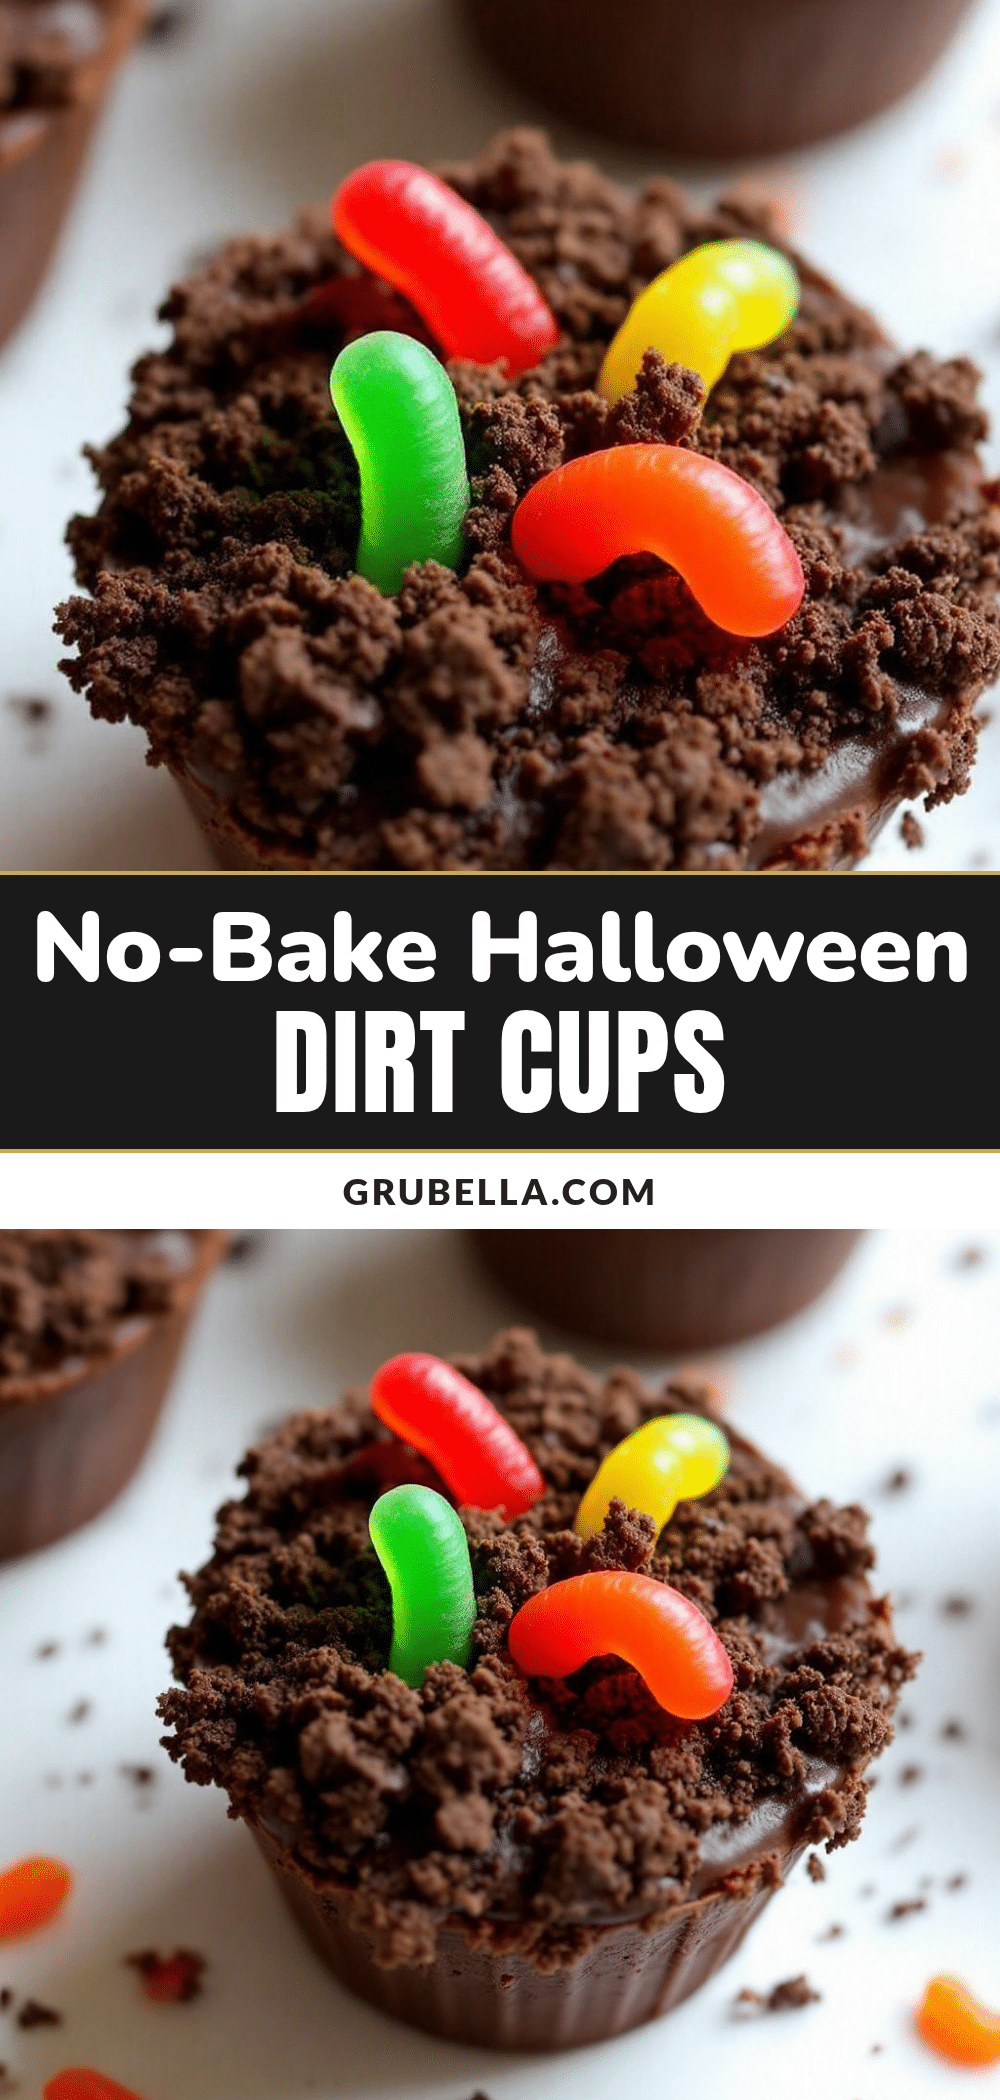
No-Bake Halloween Dirt Cups: 3-Ingredient Easy Dessert

A quick, no-bake Halloween dessert featuring a crunchy chocolate cookie base topped with a creamy vanilla pudding and Greek yogurt mixture, garnished with gummy worms.
- Prep Time: 15 minutes
- Cook Time: 0 minutes
- Total Time: 45 minutes
- Yield: 8-10 servings 1x
- Category: Dessert
- Cuisine: American
Ingredients
- 24 chocolate sandwich cookies
- 4 tablespoons unsalted butter, melted
- 1 box (3.4 oz) vanilla instant pudding mix
- 2 cups cold whole milk
- 1 container (8 oz) plain or vanilla Greek yogurt
- 1 tub (8 oz) thawed whipped topping (optional)
- Gummy worms for garnish
- Mini chocolate chips for garnish
Instructions
- Crush the chocolate sandwich cookies into fine crumbs using a food processor or a ziplock bag with a rolling pin.
- In a medium bowl, mix the cookie crumbs with the melted unsalted butter until evenly coated and resembling wet sand.
- In a large bowl, whisk the vanilla instant pudding mix and cold milk vigorously for 2 minutes until thickened. Let sit for 1 minute to set.
- Gently fold the Greek yogurt into the thickened pudding mixture using a spatula. If using whipped topping, fold it in now as well.
- Spoon about 2 tablespoons of the cookie crumb mixture into the bottom of each serving cup and press down lightly.
- Spoon the pudding-yogurt mixture over the cookie base, filling cups about three-quarters full.
- Sprinkle another tablespoon of cookie crumbs over the top of each cup to create the ‘dirt’ effect.
- Insert gummy worms into the top layer of crumbs so they appear to be burrowing out.
- Refrigerate for at least 30 minutes before serving to allow flavors to meld and layers to set.
Notes
Ensure milk is cold for the pudding to thicken properly. For a dairy-free version, use coconut milk yogurt and dairy-free whipped topping. For gluten-free, use gluten-free chocolate cookies. Store in the refrigerator for up to 3 days; cookies will soften over time.
Nutrition
- Serving Size: 1 cup
- Calories: 250
- Sugar: 22
- Sodium: 180
- Fat: 12
- Saturated Fat: 7
- Carbohydrates: 35
- Fiber: 2
- Protein: 6
Keywords: Halloween dessert, no-bake, dirt cups, easy dessert, kids party food, chocolate pudding, Greek yogurt dessert



