Love this? Save it for later!
Share the inspiration with your friends
My neighbor Kate wasn’t trying to impress anyone. I’d stopped by to borrow a ladder on a drizzly Tuesday afternoon, and the smell hit me before I even got to her screen door. Warm cinnamon, nutmeg, and something sweet and earthy—pumpkin, obviously—wrapped around me like a hug. She opened the door holding a loaf pan, still warm, with chocolate chips peeking through the top like little dark jewels.
“Oh, that’s just pumpkin bread,” she said, waving her hand like it was nothing. “I had a can of pumpkin open and needed to use it up.”
Just pumpkin bread. She handed me a slice on a paper towel, and I swear I closed my eyes after the first bite. It was impossibly moist, not too sweet, with these melty pockets of chocolate that made every bite slightly different. I asked for the recipe, and she scribbled it on the back of an envelope while I held her baby. That envelope is stained and crumpled now, but I still use it.
Here’s the thing about this bread—it comes together in one bowl. No mixer required. No fancy techniques. You probably have everything in your pantry right now. Maybe you’ve been there, staring at a can of pumpkin and wondering what to do with it. This is the answer, and honestly, it’s the kind of recipe that makes you look like a baking hero with almost zero effort.
Why You’ll Love This Recipe
Let me tell you why this pumpkin chocolate chip bread has earned a permanent spot in my kitchen rotation. I’ve tested it at least a dozen times, tweaking the sugar, playing with the spice ratio, and even sneaking it into holiday gift baskets. Every single time, people ask for the recipe.
- One Bowl, Zero Fuss: No creaming butter and sugar. No sifting dry ingredients separately. You mix everything in one bowl, scrape it into a loaf pan, and let the oven do the work. It’s the kind of baking I actually look forward to on a busy weeknight.
- Pantry-Friendly Ingredients: Canned pumpkin, flour, sugar, eggs, oil, and chocolate chips. That’s it. No trips to a specialty store for hard-to-find ingredients.
- Perfect for Fall (and Honestly, All Year): This bread screams autumn, but I make it in July too. Pumpkin is available year-round, and the cozy spice blend works anytime you need a little comfort.
- Crowd-Pleaser Guaranteed: Kids love the chocolate chips. Adults love the subtle pumpkin spice. Everyone loves how moist it is. I’ve brought this to brunches, book club meetings, and even a casual backyard barbecue—it disappears every time.
- Unbelievably Moist Texture: The pumpkin keeps this bread incredibly tender for days. It’s not dry or crumbly like some quick breads. It’s the kind of moist that makes you go back for “just one more slice.”
What makes this recipe different from every other pumpkin bread out there? It’s the balance. The pumpkin flavor is present but not overwhelming. The chocolate chips add sweetness without making it cloying. And the texture—oh, the texture—is somehow both light and dense at the same time. It’s not just another version of pumpkin bread. It’s the version you’ll make over and over again.
What Ingredients You Will Need
This recipe uses simple, wholesome ingredients to deliver that perfect pumpkin-chocolate combo. Most of these are probably sitting in your pantry right now, which makes this a great last-minute baking project.
- Canned Pumpkin Puree (1 cup / 245g) — Make sure you’re buying 100% pumpkin puree, not pumpkin pie filling. The pie filling has added sugar and spices that will throw off the balance. I prefer Libby’s brand for its consistent texture, but any pure pumpkin puree works fine.
- Granulated Sugar (¾ cup / 150g) — Adds just enough sweetness without overpowering the pumpkin. You can reduce it to ½ cup if you prefer a less sweet bread, but I wouldn’t go lower than that.
- Brown Sugar (½ cup / 100g, packed) — This is my secret for extra moisture and a hint of molasses flavor. Light or dark brown sugar both work. Dark brown sugar will give a deeper, more caramel-like taste.
- Vegetable Oil (½ cup / 120ml) — Keeps the bread tender and moist. Canola or any neutral oil works too. I’ve tried melted coconut oil in a pinch, and it works, but the texture is slightly different.
- Large Eggs (2, at room temperature) — Eggs bind everything together and add structure. Room temperature eggs incorporate more smoothly into the batter. If you forget to take them out ahead of time, place them in a bowl of warm water for 5 minutes.
- Vanilla Extract (1 teaspoon) — Enhances the warm spices and rounds out the flavor. Use pure vanilla extract if you have it, but imitation works fine too.
- All-Purpose Flour (1¾ cups / 220g) — The base of the bread. Spoon and level your flour for accuracy—scooping directly from the bag can pack in too much flour and make the bread dry.
- Baking Soda (1 teaspoon) — Helps the bread rise and gives it a nice dome on top. Make sure your baking soda is fresh (not more than 6 months old) for best results.
- Ground Cinnamon (1½ teaspoons) — The star of the spice blend. I use Vietnamese cinnamon for its bold, slightly spicy flavor.
- Ground Nutmeg (½ teaspoon) — Adds warmth and depth. Freshly grated nutmeg is amazing here if you have a whole nutmeg and a microplane.
- Ground Ginger (¼ teaspoon) — A little kick that complements the pumpkin beautifully. You can skip it if you don’t have any on hand.
- Salt (½ teaspoon) — Balances the sweetness and enhances all the flavors. Don’t skip it, even if you’re using salted butter.
- Semi-Sweet Chocolate Chips (1 cup / 175g) — The chocolate chips melt into little pockets of goodness throughout the bread. I prefer Ghirardelli semi-sweet chips for their rich flavor, but any brand works. Dark chocolate chips are great too if you want a more intense chocolate taste.
Equipment Needed
You don’t need a fancy kitchen to make this bread. Here’s what you’ll need:
- Large Mixing Bowl — Any medium-to-large bowl works. I use a ceramic one because it doesn’t slide around on the counter.
- Whisk — For mixing the wet ingredients and combining everything smoothly. A wooden spoon works too, but a whisk gives you a lump-free batter faster.
- Rubber Spatula — Essential for scraping down the sides of the bowl and folding in the chocolate chips. I’ve used a spoon in a pinch, but a spatula is much better.
- 9×5 Inch Loaf Pan — Standard size. If you use an 8×4 pan, your bread will be taller and可能需要增加 baking time by 5-10 minutes. Glass or metal both work, but metal gives a nicer golden crust.
- Parchment Paper (optional but helpful) — Lining the pan makes lifting the bread out super easy. You can also just grease the pan well with butter or non-stick spray.
- Cooling Rack — Allows air to circulate around the bread so it cools evenly and doesn’t get soggy on the bottom.
- Measuring Cups and Spoons — For accurate measurements. I cannot stress this enough—baking is a science, and eyeballing ingredients leads to inconsistent results.
If you don’t have a loaf pan, you can bake this in a 9-inch square pan. Just reduce the baking time to about 30-35 minutes and check for doneness earlier.
Preparation Method
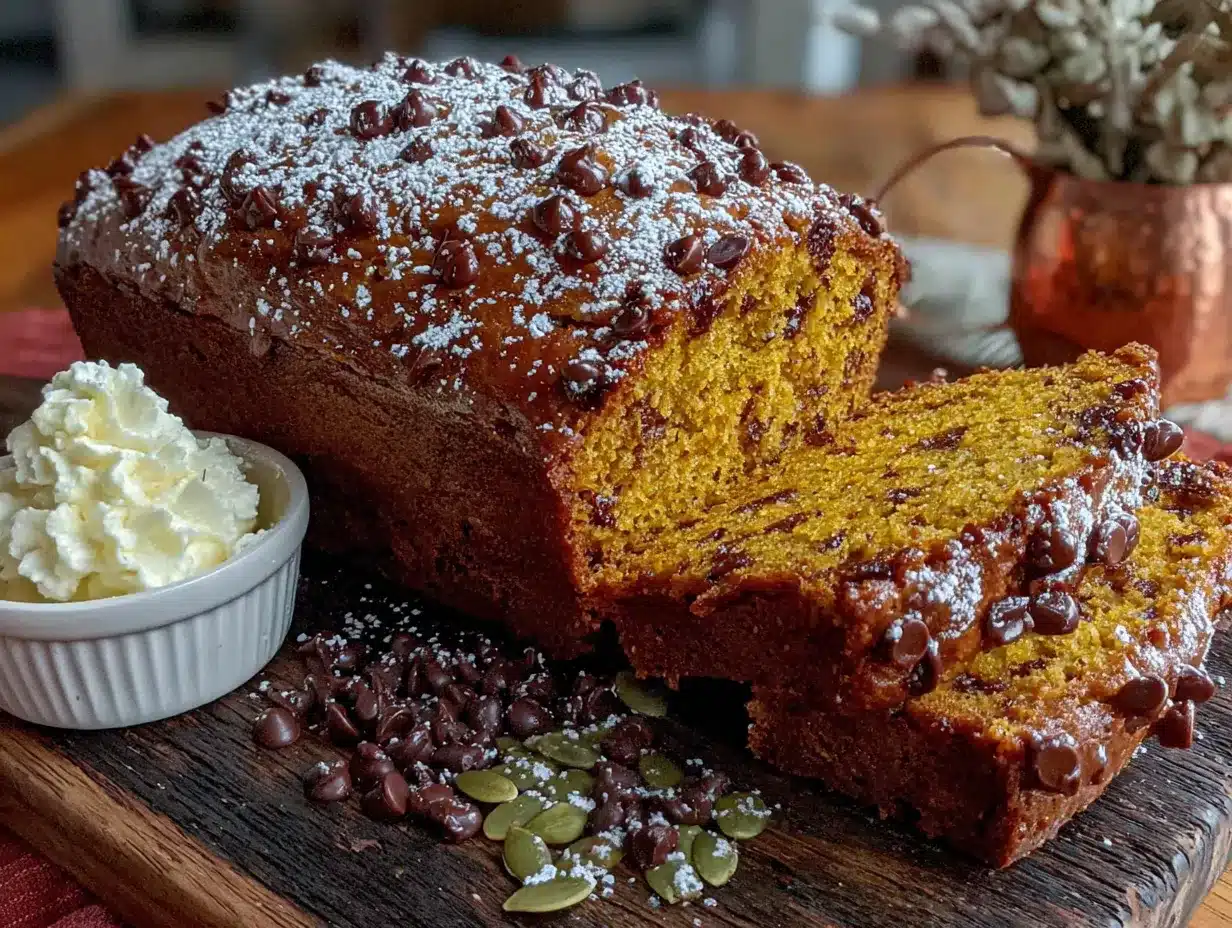
Alright, let’s get baking. This is the easiest pumpkin bread you’ll ever make, I promise.
- Preheat your oven to 350°F (175°C). Position the rack in the center of the oven. Grease your 9×5 loaf pan with butter or non-stick spray, or line it with parchment paper, leaving some overhang on the long sides for easy removal.
- In your large mixing bowl, whisk together the pumpkin puree, granulated sugar, and brown sugar. Whisk until the sugars are mostly dissolved and the mixture looks smooth and glossy. This takes about 30 seconds. Don’t rush this step—you want the sugars to start dissolving so the bread bakes evenly.
- Add the vegetable oil, eggs, and vanilla extract. Whisk vigorously until everything is well combined and the batter looks smooth and slightly emulsified. If you see streaks of oil, keep whisking—it should come together.
- Now, add the flour, baking soda, cinnamon, nutmeg, ginger, and salt directly to the wet ingredients. Yes, right on top. No separate bowl needed. This is the beauty of the one-bowl method. Use a spoon to gently stir the dry ingredients into the wet ingredients, just until no streaks of flour remain. Do not overmix. Overmixing develops gluten and makes the bread tough. A few small lumps are perfectly fine.
- Fold in the chocolate chips with your rubber spatula. Reserve about 2 tablespoons of chips to sprinkle on top if you want a prettier presentation. Gently fold until the chips are evenly distributed throughout the batter. The batter will be thick and slightly sticky—that’s normal.
- Pour the batter into your prepared loaf pan. Use the spatula to spread it evenly into the corners. Tap the pan gently on the counter a few times to release any air bubbles. Sprinkle the reserved chocolate chips on top, pressing them in slightly so they don’t roll off during baking.
- Bake for 55-65 minutes, or until a toothpick inserted into the center comes out clean or with a few moist crumbs. Start checking at 50 minutes. Every oven is different, so keep an eye on it. If the top is browning too quickly (around the 40-minute mark), tent the pan loosely with aluminum foil.
- Let the bread cool in the pan for 15 minutes. This allows it to set and makes it easier to remove. After 15 minutes, lift the bread out using the parchment paper overhang (or carefully invert it onto a cooling rack). Let it cool completely on the rack before slicing—at least 1 hour. I know it’s tempting to cut into it warm, but it will be too crumbly and might fall apart.
Here’s a sensory cue for you: when it’s done, the bread will be a deep golden brown, the kitchen will smell like a pumpkin spice candle exploded, and the top will feel springy when you press it gently with your finger.
Cooking Tips & Techniques
I’ve made this bread more times than I can count, and I’ve learned a few things along the way. Here are my best tips for perfect results every time.
Don’t overmix the batter. This is the number one mistake people make with quick breads. Mix just until the flour disappears. Overmixing develops gluten, which gives you a dense, tough bread instead of a tender, fluffy one. A few lumps are your friend.
Use room temperature ingredients. Cold eggs and cold pumpkin can cause the batter to seize up and bake unevenly. Take everything out of the fridge about 30 minutes before you start. If you’re in a hurry, place the eggs in a bowl of warm water for 5 minutes.
Measure your flour correctly. The most common baking mistake is using too much flour. Spoon the flour into your measuring cup, then level it off with a knife. Don’t scoop directly from the bag—that packs in up to 25% more flour than you need.
Let it cool completely. I learned this one the hard way. I once cut into a loaf after 20 minutes because I couldn’t wait, and it practically disintegrated. The bread needs time to set as it cools. Patience pays off here.
For a taller loaf, make sure your baking soda is fresh. You can test it by dropping a little into vinegar—if it fizzes vigorously, it’s still active. Old baking soda is a common culprit for flat, dense bread.
My biggest failure? I once forgot the sugar entirely. I was distracted by a phone call, poured everything else in, and baked it. The result was a dense, sad, flavorless brick that even my dog turned down. Lesson learned: always double-check your ingredients before you start mixing.
Variations & Adaptations
This recipe is wonderfully forgiving and easy to adapt. Here are some variations I’ve tried and loved:
Gluten-Free Version: Substitute the all-purpose flour with a 1:1 gluten-free baking flour blend (I like Bob’s Red Mill). The texture will be slightly more tender, but it works beautifully. Add an extra tablespoon of flour if the batter seems too thin.
Dairy-Free: This recipe is already dairy-free since it uses oil instead of butter. Just make sure your chocolate chips are dairy-free (many semi-sweet brands are, but check the label).
Spice It Up: Add ¼ teaspoon of ground cloves or allspice for a warmer, more complex spice profile. I sometimes add a pinch of cardamom when I’m feeling fancy—it pairs beautifully with pumpkin.
Nutty Addition: Fold in ½ cup of chopped pecans or walnuts along with the chocolate chips. Toast them first for extra flavor. The crunch adds a lovely contrast to the soft bread.
Mini Loaves or Muffins: Pour the batter into mini loaf pans (bake for 30-35 minutes) or a muffin tin (bake for 18-22 minutes). Perfect for gifting or portion control. The muffins are great for school lunches.
Extra Chocolate: If you’re a true chocolate lover, use dark chocolate chips and add ¼ cup of cocoa powder to the flour mixture. Reduce the flour by 2 tablespoons to compensate. It turns into a pumpkin-chocolate hybrid that’s absolutely decadent.
I once made a version with white chocolate chips and dried cranberries for a holiday brunch. It was a huge hit, though my family still prefers the classic semi-sweet version.
Serving & Storage Suggestions
This bread is delicious at any temperature, but I have my preferences.
Serving: Serve it slightly warm or at room temperature. A slice with a pat of salted butter is pure heaven—the butter melts into the warm bread and the salt balances the sweetness. For an extra treat, toast a slice and spread it with cream cheese or apple butter. It’s also wonderful alongside a hot cup of coffee or a cold glass of milk.
Presentation: For a pretty presentation, dust the top with powdered sugar just before serving. Or drizzle with a simple glaze made from ½ cup powdered sugar mixed with 1-2 tablespoons of milk and a splash of vanilla.
Storage: Wrap the cooled bread tightly in plastic wrap or aluminum foil and store at room temperature for up to 4 days. The moisture from the pumpkin keeps it soft and tender the whole time. In fact, it often tastes even better on day two after the flavors have had time to meld.
Freezer Instructions: This bread freezes beautifully. Wrap the cooled loaf (or individual slices) tightly in plastic wrap, then in a layer of aluminum foil. Freeze for up to 3 months. To thaw, leave it on the counter for a few hours or pop individual slices in the microwave for 20-30 seconds.
Reheating: For that fresh-from-the-oven taste, warm slices in a 300°F oven for 5-7 minutes, or in the microwave for 15 seconds. The chocolate chips get melty again, and it’s just glorious.
Nutritional Information & Benefits
Here’s the approximate nutritional breakdown for one slice (based on 10 slices per loaf):
- Calories: 320
- Total Fat: 15g
- Saturated Fat: 4g
- Cholesterol: 37mg
- Sodium: 220mg
- Total Carbohydrates: 44g
- Dietary Fiber: 2g
- Sugars: 27g
- Protein: 4g
Pumpkin is a nutritional powerhouse—it’s packed with vitamin A (great for eye health), fiber, and antioxidants. The chocolate chips add a little dose of mood-boosting flavonoids, and the eggs provide protein to keep you full. While this is definitely a treat, it’s a treat that has some redeeming qualities. I feel good about eating a slice for breakfast, honestly. It’s like having your cake and getting some vegetables too.
Dietary Notes: This recipe contains gluten, eggs, and dairy (if using butter to grease the pan). It can be made gluten-free and dairy-free with the substitutions listed above.
Frequently Asked Questions
Can I use fresh pumpkin instead of canned?
Yes, you can! If using fresh pumpkin, make sure to roast or steam it until very tender, then puree it until smooth. You’ll need to drain the puree in a fine-mesh sieve lined with cheesecloth for at least an hour to remove excess water. Fresh pumpkin has more water than canned, so straining is essential to avoid a soggy bread.
Why did my pumpkin bread sink in the middle?
A sunken middle usually means the bread was underbaked or the oven temperature was too low. Make sure your oven is fully preheated and use an oven thermometer to check accuracy. Also, don’t open the oven door during the first 40 minutes of baking—the rush of cold air can cause the bread to collapse.
Can I reduce the sugar in this recipe?
Absolutely. You can reduce the total sugar to 1 cup (instead of 1¼ cups) without major issues. The bread will be slightly less sweet and a bit more dense, but still delicious. I wouldn’t recommend going below ¾ cup total sugar, as sugar provides structure and moisture in addition to sweetness.
How do I know when the bread is fully baked?
Insert a toothpick or a thin knife into the center of the loaf. If it comes out clean or with a few moist crumbs (not wet batter), it’s done. You can also check the internal temperature with an instant-read thermometer—it should read around 200-205°F. The top should be golden brown and spring back when lightly pressed.
Can I make this recipe into cupcakes or a cake?
Yes! For cupcakes, fill lined muffin tins about ¾ full and bake at 350°F for 18-22 minutes. For a 9-inch round cake, bake for 30-35 minutes. The texture will be slightly different (less dense than the loaf), but it’s equally delicious. You might want to double the recipe for a layer cake.
Conclusion
This easy one-bowl pumpkin chocolate chip bread is the kind of recipe that becomes a staple. It’s simple enough for a beginner baker, reliable enough for holiday gift-giving, and delicious enough to make you feel like you’ve really accomplished something. Every time I make it, I think about Kate standing in her doorway, holding that warm loaf like it was no big deal. But it is a big deal. It’s the kind of food that brings people together, that makes a rainy afternoon feel cozy, that turns an ordinary Tuesday into something special.
I hope you give this recipe a try. Customize it with your favorite add-ins, make it your own, and share it with the people you love. And when you do, I’d love to hear about it. Drop a comment below and let me know how it turned out, or share your own twist on the recipe. Happy baking, friend!
Pin This Recipe!
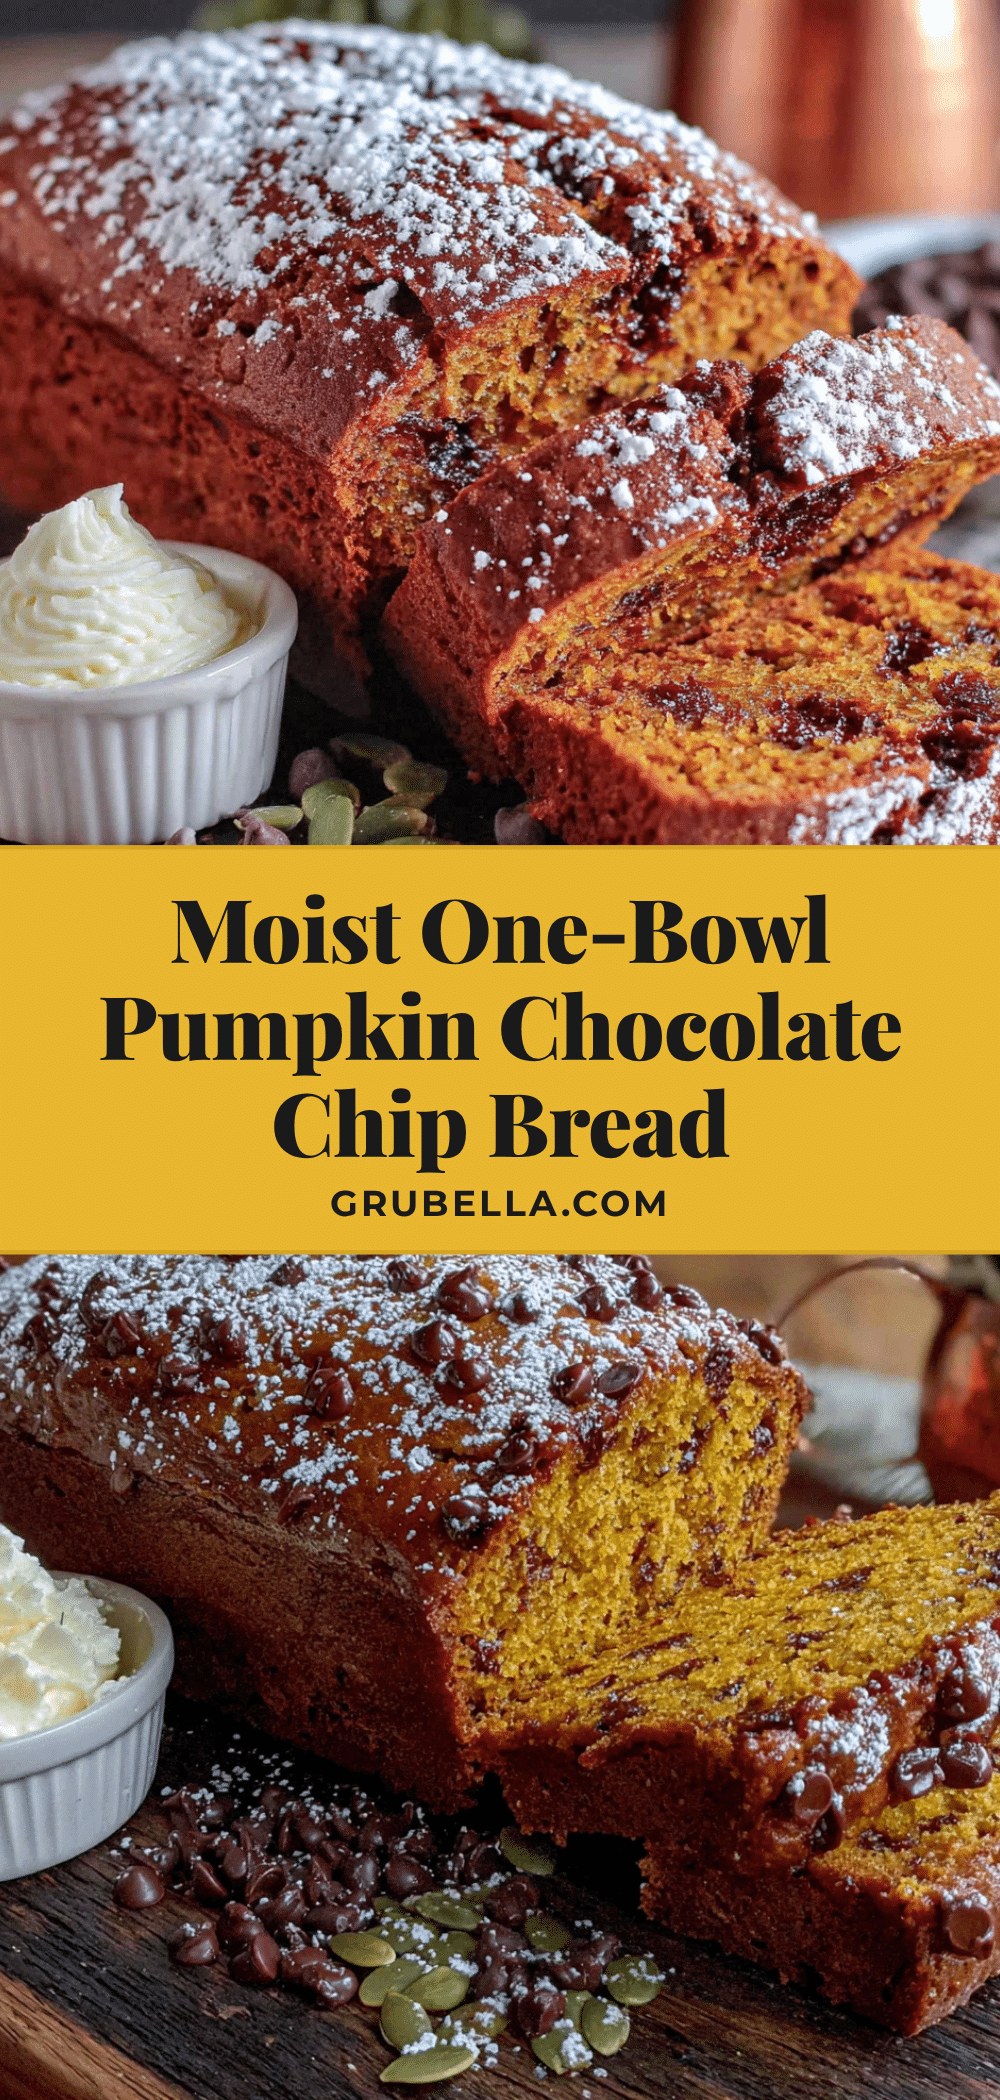
Easy One-Bowl Pumpkin Chocolate Chip Bread
This impossibly moist, one-bowl pumpkin chocolate chip bread comes together with no mixer and simple pantry ingredients. It’s the perfect fall treat that’s a crowd-pleaser every time.
- Prep Time: 15 minutes
- Cook Time: 55-65 minutes
- Total Time: 1 hour 15 minutes to 1 hour 25 minutes
- Yield: 10 servings 1x
- Category: Dessert
- Cuisine: American
Ingredients
- 1 cup (245g) canned pumpkin puree (100% pure, not pumpkin pie filling)
- ¾ cup (150g) granulated sugar
- ½ cup (100g) packed brown sugar (light or dark)
- ½ cup (120ml) vegetable oil (or canola/neutral oil)
- 2 large eggs, at room temperature
- 1 teaspoon vanilla extract
- 1¾ cups (220g) all-purpose flour, spooned and leveled
- 1 teaspoon baking soda
- 1½ teaspoons ground cinnamon
- ½ teaspoon ground nutmeg
- ¼ teaspoon ground ginger
- ½ teaspoon salt
- 1 cup (175g) semi-sweet chocolate chips (plus 2 tablespoons for topping)
Instructions
- Preheat your oven to 350°F (175°C). Position the rack in the center of the oven. Grease a 9×5-inch loaf pan with butter or non-stick spray, or line it with parchment paper, leaving some overhang on the long sides for easy removal.
- In a large mixing bowl, whisk together the pumpkin puree, granulated sugar, and brown sugar until the sugars are mostly dissolved and the mixture looks smooth and glossy, about 30 seconds.
- Add the vegetable oil, eggs, and vanilla extract. Whisk vigorously until everything is well combined and the batter looks smooth and slightly emulsified.
- Add the flour, baking soda, cinnamon, nutmeg, ginger, and salt directly to the wet ingredients. Gently stir with a spoon just until no streaks of flour remain. Do not overmix; a few small lumps are fine.
- Fold in the chocolate chips with a rubber spatula, reserving about 2 tablespoons to sprinkle on top. Gently fold until the chips are evenly distributed. The batter will be thick and slightly sticky.
- Pour the batter into the prepared loaf pan. Use the spatula to spread it evenly into the corners. Tap the pan gently on the counter a few times to release air bubbles. Sprinkle the reserved chocolate chips on top, pressing them in slightly.
- Bake for 55-65 minutes, or until a toothpick inserted into the center comes out clean or with a few moist crumbs. Start checking at 50 minutes. If the top is browning too quickly (around the 40-minute mark), tent the pan loosely with aluminum foil.
- Let the bread cool in the pan for 15 minutes. Then lift it out using the parchment paper overhang (or carefully invert it onto a cooling rack). Let it cool completely on the rack before slicing—at least 1 hour.
Notes
Do not overmix the batter to avoid a tough bread. Use room temperature ingredients for even baking. Measure flour correctly by spooning and leveling. Let the bread cool completely before slicing to prevent crumbling. For a taller loaf, ensure baking soda is fresh. The bread can be stored at room temperature for up to 4 days or frozen for up to 3 months.
Nutrition
- Serving Size: 1 slice
- Calories: 320
- Sugar: 27
- Sodium: 220
- Fat: 15
- Saturated Fat: 4
- Carbohydrates: 44
- Fiber: 2
- Protein: 4
Keywords: pumpkin bread, chocolate chip, one-bowl, easy, fall, quick bread, pumpkin chocolate chip bread



