Love this? Save it for later!
Share the inspiration with your friends
One chilly Thursday afternoon, my coworker watched me fumble with a plastic bag full of squished store-bought sandwiches and didn’t say anything at first. Then she pulled out a perfectly round, crustless sandwich from her lunchbox and casually mentioned, “You know, I make these at home—and they freeze beautifully.” That little exchange wasn’t a formal cooking lesson, just a moment of shared kitchen wisdom passed over coffee and office chatter. The recipe for these easy homemade Uncrustables freezer-friendly PB&J sandwiches came through that simple, unpretentious conversation. It felt like a quiet invitation to make lunchtime easier, without sacrificing the nostalgic charm of peanut butter and jelly.
Honestly, I’d never thought about making my own Uncrustables before. I mean, who has the time, right? But after that day, I tried it out—and it quickly became my go-to for packed lunches and quick snacks. Maybe you’ve been there, staring at a shelf of pre-packaged sandwiches wondering if they’re worth the price or the preservatives. This recipe respects the original idea but lets you control the ingredients and the quality, all while saving a little cash and hassle. Plus, I’ll admit, there’s something satisfying about seeing those neat little circles lined up on a tray, ready to pop in the freezer. It’s a small thing, but it’s stuck with me—and I keep making them, especially when my schedule gets hectic.
Why You’ll Love This Recipe
Let me tell you, this easy homemade Uncrustables recipe isn’t just a quick fix—it’s a little slice of convenience with a homemade twist. After testing different peanut butters and jams, tweaking the freezing times, and finding the right bread for that perfect softness, I’m confident you’ll enjoy these sandwiches as much as I do.
- Quick & Easy: These come together in about 15 minutes, and then you just freeze them for later—ideal for busy mornings or last-minute snacks.
- Simple Ingredients: No need for specialty stores or fancy jars. Basic peanut butter, your favorite jelly, and sandwich bread are all you need.
- Perfect for Lunchboxes: Great for school lunches, picnics, or a quick grab-and-go breakfast.
- Crowd-Pleaser: Kids and adults alike love these—soft, sweet, and perfectly portable.
- Unbelievably Delicious: The texture is just right—the bread stays tender after freezing, and the peanut butter and jelly meld beautifully.
This recipe stands out because it’s genuinely freezer-friendly without turning into a frozen brick or losing flavor. I found that sealing the edges tight and using sandwich bread with just the right crumb makes all the difference. And honestly, making these yourself means you can pick your favorite peanut butter—whether it’s crunchy, smooth, or even a natural variety—and your preferred jelly or jam. It’s like comfort food from childhood, but made your way. If you want a fuss-free, homemade alternative to the store-bought kind, this recipe is your best bet.
What Ingredients You Will Need
This recipe uses simple, wholesome ingredients to deliver the classic peanut butter and jelly flavor you expect, with a fresh homemade touch. Most of these are pantry staples, which makes this sandwich a snap to prepare whenever the craving hits.
- Sandwich Bread: 8 slices of soft white or whole wheat bread (I like Nature’s Own for its soft texture and reliable freshness)
- Peanut Butter: 1/2 cup creamy or crunchy peanut butter (natural peanut butter works well but can be a bit runny; if that’s your choice, a thicker variety like Skippy is easier to work with)
- Jelly or Jam: 1/2 cup of your favorite jelly (grape, strawberry, or raspberry all work; I usually go with homemade strawberry jam when in season)
- Optional: A light spread of butter (about 1 tablespoon) on the bread to add richness and prevent sogginess after freezing
For substitutions, you can easily swap peanut butter for almond butter or sunflower seed butter if allergies are a concern. For a gluten-free option, use gluten-free sandwich bread. In the summer months, fresh berry jam or even a thin layer of honey can switch things up nicely.
Equipment Needed
To make these homemade Uncrustables, you don’t need any fancy gadgets. Here’s what I use:
- Round Cookie Cutter: About 3 inches in diameter to cut the sandwiches into perfect circles. If you don’t have one, a small drinking glass works just fine.
- Rolling Pin (Optional): Helpful for gently pressing the sandwiches to seal the edges well without squashing them.
- Baking Sheet or Tray: To lay out the sandwiches before freezing, so they keep their shape and don’t stick together.
- Parchment Paper: For lining the tray, making cleanup easier and preventing sticking.
- Plastic Freezer Bags or Airtight Containers: For storing the frozen sandwiches properly.
Honestly, I started making these with just a glass and a butter knife. The cookie cutter just makes the sandwiches look more uniform, but it’s not a must-have. If you’re on a budget, check thrift stores or dollar stores for affordable cookie cutters. Keeping your rolling pin and cutters clean and dry between uses helps avoid any unwanted bread crumbs or sticky jam buildup.
Preparation Method
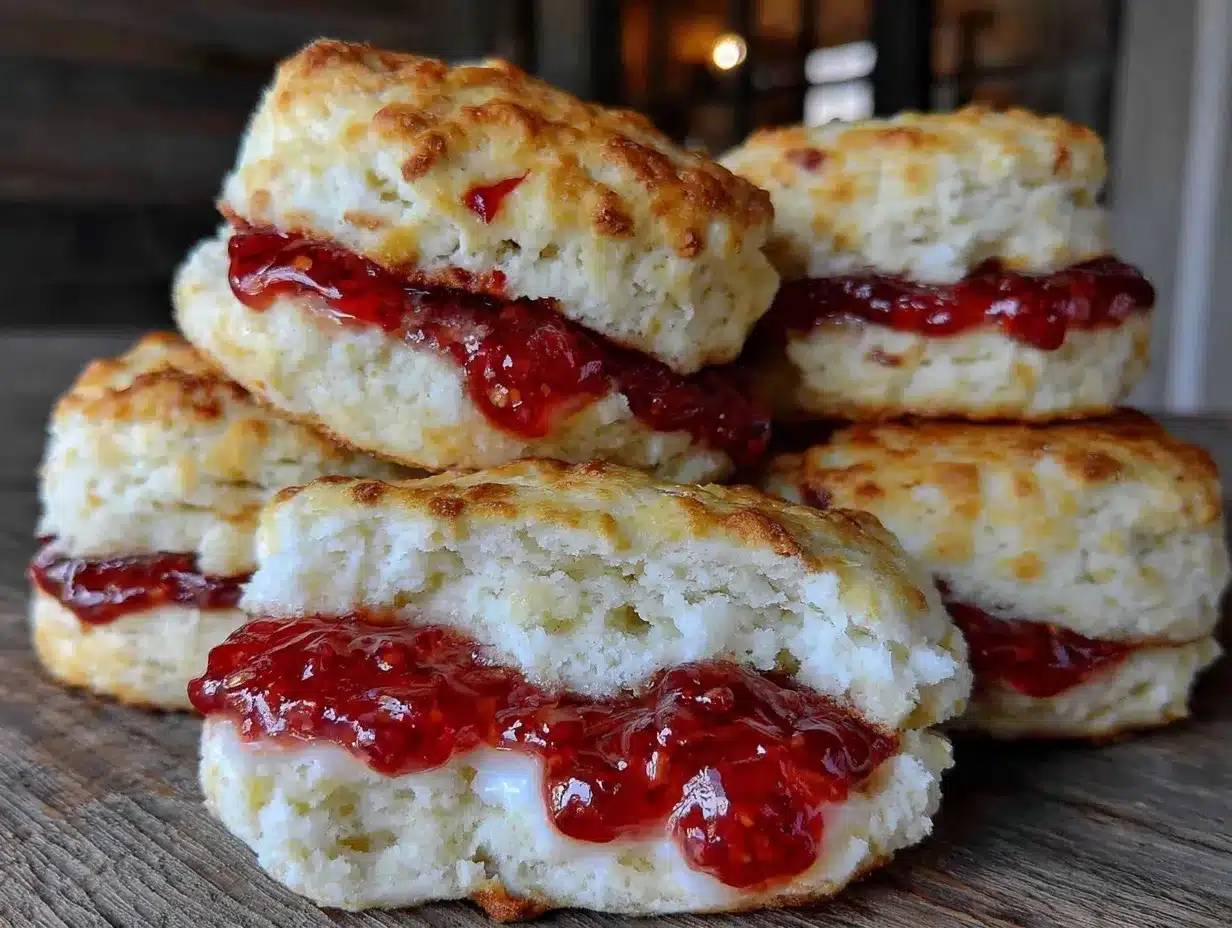
- Prepare Your Workspace: Lay out your bread slices on a clean surface. If you want a richer flavor and to help prevent sogginess after freezing, lightly spread about 1 teaspoon of butter on one side of each slice. This step is optional but worth trying once.
- Spread the Peanut Butter: Evenly spread 1 tablespoon (about 15 grams) of peanut butter on the unbuttered side of 4 bread slices. Use the back of a spoon or a butter knife for smooth coverage. Be careful not to go too close to the edges to avoid overflow.
- Add the Jelly: Spread 1 tablespoon (15 grams) of jelly on top of the peanut butter layer. Again, leave a small border near the edges for sealing.
- Assemble the Sandwiches: Place the remaining 4 slices of bread, buttered side down if used, on top of the peanut butter and jelly layers. Gently press down to ensure they stick together.
- Cut Out the Circles: Using your cookie cutter or glass, press firmly through the sandwich to cut out a perfect circle. You’ll be left with crust edges around the cut-out. Don’t throw those away; they make great breadcrumbs or a quick snack for birds!
- Seal the Edges: Place the sandwich circles on parchment-lined baking sheets. Lightly press the edges with your fingers to seal, then use a fork to crimp around the edges, creating a tighter seal to keep the filling inside during freezing and thawing.
- Freeze: Lay the sandwiches flat on the tray and pop them into the freezer for about 1 hour, or until firm.
- Store: Once firm, transfer the sandwiches into freezer bags or airtight containers. Remove as much air as possible to prevent freezer burn.
- Thaw and Enjoy: When you’re ready to eat, thaw at room temperature for about 30 minutes or overnight in the fridge. They keep well in the freezer for up to 2 months.
Pro tip: If your bread feels too thick or stiff, try pressing it gently with a rolling pin before assembling. It makes the sandwiches easier to seal and less prone to cracking. And if your peanut butter is a bit runny, chilling it for 10 minutes before spreading helps prevent it from soaking into the bread.
Cooking Tips & Techniques
Making homemade Uncrustables that freeze well is a bit of a balancing act, but a few tricks make it easier. First, choosing the right bread is crucial. You want something soft and fresh, not stale or overly dense. This helps it thaw with a tender texture instead of a chewy brick.
When sealing the edges, don’t skip the fork crimping step. It’s what really locks in the filling and prevents those messy leaks. Also, don’t overfill your sandwiches—too much jelly or peanut butter will squeeze out and freeze into a sticky mess.
One mistake I made early on was stacking the sandwiches too soon in the freezer. Give them space on a tray first so they set individually. Otherwise, you’ll have a big frozen sandwich block to separate later.
Timing-wise, prepping a batch after dinner means you can grab them for school lunches the next day without stress. Multitasking with washing up or prepping other meals while they freeze saves time. And if you want to keep things consistent, measure your spreads with a tablespoon to avoid sandwich explosions or dry bites.
Variations & Adaptations
I love how flexible this easy homemade Uncrustables recipe is. Here are a few ways I’ve switched it up:
- Nut-Free Version: Use sunflower seed butter or soy nut butter instead of peanut butter and pair with a seed-free jelly for allergy-friendly sandwiches.
- Fruit Variations: Swap traditional jelly for fresh mashed berries or a swirl of mashed banana mixed with a little honey.
- Whole Grain Upgrade: Use hearty whole wheat or multigrain bread for added fiber and a nuttier flavor.
- Mini Sandwiches: Use a smaller cookie cutter or biscuit cutter to make bite-sized snacks perfect for toddlers.
- Added Crunch: Toss in some chopped nuts or granola inside the peanut butter layer for texture surprises.
For cooking methods, while freezing is the goal here, these sandwiches also make great quick snacks if served fresh or lightly toasted. Personally, I once tried to bake them for a warm twist, but the bread browned too fast before the filling warmed through, so freezing stays my preferred method.
Serving & Storage Suggestions
These homemade Uncrustables are best served thawed to room temperature or slightly chilled. That soft bread and melty peanut butter combo is what makes them comforting, you know? For lunchboxes, wrap them in wax paper or place in a reusable sandwich container to keep them fresh.
They pair beautifully with a glass of cold milk, fresh fruit, or carrot sticks for a simple balanced meal. When friends come over for casual brunch, stacking a few of these on a platter with some cheese and apple slices makes for a nostalgic, fuss-free spread.
Store the sandwiches in airtight freezer bags, pressing out excess air to prevent freezer burn. Labeling with dates helps keep track since they’re best eaten within 2 months. To reheat, just thaw overnight in the fridge or leave on the counter for 30 minutes. Avoid microwaving, as it can make the bread soggy or the jelly too runny.
Flavors often deepen after freezing and thawing, making these sandwiches taste even better a day after preparation. Honestly, sometimes I make a batch early in the week and enjoy one daily, almost like a little comfort ritual amid a busy schedule.
Nutritional Information & Benefits
Each homemade Uncrustables sandwich (roughly 3-inch diameter) contains approximately:
| Calories | 250-280 kcal |
|---|---|
| Protein | 8-10 grams |
| Carbohydrates | 30-35 grams |
| Fat | 12-14 grams |
| Fiber | 2-3 grams |
Using natural peanut butter adds heart-healthy fats and protein, while fruit preserves provide antioxidants and natural sweetness. Choosing whole grain bread boosts fiber content, aiding digestion and satiety.
These sandwiches fit well into a balanced diet and can be adapted for gluten-free, nut-free, or lower-sugar needs. Just be mindful of peanut allergies and always check ingredients if packing for school or group settings.
From a wellness perspective, making these at home means you avoid preservatives and excess sugars often found in store-bought versions. It’s a small, easy step toward cleaner eating without sacrificing the joy of a classic PB&J.
Conclusion
This easy homemade Uncrustables recipe is worth trying if you want the comfort and nostalgia of peanut butter and jelly sandwiches with the convenience of freezer-ready meals. It’s simple, customizable, and genuinely kid-approved, making it an everyday kitchen hero for busy families or anyone craving a quick snack.
Feel free to tweak the fillings or bread types to suit your tastes—this recipe adapts well to whatever you have on hand or dietary needs you follow. I honestly love how these sandwiches turn a classic lunchbox staple into something fresh and homemade without much fuss.
If you give this recipe a try, I’d love to hear how you make it your own—drop a comment or share your variations! Remember, the best recipes are the ones that fit your life and taste buds, so have fun with it. Here’s to easy, delicious, and freezer-friendly PB&J sandwiches that brighten your day.
FAQs
Can I use different types of bread for these sandwiches?
Absolutely! Soft white or whole wheat bread works best, but you can also try gluten-free or multigrain varieties. Just make sure the bread is fresh and pliable to seal well.
How long can homemade Uncrustables stay in the freezer?
For best quality, store them in airtight bags and eat within 2 months. Beyond that, they might dry out or develop freezer burn.
Can I make these sandwiches ahead for school lunches?
Yes! They’re perfect for prepping ahead. Just freeze them and pack directly in lunchboxes after thawing, or thaw overnight in the refrigerator.
What’s the best way to thaw frozen sandwiches?
Leave them at room temperature for about 30 minutes or thaw overnight in the fridge. Avoid microwaving to prevent soggy bread.
Can I substitute the peanut butter for other nut or seed butters?
Definitely. Almond butter, sunflower seed butter, or soy nut butter all work well, especially for allergy-friendly options.
Pin This Recipe!
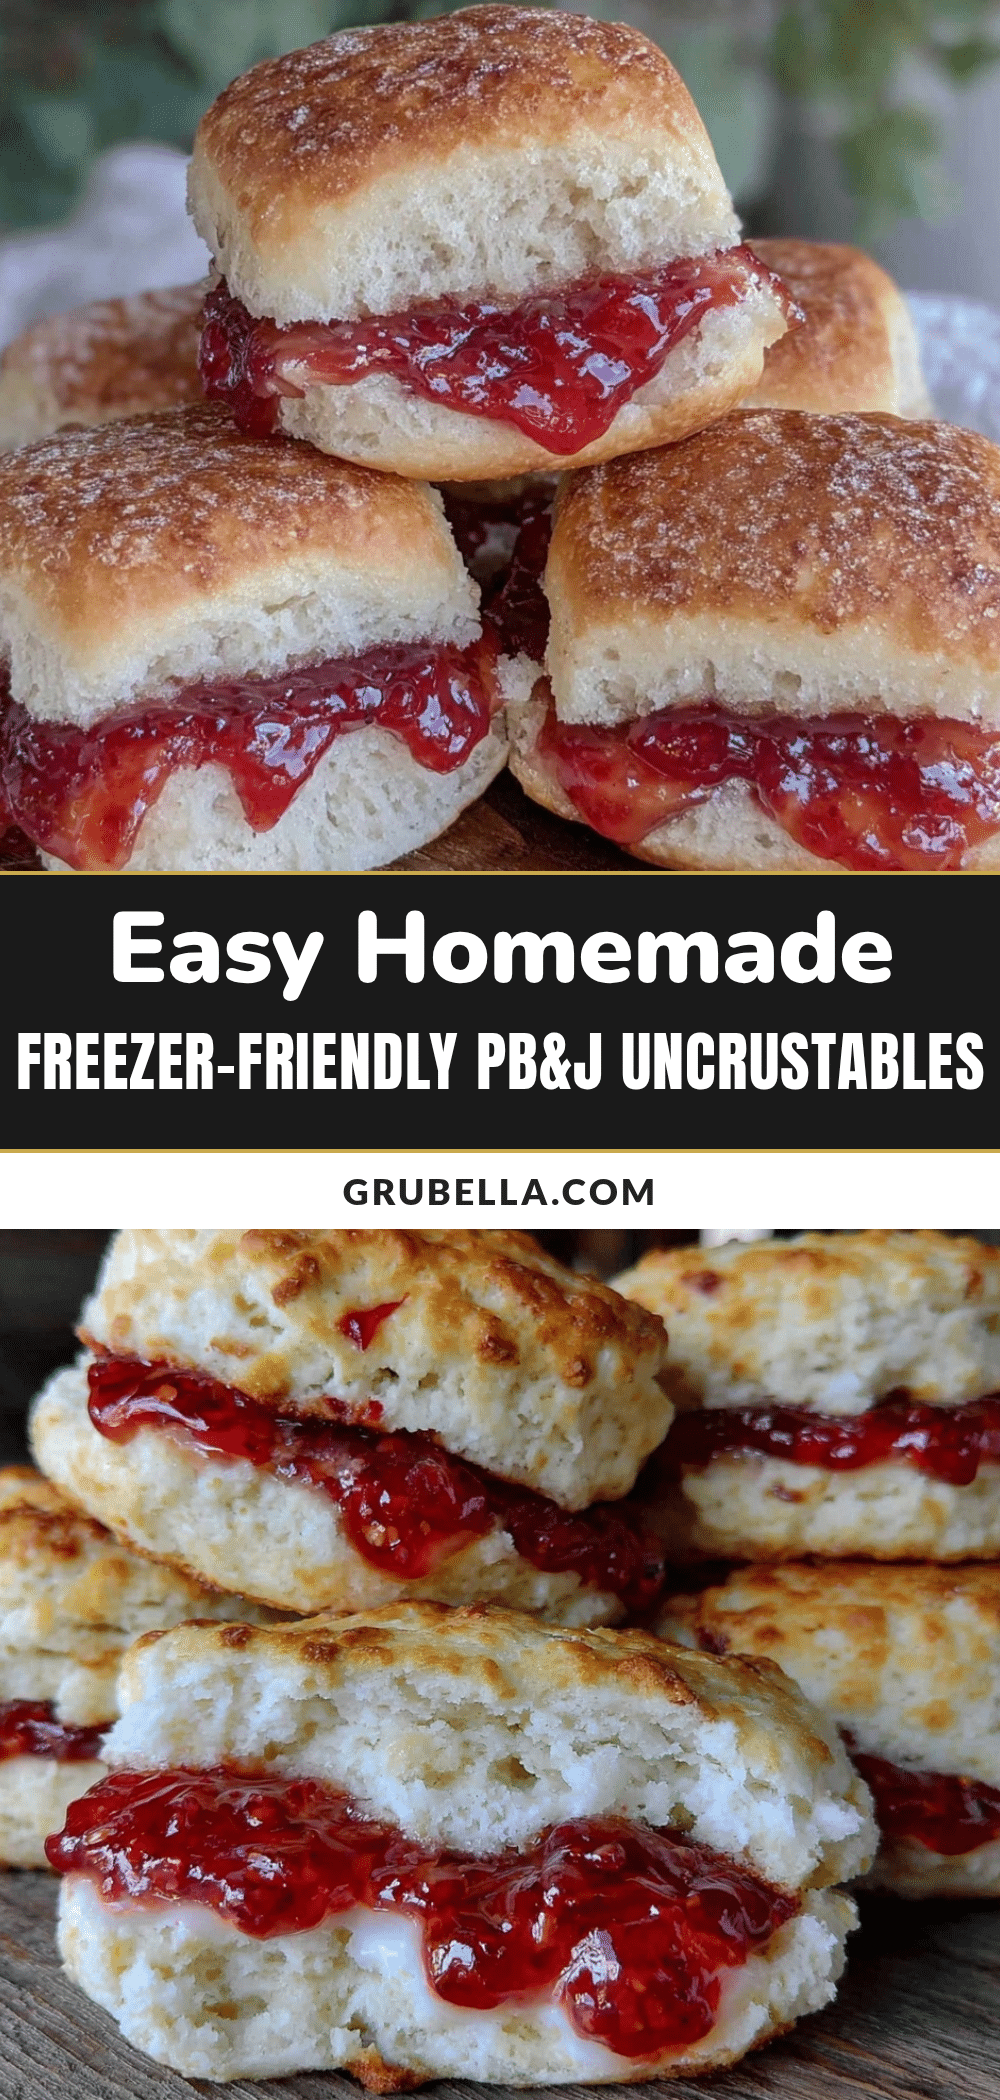
Easy Homemade Uncrustables Recipe 5 Freezer-Friendly PB&J Sandwiches
A quick and easy recipe for homemade peanut butter and jelly sandwiches that are freezer-friendly and perfect for lunchboxes or snacks.
- Prep Time: 15 minutes
- Cook Time: 0 minutes
- Total Time: 1 hour 15 minutes
- Yield: 5 sandwiches 1x
- Category: Snack
- Cuisine: American
Ingredients
- 8 slices of soft white or whole wheat sandwich bread
- 1/2 cup creamy or crunchy peanut butter
- 1/2 cup jelly or jam (grape, strawberry, or raspberry)
- Optional: 1 tablespoon butter for spreading on bread
Instructions
- Lay out bread slices on a clean surface. Optionally, spread about 1 teaspoon of butter on one side of each slice to prevent sogginess after freezing.
- Spread 1 tablespoon of peanut butter evenly on the unbuttered side of 4 bread slices, avoiding the edges.
- Spread 1 tablespoon of jelly on top of the peanut butter layer, leaving a small border near the edges.
- Place the remaining 4 slices of bread, buttered side down if used, on top of the peanut butter and jelly layers. Gently press down to stick together.
- Using a 3-inch round cookie cutter or a small glass, cut out perfect circles from the sandwiches.
- Place sandwich circles on a parchment-lined baking sheet. Press edges lightly with fingers and crimp with a fork to seal tightly.
- Freeze sandwiches flat on the tray for about 1 hour or until firm.
- Transfer frozen sandwiches to plastic freezer bags or airtight containers, removing excess air to prevent freezer burn.
- Thaw sandwiches at room temperature for about 30 minutes or overnight in the refrigerator before eating.
Notes
Use soft, fresh bread for best results. Seal edges tightly with a fork to prevent filling leaks. Chill runny peanut butter before spreading. Freeze sandwiches individually on a tray before storing together to avoid sticking.
Nutrition
- Serving Size: 1 sandwich (3-inch d
- Calories: 265
- Fat: 13
- Carbohydrates: 32
- Fiber: 2.5
- Protein: 9
Keywords: Uncrustables, peanut butter and jelly, freezer-friendly, homemade sandwiches, lunchbox, quick snack



