Love this? Save it for later!
Share the inspiration with your friends
“Why can’t you just put the cheese and crackers in a box?” my nephew asked, watching me carefully assemble a bento-style lunch. I started to explain why that wouldn’t work—the crackers would get soggy, the cheese would sweat, it wouldn’t be as cute. Then I stopped. Honestly? I had no good reason. So I grabbed a small container, layered some whole-wheat crackers with a slice of cheddar and a few ham roll-ups, and snapped the lid on. He looked at me like I’d just discovered fire.
That lunch came back empty. Not a crumb left. And the next day, he asked for the same thing. The day after that, my sister called to ask what “magic lunch” I’d packed. It was just crackers, cheese, and ham—but the way he talked about it, you’d think I’d catered a five-star meal. It hit me then: we overthink kids’ lunches. We scroll Pinterest for hours looking for bento-box inspiration, cutting sandwiches into star shapes, arranging fruit into rainbow patterns. Meanwhile, a kid just wants control over what they eat and when.
So I started making these Easy Homemade Lunchable Crackers with Ham and Cheese on Sunday afternoons. It takes maybe ten minutes, and suddenly the lunch-packing dread is gone. You know that feeling when you open the fridge at 7 AM and realize you have nothing prepared? Yeah, this fixes that. I keep a few containers in the fridge, grab one on my way out the door, and my nephew—and honestly, me too—gets a lunch that feels like a treat but costs half the price of the store-bought version. Let me tell you, once you start making these, you won’t go back.
Why You’ll Love This Recipe
Look, I’ve tested a lot of lunch ideas over the years. Some were Pinterest fails. Some were toddler-approved but took forever to assemble. These homemade lunchables? They’re the sweet spot. I’m not a professional chef, but I’ve been packing school lunches for over a decade, and this is the one recipe that has never failed me.
- Ready in Under 10 Minutes: Seriously. You can prep a whole week’s worth in less time than it takes to decide what to order for takeout. Perfect for those Sunday meal-prep sessions or frantic weekday mornings.
- Simple Ingredients You Already Have: No fancy grocery trips needed. Crackers, deli ham, cheese slices—that’s it. You probably have everything in your kitchen right now.
- Perfect for Lunchboxes, Road Trips, and Snack Attacks: Whether you’re packing for school, heading to the park, or just need a quick bite between meetings, these are your go-to.
- Always a Crowd-Pleaser: Kids love the DIY aspect of building their own crackers. Adults love that it’s not soggy by lunchtime. It’s a win-win.
- Unbelievably Delicious: There’s something about cold, crisp crackers with salty ham and creamy cheese that just hits differently. It’s comfort food at its simplest.
What makes this different from the store-bought version? First, you control the quality. No weird preservatives or plasticky cheese. Second, you can customize it endlessly. My nephew likes sharp cheddar; I prefer Gouda. With this recipe, everyone wins. And honestly? The texture is better. The crackers stay crunchy because you’re not assembling them until you eat. It’s the kind of lunch that makes you feel like you’ve got your life together, even if you’re running on four hours of sleep.
What Ingredients You Will Need
This recipe uses simple, pantry-friendly ingredients to create a lunch that feels special without any fuss. The beauty is in the flexibility—you can swap things out based on what you have or what your family prefers.
- Crackers: About 12-16 crackers per serving. I recommend a sturdy, square cracker like Ritz, Club Crackers, or whole-wheat varieties for a healthier twist. Avoid thin, delicate crackers that break easily. (Pro tip: Mini saltines work great for smaller kids.)
- Deli Ham: 4-6 slices per serving, depending on size. Look for thinly sliced, high-quality ham from the deli counter. Honey ham, smoked ham, or black forest ham all work beautifully. (I personally love Boar’s Head for its clean flavor and texture.)
- Cheese Slices: 4-6 slices per serving. Cheddar, Colby Jack, Swiss, or Gouda are all excellent choices. For the best texture, use block cheese sliced at the deli counter rather than pre-packaged plastic-wrapped singles. (Your crackers will thank you.)
- Optional Add-Ins: A few baby carrots, apple slices, or a small handful of grapes to round out the lunch. A little pickle spear on the side is also amazing—the acidity cuts through the richness perfectly.
Ingredient Selection Tips: When choosing ham, look for options that are low in sodium if that’s a concern. Some deli hams can be quite salty. For cheese, I always go with a block that I slice myself or ask the deli to slice it thick enough to hold up to the cracker. Pre-shredded cheese won’t work here—it just falls apart.
Substitution Guidance: Need a gluten-free option? Use gluten-free crackers and check that your ham is certified gluten-free (most are, but always verify). Dairy-free? Swap the cheese for a plant-based slice like Daiya or Follow Your Heart. Turkey or roast beef can replace the ham easily. For a vegetarian version, use hummus or cream cheese spread instead of meat.
Equipment Needed
You don’t need much for this recipe—that’s part of the charm. Here’s what you’ll want on hand:
- Airtight Containers: Bento-style lunch boxes with separate compartments are ideal, but any small container with a tight lid works. I use these snap-lid glass containers for the adults and colorful plastic ones for the kids.
- Cutting Board and Knife: For cutting the ham slices into quarters or fun shapes. A sharp knife makes quick work of this.
- Small Cookie Cutters (Optional): If you’re feeling fancy, use mini cookie cutters to stamp the cheese and ham into stars, hearts, or dinosaurs. It takes an extra two minutes and kids absolutely lose their minds over it.
- Parchment Paper or Silicone Cup Liners: To separate ingredients within the container and prevent the crackers from getting damp. I just tear off little squares of parchment and use them as dividers.
Budget-Friendly Tip: Don’t run out and buy fancy bento boxes. A simple plastic container from the dollar store works perfectly. The key is keeping the crackers separate from the moist ingredients until serving time.
Preparation Method

Making these homemade lunchables is almost too easy, but I’ll walk you through it step by step because the little details matter.
- Prep Your Ingredients (2 minutes): Take your ham and cheese out of the fridge. If using block cheese, slice it into pieces about the size of your crackers. For the ham, stack 3-4 slices and cut them into quarters or strips. You want pieces that fit neatly on a cracker without hanging over too much.
- Portion Your Crackers (1 minute): Count out 12-16 crackers per serving. Place them in one compartment of your container or wrap them in a small parchment paper packet. This keeps them from absorbing moisture from the ham and cheese.
- Layer the Ham and Cheese (2 minutes): Place your ham pieces and cheese slices in separate compartments. If you’re using a single container without dividers, use small silicone cupcake liners or parchment squares to create barriers. This is crucial—soggy crackers are the enemy of a good lunch.
- Add Extras (2 minutes): Toss in a handful of baby carrots, a few apple slices, or some grapes in another compartment. A small treat like a few chocolate chips or a mini cookie can also go in. The goal is balance—protein, carbs, fruit or veg, and a tiny indulgence.
- Assemble and Store (1 minute): Snap the lid on tightly. If you’re prepping for the week, these will keep in the fridge for up to 4 days. Just leave the crackers out if you’re worried about them getting stale, or store them separately and add them the morning of.
- At Serving Time: Let the container sit at room temperature for about 5 minutes before eating. Cold cheese is fine, but it tastes creamier if it’s not straight from the fridge. Then just build your crackers as you go—it’s part of the fun.
Sensory Cue: When you open the container at lunchtime, you should smell the salty ham and the mild tang of cheese. The crackers should feel crisp and dry to the touch, not soft or bendy. If they feel damp, you didn’t separate them well enough—adjust next time.
Troubleshooting Tip: If your cheese sweats in the container (you’ll see little beads of moisture), pat it dry with a paper towel before packing. This happens more with pre-shredded cheese, which is why I recommend sliced deli cheese instead.
Cooking Tips & Techniques
I’ve made these homemade lunchables dozens of times, and I’ve learned a few things the hard way. Let me save you the trouble.
The Biggest Mistake: Packing everything together in one pile. I did this once—threw crackers, ham, and cheese into a baggie together. By lunchtime, I had a sad, mushy mess. The crackers absorbed moisture from the ham and became soft. Never again. Keep them separate until you’re ready to eat.
Timing Strategy: Prep these on Sunday evening while you’re watching TV. It takes less time than a commercial break. I lay out all my containers, fill them assembly-line style, and stack them in the fridge. Mornings become a grab-and-go situation instead of a frantic scramble.
Multitasking Tip: While you’re slicing ham and cheese, preheat your oven for dinner or start a load of laundry. This recipe is so low-effort that you can do it while doing other things. I’ve literally packed these while on a phone call.
Consistency Hack: For the perfect cracker-to-topping ratio, aim for one piece of ham and one piece of cheese per cracker. If your ham slices are large, cut them into four squares. If they’re small, use two pieces. You want a balanced bite every time.
Personal Failure: I once tried using flavored crackers—everything bagel seasoning ones—thinking it would be amazing. It was not. The strong seasoning clashed with the ham. Stick with plain or lightly salted crackers. Trust me on this one.
Variations & Adaptations
This recipe is a canvas. Here are some of my favorite ways to mix it up:
- Italian-Inspired: Swap the ham for salami or pepperoni, use provolone or mozzarella cheese, and add a few olives or roasted red peppers on the side. It’s like a mini antipasto platter.
- Turkey and Swiss: Replace ham with oven-roasted turkey breast and use Swiss cheese. Add a smear of Dijon mustard on the crackers before topping. So good.
- Veggie Lover’s: Skip the meat entirely. Use cream cheese or hummus as a spread, and top with cucumber slices, shredded carrots, or bell pepper strips. My vegetarian friend requests this constantly.
- Sweet and Savory: Add a few dried cranberries or apple slices alongside the ham and cheddar. The sweetness of the fruit pairs beautifully with the salty ham. It sounds weird, but it works.
- Breakfast Version: Use mini pancakes or waffles instead of crackers, with ham and a slice of cheese. It’s essentially a breakfast sandwich in lunchable form. My kids love this for after-school snacks.
Dietary Adaptations: For a low-carb version, use cheese crisps or cucumber rounds instead of crackers. For a nut-free lunch (school-safe), just avoid any crackers processed on shared equipment—most standard brands are fine. For a lower-sodium option, choose low-sodium ham and reduced-fat cheese.
Serving & Storage Suggestions
These homemade lunchables are best enjoyed cold or at room temperature. I actually prefer them after they’ve sat out for about 10 minutes—the cheese softens slightly and the flavors meld together beautifully.
What to Serve Alongside: A small container of apple slices with a squeeze of lemon juice (to prevent browning), a handful of baby carrots, or a few cucumber rounds. A little treat—a couple of chocolate chips, a mini cookie, or a fruit leather—makes it feel like a store-bought lunchable but healthier.
Storage Instructions: Keep assembled containers in the refrigerator for up to 4 days. If you’re prepping for the week, store the crackers separately in a ziplock bag at room temperature and add them to the container each morning. This keeps them perfectly crisp.
Freezer Option: You can freeze the ham and cheese separately for up to 2 months. Thaw overnight in the fridge before assembling. The crackers should never be frozen—they’ll lose all their crunch.
Reheating: Do not microwave these. The crackers will get soft and the cheese will melt into a mess. If you want warm ham, heat it separately in a skillet for 30 seconds, then let it cool before packing.
Flavor Development: Interestingly, these taste better on day two. The flavors in the ham and cheese seem to meld together in the fridge. Just keep the crackers separate until serving, and you’ll have a lunch that tastes like you put way more effort into it than you did.
Nutritional Information & Benefits
Here’s an approximate breakdown per serving (based on 12 crackers, 4 slices ham, 4 slices cheddar):
| Nutrient | Amount |
|---|---|
| Calories | 380-420 |
| Protein | 24g |
| Carbohydrates | 28g |
| Fat | 18g |
| Fiber | 1g |
| Sodium | 900-1100mg |
Health Benefits: Ham provides high-quality protein and essential B vitamins like B6 and B12, which support energy metabolism. Cheese offers calcium for bone health and conjugated linoleic acid, which has been linked to various health benefits. Crackers provide quick carbohydrates for energy—perfect for active kids.
Dietary Considerations: This recipe is naturally nut-free (check cracker labels to be sure). For a lower-sodium version, use reduced-sodium ham and cheese. For a gluten-free version, choose certified gluten-free crackers. For a lower-fat option, use reduced-fat cheese and lean ham.
Personal Wellness Note: I love that this lunch feels indulgent but is actually balanced. It has protein, carbs, and fat in reasonable proportions. It keeps my nephew full through the afternoon without the sugar crash that comes from processed lunch kits. That alone makes it worth the five minutes of prep time.
Frequently Asked Questions
Can I use any type of cracker?
Absolutely! The best crackers are sturdy ones that won’t break easily—think Ritz, Club Crackers, or even mini saltines. Avoid thin, crispy crackers like water crackers, as they tend to shatter when you bite into them.
How long do homemade lunchables last in the fridge?
Properly stored in an airtight container, they’ll stay fresh for up to 4 days. Just keep the crackers separate from the ham and cheese until you’re ready to eat. If you pack everything together, they’ll only last about 2 days before the crackers get soft.
Can I make these night before for school lunch?
Yes, and it’s actually better to make them the night before. The flavors meld together in the fridge, and it saves you time in the morning. Just pack the crackers separately or use a container with compartments to keep them crisp.
What if my child has a dairy allergy?
No problem! Use dairy-free cheese slices like Daiya or Follow Your Heart. You can also skip the cheese entirely and use hummus or avocado as a spread. The ham provides plenty of flavor on its own.
Can I use leftover holiday ham?
Definitely! Leftover baked ham works beautifully in this recipe. Just slice it thinly against the grain. It might be slightly more moist than deli ham, so be extra careful to keep it separate from the crackers.
Conclusion
These Easy Homemade Lunchable Crackers with Ham and Cheese have genuinely changed how I think about lunch prep. They’re not fancy. They’re not complicated. But they solve a real problem—the morning scramble to pack something that’s both satisfying and not a total sugar bomb. My nephew still asks for them, and honestly, so do I.
The best part? You can make them your own. Swap the ham for turkey, the cheddar for Swiss, the crackers for gluten-free ones. Add fruit, add veggies, add a tiny treat. The formula works no matter what you throw at it. That’s the beauty of a simple idea done right.
So go ahead—grab some crackers, ham, and cheese from your fridge, and spend five minutes prepping your week. Your future self (and your hungry kids) will thank you. And if you come up with a killer variation, drop it in the comments. I’m always looking for new ideas, and I’d love to hear what works in your kitchen. Happy packing!
Pin This Recipe!
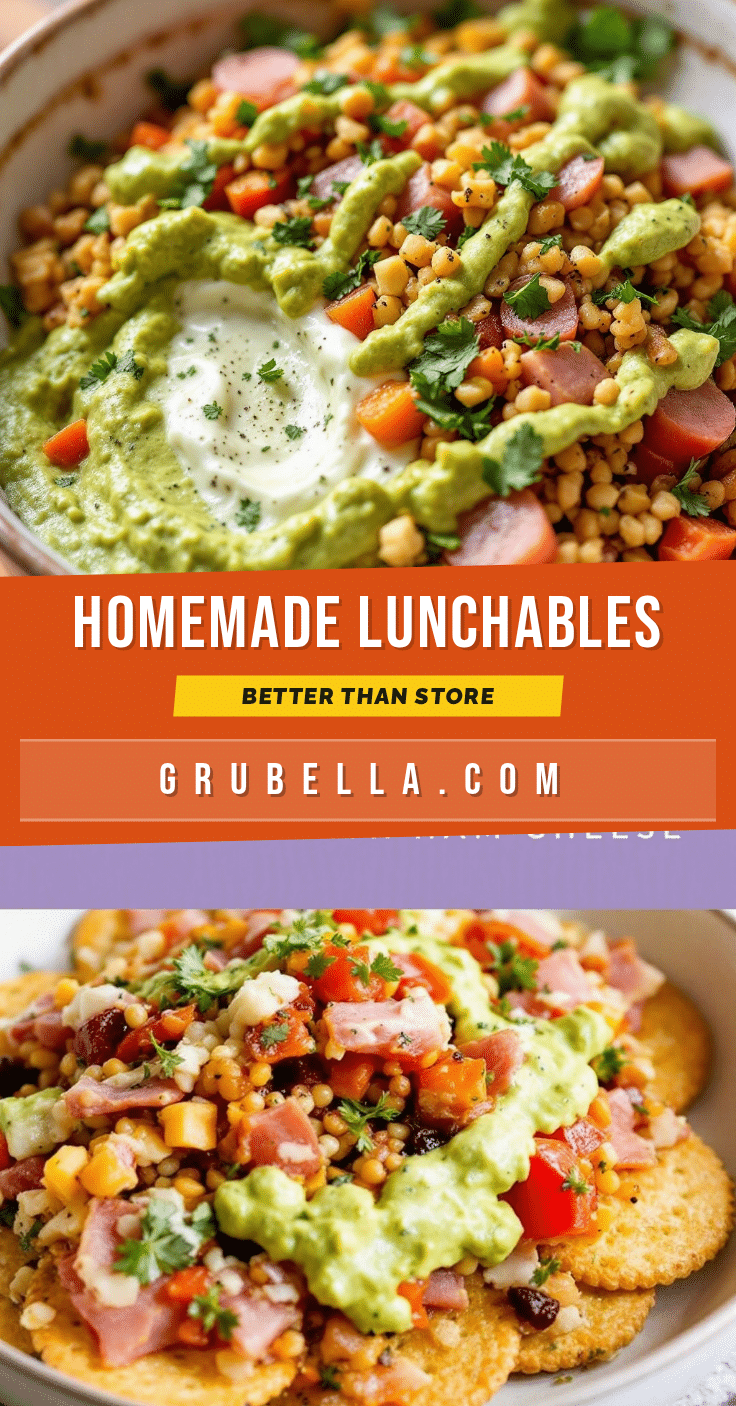
Easy Homemade Lunchable Crackers with Ham and Cheese

These homemade lunchables are a quick, customizable, and budget-friendly alternative to store-bought versions. Ready in under 10 minutes, they feature crisp crackers, salty ham, and creamy cheese, perfect for school lunches, road trips, or snack attacks.
- Prep Time: 10 minutes
- Cook Time: 0 minutes
- Total Time: 10 minutes
- Yield: 1 serving 1x
- Category: Lunch
- Cuisine: American
Ingredients
- 12–16 sturdy crackers (e.g., Ritz, Club Crackers, or whole-wheat crackers)
- 4–6 slices deli ham (honey, smoked, or black forest)
- 4–6 slices cheese (cheddar, Colby Jack, Swiss, or Gouda)
- Optional: baby carrots, apple slices, grapes, or pickle spears
Instructions
- Prep your ingredients: Slice block cheese into pieces about the size of your crackers. Stack 3-4 ham slices and cut into quarters or strips.
- Portion your crackers: Count out 12-16 crackers per serving. Place in one compartment of your container or wrap in parchment paper to keep dry.
- Layer the ham and cheese: Place ham pieces and cheese slices in separate compartments. Use silicone cupcake liners or parchment squares to create barriers if using a single container.
- Add extras: Toss in baby carrots, apple slices, grapes, or a small treat like chocolate chips or a mini cookie.
- Assemble and store: Snap the lid on tightly. Refrigerate for up to 4 days. For best results, store crackers separately and add them the morning of serving.
- At serving time: Let the container sit at room temperature for about 5 minutes. Build your crackers as you go.
Notes
Keep crackers separate from ham and cheese until serving to prevent sogginess. For best flavor, let the container sit at room temperature for 5 minutes before eating. This recipe is highly customizable—try different meats, cheeses, and add-ins.
Nutrition
- Serving Size: 1 serving (12 cracke
- Calories: 400
- Sugar: 2
- Sodium: 1000
- Fat: 18
- Saturated Fat: 10
- Carbohydrates: 28
- Fiber: 1
- Protein: 24
Keywords: homemade lunchable, crackers with ham and cheese, easy lunch, kid-friendly lunch, no-cook lunch, meal prep lunch



