Love this? Save it for later!
Share the inspiration with your friends
This was supposed to be a simple batch of homemade fruit leather, nothing fancy — just a quick, healthy snack for a busy Sunday afternoon. I grabbed the wrong fruit puree jar (turns out it was way too tart), the dehydrator was humming louder than usual, and I was already juggling a toddler who decided the kitchen floor was his new art canvas. What came out was nothing like the plain strawberry roll-ups I planned — and honestly, better.
At first, I thought I’d ruined the whole batch. The texture was thicker, almost chewy in a way I hadn’t expected, and the flavor was punchier. But as I tasted, I realized these accidental tweaks gave birth to something special: a trio of fruit roll-ups, each with its own bold personality — sweet, tangy, and just a little bit wild. I mean, you know that feeling when a kitchen mishap turns into a tiny victory? This recipe stayed with me because it made snack time fun and colorful, without any of the fuss or extra sugar you find in store-bought versions.
Maybe you’ve been there, standing over a counter strewn with sticky fruit pulp, wondering if this experiment is even worth it. Let me tell you, it absolutely is. These Easy Homemade Fruit Roll-Ups Trio aren’t just good — they’re the kind of treat that makes you smile, even if your toddler is still drawing on the walls.
Why You’ll Love This Recipe
After testing this Easy Homemade Fruit Roll-Ups Trio countless times, I know what makes it stand out from all the other fruit leather recipes out there. It’s quick, simple, and totally kid-approved — but also satisfying for adults who want a nostalgic snack without all the additives.
- Quick & Easy: Comes together in under 45 minutes of hands-on time, perfect for busy weeknights or last-minute snack cravings.
- Simple Ingredients: Uses pantry staples and fresh fruits — no weird preservatives or artificial colors.
- Perfect for Lunchboxes: Great for school snacks, picnics, or even camping trips where you want something portable and mess-free.
- Crowd-Pleaser: The trio of flavors means there’s something for everyone — from the classic sweet strawberry to the zingy mango and a tangy mixed berry option.
- Unbelievably Delicious: The natural fruit sugars concentrate just right, giving you that chewy texture and flavor punch you crave in a fruit roll-up.
What really makes this recipe different is the layering technique I stumbled upon — spreading thin sheets for quicker drying and better chew, plus a light dusting of lemon juice that balances the sweetness perfectly. It’s not just fruit leather; it’s fruit leather with a little extra love and attention.
This recipe is the kind that makes you pause mid-bite and just savor. It’s nostalgic comfort food reimagined — healthier, faster, but with the same soul-soothing satisfaction that makes you want to keep reaching for another roll-up.
What Ingredients You Will Need
This recipe uses simple, wholesome ingredients to deliver bold flavor and satisfying texture without the fuss. Most of these can be found in your local grocery store or your kitchen already.
- Fresh fruits (for the trio):
- 2 cups strawberries, hulled and roughly chopped (adds natural sweetness and color)
- 2 cups mango chunks, peeled and pitted (for a tropical twist)
- 2 cups mixed berries (blueberries, raspberries, blackberries), fresh or frozen (for tangy depth)
- Lemon juice: 2 tablespoons freshly squeezed (helps preserve color and adds brightness)
- Honey or maple syrup: 2 tablespoons (optional, for added sweetness depending on fruit ripeness)
- Water: 1/4 cup (to help puree consistency)
- Vanilla extract: 1 teaspoon (optional, enhances flavor complexity)
For best results, I recommend choosing ripe, fragrant fruit — the kind you’d happily eat fresh. If strawberries are in season, they bring out the best natural sweetness; otherwise, frozen fruit works just fine after thawing. For honey or maple syrup, I like to use local raw honey when possible — it adds a subtle floral note that’s hard to beat.
If you need to swap out any ingredients, almond or oat milk can replace water for a creamier texture, and coconut sugar is a fine alternative to honey for a lower-glycemic option.
Equipment Needed
- Food processor or blender: Essential for pureeing the fruit into a smooth consistency. I’ve used both, but a high-speed blender like a Vitamix makes the process quicker and smoother.
- Baking sheets: Non-stick or lined with parchment paper to spread the fruit puree evenly.
- Spatula: For spreading the puree thinly and evenly.
- Oven or food dehydrator: You can use your oven set to a low temperature (around 140°F or 60°C) or a dehydrator for more consistent drying.
- Sharp knife or scissors: To cut the roll-ups once dry.
If you don’t have a food dehydrator, the oven method works just fine — just keep the door slightly ajar for airflow. I’ve also learned that investing in a silicone baking mat makes cleanup a breeze, but parchment paper works just as well and is more budget-friendly.
Preparation Method
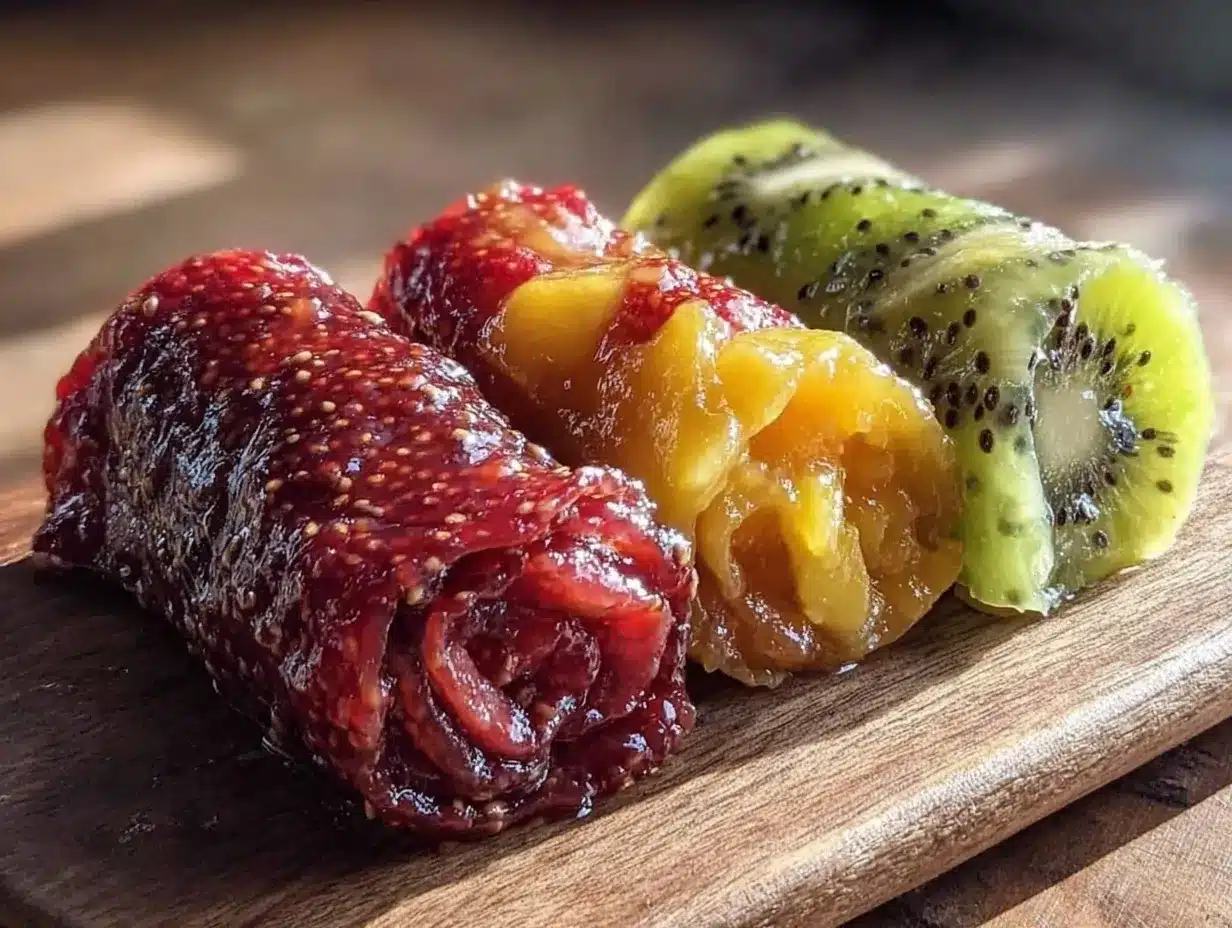
- Prepare the fruit purees: In a food processor or blender, combine the strawberries with 1 tablespoon lemon juice and 1 tablespoon honey (if using). Add 2 tablespoons water to help blend. Puree until smooth, about 1-2 minutes. Repeat separately with mango and mixed berries, adjusting lemon juice and honey as needed for balance. (Tip: Strain seeds from berries if you prefer a smoother texture.)
- Preheat your oven or dehydrator: Set to 140°F (60°C). If using an oven, leave the door slightly open for airflow to help moisture escape.
- Line baking sheets: Use parchment paper or silicone mats. Pour each fruit puree into separate baking sheets, spreading thinly and evenly with a spatula to about 1/8 inch (3 mm) thickness. Try to keep the edges neat for easier rolling later.
- Dry the fruit sheets: Place trays in the oven or dehydrator. Drying times vary — expect 4 to 6 hours in the oven, less in a dehydrator. Check after 4 hours by gently touching the surface; it should feel dry but pliable, not sticky or wet.
- Cut and roll: Once dried, carefully peel the fruit leather from the parchment or mat. Use a sharp knife or scissors to cut into strips about 1.5 inches (4 cm) wide. Roll each strip tightly with parchment paper to keep them from sticking together.
- Store: Keep roll-ups in an airtight container at room temperature or in the fridge for longer freshness.
Pro tip: If your roll-ups feel too sticky, pop them back in the oven for an extra 30 minutes. Too dry and brittle? A quick spritz of water on the parchment before rolling can soften them up.
Cooking Tips & Techniques
Getting the texture just right took me a few tries — honestly, it’s a bit of a balancing act between drying long enough and not overdoing it.
- Thin and even spreading: This is key. Too thick, and the roll-ups stay sticky inside; too thin, and they dry out brittle. Use an offset spatula for even layers.
- Low and slow drying: Resist the urge to crank the heat. Slow dehydration preserves the flavor and keeps the chewiness.
- Flavor balancing: If your fruit is too tart, add a touch of honey or maple syrup before pureeing. Too sweet? A splash of lemon juice brightens it up.
- Patience: Drying times vary with humidity and oven accuracy. Start checking at 4 hours but expect up to 6. You’ll learn your kitchen’s quirks after a batch or two.
- Storage tricks: Roll-ups can stick together if packed warm. Let them cool completely before rolling and storing.
One time, I left the oven door closed and ended up with chewy-but-still-wet sheets — lesson learned! Leaving that little gap makes a world of difference in drying efficiency.
Variations & Adaptations
These fruit roll-ups are a great blank canvas. Here are a few ways to switch things up:
- Dietary swaps: Use agave syrup or stevia instead of honey for vegan or lower-sugar versions.
- Flavor twists: Add a pinch of cinnamon or ginger to the mango puree for a warm, spicy note.
- Seasonal variations: Try peach or apricot in the summer, or cranberry and apple in fall, adjusting sweetness accordingly.
- Cooking method: If you don’t have an oven or dehydrator, a slow cooker on low with the lid slightly off can work surprisingly well.
- Personal favorite: I’ve mixed strawberry and basil once — the herbal freshness cut the sweetness beautifully.
Serving & Storage Suggestions
Serve your fruit roll-ups at room temperature, unroll for little hands, or keep them rolled for on-the-go snacking. They’re perfect alongside a glass of cold milk or a cup of herbal tea.
Store them in an airtight container or zip-top bag. At room temperature, they’ll stay fresh for up to 2 weeks; refrigerated, closer to a month. For longer storage, freeze them wrapped individually — they thaw quickly and don’t lose texture.
Reheating isn’t necessary, but if they get a bit stiff, popping them in a warm spot or briefly microwaving (10-15 seconds) softens them up nicely. Over time, the flavors meld and deepen, making them even tastier a day or two after drying.
Nutritional Information & Benefits
Each roll-up is packed with real fruit nutrients and fiber, without added preservatives or artificial sugars. Roughly, one roll-up provides:
| Calories | Carbs | Fiber | Sugar | Vitamin C |
|---|---|---|---|---|
| 70-90 | 18-22g | 2-3g | 14-18g | 20-30% DV |
Using fresh fruits means you get antioxidants and vitamins naturally. Plus, the lemon juice adds a bit of vitamin C and helps preserve freshness. This recipe is gluten-free, dairy-free, and can be adapted for vegan diets easily.
Honestly, it’s a snack I feel good about sharing with my family, knowing it’s nourishing and free from mystery ingredients.
Conclusion
If you’re looking for a fun, fuss-free way to make snack time healthier and more colorful, this Easy Homemade Fruit Roll-Ups Trio is it. I love how it brings a little brightness and nostalgia to the kitchen without complicated steps or weird additives.
Feel free to tweak the fruit combinations and sweetness to suit your taste — that’s what keeps this recipe fresh and exciting for me. Plus, it’s a sneaky way to get more fruit into your day, especially for picky eaters.
Give it a try, and please let me know how you customize your trio or what flavors you create. I can’t wait to hear your stories — because honestly, the best recipes come from shared kitchen moments and happy accidents.
Here’s to delicious, homemade fruit roll-ups that make snack time a little sweeter and a lot more fun!
Frequently Asked Questions
- Can I use frozen fruit for these roll-ups? Yes! Just thaw and drain excess liquid before pureeing for best texture.
- How long do homemade fruit roll-ups last? Stored properly, they keep fresh for up to 2 weeks at room temperature, or a month refrigerated.
- Can I make these without a dehydrator? Absolutely. Using your oven at a low temperature with the door slightly open works well.
- Is it possible to make fruit roll-ups without added sweeteners? Yes, if your fruit is ripe and naturally sweet, you can skip honey or syrup altogether.
- How do I prevent the roll-ups from sticking together? Make sure they’re completely cooled before rolling and store them wrapped individually or with parchment paper between layers.
Pin This Recipe!
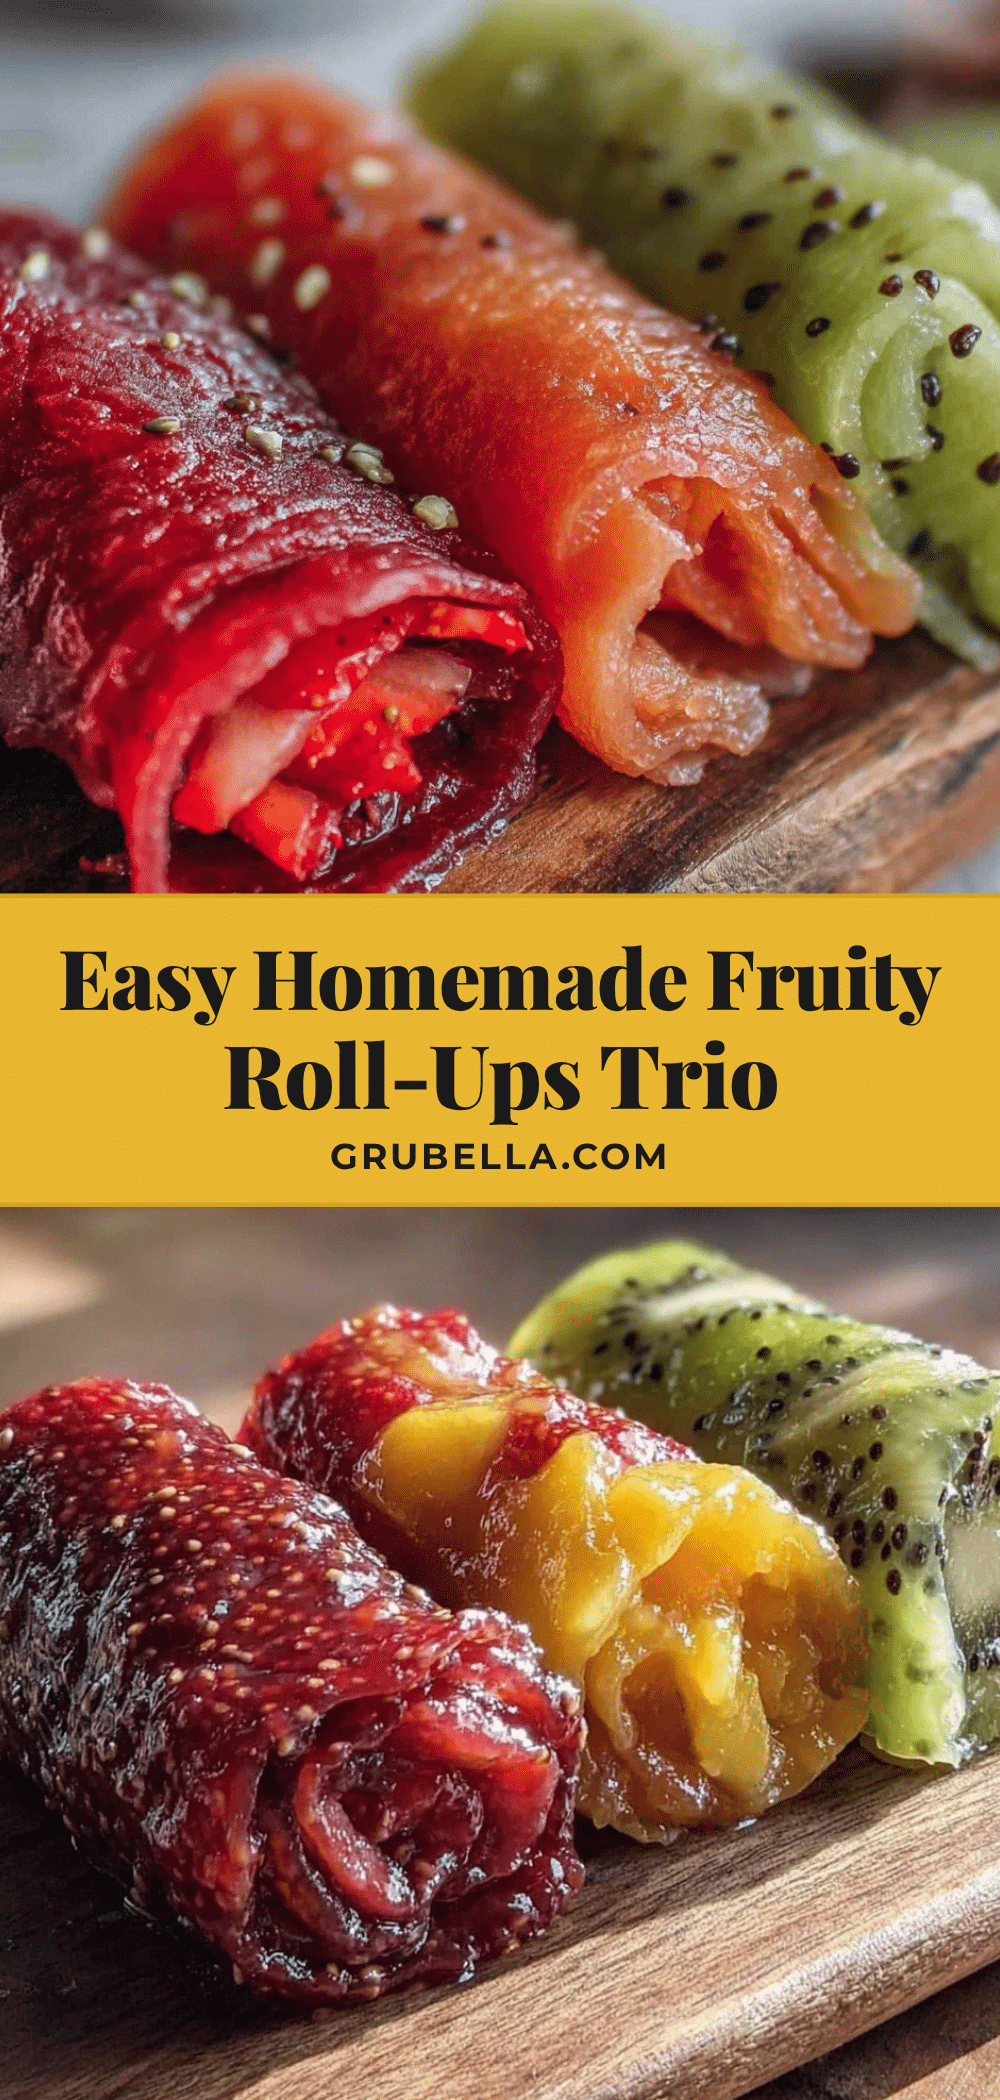
Easy Homemade Fruit Roll-Ups Trio Recipe 3 Best Flavors to Try Today

A quick and healthy homemade fruit leather recipe featuring three bold flavors: sweet strawberry, tangy mixed berries, and tropical mango. Perfect for kid-friendly snacks without added preservatives or artificial colors.
- Prep Time: 15 minutes
- Cook Time: 4 to 6 hours
- Total Time: 4 hours 15 minutes to 6 hours 15 minutes
- Yield: Approximately 12 roll-ups 1x
- Category: Snack
- Cuisine: American
Ingredients
- 2 cups strawberries, hulled and roughly chopped
- 2 cups mango chunks, peeled and pitted
- 2 cups mixed berries (blueberries, raspberries, blackberries), fresh or frozen
- 2 tablespoons freshly squeezed lemon juice
- 2 tablespoons honey or maple syrup (optional)
- 1/4 cup water
- 1 teaspoon vanilla extract (optional)
Instructions
- Prepare the fruit purees: In a food processor or blender, combine the strawberries with 1 tablespoon lemon juice and 1 tablespoon honey (if using). Add 2 tablespoons water to help blend. Puree until smooth, about 1-2 minutes. Repeat separately with mango and mixed berries, adjusting lemon juice and honey as needed for balance. Strain seeds from berries if preferred.
- Preheat your oven or dehydrator to 140°F (60°C). If using an oven, leave the door slightly open for airflow.
- Line baking sheets with parchment paper or silicone mats. Pour each fruit puree into separate baking sheets, spreading thinly and evenly with a spatula to about 1/8 inch (3 mm) thickness. Keep edges neat for easier rolling.
- Dry the fruit sheets in the oven or dehydrator. Expect 4 to 6 hours in the oven, less in a dehydrator. Check after 4 hours; the surface should feel dry but pliable, not sticky or wet.
- Once dried, carefully peel the fruit leather from the parchment or mat. Use a sharp knife or scissors to cut into strips about 1.5 inches (4 cm) wide. Roll each strip tightly with parchment paper to prevent sticking.
- Store roll-ups in an airtight container at room temperature or in the fridge for longer freshness.
Notes
Use ripe, fragrant fruit for best natural sweetness. If fruit is too tart, add honey or maple syrup before pureeing; if too sweet, add a splash of lemon juice. Dry fruit sheets thinly and evenly for best texture. Keep oven door slightly open for airflow when using oven. Store roll-ups completely cooled to prevent sticking. If roll-ups are too sticky, dry longer; if too brittle, spritz with water before rolling.
Nutrition
- Serving Size: One roll-up strip (a
- Calories: 7090
- Sugar: 1418
- Carbohydrates: 1822
- Fiber: 23
- Protein: 0.51
Keywords: fruit roll-ups, homemade fruit leather, healthy snacks, kid-friendly snacks, strawberry roll-ups, mango roll-ups, mixed berry roll-ups, dehydrated fruit snacks



