Love this? Save it for later!
Share the inspiration with your friends
“It was one of those chaotic Wednesdays when the school bus dumped my three kids at the doorstep all at once — hungry, tired, and ready to raid the pantry,” I remember thinking. I had just finished a long day of work and honestly, the last thing I wanted was to scramble around trying to find snacks that were quick, healthy, and didn’t involve heating up the oven or a long prep time. That was when I cobbled together what I now call my Easy After-School Snack Station with 10 No-Cook Treats. It started as a desperate attempt to keep the peace but quickly became a hit in our house.
You know that feeling when little hands dart around your kitchen, and you’re still trying to get dinner on the table? Yeah, that. Setting up a snack station with ready-to-go options changed everything. No more frantic searches or “I’m starving!” meltdowns. Plus, it’s fun to see the kids mix and match their own combos — sometimes making a mess, but hey, that’s part of the charm.
Maybe you’ve been there, juggling work, school, and family life, wishing for a snack solution that doesn’t add to your to-do list. This snack station is exactly that: simple, approachable, and totally doable. Let me tell you, the best part is how it brings everyone back to the kitchen for a quick refuel, without the fuss or the mess of cooking after a long day. It’s definitely stuck with me as a go-to, and I’m excited to share these 10 no-cook treats that make it easy for any family to pull off.
Why You’ll Love This Recipe
After testing countless snack ideas and listening to feedback from my own crew (and a few neighborhood kids), I’m confident this Easy After-School Snack Station is a winner. Here’s why it’s worth making a spot for in your kitchen:
- Quick & Easy: Get everything set up in under 15 minutes. Perfect for those wild afternoons when time is tight and appetites are huge.
- Simple Ingredients: No need for fancy or hard-to-find items. These treats use everyday pantry staples and fresh produce you probably already have on hand.
- Perfect for Busy Families: Whether it’s a weekday after school or a weekend hangout, these snacks are crowd-pleasers that keep energy up without a mess.
- Crowd-Pleaser: From picky eaters to adventurous snackers, this variety covers all tastes and preferences, making it a win for everyone.
- Unbelievably Delicious: Combining fresh, crunchy, creamy, and sweet elements creates a snack station with endless flavor and texture combos.
What sets this snack station apart? It’s not just a random collection of finger foods — it’s thoughtfully curated to offer balance, nutrition, and fun. I’ve included some clever twists, like pairing crunchy veggies with a quick creamy dip or mixing fruits and nuts for a natural energy boost. Honestly, it feels like a mini celebration every time we gather around it.
This snack station isn’t just about food; it’s about creating a moment of calm and connection after a busy day. I hope you find it as comforting and practical as I do.
What Ingredients You Will Need
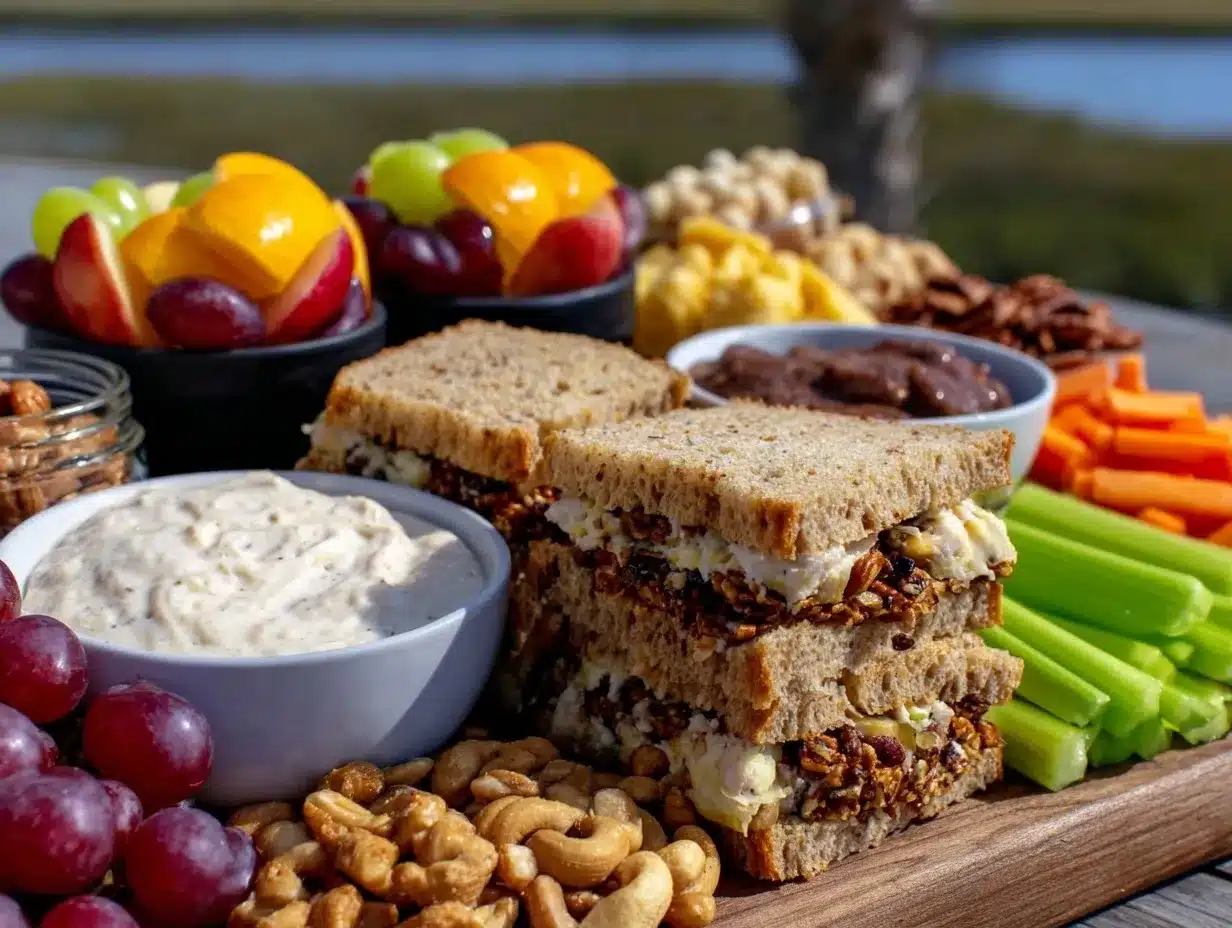
This Easy After-School Snack Station relies on wholesome, no-cook ingredients that come together to offer variety and nutrition without the hassle. Most are pantry staples or fresh produce, so you can whip this up anytime without a special trip to the store.
- Fresh Fruits: Apple slices, seedless grapes, strawberries, and banana rounds — all washed and ready to eat.
- Fresh Vegetables: Baby carrots, cucumber sticks, cherry tomatoes, and snap peas — crunchy and hydrating.
- Cheese: Cubed cheddar or mozzarella balls — I prefer Tillamook cheddar for its creamy texture.
- Nuts & Seeds: Raw almonds, walnuts, or pumpkin seeds (great for adding crunch and healthy fats).
- Nut Butters: Peanut butter or almond butter — look for natural options without added sugar.
- Dips & Spreads: Hummus (store-bought or homemade), Greek yogurt mixed with a dash of honey and cinnamon, and guacamole.
- Crackers & Bread: Whole-grain crackers, rice cakes, or mini pita pockets.
- Dried Fruits: Raisins, apricots, or cranberries — a sweet contrast to savory bites.
- Other Fun Extras: Dark chocolate chips for a little treat, granola clusters for crunch, and mini pretzels.
If you want to swap out any ingredient, you can easily adjust based on allergies or dietary needs. For example, sunflower seed butter works great if nut allergies are a concern, and gluten-free crackers can replace traditional ones without sacrificing taste. In summer, fresh berries are a lovely seasonal swap for dried fruits.
Equipment Needed
Setting up this snack station is delightfully low-maintenance when it comes to equipment. Here’s what you’ll want handy:
- A few medium to large bowls or serving trays to organize the different snack items. I like using colorful bowls to make the station visually inviting.
- Small spoons or spreaders for dips and nut butters—nothing fancy, a regular butter knife works too.
- Cutting board and a sharp knife for prepping fruits and veggies. Honestly, a good, sharp knife makes all the difference for quick, clean cuts.
- Optional: Small ramekins or dipping cups if you want to keep dips separate and easy to grab.
Nothing specialized here — just basics you probably already own. I’ve tried this setup with everything from casual ceramic bowls to simple plastic containers, and it works just fine. The key is easy cleanup, so don’t use anything too delicate or complicated. Plus, having a few reusable snack containers on hand makes setting the station up and cleaning it a breeze.
Preparation Method
- Wash and Prep Fruits and Vegetables (10 minutes): Rinse all fresh produce under cold water. Slice apples into thin wedges, halve grapes if small kids are involved, and cut cucumbers into sticks. Arrange baby carrots, cherry tomatoes, and snap peas in separate bowls to keep textures fresh.
- Cut Cheese and Arrange Nuts (5 minutes): Cube your cheese of choice into bite-sized pieces. Place nuts and seeds in small bowls or scatter them on a platter for easy grabbing. Remember, if you have a nut allergy in your household, swap with seeds or crunchy roasted chickpeas for texture.
- Prepare Dips and Spreads (5 minutes): Scoop hummus, Greek yogurt blend, and guacamole into individual ramekins. If you want to jazz up the yogurt, add a pinch of cinnamon and a drizzle of honey for a sweet twist.
- Lay Out Crackers and Bread (1 minute): Place whole-grain crackers, rice cakes, or mini pita pockets on a plate or tray. Keep them separate from moist items to avoid sogginess.
- Assemble the Snack Station (3-5 minutes): Arrange all bowls and plates on a counter or table within easy reach. Group like items together, but mix colors and textures to make it visually appealing. I like to keep dips in the center surrounded by fruits, veggies, and crunchy snacks so kids can mix and match.
- Final Touches: Add small spoons or spreaders for dips. If you want, toss in a few fun extras like dark chocolate chips or granola clusters for variety and a little treat factor.
Quick tip: If you’re prepping the station ahead of time, keep fruits like apple slices in a bowl of water with a splash of lemon juice to stop browning. Also, store the station in the fridge and let it come to room temperature before serving for the best flavor.
Cooking Tips & Techniques
Even though this snack station involves no cooking, a few handy tips help make it smooth and enjoyable:
- Prep in Batches: Wash and cut fruits and veggies once or twice a week to save time. Store them in airtight containers so they’re ready to go for the snack station whenever you need.
- Mix Textures: Balance crunchy, creamy, and sweet elements for a satisfying snack experience. Kids especially love pairing crisp apples with peanut butter or crunchy carrots with hummus.
- Keep It Fresh: Prepare the station close to snack time if possible to avoid soggy crackers or wilted veggies. If prepping earlier, use airtight containers and keep dips covered.
- Watch for Allergies: Always double-check for nut allergies or other sensitivities. I once forgot to label almond butter, and chaos ensued (lesson learned!).
- Engage Kids in Setup: Letting kids build their own snacks is half the fun. It helps them try new things and feel independent in the kitchen.
Honestly, the biggest success factor is having everything ready in easy-to-grab containers. It sounds simple, but that tiny bit of organization saves big headaches on hectic afternoons.
Variations & Adaptations
This snack station is flexible and invites creativity. Here are a few ways to customize it:
- Dietary Swaps: For gluten-free, swap crackers with rice cakes or veggie sticks. For dairy-free, use nut-based cheese alternatives or extra-firm tofu cubes.
- Seasonal Twists: In fall, add slices of pear or persimmon. Summer calls for fresh berries and melon balls instead of dried fruits.
- Flavor Boost: Add a sprinkle of cinnamon to apple slices or a dash of smoked paprika to hummus for extra zing.
- Kid-Friendly Fun: Use cookie cutters to shape cheese or fruit slices into stars or hearts to make snacking more exciting.
- Personal Favorite: I once added a quick drizzle of honey and a few crushed pistachios to the Greek yogurt dip, and it became an instant hit with my son’s friends.
Serving & Storage Suggestions
Serve the snack station at room temperature for the best taste and texture. It’s ideal to set it up right before kids get home from school, but if that’s tricky, store everything separately in the fridge and assemble just before serving.
Leftovers can be stored in airtight containers for up to 2 days. Fruits like apples might brown a bit, but a quick toss in lemon juice before storing helps prevent that. Dips keep well for 3-4 days refrigerated.
Reheat is not needed here, but if you want, warm pita pockets slightly in a toaster oven before serving. Flavors tend to develop nicely overnight in the fridge, especially in dips like guacamole and hummus.
This snack station pairs beautifully with a refreshing glass of iced herbal tea or a simple smoothie for a more filling snack or light meal.
Nutritional Information & Benefits
This Easy After-School Snack Station offers a balanced mix of macronutrients — carbohydrates from fruits and crackers, protein from cheese and nuts, and healthy fats from nut butters and seeds. It’s a fantastic way to provide sustained energy for growing kids without processed sugars or artificial ingredients.
Key ingredients like fresh veggies provide fiber and important vitamins, while nuts contribute heart-healthy fats and minerals. Greek yogurt dip adds probiotics for gut health, and including a variety of colors ensures a range of antioxidants.
Many of these snacks are naturally gluten-free and can be adapted for dairy-free or vegan diets, making this station accessible for most dietary needs.
Conclusion
The Easy After-School Snack Station with 10 No-Cook Treats has truly transformed our afternoons. It’s not just about feeding hungry kids — it’s about creating a moment of calm and choice in the middle of a busy day. I love how it encourages independence and healthy habits without turning the kitchen into a mess.
Feel free to play around with the combinations and swap ingredients based on your family’s tastes and needs. I’m confident you’ll find it helpful, just like we did on that hectic Wednesday when it all began.
Let me know how you set up your snack station or if you have any favorite no-cook treats to add to the mix. Sharing your experiences helps all of us keep the after-school snack chaos under control. Happy snacking!
FAQs
What are some easy no-cook snacks I can include in the station?
Fresh fruits like apple slices and grapes, crunchy veggies such as baby carrots and cucumber sticks, cheese cubes, nuts, hummus, and natural nut butters are all quick and no-cook options perfect for the snack station.
How long can I keep the snack station prepared in the fridge?
Most items stay fresh for up to 2 days if stored properly. Keep dips covered, and store fruits like apples in lemon water to prevent browning. Assemble the station just before serving for the best taste.
Can I make this snack station allergy-friendly?
Absolutely! Swap nuts for seeds like pumpkin or sunflower seeds, use dairy-free cheese or tofu cubes, and choose gluten-free crackers or veggie sticks to accommodate common allergies.
What’s a good way to keep apple slices from browning?
Soak apple slices in cold water mixed with a splash of lemon juice or apple cider vinegar for about 5 minutes. This slows oxidation and keeps them looking fresh longer.
Are these snacks suitable for toddlers?
Many of these snacks work well for toddlers, but be sure to cut items into small, manageable pieces to prevent choking and avoid nuts if allergies or choking hazards are a concern.
Also, if you enjoy simple, wholesome snack ideas, you might appreciate how crispy garlic chicken pairs perfectly for a more substantial after-school meal or how fresh berry smoothies complement any snack station for an easy nutrient boost.
Pin This Recipe!
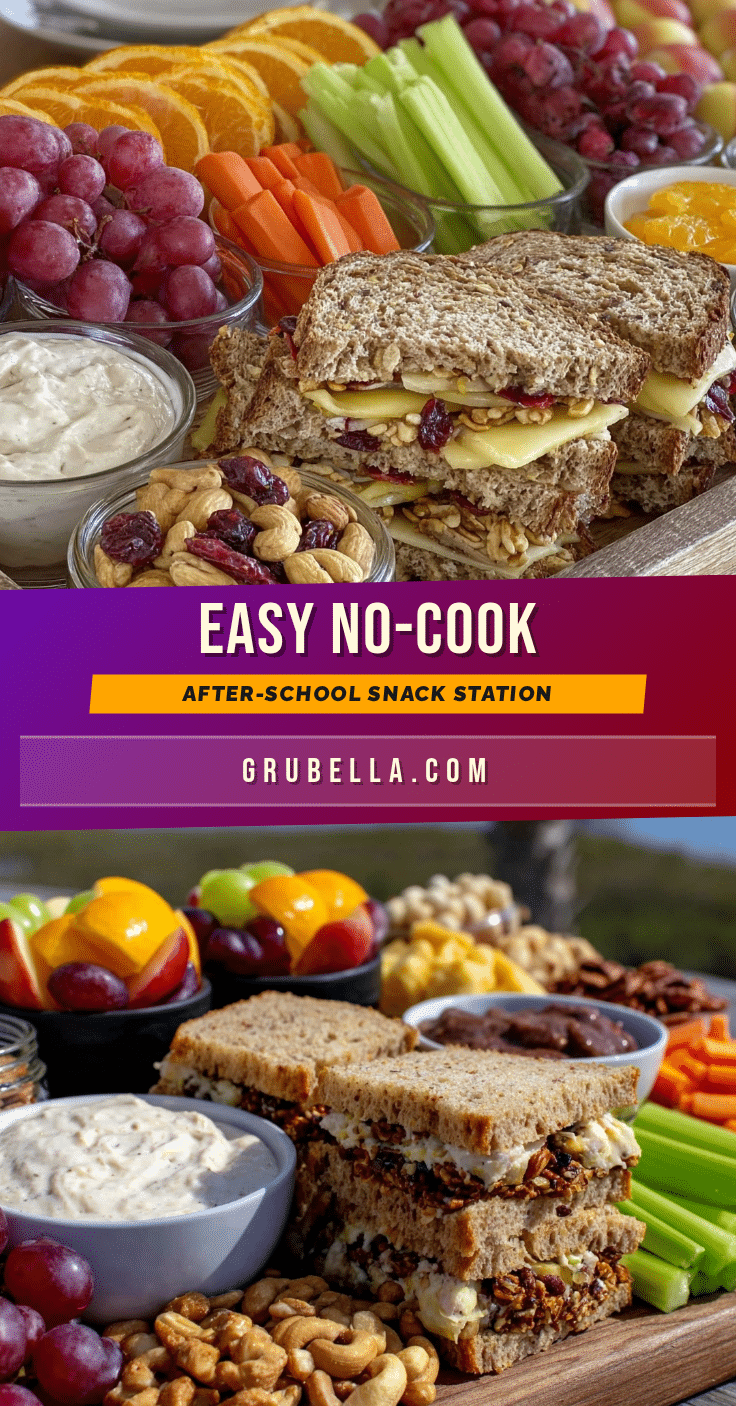
Easy After-School Snack Station with 10 No-Cook Treats

A quick and healthy snack station setup featuring 10 no-cook treats perfect for busy families to keep kids energized and happy after school.
- Prep Time: 15 minutes
- Cook Time: 0 minutes
- Total Time: 15 minutes
- Yield: Serves 4-6
- Category: Snack
- Cuisine: American
Ingredients
- Apple slices
- Seedless grapes
- Strawberries
- Banana rounds
- Baby carrots
- Cucumber sticks
- Cherry tomatoes
- Snap peas
- Cubed cheddar cheese or mozzarella balls
- Raw almonds
- Walnuts
- Pumpkin seeds
- Peanut butter or almond butter (natural, no added sugar)
- Hummus (store-bought or homemade)
- Greek yogurt mixed with honey and cinnamon
- Guacamole
- Whole-grain crackers
- Rice cakes
- Mini pita pockets
- Dried fruits (raisins, apricots, cranberries)
- Dark chocolate chips
- Granola clusters
- Mini pretzels
Instructions
- Wash all fresh fruits and vegetables under cold water.
- Slice apples into thin wedges, halve grapes if serving to small children, and cut cucumbers into sticks.
- Arrange baby carrots, cherry tomatoes, and snap peas in separate bowls.
- Cube cheese into bite-sized pieces and place nuts and seeds in small bowls or scatter on a platter.
- Scoop hummus, Greek yogurt blend, and guacamole into individual ramekins.
- Place whole-grain crackers, rice cakes, or mini pita pockets on a plate or tray, keeping them separate from moist items.
- Arrange all bowls and plates on a counter or table within easy reach, grouping like items together and mixing colors and textures.
- Add small spoons or spreaders for dips and nut butters.
- Optionally, add extras like dark chocolate chips or granola clusters for variety.
- Serve at room temperature for best taste and texture.
Notes
To prevent apple slices from browning, soak them in cold water with a splash of lemon juice for about 5 minutes. Prepare the snack station close to serving time to keep crackers crisp and veggies fresh. Store leftovers in airtight containers for up to 2 days. Dips keep refrigerated for 3-4 days. Swap ingredients to accommodate allergies or dietary preferences.
Nutrition
- Serving Size: Approximately 1/4 to
- Calories: 0.20025
- Sugar: 10
- Sodium: 150
- Fat: 12
- Saturated Fat: 3
- Carbohydrates: 22
- Fiber: 4
- Protein: 6
Keywords: after-school snack, no-cook snacks, healthy snacks, snack station, kids snacks, quick snacks, easy snacks, no-bake treats