Love this? Save it for later!
Share the inspiration with your friends
By the fourth time I made crispy baked chicken parmesan in a single week, I started wondering if I should be concerned. Or impressed. Honestly, probably both. Each attempt got me a little closer to what I was chasing—that shatteringly crisp coating, the kind that doesn’t go soggy the second it touches marinara, and chicken that stays juicy instead of turning into a dry, sad rubber eraser. The first batch was decent but the breading slid off in sheets. The second batch had better crunch but the chicken came out a little tough. The third batch? Closer. But it was that fourth one, the one where I finally stopped second-guessing and just let the oven do its thing, that made me sit down and actually feel relieved. Like, okay, I can stop now.
What kept pulling me back wasn’t some grand culinary ambition. It was the simple, almost petty frustration of knowing this dish could be incredible without a vat of hot oil involved. I wanted the golden, craggy crust. I wanted the cheese pull. I wanted the whole thing to feel like a reward, not a science experiment. And I wanted it without the splatter burns on my forearm or the lingering fry-oil smell that follows you around the house for two days. This no-fry version became my quiet little project—a way to prove to myself that you don’t need to deep-fry something to make it feel special. It’s not a compromise. It’s a better way to do it, and once you try it, you’ll probably feel the same way.
Why You’ll Love This Recipe
Look, I get it. Chicken parmesan is one of those dishes that feels like a restaurant-only thing. Like you need a fryer and a chef’s coat and at least fifteen years of Italian nonna energy to pull it off. But this recipe flips that script completely. You get all the crunch, all the cheesy goodness, and none of the deep-fry mess. Trust me on this one.
- Oven-Baked, Not Fried: No standing over a splattering pan of oil. No greasy kitchen. Just a hot oven and a baking sheet.
- Actually Crispy: This isn’t one of those baked versions that turns out soft and sad. We’re talking golden, crunchy, stays-crisp-even-with-sauce crispy.
- Simple Ingredients: You probably already have most of this stuff in your pantry. No weird specialty flours or hard-to-find breadcrumbs.
- Perfect for a Weeknight Dinner: From start to table in about 40 minutes. That’s faster than ordering takeout in some neighborhoods.
- Kid-Approved and Crowd-Pleasing: I’ve served this to picky eaters, in-laws, and friends who “don’t really like chicken.” It disappears every single time.
- Healthier Comfort Food: You save a significant amount of oil and calories, but honestly? You won’t miss them. The texture is that good.
This isn’t just another version of chicken parmesan. It’s the version I landed on after all those obsessive test runs. The one where the breading actually sticks, the chicken stays tender, and the whole thing comes together without making you feel like you just ran a kitchen marathon. It’s comfort food that actually works for a real weeknight.
What Ingredients You Will Need
This recipe uses mostly pantry staples, which is honestly my favorite kind of recipe. Nothing fancy here—just good ingredients that work together to create something genuinely delicious. The key is in how you prep them, not what you buy.
- Chicken Breasts (about 1.5 lbs or 680g): Go for boneless, skinless breasts that are roughly the same thickness. If they’re huge, butterfly them or pound them to even thickness. Trust me, this matters for even cooking.
- Panko Breadcrumbs (1.5 cups / 150g): Panko is non-negotiable here. Regular breadcrumbs will give you a dense, sad crust. Panko stays light and shatter-crisp. I prefer the unseasoned kind so I can control the flavor.
- Grated Parmesan Cheese (1/2 cup / 50g): The good stuff from a block, not the green can. It melts into the breading and adds that nutty, salty depth you can’t fake.
- All-Purpose Flour (1/2 cup / 60g): Helps the egg wash stick to the chicken. You can swap in gluten-free flour blend if needed.
- Large Eggs (2): The glue that holds everything together. Make sure they’re at room temperature for best results.
- Marinara Sauce (1.5 cups / 360ml): Use your favorite jarred brand or homemade. I’m partial to Rao’s or a quick stovetop version with canned San Marzano tomatoes. Just avoid anything watery.
- Mozzarella Cheese (1.5 cups / 170g shredded): Low-moisture part-skim mozzarella melts best without turning into a watery mess. Fresh mozzarella is lovely but can make the dish soggy if you’re not careful.
- Dried Italian Seasoning (1 teaspoon): A blend of oregano, basil, rosemary, and thyme. If you only have individual herbs, use a mix of oregano and basil.
- Garlic Powder (1/2 teaspoon): Not garlic salt. We’ll add salt separately.
- Salt and Black Pepper: To taste. Don’t skip seasoning the chicken itself—it makes a big difference.
- Olive Oil Spray or Cooking Spray: This is what makes the panko get golden and crispy in the oven. Don’t skip it.
- Fresh Basil or Parsley (optional): For garnish. It adds a pop of color and freshness that cuts through the richness.
For the best results, I recommend using a brand like Ian’s for panko or Progresso if you can’t find the Japanese kind. And please—please—grate your own parmesan. The pre-shredded stuff has anti-caking agents that mess with the texture. You’ll thank me later.
Equipment Needed
You don’t need a fancy kitchen to make this work. Just a few basics that you probably already own. Here’s what I use:
- Baking Sheet: A rimmed half-sheet pan works perfectly. Line it with parchment paper or a silicone baking mat for easy cleanup.
- Wire Rack: This is the secret to crispy chicken. Placing the breaded chicken on a wire rack set inside the baking sheet allows hot air to circulate underneath, so the bottom stays crunchy instead of steaming. I use a simple cooling rack that fits inside my sheet pan.
- Meat Mallet or Rolling Pin: For pounding the chicken to even thickness. A rolling pin works in a pinch, or just use your fists if you’re feeling aggressive.
- Three Shallow Bowls: For the flour, egg wash, and breading. Pie plates or wide soup bowls work great.
- Tongs: For transferring the chicken from bowl to bowl without making a huge mess. I prefer silicone-tipped ones so I don’t scrape off the breading.
- Cheese Grater: For that fresh parmesan. A microplane works too, but a box grater is faster.
- Oven-Safe Baking Dish: For the final bake with sauce and cheese. An 8×8 or 9×13 inch dish works depending on how many cutlets you have.
If you don’t have a wire rack, you can place the breaded chicken directly on a parchment-lined baking sheet. Just flip them halfway through the initial bake to help the bottom crisp up. It’s not quite as perfect, but it still works.
Preparation Method
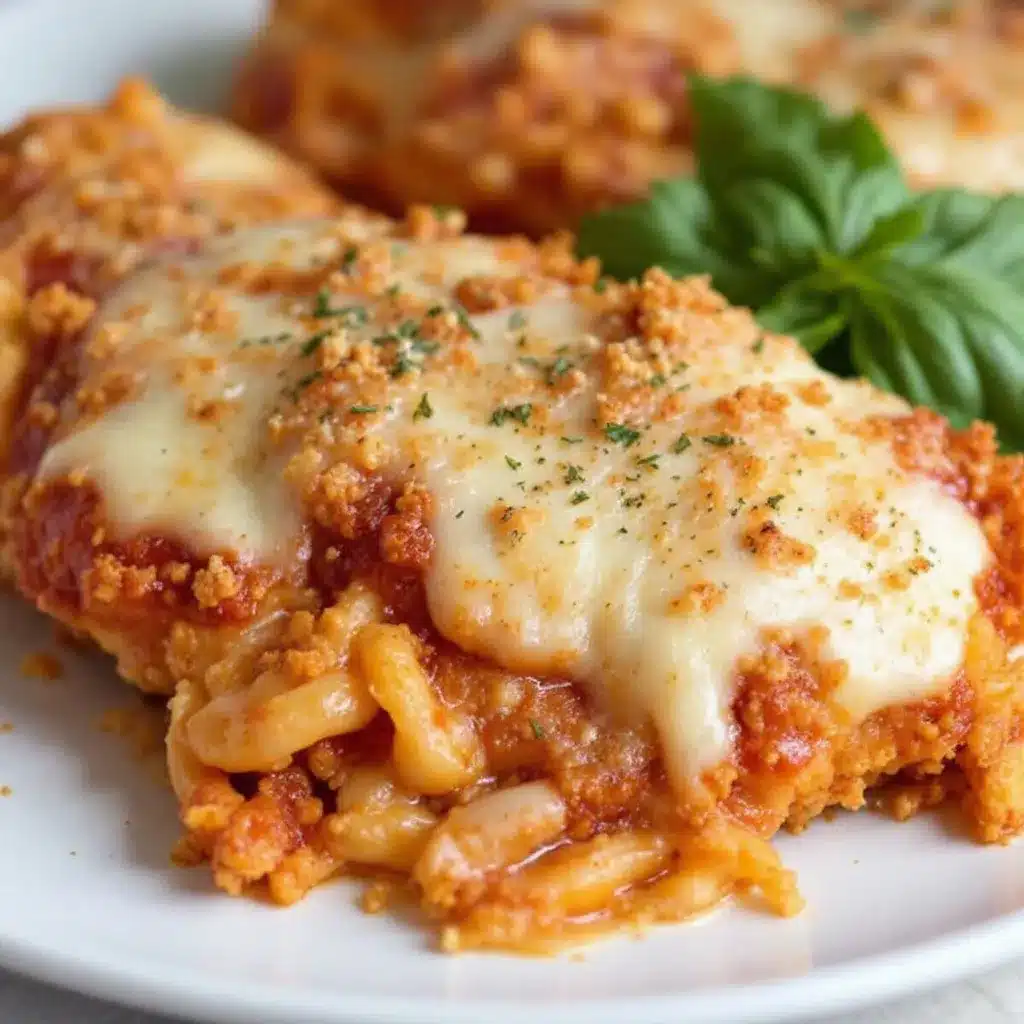
Alright, let’s get cooking. This method is broken down into clear steps so you don’t miss anything. Read through once before you start, and you’ll be golden.
- Preheat and Prep: Preheat your oven to 425°F (220°C). Place a wire rack on a rimmed baking sheet and spray it lightly with cooking spray. This prevents sticking and helps the crust crisp up.
- Pound the Chicken: Place each chicken breast between two pieces of plastic wrap or parchment paper. Use a meat mallet or rolling pin to pound them to an even thickness—about 1/2 inch (1.25 cm) thick. This ensures they cook evenly and stay tender. Season both sides with salt, pepper, and a pinch of garlic powder.
- Set Up Your Breading Station: Grab three shallow bowls. In the first, add the flour. In the second, beat the eggs with a tablespoon of water until smooth. In the third, combine the panko breadcrumbs, grated parmesan, Italian seasoning, remaining garlic powder, and a pinch of salt and pepper. Mix well with a fork.
- Bread the Chicken: Working with one piece at a time, dredge the chicken in the flour, shaking off any excess. Dip it into the egg wash, letting the excess drip off. Then press it firmly into the panko mixture, making sure it’s fully coated on both sides. Place the breaded chicken on the prepared wire rack. Repeat with all pieces.
- First Bake (The Crisping Phase): Spray the tops of the breaded chicken generously with olive oil spray. This is crucial—it helps the panko turn golden and crispy instead of pale and dusty. Bake for 15 minutes at 425°F (220°C).
- Flip and Second Bake: Carefully flip each piece of chicken using tongs. Spray the other side with oil. Bake for another 10 minutes. The chicken should be golden brown and cooked through (internal temp of 165°F / 74°C).
- Add Sauce and Cheese: Remove the baking sheet from the oven. Spoon about 2 tablespoons of marinara sauce onto each chicken cutlet. Top generously with shredded mozzarella and a sprinkle of extra parmesan if you’re feeling fancy. Don’t drown it—just a nice even layer of sauce and cheese.
- Final Bake (The Melty Phase): Return the chicken to the oven and bake for another 5-7 minutes, until the cheese is melted, bubbly, and starting to brown in spots. If you want deeper browning, switch the oven to broil for the last 1-2 minutes. Watch it carefully—broiler goes from perfect to burnt in seconds.
- Rest and Serve: Let the chicken rest for 3-5 minutes before serving. This lets the cheese set slightly so it doesn’t slide off the first time you pick it up. Garnish with fresh basil or parsley if you like.
A quick note on timing: the first bake is where the magic happens. Don’t rush it. If the chicken isn’t golden and crispy at the 25-minute mark, give it another 2-3 minutes. Ovens vary, and you know your oven better than I do. The chicken should feel firm to the touch but not hard, and the breading should look like a beautiful golden crust, not a pale jacket.
Cooking Tips & Techniques
I’ve made every mistake you can imagine with this dish, so you don’t have to. Here are the lessons I learned the hard way.
The Panko Mistake: The first time I made this, I used regular breadcrumbs because that’s what I had. The result was a dense, almost powdery coating that felt more like a sad meatloaf than chicken parmesan. Panko is non-negotiable. Its light, flaky texture is what gives you that shatter-crisp crust. If you can only find Italian-seasoned panko, just reduce the extra seasoning you add.
The Soggy Bottom Problem: This is the most common complaint with baked chicken parmesan. The fix is the wire rack. When the chicken sits directly on the baking sheet, the bottom steams instead of crisping. The wire rack lets air circulate underneath. If you don’t have one, flip the chicken halfway through the first bake and make sure you spray both sides with oil.
Don’t Overload the Sauce: I know it’s tempting to pile on the marinara and cheese. But too much sauce makes the breading soggy before it even hits the table. A thin layer is all you need. The chicken should still be the star, not swimming in a pool of red sauce. Serve extra sauce on the side for dipping.
Room Temperature Eggs: Cold eggs don’t mix as well with the flour and can create clumps in your egg wash. Let them sit on the counter for 15 minutes before you start. It’s a small thing that makes a real difference.
The Patience Rule: Let the chicken rest after the final bake. I know you want to dig in immediately—I do too. But those 3-5 minutes let the cheese set and the juices redistribute. Cut into it too soon and you’ll have a puddle on your plate instead of a perfect, juicy cutlet.
Multitasking Strategy: While the chicken is doing its first bake, prep your pasta or side dish. Boil water, start a salad, toast some garlic bread. The active time on this recipe is maybe 15 minutes total. The rest is just oven time. Use it wisely.
Variations & Adaptations
This recipe is wonderfully flexible. Here are some ways I’ve adapted it over the years.
- Gluten-Free Version: Swap the all-purpose flour for a gluten-free blend (I like Bob’s Red Mill 1-to-1) and use gluten-free panko. The rest of the ingredients are naturally gluten-free. It works beautifully.
- Spicy Arrancini Style: Add 1/2 teaspoon of red pepper flakes to the panko mixture and use a spicy arrabbiata sauce instead of regular marinara. The heat cuts through the richness and adds a nice kick.
- Chicken Parmesan Sliders: After the final bake, slice each cutlet into thirds and serve on small slider buns with extra sauce and a smear of pesto. Perfect for game day or a casual dinner party.
- Eggplant Parmesan Alternative: Swap the chicken for 1-inch thick slices of eggplant. Salt them first and let them sit for 30 minutes to draw out moisture, then pat dry. The rest of the recipe stays the same. It’s a great vegetarian option that holds up beautifully.
- Lighter Version: Use part-skim mozzarella and reduce the parmesan by half. You can also skip the flour dredge and just use egg wash and panko. The crust won’t be quite as thick, but it still crisps up nicely.
- Air Fryer Adaptation: If you have an air fryer, cook the breaded chicken at 375°F (190°C) for 10-12 minutes, flipping halfway. Add sauce and cheese, then cook for another 2-3 minutes. It’s faster and even crispier.
I personally love the spicy version best. It reminds me of a dish I had at a tiny Italian place in Chicago years ago. The heat, the crunch, the melty cheese—it’s comfort food with an edge.
Serving & Storage Suggestions
This chicken parmesan is best served hot and fresh, but it’s pretty forgiving if you have leftovers.
Serving Temperature: Serve immediately after the 3-5 minute rest. The cheese should be stretchy and the crust still crisp. If you’re serving a crowd, keep the finished chicken on a wire rack in a warm oven (200°F / 93°C) while you finish the rest.
What to Serve With It: Spaghetti or fettuccine tossed in garlic butter or olive oil is a classic. A simple green salad with lemon vinaigrette cuts through the richness beautifully. Garlic bread or crusty bread for sopping up extra sauce is never a bad idea. If you want something lighter, try a creamy Greek yogurt chicken salad on the side for a different take on chicken.
Storage: Leftover chicken parmesan keeps in the refrigerator for up to 4 days. Store it in an airtight container with the sauce and cheese on top. The breading will soften over time, but it’s still delicious.
Reheating: The oven is your best friend here. Reheat at 350°F (175°C) for 10-12 minutes on a wire rack. This helps the crust re-crisp. The microwave will make it soggy, so avoid it if you can. If you’re in a hurry, an air fryer at 350°F (175°C) for 4-5 minutes works great too.
Freezing: You can freeze the breaded, unbaked chicken for up to 3 months. Place the breaded cutlets on a baking sheet and freeze until solid, then transfer to a freezer bag. Bake from frozen at 425°F (220°C) for 20 minutes, then add sauce and cheese and bake another 5-7 minutes. The texture is almost as good as fresh.
Interestingly, the flavors actually deepen a bit after a day in the fridge. The second-day chicken parmesan, when reheated properly, has a more developed, almost stewed flavor from the sauce melding with the cheese. It’s different from fresh, but still really good.
Nutritional Information & Benefits
Here’s a rough estimate per serving (one cutlet with sauce and cheese, without pasta or sides). Values will vary based on exact ingredients and portion sizes.
| Nutrient | Amount per Serving |
|---|---|
| Calories | 380-420 |
| Protein | 38-42g |
| Fat | 18-22g |
| Saturated Fat | 8-10g |
| Carbohydrates | 18-22g |
| Fiber | 2-3g |
| Sugar | 4-6g |
| Sodium | 700-800mg |
Health Benefits: Chicken is a fantastic source of lean protein, which helps with muscle repair and keeps you feeling full. The marinara sauce provides lycopene, a powerful antioxidant linked to heart health. Parmesan cheese adds calcium and protein, though it’s also higher in sodium, so keep that in mind if you’re watching your salt intake. By baking instead of frying, you’re saving about 10-15 grams of fat per serving compared to traditional fried versions. This recipe is also relatively low in carbs compared to many comfort food dishes, making it suitable for moderate low-carb diets. If you’re looking for a lighter option, pair it with a side of roasted vegetables or a one-pan lemon garlic shrimp and zucchini skillet for a complete, balanced meal.
Dietary Considerations: This recipe contains gluten (from the flour and panko), dairy (from the cheese), and eggs. For a gluten-free version, see the variations section. For a dairy-free version, use dairy-free mozzarella and nutritional yeast instead of parmesan. It’s not quite the same, but it works in a pinch.
Conclusion
Look, I know chicken parmesan can feel like a restaurant-only dish. Something you order when you want to treat yourself, not something you make on a Tuesday night. But this no-fry version changes that. It’s crispy, it’s cheesy, it’s deeply satisfying, and it comes together without turning your kitchen into a greasy mess. The breading stays crunchy, the chicken stays juicy, and the whole thing feels like a win.
I love this recipe because it proves you don’t need a deep fryer to get that golden, shatter-crisp crust. You just need a hot oven, a wire rack, and a little bit of patience. It’s the kind of meal that makes you feel like you’re eating something special, even when you’re just sitting at your own kitchen table in your sweatpants. And honestly? That’s the best kind of meal.
I’d love to hear how it turns out for you. Did you try a variation? Serve it with something unexpected? Burn the cheese because you got distracted by your kids? (Been there.) Drop a comment below and let me know. And if you’re looking for more cozy, crowd-pleasing dinners, give this creamy Tuscan chicken pasta a try next. Happy cooking, friend.
Frequently Asked Questions
Can I use chicken thighs instead of breasts?
Absolutely. Boneless, skinless chicken thighs work great. They’re a bit more forgiving since they stay juicier. Just adjust the cooking time slightly—thighs may need an extra 2-3 minutes in the oven. Make sure they reach 165°F (74°C) internally.
Why did my breading fall off?
This usually happens for one of three reasons: the chicken wasn’t patted dry before breading, you skipped the flour dredge, or you didn’t press the breading firmly enough. Make sure the chicken is dry, do the full flour-egg-panko sequence, and really press that panko into the chicken. It should feel like you’re giving it a firm hug.
Can I make this ahead of time?
Yes, but with a caveat. You can bread the chicken and refrigerate it for up to 24 hours before baking. Just place it on the wire rack, cover loosely with plastic wrap, and bake when ready. The breading will soften slightly, but it still crisps up nicely in the oven. Don’t add the sauce and cheese until the final bake.
How do I keep the chicken from drying out?
Pounding the chicken to even thickness is key. It ensures everything cooks at the same rate. Also, don’t overcook it. Use a meat thermometer to pull it at 165°F (74°C). The rest time after baking also helps the juices redistribute. If you’re worried, brining the chicken in salt water for 30 minutes before breading adds extra moisture.
Can I use a different cheese?
Sure. Provolone, fontina, or even a mild cheddar can work. Just avoid super oily cheeses like fresh mozzarella that release a lot of water. A blend of mozzarella and provolone is actually my favorite combo for extra flavor. Parmesan is non-negotiable in the breading though—it adds that nutty, salty crunch you can’t replicate.
Pin This Recipe!
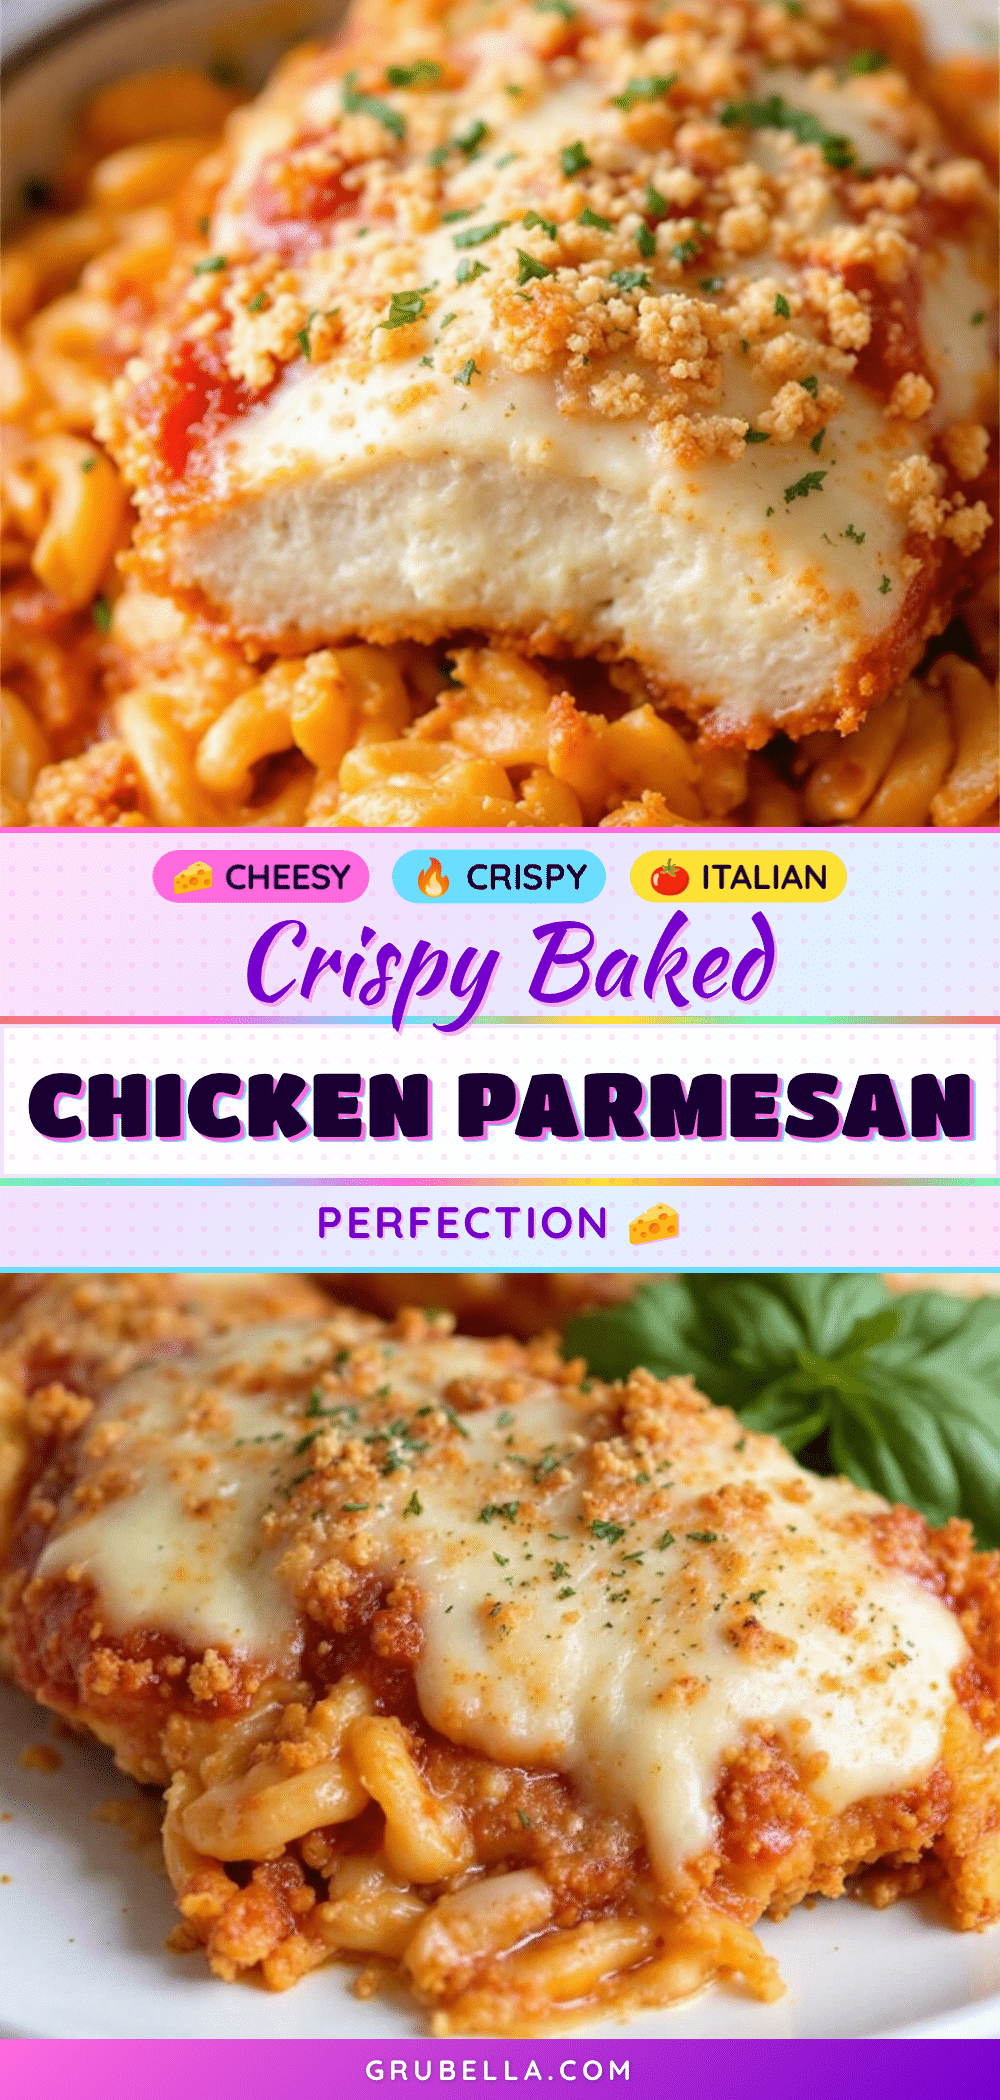
Crispy Baked Chicken Parmesan (No Fry) – Easy & Best Recipe
This oven-baked chicken parmesan delivers a shatteringly crisp coating and juicy chicken without the mess of deep-frying. It’s a healthier, weeknight-friendly comfort food that’s ready in about 40 minutes.
- Prep Time: 15 minutes
- Cook Time: 30 minutes
- Total Time: 45 minutes
- Yield: 4 servings 1x
- Category: Main Course
- Cuisine: Italian-American
Ingredients
- 1.5 lbs (680g) boneless, skinless chicken breasts
- 1.5 cups (150g) panko breadcrumbs
- 1/2 cup (50g) grated Parmesan cheese
- 1/2 cup (60g) all-purpose flour
- 2 large eggs, at room temperature
- 1.5 cups (360ml) marinara sauce
- 1.5 cups (170g) shredded low-moisture part-skim mozzarella cheese
- 1 teaspoon dried Italian seasoning
- 1/2 teaspoon garlic powder
- Salt and black pepper to taste
- Olive oil spray or cooking spray
- Fresh basil or parsley for garnish (optional)
Instructions
- Preheat oven to 425°F (220°C). Place a wire rack on a rimmed baking sheet and spray lightly with cooking spray.
- Place each chicken breast between two pieces of plastic wrap or parchment paper. Pound to an even thickness of about 1/2 inch (1.25 cm). Season both sides with salt, pepper, and a pinch of garlic powder.
- Set up three shallow bowls: first with flour, second with beaten eggs and 1 tablespoon water, third with panko, Parmesan, Italian seasoning, remaining garlic powder, and a pinch of salt and pepper. Mix well.
- Working one piece at a time, dredge chicken in flour, shaking off excess. Dip into egg wash, letting excess drip off. Press firmly into panko mixture, coating both sides. Place on prepared wire rack.
- Spray tops of breaded chicken generously with olive oil spray. Bake for 15 minutes at 425°F (220°C).
- Carefully flip each piece using tongs. Spray the other side with oil. Bake for another 10 minutes, until golden brown and internal temperature reaches 165°F (74°C).
- Remove from oven. Spoon about 2 tablespoons of marinara sauce onto each cutlet. Top generously with shredded mozzarella and extra Parmesan if desired.
- Return to oven and bake for 5-7 minutes, until cheese is melted and bubbly. For deeper browning, broil for 1-2 minutes, watching carefully.
- Let rest for 3-5 minutes before serving. Garnish with fresh basil or parsley if desired.
Notes
For best results, use panko breadcrumbs and grate your own Parmesan. A wire rack is key to preventing a soggy bottom. Don’t overload with sauce to keep the breading crispy. Let the chicken rest after baking for juicier results.
Nutrition
- Serving Size: 1 cutlet with sauce
- Calories: 400
- Sugar: 5
- Sodium: 750
- Fat: 20
- Saturated Fat: 9
- Carbohydrates: 20
- Fiber: 2.5
- Protein: 40
Keywords: baked chicken parmesan, no fry chicken parmesan, crispy chicken parmesan, easy chicken parmesan, healthy chicken parmesan



