Love this? Save it for later!
Share the inspiration with your friends
My husband took one bite of this apple crisp, looked at me with that half-squint he gets when he’s deciding whether to be honest, and said, “This might be the best thing you’ve made all year.” And honestly? I wasn’t even trying to impress him. I was just tired of having a half-eaten pan of dessert sitting in my fridge for days, taunting me every time I opened the door. You know that feeling when you make a whole 9×13 dish of something, and then you’re stuck eating it for a week because it’s just the two of you? That was my breaking point.
So I set out to make something smaller. Something that wouldn’t tempt me at 10 PM for five nights straight. Something that felt special but didn’t require a crowd to justify the effort. This small-batch apple crisp for two was born on a random Tuesday night when I had three apples sitting on my counter that were starting to look a little sad. I figured if I was going to use them up, I might as well make it count. And let me tell you—sometimes the best recipes come from those unplanned moments when you’re just trying to use what you have.
The smell alone is worth making this. Cinnamon and butter and apples bubbling together in the oven while you’re cleaning up dinner—it’s the kind of cozy that makes you want to curl up on the couch with a blanket and a spoon. This isn’t a complicated recipe. It’s not fancy or fussy. But it is exactly what you want when you need a little sweetness at the end of a long day, and you don’t want to deal with leftovers for the rest of the week.
Why You’ll Love This Recipe
I’ve made a lot of apple crisps over the years. Some were too dry. Some were too soggy. Some had a topping that turned into a sad, doughy mess instead of that glorious crumble you’re actually hoping for. This one? It’s the version I kept tweaking until everything clicked. Here’s why I think you’ll love it too:
- Perfect for Two: No more leftover guilt. This recipe makes exactly two generous servings or three reasonable ones. You get to enjoy it while it’s fresh without feeling like you need to invite the neighbors over.
- Quick & Easy: From start to oven in about 15 minutes. No complicated steps, no weird techniques. Just slice, mix, crumble, and bake.
- Simple Ingredients: You probably have everything you need already. Apples, butter, oats, flour, brown sugar, cinnamon—that’s it. No trips to specialty stores required.
- That Perfect Topping: The crumble topping gets golden and crispy on top while staying tender underneath. It’s the kind of texture contrast that makes you keep going back for “just one more bite.”
- Customizable: Use whatever apples you have. Swap the oats for more flour if that’s your thing. Add nuts or leave them out. This recipe is forgiving and flexible.
- Cozy Vibes: There’s something about a warm apple crisp that just feels like a hug in a bowl. Especially when you eat it straight out of the oven with a scoop of vanilla ice cream melting over the top.
This isn’t just another apple crisp recipe. It’s the one I make when I want something that feels special without the fuss. It’s the one that made my husband say that thing he said. And honestly, that’s the kind of recipe worth sharing.
What Ingredients You Will Need
This recipe keeps things simple. You don’t need anything fancy here—just good, honest ingredients that work together to create something warm and wonderful. Let me walk you through what you’ll need and why each ingredient matters.
For the Apple Filling
- 3 medium apples (about 450g or 1 pound) — I like using a mix of tart and sweet varieties like Granny Smith and Honeycrisp. The tart apples hold their shape well while the sweet ones break down a bit and create that lovely saucy texture. If you only have one type, that works too. Just adjust the sugar slightly depending on how sweet your apples are.
- 2 tablespoons granulated sugar (25g) — Just enough to sweeten the filling without making it cloying. You can reduce this to 1 tablespoon if your apples are very sweet.
- 1 tablespoon all-purpose flour (8g) — This helps thicken the juices as the apples cook. Don’t skip it unless you want a runny filling.
- 1 teaspoon ground cinnamon — The star of the show. I use Ceylon cinnamon when I have it because it’s milder and sweeter, but regular cassia cinnamon works beautifully too.
- 1 tablespoon lemon juice (15ml) — A little squeeze of fresh lemon brightens everything up and keeps the apples from browning while you prep. It also balances the sweetness perfectly.
For the Crisp Topping
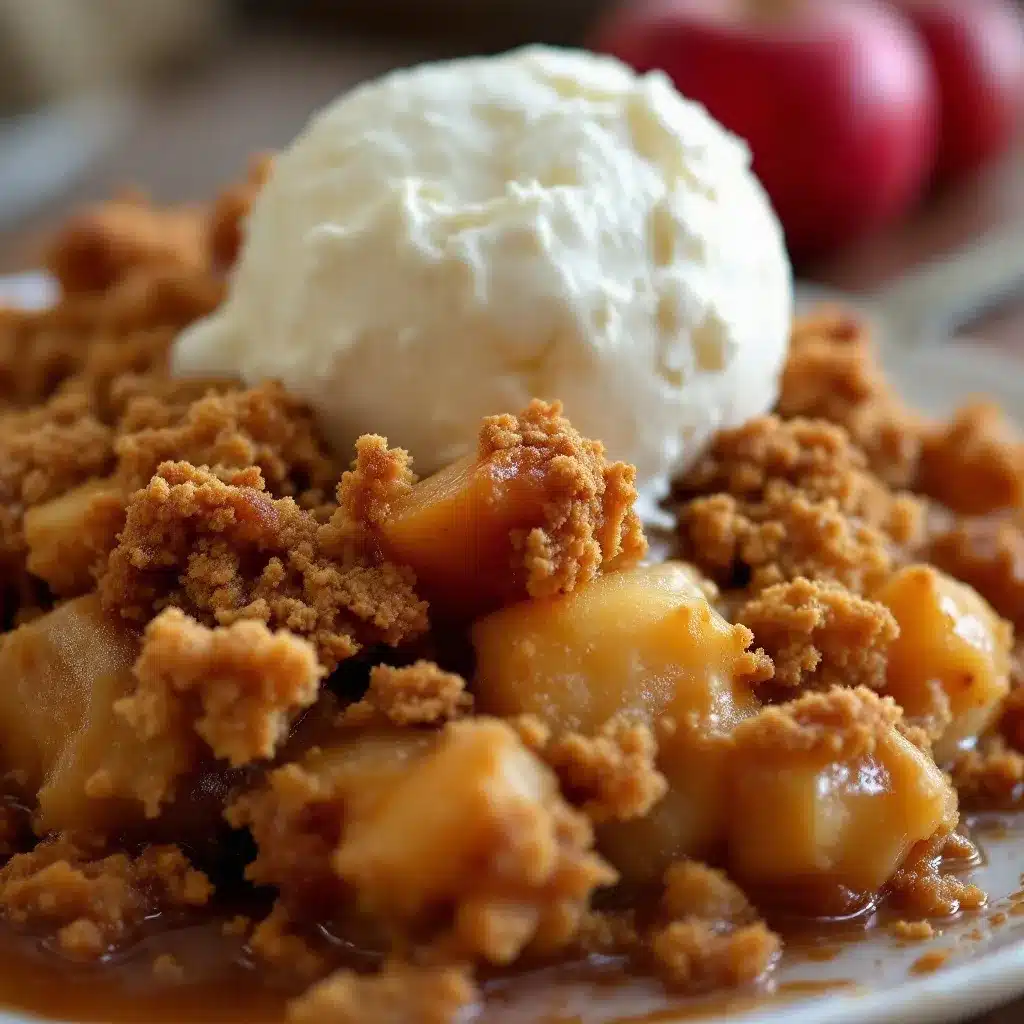
- 1/2 cup old-fashioned rolled oats (45g) — Please use old-fashioned oats here, not quick oats. The texture is so much better. Quick oats turn into mush, and that’s not what we’re going for. I prefer Bob’s Red Mill brand for consistent results.
- 1/2 cup all-purpose flour (60g) — This gives the topping structure and helps it crisp up in the oven.
- 1/3 cup packed brown sugar (70g) — Light or dark brown sugar both work. Dark brown sugar gives a deeper, more molasses-y flavor. Light brown sugar keeps it lighter and more buttery. I usually go with light brown sugar for this recipe.
- 1/4 teaspoon salt — Don’t skip the salt. It balances the sweetness and makes all the flavors pop. Trust me on this one.
- 1/2 teaspoon cinnamon — Because you can never have too much cinnamon in an apple crisp.
- 1/4 cup cold unsalted butter (57g or 4 tablespoons), cut into small cubes — Cold butter is key here. It creates those lovely little pockets of butter in the topping that melt and steam as they bake, giving you that perfect crumbly texture. If your butter is too soft, you’ll end up with a paste instead of a crumble.
- 1/4 cup chopped pecans or walnuts (30g) — Optional but highly recommended. They add a lovely crunch and nutty flavor that pairs beautifully with the apples. Toast them lightly first for even more flavor.
That’s it. Seven base ingredients plus an optional handful of nuts. Nothing complicated, nothing hard to find. Just simple things that taste good together.
Equipment Needed
You don’t need a fancy kitchen to make this recipe. Here’s what you’ll need:
- Two 10-ounce ramekins or one small baking dish (about 6×6 inches or 1-quart capacity) — I love using individual ramekins because they make each serving feel special. But a small baking dish works perfectly too. Just adjust the baking time slightly if using one larger dish.
- A sharp knife and cutting board — For slicing the apples. A vegetable peeler is helpful too, though I sometimes leave the peels on for extra texture and fiber.
- A medium mixing bowl — For the apple filling.
- A small mixing bowl — For the crisp topping.
- A pastry cutter or two forks — To cut the butter into the dry ingredients. You can also use your fingers if you work quickly and don’t mind getting a little messy. I actually prefer using my hands because I can feel when the butter is the right size.
- A baking sheet — Place your ramekins or dish on a baking sheet to catch any potential overflow. Nobody wants to clean burnt sugar off the bottom of their oven.
- Measuring cups and spoons — For accuracy. Though honestly, once you make this a few times, you’ll probably just eyeball it like I do.
If you don’t have ramekins, no worries. A small cast iron skillet works beautifully, or even a couple of oven-safe bowls. The key is just making sure whatever you use is oven-safe and the right size for two servings.
Preparation Method
Alright, let’s get to the good part. Here’s how to make this cozy little dessert come to life.
- Preheat your oven to 350°F (175°C). Place a baking sheet on the middle rack to preheat along with the oven. This helps the bottom of your crisp cook evenly.
- Prepare your apples. Peel the apples if you prefer a smoother texture, or leave the peels on for extra fiber and a more rustic feel. I usually peel about half of them and leave the rest—best of both worlds. Core and slice the apples into roughly 1/4-inch thick slices. You want them thin enough to cook through but thick enough to hold their shape. Aim for about 3 cups of sliced apples total.
- Make the filling. In your medium mixing bowl, toss the sliced apples with the granulated sugar, 1 tablespoon flour, 1 teaspoon cinnamon, and lemon juice. Stir everything together until the apples are evenly coated. Let this sit while you make the topping—this gives the apples time to start releasing their juices, which will create that lovely syrupy filling as they bake.
- Make the crisp topping. In your small mixing bowl, combine the oats, 1/2 cup flour, brown sugar, salt, and 1/2 teaspoon cinnamon. Stir them together with a fork until everything is evenly distributed. Add the cold butter cubes and the chopped nuts if you’re using them. Now, here’s where the magic happens. Using a pastry cutter, two forks, or your fingertips, work the butter into the dry ingredients until the mixture looks like coarse crumbs with some pea-sized butter pieces still visible. You want some bigger chunks and some smaller bits—that variety in size is what gives you those perfect crispy and tender spots in the finished topping. If you’re using your hands, work quickly so the butter stays cold. Warm butter will give you a dense, sad topping.
- Assemble the crisps. Divide the apple mixture evenly between your two ramekins or spread it in your small baking dish. The apples should come almost to the top—they’ll shrink down a bit as they cook. Sprinkle the topping evenly over the apples, pressing it down gently so it sticks. Don’t pack it too tightly though—you want some air gaps for the butter to melt through.
- Bake. Place the ramekins or dish on the preheated baking sheet and bake for 30-35 minutes, or until the filling is bubbly and the topping is golden brown. The apples should be tender when pierced with a fork. If the topping is browning too quickly but the apples aren’t done yet, tent loosely with foil for the last 10 minutes. Every oven is different, so start checking at the 25-minute mark.
- Cool slightly and serve. Let the crisps cool on a wire rack for at least 10 minutes before serving. This allows the filling to set up a bit so it’s not too runny. But honestly? I’ve burned my tongue on more than one occasion because I couldn’t wait. It’s worth it.
A few things I’ve learned the hard way: Don’t overfill your ramekins or the topping will slide off during baking. And if you’re using a larger dish instead of individual ramekins, add about 5-10 minutes to the baking time. The visual cue you’re looking for is bubbles breaking through the topping around the edges—that’s how you know the filling is hot and thickened.
Cooking Tips & Techniques
After making this recipe more times than I can count, I’ve picked up a few tricks that make a real difference. Here are my best tips for apple crisp success.
Choose the right apples. This is probably the most important tip I can give you. You want apples that hold their shape during baking. Granny Smith, Honeycrisp, Braeburn, and Pink Lady are all excellent choices. Fuji and Gala tend to turn into applesauce, which is fine if that’s what you’re going for, but for a crisp with distinct apple pieces, stick with firmer varieties. I usually use two different types for more complex flavor.
Don’t skip the lemon juice. I know it seems like a small thing, but that little bit of acid does three things: it prevents the apples from browning, it balances the sweetness, and it helps the pectin in the apples set up into a nice, thick sauce. Without it, your filling can taste flat and one-dimensional.
Keep your butter cold. This cannot be overstated. Warm butter will melt into the flour mixture and create a doughy, pasty topping instead of those beautiful craggy crumbles. If your kitchen is warm, pop the butter in the freezer for 10 minutes before you start. And if the topping feels too soft while you’re mixing it, stick it in the fridge for 15 minutes before baking.
Let it rest before serving. I know it’s hard to wait when your kitchen smells like cinnamon and butter, but those 10 minutes of cooling time are crucial. The filling needs time to thicken up. If you dig in right away, you’ll end up with a soupy mess. Trust me—I’ve made that mistake more times than I’d like to admit.
Toast your nuts first. If you’re adding nuts, toast them in a dry skillet over medium heat for 2-3 minutes until they’re fragrant. This brings out their natural oils and adds a depth of flavor that makes a noticeable difference. Just watch them carefully—nuts go from toasted to burnt in about 30 seconds.
Scale with confidence. This recipe doubles beautifully if you want to make more. Just use a larger baking dish and add about 10 minutes to the baking time. The topping recipe doubles perfectly too—no adjustments needed.
Variations & Adaptations
One of the things I love most about this recipe is how adaptable it is. Here are some variations I’ve tried and loved.
Gluten-Free Version: Swap the all-purpose flour for a good gluten-free 1:1 baking flour. I’ve had great results with Bob’s Red Mill and King Arthur brands. The oats are naturally gluten-free, but make sure you buy certified gluten-free oats if you’re sensitive. The texture is slightly more delicate, but honestly, it’s still delicious.
Vegan Option: Use cold coconut oil or vegan butter in place of the regular butter. I’ve tried both, and coconut oil gives a slightly different texture—a bit more crunchy—while vegan butter behaves almost exactly like the real thing. Just make sure whatever you use is cold.
Pear Crisp Variation: Swap the apples for ripe but firm pears. Bartlett or Bosc pears work beautifully. You might want to reduce the sugar slightly since pears are naturally sweeter than apples. I made this small-batch canned pears recipe last fall, and the vanilla-cinnamon flavor combination inspired me to try a pear version of this crisp. It’s absolutely lovely.
Berry Apple Crisp: Add a handful of fresh or frozen berries to the apple mixture. Raspberries and blackberries are my favorites—they add a nice tartness and beautiful color. If using frozen berries, don’t thaw them first, and add an extra tablespoon of flour to the filling to absorb the extra moisture.
Spiced Version: Add 1/4 teaspoon each of ground ginger, nutmeg, and cardamom to the filling along with the cinnamon. This gives the crisp a warm, chai-like flavor that’s perfect for fall. I love making this version when the weather starts turning cool and I’m craving something extra cozy.
Maple Sweetened: Replace the brown sugar in the topping with 3 tablespoons of maple syrup. The texture will be slightly different—a bit more chewy than crispy—but the flavor is incredible. Just reduce the butter by 1 tablespoon to compensate for the extra liquid.
Serving & Storage Suggestions
Let’s talk about how to serve this little gem and what to do if you somehow have leftovers (it happens, I guess).
Serving Temperature: This crisp is best served warm, straight from the oven. The contrast between the hot, tender apples and the cold ice cream or cream is what makes it so special. That said, it’s also delicious at room temperature if you’re making it ahead for a dinner party.
Toppings: A scoop of vanilla ice cream is the classic choice, and for good reason—the cold creaminess against the warm, spiced apples is pure magic. But don’t stop there. A dollop of lightly sweetened whipped cream, a drizzle of heavy cream, or even a spoonful of Greek yogurt all work beautifully. For something a little different, try a scoop of pumpkin cream cold foam on top—it sounds unconventional, but the spiced creaminess pairs perfectly with the apples.
Pairings: This crisp is wonderful on its own, but if you’re serving it as part of a fall-themed meal, it pairs beautifully with a warm cup of coffee or spiced tea. I’ve also been known to enjoy a small glass of bourbon or apple brandy alongside it—the warmth of the spirits complements the cinnamon and brown sugar perfectly.
Storage: If you somehow have leftovers, cover the ramekins or dish with foil and store in the refrigerator for up to 3 days. The topping will lose some of its crunch, but it’s still delicious.
Reheating: The best way to reheat is in a 350°F oven for 10-15 minutes, which helps restore some of the topping’s crispness. You can also use the microwave in a pinch, but the topping will be soft rather than crispy. If microwaving, heat in 30-second intervals until warm.
Make Ahead: You can assemble the crisps (without baking) up to 24 hours in advance. Just cover and refrigerate. Add about 5 minutes to the baking time if starting from cold. The topping might not be quite as crispy as fresh-made, but it’s still really good.
Nutritional Information & Benefits
Let’s be real—this is dessert, and it’s meant to be enjoyed. But there are actually some nutritional bright spots worth mentioning.
Per serving (one ramekin, without ice cream):
- Calories: approximately 380-420
- Fat: 16-18g
- Carbohydrates: 58-62g
- Fiber: 6-7g
- Sugar: 35-38g
- Protein: 4-5g
The apples provide a good dose of fiber and vitamin C, especially if you leave the peels on. Oats are a great source of soluble fiber, which is good for heart health and helps keep you feeling full. The nuts add healthy fats and a little protein. And cinnamon? It’s been studied for its anti-inflammatory properties and potential blood sugar-regulating effects.
Of course, there’s butter and sugar in here too, and that’s okay. Dessert isn’t supposed to be a health food. It’s supposed to be something that makes you feel good, and this crisp absolutely delivers on that front. If you want to lighten it up a bit, you can reduce the sugar by a tablespoon or two and use a plant-based butter alternative. But honestly? Sometimes you just need the real thing.
Conclusion
This small-batch apple crisp has become my go-to when I want something sweet without the commitment of a full-sized dessert. It’s the recipe I make on quiet Tuesday nights when the house is finally quiet and I just want to sit on the couch with something warm and comforting. It’s the recipe I make when I want to use up those last few apples before they go soft. And it’s the recipe that made my husband say that thing he said.
What I love most about this crisp is how unfussy it is. You don’t need to be a pastry chef to make it. You don’t need special equipment or hard-to-find ingredients. You just need a few simple things and about 45 minutes. And what you get in return is so much more than the sum of its parts—it’s warmth and comfort and the kind of simple pleasure that makes a regular evening feel a little bit special.
I’d love to hear how yours turns out. Did you add nuts? Use a different fruit? Eat it straight out of the ramekin with a spoon while standing in front of the stove? (No judgment here.) Drop a comment below and let me know—I read every single one. And if you’re looking for another cozy dessert that serves just two, you might want to try this no-bake strawberry shortcake icebox cake for two—it’s perfect for warmer months when you don’t want to turn on the oven.
Now go make yourself some apple crisp. You deserve it.
Frequently Asked Questions
Can I use quick oats instead of old-fashioned oats?
You can, but I wouldn’t recommend it. Quick oats are more finely processed and will turn into a mushy, pasty topping instead of the lovely craggy crumble you’re looking for. Old-fashioned oats give you that perfect texture contrast. If old-fashioned oats are all you have, they’ll work fine.
Can I make this in an air fryer?
Yes, you can! Preheat your air fryer to 325°F (160°C). Assemble the crisps in ramekins that fit in your air fryer basket. Cook for 15-18 minutes, checking at the 12-minute mark. The topping might brown a bit faster, so keep an eye on it. You may need to tent with foil if it’s getting too dark before the apples are tender.
What’s the best apple variety for apple crisp?
I like using a mix of tart and sweet apples. Granny Smith is my go-to for tartness—it holds its shape beautifully and balances the sweetness. Honeycrisp adds a lovely sweetness and tender texture. Braeburn and Pink Lady are also excellent choices. Avoid Red Delicious and McIntosh, which tend to break down too much and can become mushy.
Can I freeze apple crisp?
You can freeze it either before or after baking. To freeze before baking, assemble the crisp in your dish, wrap tightly in plastic wrap and then foil, and freeze for up to 3 months. Bake from frozen, adding about 10-15 minutes to the baking time. To freeze after baking, let it cool completely, then wrap and freeze. Reheat in a 350°F oven until warmed through. The topping won’t be quite as crispy after freezing, but it’s still delicious.
Why is my apple crisp topping not crispy?
There are a few common culprits. The most likely is that your butter was too warm when you mixed the topping. Cold butter is essential for creating those air pockets that lead to crispiness. Another possibility is that you overmixed the topping, which can make it dense. Finally, make sure your oven is fully preheated—a hot oven helps the topping crisp up quickly before the apples release too much moisture.
What’s the best apple variety for apple crisp?
I like using a mix of tart and sweet apples. Granny Smith is my go-to for tartness—it holds its shape beautifully and balances the sweetness. Honeycrisp adds a lovely sweetness and tender texture. Braeburn and Pink Lady are also excellent choices. Avoid Red Delicious and McIntosh, which tend to break down too much and can become mushy.
Can I freeze apple crisp?
You can freeze it either before or after baking. To freeze before baking, assemble the crisp in your dish, wrap tightly in plastic wrap and then foil, and freeze for up to 3 months. Bake from frozen, adding about 10-15 minutes to the baking time. To freeze after baking, let it cool completely, then wrap and freeze. Reheat in a 350°F oven until warmed through. The topping won’t be quite as crispy after freezing, but it’s still delicious.
Why is my apple crisp topping not crispy?
There are a few common culprits. The most likely is that your butter was too warm when you mixed the topping. Cold butter is essential for creating those air pockets that lead to crispiness. Another possibility is that you overmixed the topping, which can make it dense. Finally, make sure your oven is fully preheated—a hot oven helps the topping crisp up quickly before the apples release too much moisture.
Can I freeze apple crisp?
You can freeze it either before or after baking. To freeze before baking, assemble the crisp in your dish, wrap tightly in plastic wrap and then foil, and freeze for up to 3 months. Bake from frozen, adding about 10-15 minutes to the baking time. To freeze after baking, let it cool completely, then wrap and freeze. Reheat in a 350°F oven until warmed through. The topping won’t be quite as crispy after freezing, but it’s still delicious.
Why is my apple crisp topping not crispy?
There are a few common culprits. The most likely is that your butter was too warm when you mixed the topping. Cold butter is essential for creating those air pockets that lead to crispiness. Another possibility is that you overmixed the topping, which can make it dense. Finally, make sure your oven is fully preheated—a hot oven helps the topping crisp up quickly before the apples release too much moisture.
Why is my apple crisp topping not crispy?
There are a few common culprits. The most likely is that your butter was too warm when you mixed the topping. Cold butter is essential for creating those air pockets that lead to crispiness. Another possibility is that you overmixed the topping, which can make it dense. Finally, make sure your oven is fully preheated—a hot oven helps the topping crisp up quickly before the apples release too much moisture.
Pin This Recipe!
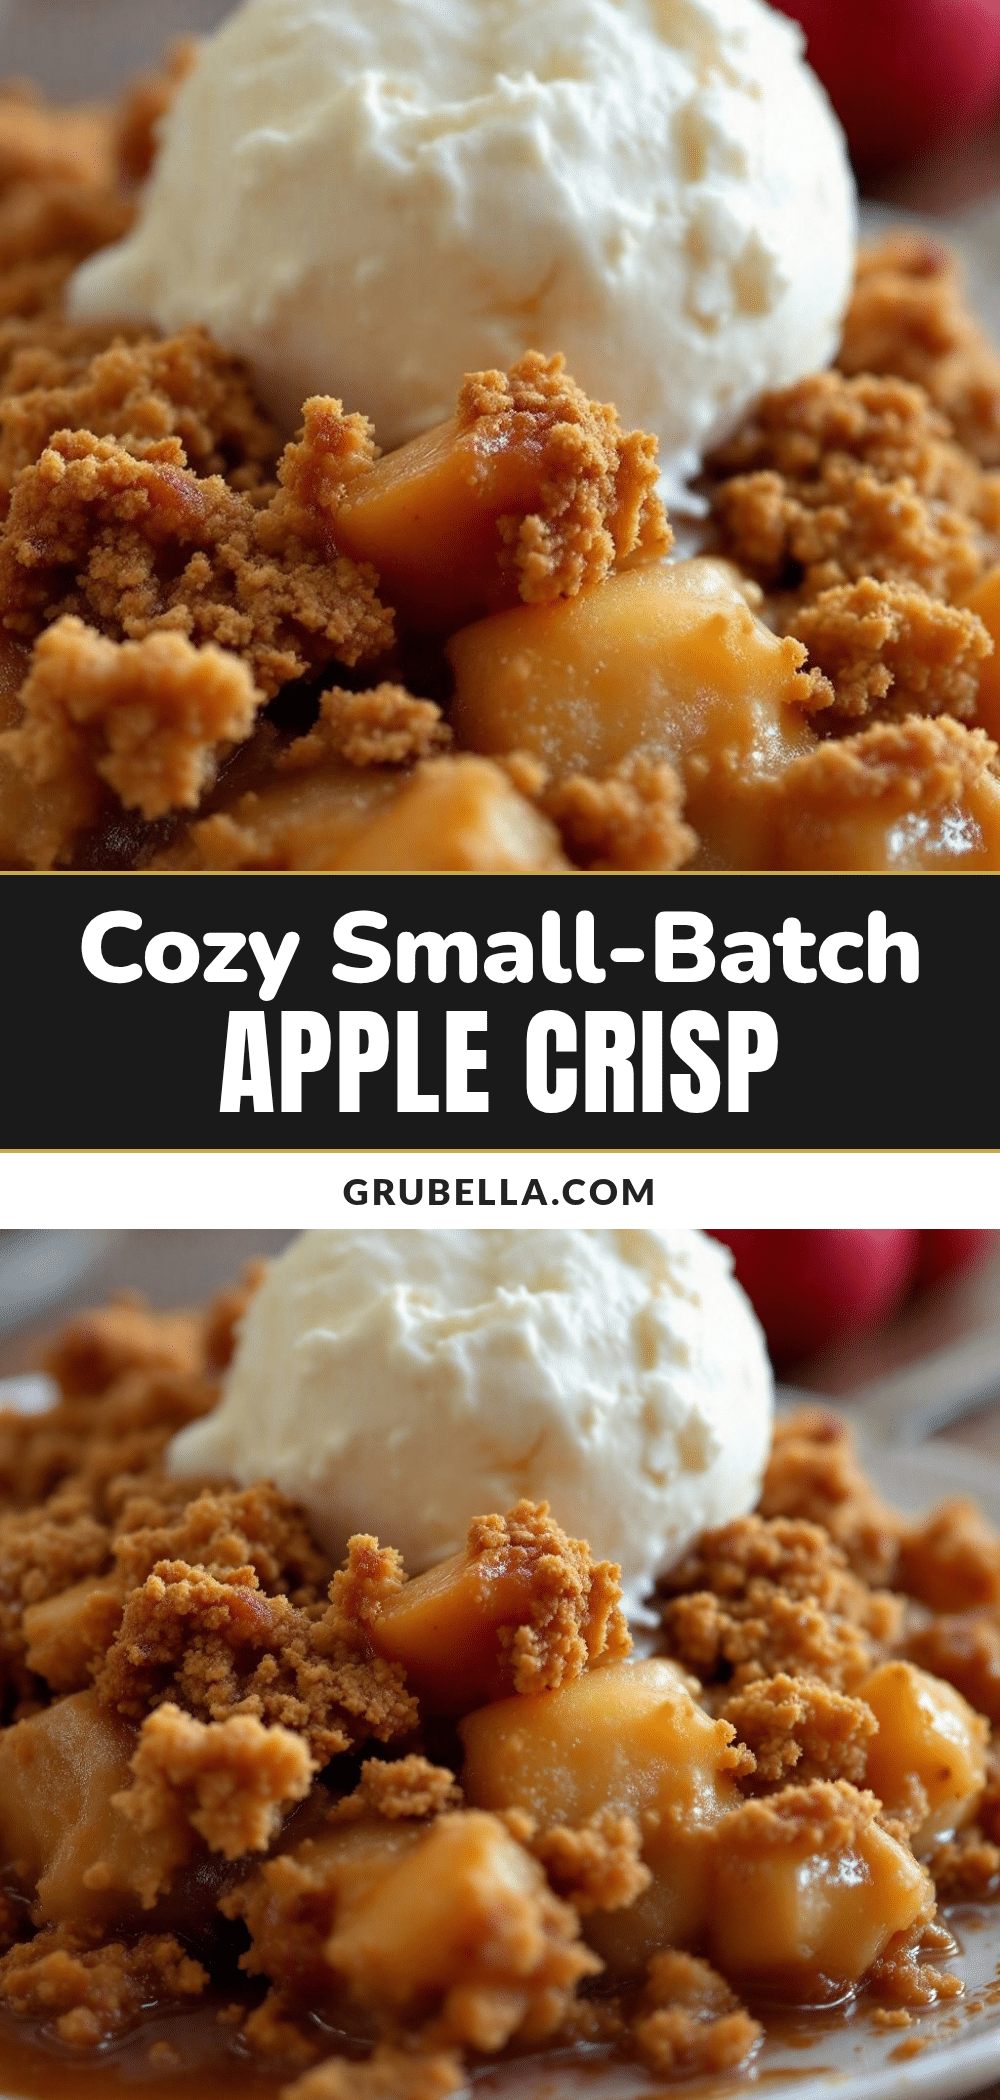
Cozy Small-Batch Apple Crisp for Two: Easy Dessert

A perfectly portioned apple crisp for two with a golden, crispy oat topping and tender, spiced apples. Quick to make with simple ingredients, this cozy dessert is ideal for a quiet night in.
- Prep Time: 15 minutes
- Cook Time: 30 minutes
- Total Time: 45 minutes
- Yield: 2 servings 1x
- Category: Dessert
- Cuisine: American
Ingredients
- 3 medium apples (about 450g or 1 pound), such as Granny Smith and Honeycrisp
- 2 tablespoons granulated sugar (25g)
- 1 tablespoon all-purpose flour (8g)
- 1 teaspoon ground cinnamon
- 1 tablespoon lemon juice (15ml)
- 1/2 cup old-fashioned rolled oats (45g)
- 1/2 cup all-purpose flour (60g)
- 1/3 cup packed brown sugar (70g)
- 1/4 teaspoon salt
- 1/2 teaspoon ground cinnamon
- 1/4 cup cold unsalted butter (57g or 4 tablespoons), cut into small cubes
- 1/4 cup chopped pecans or walnuts (30g), optional
Instructions
- Preheat your oven to 350°F (175°C). Place a baking sheet on the middle rack to preheat.
- Prepare the apples: peel if desired, core, and slice into 1/4-inch thick slices (about 3 cups total).
- Make the filling: In a medium bowl, toss the sliced apples with granulated sugar, 1 tablespoon flour, 1 teaspoon cinnamon, and lemon juice. Let sit while making the topping.
- Make the crisp topping: In a small bowl, combine oats, 1/2 cup flour, brown sugar, salt, and 1/2 teaspoon cinnamon. Add cold butter cubes and nuts (if using). Cut in butter using a pastry cutter, two forks, or your fingertips until mixture resembles coarse crumbs with some pea-sized butter pieces.
- Assemble the crisps: Divide apple mixture evenly between two 10-ounce ramekins or spread in a small baking dish. Sprinkle topping evenly over apples, pressing down gently.
- Bake: Place ramekins or dish on the preheated baking sheet. Bake for 30-35 minutes, until filling is bubbly and topping is golden brown. If topping browns too quickly, tent loosely with foil for the last 10 minutes.
- Cool slightly and serve: Let cool on a wire rack for at least 10 minutes before serving. Serve warm, optionally with vanilla ice cream.
Notes
For best results, use cold butter and old-fashioned oats. Let the crisp rest for 10 minutes before serving to allow the filling to thicken. If using a larger dish instead of ramekins, add 5-10 minutes to baking time. To make ahead, assemble without baking and refrigerate up to 24 hours; add 5 minutes to baking time.
Nutrition
- Serving Size: 1 ramekin
- Calories: 400
- Sugar: 36
- Sodium: 180
- Fat: 17
- Saturated Fat: 8
- Carbohydrates: 60
- Fiber: 6.5
- Protein: 4.5
Keywords: apple crisp, small batch, dessert for two, easy apple crisp, fall dessert, apple recipe



