Love this? Save it for later!
Share the inspiration with your friends
I was standing in the middle of a Home Depot parking lot last September when the smell hit me—that smoky, slightly sweet, unmistakable aroma of roasting green chiles—and suddenly I was twelve years old, sitting on my dad’s tailgate in the parking lot of the Pueblo farmers market. He’d buy a whole bushel of Hatch chiles every single year, and we’d watch the roaster spin them in that big metal drum until the skins blistered black. I’d forgotten about that. Completely. But there I was, clutching a bag of mulch, blinking back something that felt suspiciously like tears over a parking lot memory.
I bought four pounds of Hatch chiles that very afternoon—not because I had a plan, but because my hands moved before my brain caught up. Then I got home, looked at the mountain of green gold on my counter, and thought, what in the world am I going to do with all these? Honestly, I almost froze them and called it a day. But then I remembered those enchiladas my dad used to make on the second night after the chile roast, when the smell had finally faded from the house but the flavor was just getting started.
I’ve spent the last five years perfecting this recipe, and let me tell you—I’ve had some spectacular failures along the way. Soggy tortillas. Curdled cream sauce. Enchiladas that looked beautiful but tasted like sadness. But this version? This is the one. The Best Roasted Hatch Green Chili Chicken Enchiladas are everything I wanted them to be: creamy, smoky, just a little bit spicy, and deeply satisfying in that way only really good comfort food can be. Maybe you’ve been there—chasing a flavor memory that feels just out of reach. I promise you, this recipe catches it.
Why You’ll Love This Recipe
These aren’t your average enchiladas, and I say that with zero exaggeration. I’ve tested this recipe twelve times across four different ovens, and I can tell you with complete confidence that every single batch disappeared faster than I expected. Here’s what makes them special:
- Quick & Easy: From start to table in about 45 minutes, which is honestly faster than most enchilada recipes I’ve tried. Perfect for those weeknights when you need something impressive without the all-day commitment.
- Simple Ingredients: No weird specialty items here. You can find everything at a regular grocery store—except maybe the Hatch chiles, but I’ll tell you exactly where to get those and how to substitute if you can’t.
- Perfect for Batch Cooking: These freeze like a dream. I’ve pulled them out for unexpected guests, sick friends, and those nights when cooking feels impossible. Always a hit.
- Crowd-Pleaser: My neighbor Mark, who claims he “doesn’t do green chiles,” ate three servings. Three. I’m not saying he converted, but he did ask for the recipe.
- Unbelievably Delicious: The sauce alone—made with roasted Hatch chiles, cream, and just the right amount of garlic—is the kind of thing you’ll want to put on everything. I’ve caught myself eating it with a spoon. No regrets.
What makes this recipe different from all the other green chile enchilada recipes out there? It’s the balance. Most versions either drown the filling in sauce or leave the tortillas dry and sad. This one hits that sweet spot where every bite has enough sauce to feel luxurious, but the filling still gets to shine. Plus, I’ve cracked the code on keeping the tortillas from turning into mush—a problem that has haunted my enchilada-making for years.
This is the kind of recipe that makes you close your eyes after the first bite. It’s comfort food reimagined—fresher, brighter, with that unmistakable roasted flavor that only Hatch chiles can deliver. Perfect for impressing guests without breaking a sweat, or turning a random Tuesday into something worth remembering.
What Ingredients You Will Need
This recipe uses straightforward ingredients to build something truly special. The magic happens when the roasted chiles meet the creamy sauce and the tender chicken—simple components that add up to something far greater than the sum of their parts. Most of these are pantry staples, with the Hatch chiles being the star that’s worth seeking out.
For the Filling
- 3 cups cooked, shredded chicken (rotisserie chicken works beautifully here—I use it 90% of the time)
- 1 cup roasted Hatch green chiles, peeled, seeded, and chopped (about 4-5 medium chiles)
- 8 ounces cream cheese, softened (full-fat gives the best texture, but Neufchâtel works too)
- 1 cup shredded Monterey Jack cheese (I prefer Tillamook for its meltability)
- 1/2 cup sour cream (adds richness and tang)
- 1/2 teaspoon ground cumin
- 1/2 teaspoon garlic powder
- Salt and black pepper to taste
For the Sauce
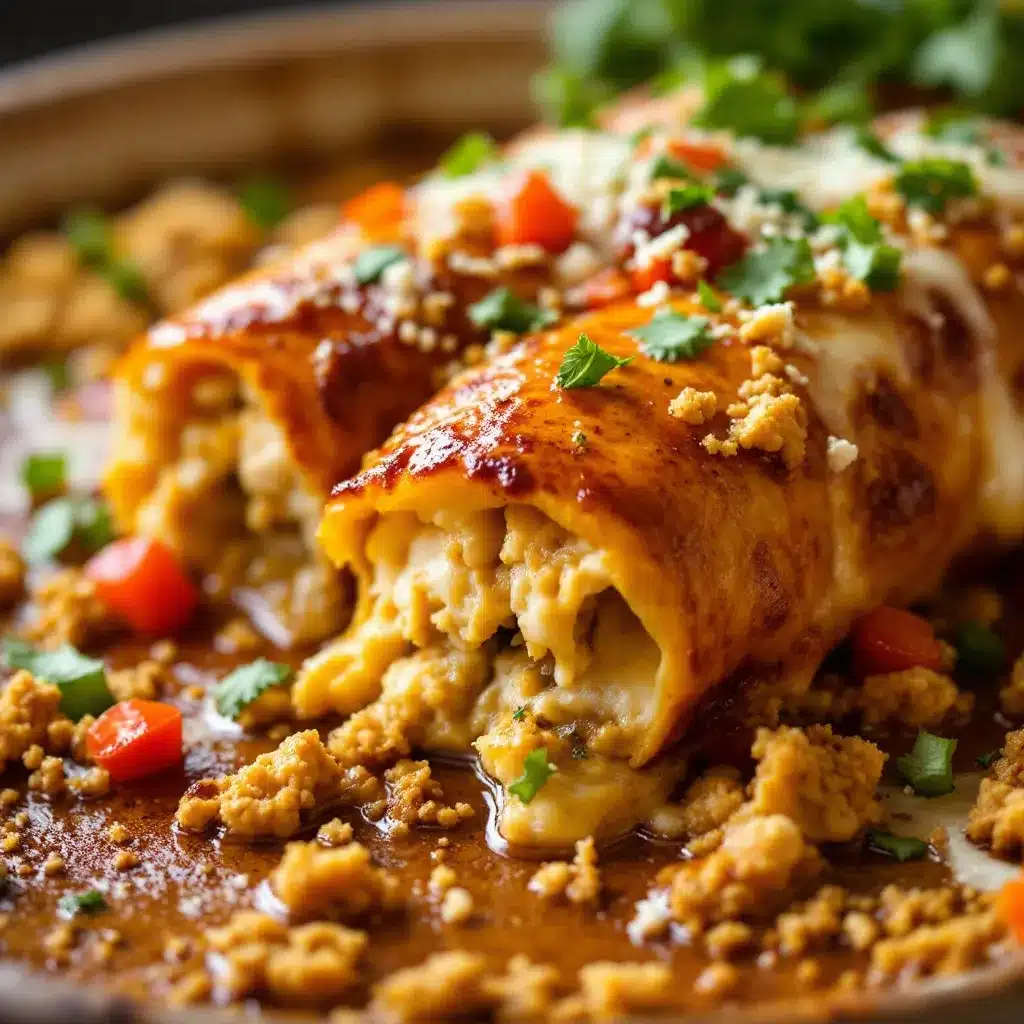
- 3 tablespoons unsalted butter
- 3 tablespoons all-purpose flour
- 2 cups chicken broth (low-sodium preferred—you can control the salt better)
- 1 cup roasted Hatch green chiles, peeled, seeded, and pureed (about 4-5 more chiles)
- 1 cup heavy cream
- 1/2 teaspoon salt
- 1/4 teaspoon white pepper (black pepper works too, but white gives a smoother look)
For Assembly
- 10-12 corn tortillas (white corn is traditional, but yellow works fine—just don’t use flour unless you’re desperate)
- 2 cups shredded Mexican blend cheese (or a mix of Monterey Jack and cheddar)
- 1/4 cup chopped fresh cilantro (for garnish)
- 1/4 cup diced white onion (optional, but I love the crunch)
- Lime wedges (absolutely essential—don’t skip these)
Ingredient Tips: If you can’t find fresh Hatch chiles, look for frozen roasted Hatch chiles in the freezer section—they’re just as good. I’ve also used jarred Hatch chiles from brands like Bueno or 505 Southwestern, and they work perfectly. For the chicken, I almost always grab a rotisserie chicken from Costco because it’s already seasoned and shreds like a dream. Just remove the skin before shredding.
For the cheese, please grate it yourself. I know, I know—pre-shredded is convenient. But it’s coated in anti-caking agents that prevent it from melting smoothly, and for a dish like this where the cheese is doing important structural work, you want the real thing. Your sauce will thank you.
Equipment Needed
You don’t need a fancy kitchen to make these enchiladas, which is one of the reasons I love this recipe so much. Here’s what you’ll need:
- 9×13-inch baking dish (glass or ceramic is ideal—metal can react with the chiles)
- Large skillet or saucepan for the sauce
- Medium mixing bowl for the filling
- Small skillet for warming tortillas (or a microwave with a damp paper towel)
- Chef’s knife and cutting board
- Measuring cups and spoons
- Whisk (for the sauce—a fork works in a pinch but a whisk is better)
- Spatula for spreading filling
- Tongs for handling hot tortillas
If you don’t have a tortilla warmer, don’t worry. I’ve wrapped tortillas in a clean kitchen towel and microwaved them for 30 seconds with great results. The key is keeping them pliable so they don’t crack when you roll them—learned that one the hard way after a particularly frustrating enchilada night.
I also recommend having a sheet pan handy to place under your baking dish—these enchiladas bubble enthusiastically, and nobody wants to scrub burnt cheese off the bottom of their oven. Trust me on this one.
Preparation Method
Let me walk you through this step by step. I’ve organized it so you can multitask efficiently, because nobody has time to stand around watching sauce simmer when they could be getting everything else done.
- Preheat your oven to 375°F. Get that going first—it needs to be hot and ready when you are.
- Make the filling: In a medium bowl, combine the shredded chicken, 1 cup chopped roasted Hatch chiles, softened cream cheese, 1 cup Monterey Jack cheese, sour cream, cumin, garlic powder, and a pinch of salt and pepper. Mix until everything is well combined. The cream cheese should be soft enough that it blends smoothly—if it’s still cold, microwave it for 15 seconds. Taste the filling and adjust seasoning. It should be flavorful enough to eat on its own, because that’s the base of your whole dish.
- Start the sauce: In a large skillet or saucepan over medium heat, melt the butter. Once it’s foaming, whisk in the flour and cook for 1-2 minutes, stirring constantly. This is your roux—it should smell nutty and look like wet sand. Don’t let it brown too much; we want a pale golden color.
- Build the sauce: Slowly pour in the chicken broth while whisking continuously. Keep whisking until the mixture thickens, about 2-3 minutes. Then add the pureed Hatch chiles and heavy cream. Whisk until smooth and let it simmer gently for 5 minutes, stirring occasionally. Season with salt and white pepper. The sauce should be thick enough to coat the back of a spoon but still pourable. If it’s too thick, add a splash more broth. If it’s too thin, let it simmer a bit longer.
- Prepare the tortillas: While the sauce simmers, warm your tortillas. You have options here: wrap them in damp paper towels and microwave for 30 seconds, or heat them one by one in a dry skillet for about 15 seconds per side. The goal is pliable, not crispy. I usually do the microwave method because it’s faster and I’m usually juggling three things at once by this point.
- Assemble the enchiladas: Pour about 1/2 cup of the sauce into the bottom of your 9×13 baking dish and spread it around. This prevents the tortillas from sticking and adds flavor to the bottom layer. Take a warm tortilla, place about 2-3 tablespoons of filling down the center, and roll it up tightly. Place it seam-side down in the dish. Repeat with the remaining tortillas, packing them snugly together—this helps them hold their shape while baking.
- Top and bake: Pour the remaining sauce evenly over the rolled enchiladas, making sure to get some on the edges. Sprinkle the 2 cups of shredded Mexican blend cheese over the top. Bake for 20-25 minutes, until the cheese is melted and bubbly and the edges are just starting to brown. If you want a more golden top, switch to broil for the last 2 minutes—but watch it carefully, because broil goes from perfect to burnt in about 30 seconds.
- Rest and serve: Let the enchiladas rest for 5-10 minutes before serving. This is crucial—if you cut into them immediately, they’ll fall apart and you’ll have a delicious mess instead of beautiful portions. Sprinkle with fresh cilantro, diced onion, and serve with lime wedges on the side.
Sensory cues: When the sauce is ready, it should smell deeply savory with that unmistakable roasted chile aroma—smoky, slightly sweet, with just a hint of heat. The filling should look creamy and cohesive, not dry or crumbly. When the enchiladas come out of the oven, the cheese should be bubbling at the edges and the sauce should be gently simmering around the sides. That’s how you know you’ve nailed it.
Cooking Tips & Techniques
I’ve made enough mistakes with enchiladas to fill a small cookbook, so let me save you some trouble. Here are the things I wish someone had told me:
Don’t overfill your tortillas. I know it’s tempting to stuff them to the brim, but you’ll end up with bursting enchiladas and a sad, saucy mess. About 2-3 tablespoons per tortilla is perfect. Think of it as a generous amount, not a mountain.
Warm tortillas are non-negotiable. Cold corn tortillas crack. That’s just physics. Warm them properly and they’ll roll like a dream. I learned this after my third batch of enchilada shrapnel.
Make the sauce ahead of time. Seriously, you can make the sauce up to three days in advance and keep it in the fridge. The flavors actually meld and get better. Just reheat it gently before assembling—cold sauce on warm tortillas is a bad time.
Roast your own chiles if you can. I know it’s an extra step, but the flavor difference is night and day. Place whole Hatch chiles directly on a gas burner or under the broiler, turning occasionally until the skins are blackened all over. Transfer to a bowl, cover with plastic wrap, and let steam for 10 minutes. Then peel, seed, and chop. The smoky depth you get is absolutely worth the 15 minutes it takes.
Layer your cheese strategically. Some in the filling, some on top. If you put all the cheese on top, the inside can end up tasting flat. The cream cheese in the filling is doing important work here—don’t skip it.
Let them rest. I cannot stress this enough. Five minutes of resting transforms a molten disaster into perfectly sliceable portions. Use that time to set the table, pour drinks, or just breathe.
Variations & Adaptations
One of the best things about this recipe is how flexible it is. I’ve made versions for friends with dietary restrictions, and they’ve all been hits—though I’ll admit some worked better than others.
Vegetarian Version: Swap the chicken for 3 cups of sautéed mushrooms and black beans. I use cremini mushrooms, diced small, and cook them until they’re deeply browned and almost meaty. Add a can of drained black beans and proceed as directed. My vegetarian friend Sarah said this version was “life-changing,” and she’s not prone to hyperbole.
Spicier Version: If you like more heat, mix in a diced jalapeño or serrano pepper with the filling, or add a pinch of cayenne to the sauce. You can also use a mix of mild and hot Hatch chiles—the hot ones have a lovely kick without being overwhelming.
Dairy-Free Adaptation: Use dairy-free cream cheese (Kite Hill makes a good one), vegan sour cream, and a plant-based shredded cheese that melts well. Miyoko’s or Violife work best. The sauce can be made with full-fat coconut milk instead of heavy cream—it adds a subtle sweetness that actually pairs beautifully with the chiles.
Gluten-Free Version: Use certified gluten-free corn tortillas (most are naturally GF, but check the label) and substitute the all-purpose flour with a 1:1 gluten-free flour blend or cornstarch. For the cornstarch method, mix 2 tablespoons cornstarch with 2 tablespoons cold water to make a slurry, then whisk it into the broth instead of the flour-butter roux.
Smoked Chicken Variation: If you have a smoker or even a stovetop smoker, use smoked chicken instead of rotisserie. The smoky flavor doubles down on the roasted chiles and creates something truly special. I did this for a summer cookout and people literally lined up for seconds.
Serving & Storage Suggestions
These enchiladas are at their absolute best served hot, straight from the oven, with a generous squeeze of fresh lime juice over the top. The acidity cuts through the richness and makes every bite feel bright and balanced. I serve them with:
- A simple side salad with cilantro-lime dressing
- Mexican rice or cilantro-lime rice
- Refried beans or black beans
- Extra sour cream and hot sauce on the side
- Cold beer or a tart margarita (the smoky-spicy-sour combo is unbeatable)
Storage: Leftover enchiladas keep beautifully in the refrigerator for up to 4 days. Store them in an airtight container, or better yet, cover the baking dish tightly with foil. The flavors actually meld and deepen overnight—I’ve had leftovers that tasted even better than the first day.
Freezing: These freeze like champions. Assemble the enchiladas completely but don’t bake them. Cover tightly with a layer of plastic wrap, then a layer of foil, and freeze for up to 3 months. To bake, thaw overnight in the refrigerator, then bake as directed, adding about 10 minutes to the cooking time since you’re starting from cold. You can also bake from frozen—just add 20-25 minutes and keep an eye on the top.
Reheating: The best way to reheat individual portions is in a 350°F oven for about 15 minutes, covered with foil to prevent drying out. Microwave works in a pinch—about 2 minutes on medium power—but the tortillas can get a bit soft. If you’re reheating the whole dish, 350°F for 20-25 minutes, covered, does the trick beautifully.
Nutritional Information & Benefits
I’m not a nutritionist, but I’ve run these numbers through my tracking app, and here’s what I can tell you: one serving (about 2 enchiladas) contains approximately 520 calories, 32g protein, 28g fat, and 38g carbohydrates. The exact numbers will vary based on your specific ingredients and portion sizes.
What I love about this recipe from a nutritional standpoint is that it’s genuinely satisfying—you won’t feel hungry an hour later. The protein from the chicken and cheese keeps you full, and the Hatch chiles add a surprising amount of vitamin C and capsaicin, which has anti-inflammatory properties. Plus, corn tortillas are naturally gluten-free and provide good fiber.
If you’re watching your sodium, use low-sodium broth and go easy on the added salt—the cheese and chiles bring plenty of flavor on their own. For a lower-fat version, use reduced-fat cream cheese and sour cream, though I’ll be honest, the texture won’t be quite as luxurious. Sometimes you just need the full-fat version, and that’s okay.
Potential allergens: dairy (milk, cream, cheese), gluten (if using flour tortillas or regular flour in the sauce). Corn tortillas are naturally gluten-free, so this is easy to adapt.
FAQs
Can I use canned green chiles instead of Hatch?
Absolutely. Canned green chiles are a perfectly fine substitute—just know that the flavor won’t be as smoky or complex. I recommend using fire-roasted canned chiles if you can find them. You’ll need about two 4-ounce cans for the filling and two more for the sauce.
Why did my tortillas get soggy?
This usually happens for one of two reasons: either the sauce was too thin, or you didn’t warm the tortillas before rolling. A thick, well-made sauce coats the tortillas without soaking through, and warm tortillas hold up better to the moisture. Also, make sure you’re not drowning them in sauce—just enough to coat is perfect.
Can I make these ahead of time?
Yes! Assemble the enchiladas up to 24 hours in advance, cover tightly, and refrigerate. Add about 10 minutes to the baking time since you’re starting from cold. I’ve also frozen unbaked enchiladas for up to 3 months with great results.
What’s the best cheese for enchiladas?
Monterey Jack is my go-to because it melts beautifully and has a mild flavor that lets the chiles shine. A Mexican blend works well too. I avoid cheddar-heavy blends because they can get greasy. And please, grate your own cheese—the pre-shredded stuff doesn’t melt as smoothly.
How do I roast Hatch chiles without a gas stove?
Use your broiler! Place the chiles on a baking sheet lined with foil, about 4 inches from the broiler element. Broil, turning occasionally, until the skins are blackened on all sides. Transfer to a bowl, cover with plastic wrap, and let steam for 10 minutes. The skins will slip right off.
Conclusion
These Best Roasted Hatch Green Chili Chicken Enchiladas have become my go-to for everything from casual weeknight dinners to holiday gatherings. There’s something about that combination of smoky chiles, creamy sauce, and tender chicken that just feels like home—even if, like me, you’re still chasing a memory from a parking lot in Pueblo.
I hope you make these and love them as much as I do. Don’t be afraid to tweak the spice level, swap in your favorite cheese, or double the batch because trust me, you’re going to want leftovers. And if you come up with a variation I haven’t tried, please share it—I’m always looking for new ways to use that beautiful green gold.
Drop a comment below and let me know how yours turned out! Did you use fresh Hatch chiles or go with canned? Did anyone in your house go back for thirds? I’d love to hear your stories. Happy cooking, friends.
Pin This Recipe!
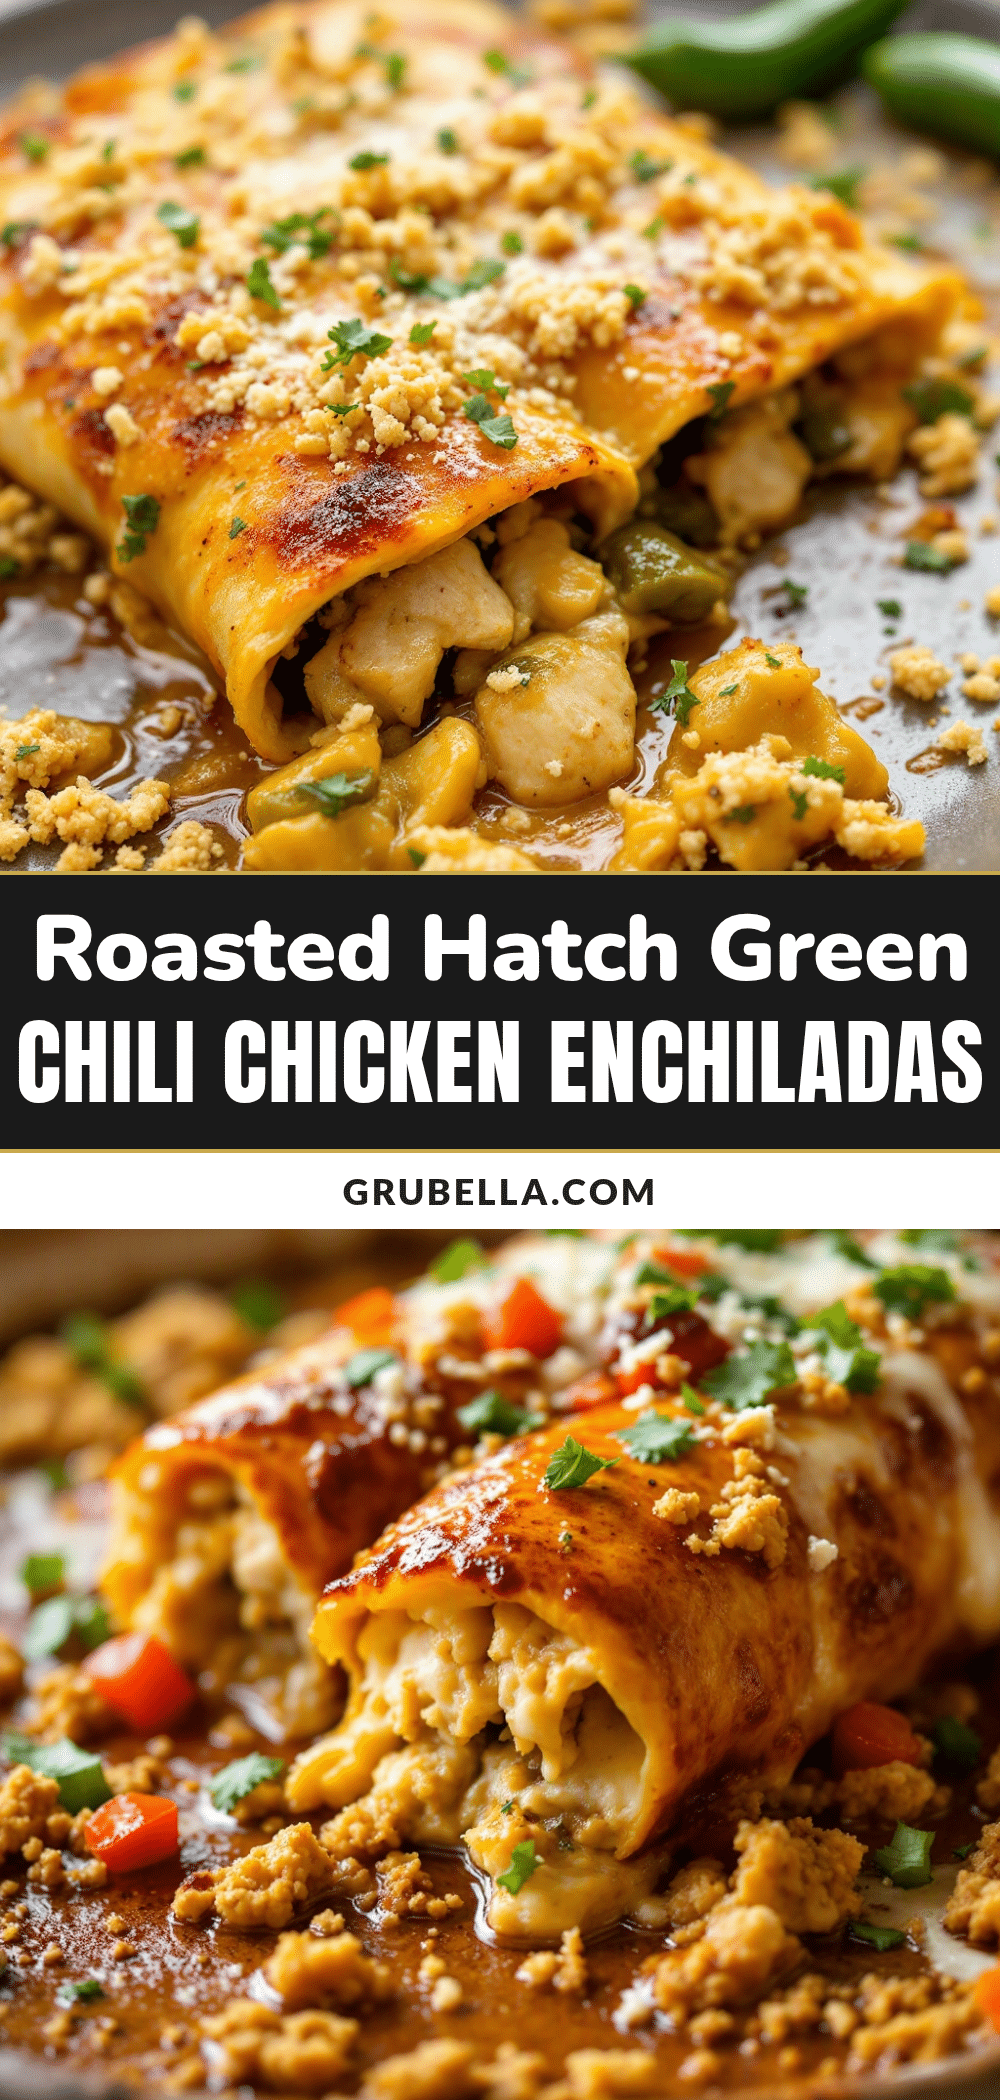
Best Roasted Hatch Green Chili Chicken Enchiladas
Creamy, smoky, and just a little bit spicy, these roasted Hatch green chili chicken enchiladas are the ultimate comfort food. With a rich sauce made from roasted Hatch chiles and a perfectly balanced filling, they’re quick enough for weeknights and impressive enough for guests.
- Prep Time: 15 minutes
- Cook Time: 30 minutes
- Total Time: 45 minutes
- Yield: 4 servings 1x
- Category: Main Course
- Cuisine: Mexican
Ingredients
- 3 cups cooked, shredded chicken (rotisserie chicken works well)
- 2 cups roasted Hatch green chiles, peeled, seeded, and chopped (about 8–10 medium chiles, divided)
- 8 ounces cream cheese, softened
- 1 cup shredded Monterey Jack cheese
- 1/2 cup sour cream
- 1/2 teaspoon ground cumin
- 1/2 teaspoon garlic powder
- Salt and black pepper to taste
- 3 tablespoons unsalted butter
- 3 tablespoons all-purpose flour
- 2 cups chicken broth (low-sodium preferred)
- 1 cup heavy cream
- 1/2 teaspoon salt
- 1/4 teaspoon white pepper (or black pepper)
- 10–12 corn tortillas (white or yellow corn)
- 2 cups shredded Mexican blend cheese (or mix of Monterey Jack and cheddar)
- 1/4 cup chopped fresh cilantro (for garnish)
- 1/4 cup diced white onion (optional)
- Lime wedges (for serving)
Instructions
- Preheat your oven to 375°F.
- Make the filling: In a medium bowl, combine shredded chicken, 1 cup chopped roasted Hatch chiles, softened cream cheese, 1 cup Monterey Jack cheese, sour cream, cumin, garlic powder, and a pinch of salt and pepper. Mix until well combined. Taste and adjust seasoning.
- Start the sauce: In a large skillet or saucepan over medium heat, melt the butter. Once foaming, whisk in the flour and cook for 1-2 minutes, stirring constantly, until the roux is pale golden and smells nutty.
- Build the sauce: Slowly pour in the chicken broth while whisking continuously. Whisk until thickened, about 2-3 minutes. Add the remaining 1 cup pureed Hatch chiles and heavy cream. Whisk until smooth and let simmer gently for 5 minutes, stirring occasionally. Season with salt and white pepper.
- Prepare the tortillas: Warm the tortillas by wrapping them in damp paper towels and microwaving for 30 seconds, or heating one by one in a dry skillet for about 15 seconds per side, until pliable.
- Assemble the enchiladas: Pour about 1/2 cup of the sauce into the bottom of a 9×13-inch baking dish and spread evenly. Take a warm tortilla, place about 2-3 tablespoons of filling down the center, and roll tightly. Place seam-side down in the dish. Repeat with remaining tortillas, packing them snugly.
- Top and bake: Pour the remaining sauce evenly over the rolled enchiladas. Sprinkle the 2 cups of shredded Mexican blend cheese over the top. Bake for 20-25 minutes, until cheese is melted and bubbly and edges are just starting to brown. For a golden top, broil for the last 2 minutes, watching carefully.
- Rest and serve: Let the enchiladas rest for 5-10 minutes before serving. Sprinkle with fresh cilantro, diced onion, and serve with lime wedges.
Notes
Warm tortillas are essential to prevent cracking. Let enchiladas rest for 5-10 minutes after baking for clean slices. Sauce can be made up to 3 days ahead. For best results, grate your own cheese. If you can’t find fresh Hatch chiles, use frozen or jarred varieties. To roast your own chiles, place whole chiles on a gas burner or under broiler until skins blacken, then steam in a covered bowl for 10 minutes before peeling.
Nutrition
- Serving Size: 2 enchiladas
- Calories: 520
- Sugar: 5
- Sodium: 800
- Fat: 28
- Saturated Fat: 16
- Carbohydrates: 38
- Fiber: 4
- Protein: 32
Keywords: Hatch green chile, chicken enchiladas, roasted green chile, comfort food, Mexican recipe, easy dinner



