Love this? Save it for later!
Share the inspiration with your friends
It was a Tuesday night, around nine o’clock, and the only thing I wanted was a brownie. Not a cakey one, not one studded with nuts or swirled with caramel. Just a dense, fudgy square with that crackly top that shatters when you bite into it. The kind that makes you close your eyes for a second and forget about whatever stress the day threw at you. I had a craving that wouldn’t let go, and honestly, I wasn’t about to argue with it.
I walked into the kitchen, opened the pantry, and started pulling things out without a plan. Butter, sugar, cocoa powder, eggs. The basics. I didn’t want to dirty every bowl I owned just to satisfy a late-night urge. So I grabbed one bowl and made it work. That night, standing there in my sweatpants, stirring melted butter into sugar with a wooden spoon, I realized something important. You don’t need a complicated recipe or a stand mixer to make something that feels this good. You just need the right ratios and a little patience.
These fudgy one-bowl brownies from scratch became my go-to that night. No box mix, no fuss, and only one bowl to wash. I’ve made them dozens of times since, tweaking the bake time, adjusting the chocolate ratio, and figuring out exactly what makes them turn out perfect every single time. The result is a brownie that’s rich without being heavy, sweet without being cloying, and so deeply chocolatey that one square is never quite enough. If you’ve been looking for a brownie recipe that actually delivers on that fudgy promise, this is it.
Why You’ll Love This Recipe
Let me tell you why these brownies have earned a permanent spot in my kitchen rotation. I’ve tested this recipe more times than I care to admit, tweaking things like the butter temperature and the mixing time until I got that perfect balance between a shiny crust and a gooey center. It’s the kind of recipe you’ll memorize after making it once.
- One Bowl, No Mixer : Everything comes together in a single bowl with just a whisk and a spatula. No hauling out the stand mixer or scrubbing a mountain of dishes afterward.
- Pantry Staples : You probably already have every ingredient in your kitchen right now. Butter, sugar, eggs, cocoa powder, flour, vanilla. That’s it.
- Perfect for Late-Night Cravings : When that chocolate urge hits after dinner, you can have these in the oven in under ten minutes. No trip to the store required.
- That Crackly Top : You know the one. The thin, shiny crust that forms on top and cracks when you cut into it. This recipe nails it every time.
- Actually Fudgy : These aren’t those dry, cakey brownies that leave you reaching for a glass of milk. They’re dense, moist, and almost truffle-like in the center.
What sets this recipe apart from the hundreds of brownie recipes out there is the technique. Most one-bowl brownies turn out either too greasy or too cakey because the ratios are off. I spent weeks testing different amounts of butter and eggs until I found the sweet spot. The secret is using melted butter instead of oil, and beating the eggs and sugar long enough to create that signature crackly top without overworking the flour. It’s a small detail, but it makes all the difference.
These brownies are the kind you bring to a potluck and watch disappear in minutes. Or the kind you hide in the back of the fridge so you can have one after the kids go to bed. No judgment here. They’re comfort food at its simplest and most satisfying, and they never let me down.
What Ingredients You Will Need
This recipe uses simple, everyday ingredients to create something that tastes far more special than the sum of its parts. No fancy chocolate bars or hard-to-find extracts. Just honest ingredients that work together beautifully.
- Unsalted butter, ½ cup (113g) — I use unsalted so I can control the salt level. If you only have salted butter on hand, just reduce the added salt to ¼ teaspoon. Melt it gently in the microwave or on the stovetop until it’s just liquid, not bubbling hot.
- Granulated sugar, 1 cup (200g) — White sugar gives these brownies their structure and that shiny top. Don’t substitute with brown sugar here, it changes the texture too much. I’ve tried it, and the brownies come out denser and less crackly.
- Large eggs, 2 — Make sure they’re at room temperature. Cold eggs can seize the melted butter and throw off the emulsion. If you forgot to take them out of the fridge, place them in a bowl of warm water for five minutes.
- Vanilla extract, 1 teaspoon — Pure vanilla is best, but imitation works fine in a pinch. It rounds out the chocolate flavor without overpowering it.
- Unsweetened cocoa powder, ⅓ cup (40g) — I prefer natural cocoa powder for this recipe. Dutch-processed works too, but the brownies will be slightly darker and less tangy. My go-to brand is Hershey’s for everyday baking, but if you want a deeper chocolate flavor, try Droste.
- All-purpose flour, ½ cup (65g) — Spoon and level it into your measuring cup. Scooping directly from the bag packs the flour down and gives you too much, which leads to dry brownies.
- Salt, ½ teaspoon — Don’t skip this. Salt makes the chocolate taste more chocolatey. It’s not about making the brownies salty, it’s about balancing the sweetness.
- Optional add-ins — Chocolate chips, ½ cup (90g) for extra gooeyness. Or chopped walnuts if you like a little crunch. I usually toss in a handful of semi-sweet chips because I’m weak for melted chocolate pockets.
A quick note on cocoa powder. I’ve tested this recipe with both natural and Dutch-processed, and while both work, natural cocoa gives a more classic brownie flavor. If you’re using Dutch-processed, you might want to add an extra tablespoon of sugar to balance the milder acidity. Trust me on that one, I learned it the hard way when I made a batch that came out a little too bitter for my taste.
For the chocolate chips, I recommend Ghirardelli 60% cacao baking chips. They hold their shape during baking and melt into these lovely pockets of chocolate that make every bite interesting. But honestly, any chocolate chip you have in your pantry will work.
Equipment Needed
One of the best things about this recipe is how little equipment it requires. You don’t need a fancy kitchen to make these brownies. Here’s what you’ll actually need:
- One large mixing bowl — Any medium-to-large bowl will do. I use a glass mixing bowl because I like being able to see if the butter is fully incorporated, but metal or ceramic works just as well.
- Whisk — For beating the eggs and sugar. A hand whisk is perfect, no electric mixer needed.
- Rubber spatula — For folding in the flour and scraping down the sides. A wooden spoon works in a pinch, but a spatula gets every last bit of batter.
- 8×8-inch baking pan — Square metal pans work best. Glass pans can cause the edges to overbake before the center is done. If you only have a 9×9-inch pan, the brownies will be thinner and bake a few minutes faster.
- Parchment paper — This is non-negotiable for easy removal. Cut a strip that hangs over two sides of the pan to create handles. No greasing needed.
- Measuring cups and spoons — For accuracy. Brownies are forgiving, but measuring properly ensures consistent results.
- Cooling rack — Lets air circulate underneath so the brownies cool evenly. If you don’t have one, just let them cool in the pan on the counter.
Budget-friendly tip: skip the expensive brand-name parchment paper. The store brand works just as well. And if you don’t have an 8×8 pan, you can use a disposable aluminum baking pan from the grocery store. They’re cheap and work great for brownies.
Preparation Method
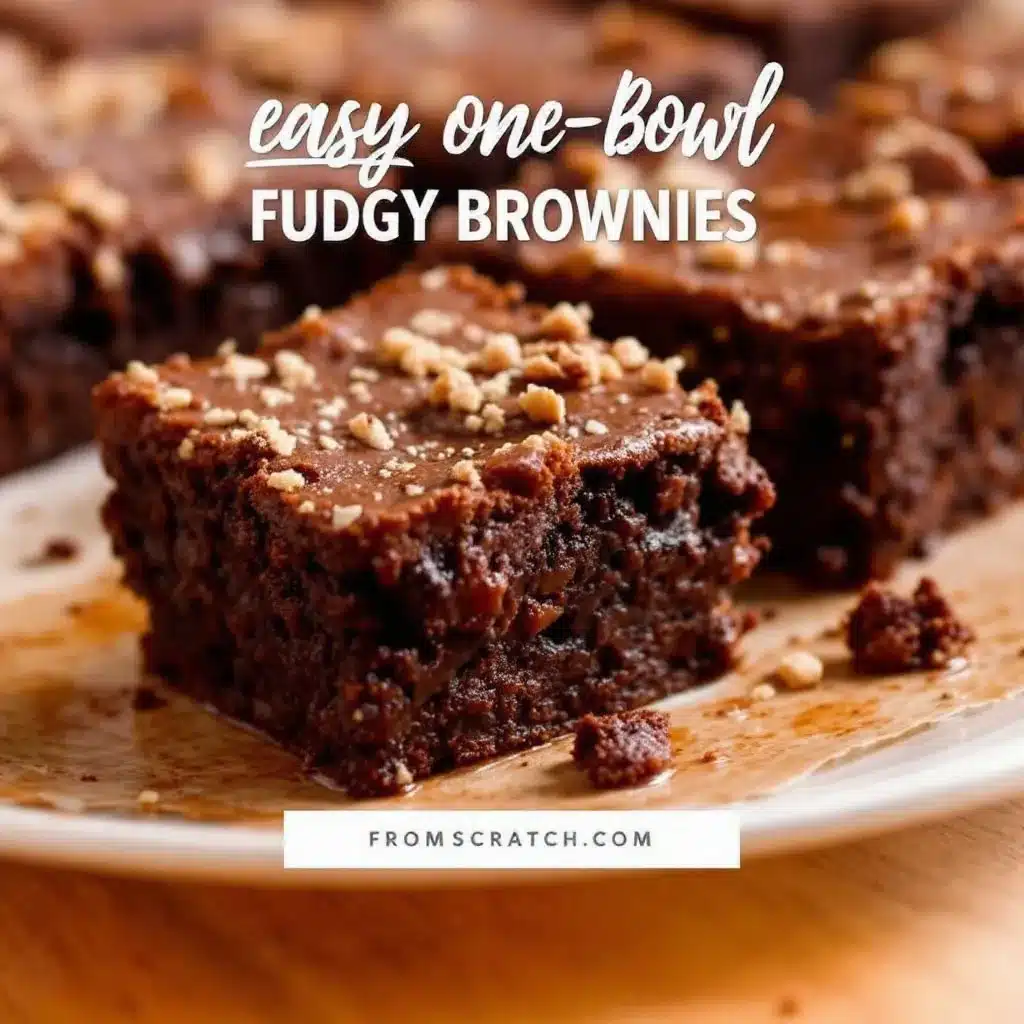
Let me walk you through this step by step. I’ve included all the little details I wish someone had told me when I first started making brownies from scratch.
- Preheat your oven to 350°F (175°C). Position the rack in the center of the oven. While it’s heating, line your 8×8-inch baking pan with parchment paper, leaving about two inches of overhang on two opposite sides. This creates handles that let you lift the entire block of brownies out after they cool.
- Melt the butter. Place the ½ cup of unsalted butter in your large mixing bowl and microwave it in 30-second bursts until fully melted. Alternatively, melt it in a small saucepan over low heat. Let it cool for about two minutes. You don’t want it bubbling hot when you add the sugar, or it can start cooking the eggs later.
- Add the sugar and whisk. Pour the 1 cup of granulated sugar into the melted butter. Whisk them together until they’re well combined. The mixture will look grainy and that’s fine. Keep whisking for about a minute until it thickens slightly and looks almost like wet sand.
- Add the eggs and vanilla. Crack both eggs into the bowl, then add the teaspoon of vanilla extract. Whisk vigorously for about 30 seconds. The mixture should become smooth and glossy. Here’s the important part: keep whisking for another full minute. This extra step is what creates that crackly top. The sugar needs time to dissolve into the eggs, and the air you’re incorporating helps form that shiny crust. I set a timer on my phone for one minute and whisk the whole time.
- Add the cocoa powder and salt. Sift the ⅓ cup of cocoa powder into the bowl to prevent lumps. Add the ½ teaspoon of salt. Whisk gently until the cocoa is fully incorporated. The batter will look thick and fudgy at this point. Scrape the sides of the bowl with your spatula to make sure everything is mixed evenly.
- Fold in the flour. Add the ½ cup of all-purpose flour to the bowl. Use your rubber spatula to fold it in gently. Don’t whisk at this stage. Fold just until you can’t see any white streaks of flour anymore. Overmixing develops gluten, which makes brownies tough and cakey. A few streaks are fine, they’ll disappear during baking.
- Fold in chocolate chips if using. If you’re adding chocolate chips or nuts, fold them in now with a few gentle strokes. Reserve about a tablespoon of chips to sprinkle on top before baking. It makes the brownies look prettier and gives you those melty chocolate spots on the surface.
- Pour the batter into the prepared pan. Use your spatula to scrape every last bit of batter into the pan. Spread it evenly, pushing it into the corners. The batter will be thick, so take your time. Tap the pan on the counter a few times to release any air bubbles.
- Bake for 20-25 minutes. Start checking at 20 minutes. The brownies are done when the edges look set and the top is shiny and cracked. A toothpick inserted into the center should come out with a few moist crumbs attached, not clean. If it comes out clean, you’ve overbaked them. This is the most important test. Fudgy brownies need to come out of the oven while they still look slightly underdone in the center.
- Cool completely in the pan. Place the pan on a cooling rack and let the brownies cool for at least 30 minutes. For clean slices, refrigerate them for another 30 minutes before cutting. I know it’s hard to wait, but the texture improves dramatically as they cool. The fudgy center sets up and the flavors deepen.
- Lift and cut. Grab the parchment paper handles and lift the entire block of brownies out of the pan. Place it on a cutting board. Use a sharp knife to cut into 16 squares. Wipe the knife clean between cuts for the neatest edges.
Cooking Tips & Techniques
After making these brownies more times than I can count, I’ve collected a few tips that make a real difference. Some I learned from professional bakers, others I discovered through my own mistakes.
Don’t overmix the batter. This is the number one mistake I see people make. Once you add the flour, switch to a folding motion and stop as soon as the flour disappears. Overmixing activates the gluten and gives you tough, bread-like brownies instead of tender, fudgy ones. I learned this the hard way when I made a batch that came out chewy in a bad way. They were still edible, but not the fudgy dream I was after.
Use room temperature eggs. Cold eggs can cause the melted butter to seize up, creating a lumpy batter that doesn’t bake evenly. If you forgot to set them out, place the eggs in a bowl of warm tap water for five minutes. It’s a simple trick that saves a lot of frustration.
Whisk the eggs and sugar long enough. This is the secret to that crackly top. The sugar needs time to dissolve into the eggs, and the whisking incorporates air that expands in the oven and creates the shiny crust. I whisk for a full minute after adding the eggs, and I’ve never had a batch without that beautiful crackly top.
Bake on the center rack. Placing the pan too close to the top or bottom of the oven can cause uneven baking. The center rack ensures even heat distribution. If your oven has hot spots, rotate the pan halfway through baking.
Use the toothpick test correctly. Insert a toothpick into the center of the brownies. If it comes out with a few moist crumbs, they’re done. If it comes out clean, you’ve gone too far. The residual heat will continue cooking the brownies as they cool, so it’s better to pull them out a minute early than a minute late.
Let them cool completely. I know it’s torture waiting, but cutting into warm brownies is a recipe for a crumbly mess. The brownies continue to set as they cool, and the texture becomes perfectly fudgy. If you can stand it, refrigerate them for 30 minutes before cutting. The slices come out clean and beautiful.
Variations & Adaptations
One of the things I love about this recipe is how adaptable it is. You can change it up depending on what you’re in the mood for or what you have in your pantry.
Gluten-Free Version: Substitute the all-purpose flour with a 1:1 gluten-free baking flour blend. I’ve tested this with Bob’s Red Mill 1:1 Baking Flour and the results were surprisingly good. The texture is slightly more delicate, but the fudgy center holds up well. Add an extra tablespoon of flour if the batter seems too loose.
Double Chocolate Brownies: Fold in ½ cup of semi-sweet chocolate chips and ¼ cup of white chocolate chips. The white chocolate adds little pockets of sweetness that contrast beautifully with the dark cocoa. This is my go-to version when I’m making brownies for a party.
Peppermint Brownies: Add ½ teaspoon of peppermint extract along with the vanilla. Top the baked brownies with crushed candy canes for a holiday twist. These are perfect for Christmas cookie exchanges or winter gatherings.
Espresso Brownies: Dissolve 1 teaspoon of instant espresso powder in the melted butter before adding the sugar. The coffee doesn’t make the brownies taste like coffee, it just deepens the chocolate flavor. It’s a trick I picked up from a pastry chef friend, and it works like magic.
Nutty Brownies: Fold in ½ cup of toasted walnuts or pecans. Toast them in a dry skillet over medium heat for about 3 minutes until they smell fragrant. Let them cool before adding to the batter. The crunch adds a lovely contrast to the fudgy texture.
Dairy-Free Version: Substitute the butter with a plant-based butter stick. I’ve used Earth Balance with good results. The texture is slightly less dense, but still fudgy and satisfying. Make sure your chocolate chips are dairy-free if you’re adding them.
I once made a batch with chopped dark chocolate bars instead of chips, and the brownies came out with these incredible molten pockets. If you have a good quality dark chocolate bar lying around, chop it into small chunks and fold it in. It’s a small upgrade that makes a big difference.
Serving & Storage Suggestions
These brownies are wonderful at room temperature, but they’re also incredible warmed up. Pop a square in the microwave for about 10 seconds and serve it with a scoop of vanilla ice cream. The warm brownie combined with cold, creamy ice cream is pure comfort. If you’re feeling fancy, drizzle a little warm caramel sauce over the top.
For a simple presentation, dust the brownies with powdered sugar right before serving. It makes them look elegant with almost no effort. Or serve them alongside a glass of cold milk for a classic pairing that never gets old.
These brownies also pair beautifully with coffee. The bitterness of black coffee cuts through the sweetness and makes each bite more satisfying. If you’re serving them after dinner, a small cup of espresso is perfect.
Storage Instructions: Store leftover brownies in an airtight container at room temperature for up to 4 days. Place a piece of bread in the container to keep them moist. The bread absorbs excess air and the brownies stay fudgy. Replace the bread every other day if you’re keeping them longer.
Freezer Instructions: These brownies freeze beautifully. Wrap each square individually in plastic wrap, then place them in a freezer-safe bag or container. They’ll keep for up to 3 months. To thaw, just leave them at room temperature for about 30 minutes. You can also microwave a frozen brownie for 15-20 seconds for an instant treat.
Reheating Tips: For that just-baked texture, warm individual brownies in a 300°F oven for about 5 minutes. The edges get slightly crisp while the center stays soft. Or use the microwave for 10-15 seconds if you’re in a hurry.
The flavors actually deepen after a day or two. I often make these brownies a day ahead when I’m serving them for company. The chocolate becomes more pronounced and the texture gets even fudgier. It’s one of those rare recipes that gets better with time.
Nutritional Information & Benefits
Let’s be honest, brownies are a treat. But knowing what’s in them helps you enjoy them mindfully. Here’s the estimated nutritional breakdown for one brownie (based on 16 servings):
| Nutrient | Amount per Brownie |
|---|---|
| Calories | 165 |
| Total Fat | 9g |
| Saturated Fat | 5g |
| Cholesterol | 45mg |
| Sodium | 95mg |
| Total Carbohydrates | 21g |
| Dietary Fiber | 1g |
| Sugars | 16g |
| Protein | 3g |
Cocoa powder is actually a good source of antioxidants, specifically flavonoids, which can help reduce inflammation and support heart health. The eggs provide high-quality protein and essential vitamins like B12 and D. And while butter gets a bad reputation, it does contain fat-soluble vitamins A, D, E, and K.
These brownies are naturally nut-free if you skip the optional walnuts, making them safe for school lunches or gatherings where allergies are a concern. They’re also vegetarian-friendly. For a lower sugar option, you can reduce the sugar to ¾ cup, but the texture will be slightly less fudgy and the crackly top won’t be as pronounced.
I believe in enjoying treats in moderation. One brownie satisfies that chocolate craving without derailing your whole day. Pair it with a piece of fruit or a handful of nuts for a more balanced snack.
Conclusion
These fudgy one-bowl brownies from scratch have become my most-requested recipe, and for good reason. They’re simple enough for a Tuesday night craving but impressive enough for a party. The one-bowl cleanup means you spend less time washing dishes and more time enjoying what you made. And that crackly top? It never gets old.
What I love most about this recipe is how forgiving it is. You can add chocolate chips, swap in gluten-free flour, or stir in some nuts, and it still works. It’s the kind of recipe you can make your own. Start with the basic version, then experiment with variations until you find your perfect brownie.
I’d love to hear how these turn out for you. Did you add anything special? Did you serve them with ice cream or eat them straight from the pan? Leave a comment below and let me know. And if you share a photo on social media, tag me so I can see your beautiful brownies. Happy baking, friend. You’ve got this.
Frequently Asked Questions
Can I use Dutch-processed cocoa powder instead of natural?
Yes, you can. The brownies will be slightly darker and less tangy. If using Dutch-processed cocoa, you may want to add an extra tablespoon of sugar to balance the milder acidity. The texture will still be fudgy and delicious.
Why did my brownies turn out cakey instead of fudgy?
This usually happens from overmixing the batter after adding the flour, or from overbaking. Mix the flour in gently with a spatula and stop as soon as it disappears. Pull the brownies out of the oven when a toothpick comes out with a few moist crumbs, not clean.
Can I double this recipe?
Absolutely. Double all the ingredients and bake in a 9×13-inch pan. The baking time will increase to about 28-32 minutes. Start checking at 28 minutes and use the toothpick test to determine doneness.
How do I get clean, neat slices?
Let the brownies cool completely, then refrigerate them for 30 minutes before cutting. Use a sharp knife and wipe it clean between each cut. For the cleanest slices, run the knife under hot water and dry it before each cut.
Can I make these brownies without eggs?
I haven’t tested this recipe with egg substitutes, but a common replacement is a flax egg (1 tablespoon ground flaxseed mixed with 3 tablespoons water per egg). The texture will be denser and less fudgy. For best results, I recommend using a recipe specifically designed to be egg-free.
Pin This Recipe!
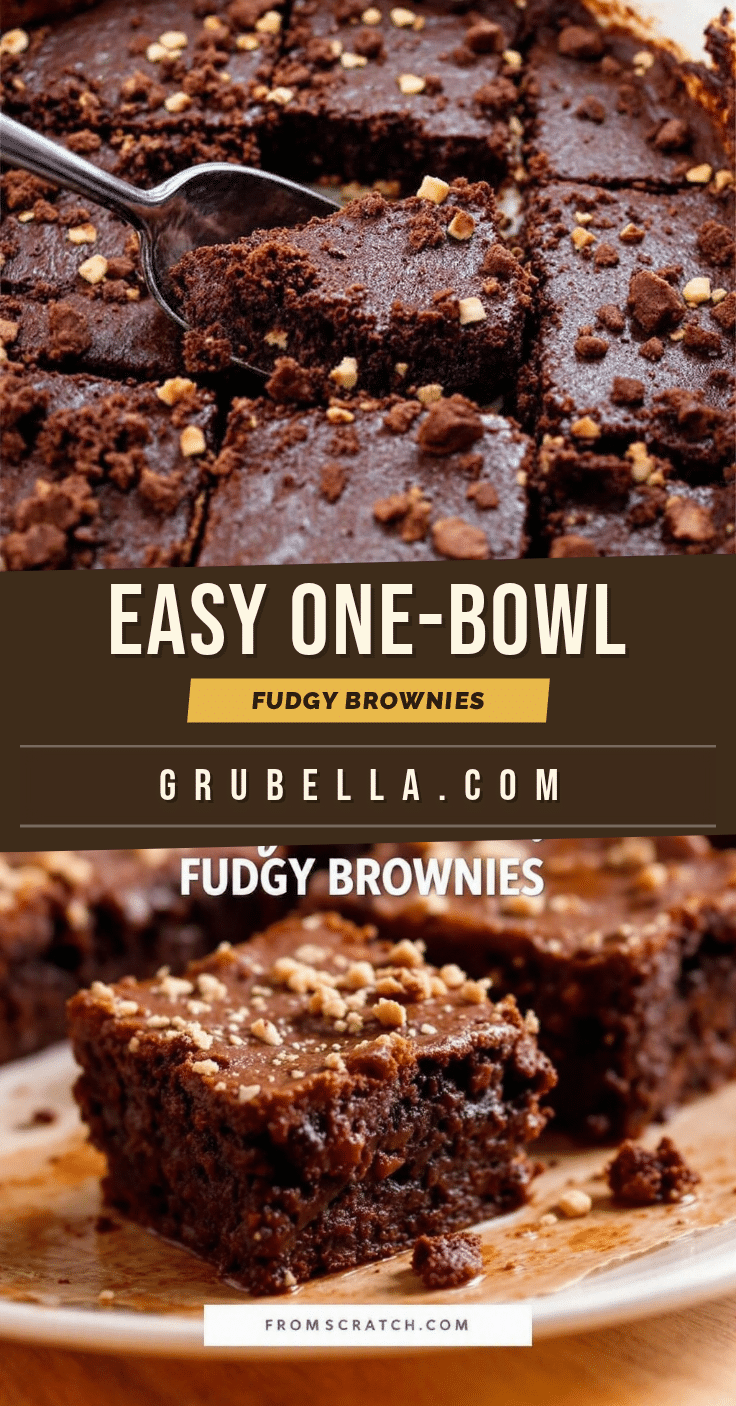
Best Fudgy One-Bowl Brownies Recipe (Easy)
These fudgy one-bowl brownies from scratch are dense, rich, and deeply chocolatey with that signature crackly top. Made with simple pantry staples and just one bowl, they’re perfect for late-night cravings or any occasion.
- Prep Time: 10 minutes
- Cook Time: 20-25 minutes
- Total Time: 30-35 minutes
- Yield: 16 servings 1x
- Category: Dessert
- Cuisine: American
Ingredients
- ½ cup (113g) unsalted butter
- 1 cup (200g) granulated sugar
- 2 large eggs, room temperature
- 1 teaspoon vanilla extract
- ⅓ cup (40g) unsweetened cocoa powder (natural preferred)
- ½ cup (65g) all-purpose flour, spooned and leveled
- ½ teaspoon salt
- ½ cup (90g) semi-sweet chocolate chips (optional)
Instructions
- Preheat your oven to 350°F (175°C). Position the rack in the center of the oven. Line an 8×8-inch baking pan with parchment paper, leaving about two inches of overhang on two opposite sides.
- Melt the butter in a large mixing bowl in the microwave in 30-second bursts or in a small saucepan over low heat. Let it cool for about two minutes.
- Add the sugar to the melted butter and whisk until well combined, about one minute, until the mixture thickens slightly and looks like wet sand.
- Add the eggs and vanilla extract. Whisk vigorously for about 30 seconds until smooth and glossy, then continue whisking for another full minute to create the crackly top.
- Sift the cocoa powder into the bowl, add the salt, and whisk gently until fully incorporated. Scrape the sides of the bowl with a spatula.
- Fold in the flour with a rubber spatula just until no white streaks remain. Do not overmix.
- If using, fold in chocolate chips, reserving about a tablespoon to sprinkle on top.
- Pour the batter into the prepared pan and spread evenly. Tap the pan on the counter a few times to release air bubbles.
- Bake for 20-25 minutes. Start checking at 20 minutes. The brownies are done when the edges look set, the top is shiny and cracked, and a toothpick inserted into the center comes out with a few moist crumbs.
- Cool completely in the pan on a cooling rack for at least 30 minutes. For clean slices, refrigerate for another 30 minutes before cutting.
- Lift the brownies out using the parchment handles, place on a cutting board, and cut into 16 squares with a sharp knife, wiping the knife clean between cuts.
Notes
For the best crackly top, whisk the eggs and sugar for a full minute. Do not overmix after adding flour. Use room temperature eggs to prevent the butter from seizing. For clean slices, refrigerate before cutting. Store in an airtight container at room temperature for up to 4 days, or freeze individually wrapped for up to 3 months.
Nutrition
- Serving Size: 1 brownie
- Calories: 165
- Sugar: 16
- Sodium: 95
- Fat: 9
- Saturated Fat: 5
- Carbohydrates: 21
- Fiber: 1
- Protein: 3
Keywords: fudgy brownies, one-bowl brownies, easy brownies, homemade brownies, chocolate brownies, crackly top brownies



