Love this? Save it for later!
Share the inspiration with your friends
I figured making a healthy snack that actually tasted good meant sacrificing something—flavor, texture, or time. It took about three batches of sad, dry, flavorless energy balls for that assumption to fall apart completely. You know those recipes that promise to be “the best” and then you take one bite and immediately start thinking about what you could add to fix them? That was me, standing over my mixing bowl, adding more peanut butter by the spoonful, wondering why anyone would willingly eat these dusty little orbs of disappointment.
Then, honestly, I stopped trying to follow the rules. I stopped worrying about making them “healthy enough” and started making them taste like something I’d actually look forward to eating. These Easy No-Bake Peanut Butter Protein Balls came out of that moment of frustration—and honestly, they’re the only ones that have stuck around in my kitchen. They’re soft, they’re peanut buttery, they don’t crumble into a million pieces the second you bite into them, and they take about five minutes to throw together. No oven, no fancy equipment, no weird ingredients you have to hunt down at a specialty store.
The first time I made these, I ate three before they even made it into the fridge. That’s when I knew I’d finally cracked the code.
Why You’ll Love This Recipe
Let me tell you why these protein balls have become a staple in my kitchen, and honestly, in my bag, my car, and my desk drawer at work.
- Quick & Easy : Comes together in under 10 minutes. No baking, no waiting, just mix, roll, and eat. Perfect for those days when you need a snack now.
- Simple Ingredients : You probably have everything in your pantry right now. Oats, peanut butter, honey, chocolate chips—no weird stuff.
- Perfect for Meal Prep : Make a batch on Sunday and you’ve got grab-and-go snacks for the whole week. They’re a lifesaver for busy mornings when you’re running out the door.
- Crowd-Pleaser : I’ve brought these to work, to playdates, and on road trips. Kids love them, adults love them, and nobody ever guesses they’re actually good for you.
- Unbelievably Delicious : The texture is soft and chewy, not dry and crumbly. The peanut butter flavor is front and center, and the chocolate chips add just the right amount of sweetness.
What makes these different from every other protein ball recipe out there? It’s the ratio. I spent way too much time testing the perfect balance of wet to dry ingredients so these stay soft and hold together without being sticky or falling apart. No dry oat texture here. No sad, crumbly mess. Just a perfectly balanced, satisfying little snack that actually tastes like a treat.
This is the kind of recipe that makes you feel good about eating a healthy snack—because it doesn’t taste like one. It’s comfort food you can feel good about, ready in minutes, and perfect for those moments when you need something quick that won’t leave you reaching for another snack an hour later.
What Ingredients You Will Need
This recipe uses simple, wholesome ingredients to deliver big peanut butter flavor and a satisfying, soft texture without any fuss. Most of these are pantry staples you probably already have on hand.
- Rolled oats (1 cup / 100g) – Use old-fashioned rolled oats for the best texture. Quick oats work in a pinch but will give you a softer, less chewy ball. I prefer Bob’s Red Mill or Quaker.
- Creamy peanut butter (½ cup / 130g) – Go with a natural, no-stir peanut butter for the best flavor and texture. Avoid the super oily natural kinds that separate—they can make the mixture too loose. I like Skippy Natural or Jif Natural.
- Honey (¼ cup / 85g) – This binds everything together and adds natural sweetness. Maple syrup works as a substitute, but the balls will be slightly softer.
- Chocolate chips (¼ cup / 45g) – Semi-sweet or dark chocolate chips are my go-to. Mini chips distribute more evenly. Use dairy-free chips if needed.
- Ground flaxseed (2 tablespoons / 14g) – Adds fiber and omega-3s, plus it helps bind the mixture. You can skip it or substitute with chia seeds (ground or whole).
- Vanilla extract (1 teaspoon) – Pure vanilla extract makes a difference. Trust me on this one.
- Pinch of salt – Only if your peanut butter is unsalted. It balances the sweetness and brings out the peanut butter flavor.
Substitution Notes: For a nut-free version, use sunflower seed butter or tahini. For gluten-free, make sure your oats are certified gluten-free. If you want a lower-carb option, swap the honey for a sugar-free syrup, but note the texture will be slightly different. You can also add a scoop of your favorite protein powder, but you’ll need to add an extra tablespoon or two of peanut butter or honey to keep the mixture from getting too dry.
Equipment Needed
The beauty of this recipe is you barely need any equipment at all. Here’s what you’ll need:
- Mixing bowl – Any medium-sized bowl works. I use a glass or ceramic bowl, but metal is fine too.
- Spatula or wooden spoon – For mixing everything together. A sturdy spatula works best for getting every last bit incorporated.
- Measuring cups and spoons – Standard set will do. I recommend using dry measuring cups for the oats and liquid measuring cups for the honey and peanut butter for accuracy.
- Baking sheet or plate – To hold the rolled balls while they chill. Line it with parchment paper for easy cleanup.
- Cookie scoop (optional) – A small cookie scoop (about 1 tablespoon size) makes portioning the balls quick and uniform. If you don’t have one, just use your hands—it’s not rocket science.
- Refrigerator – The balls need at least 30 minutes to firm up. Patience is the hardest part of this recipe.
That’s it. No mixer, no food processor, no oven. If you have a bowl and a spoon, you’re ready to go.
Preparation Method
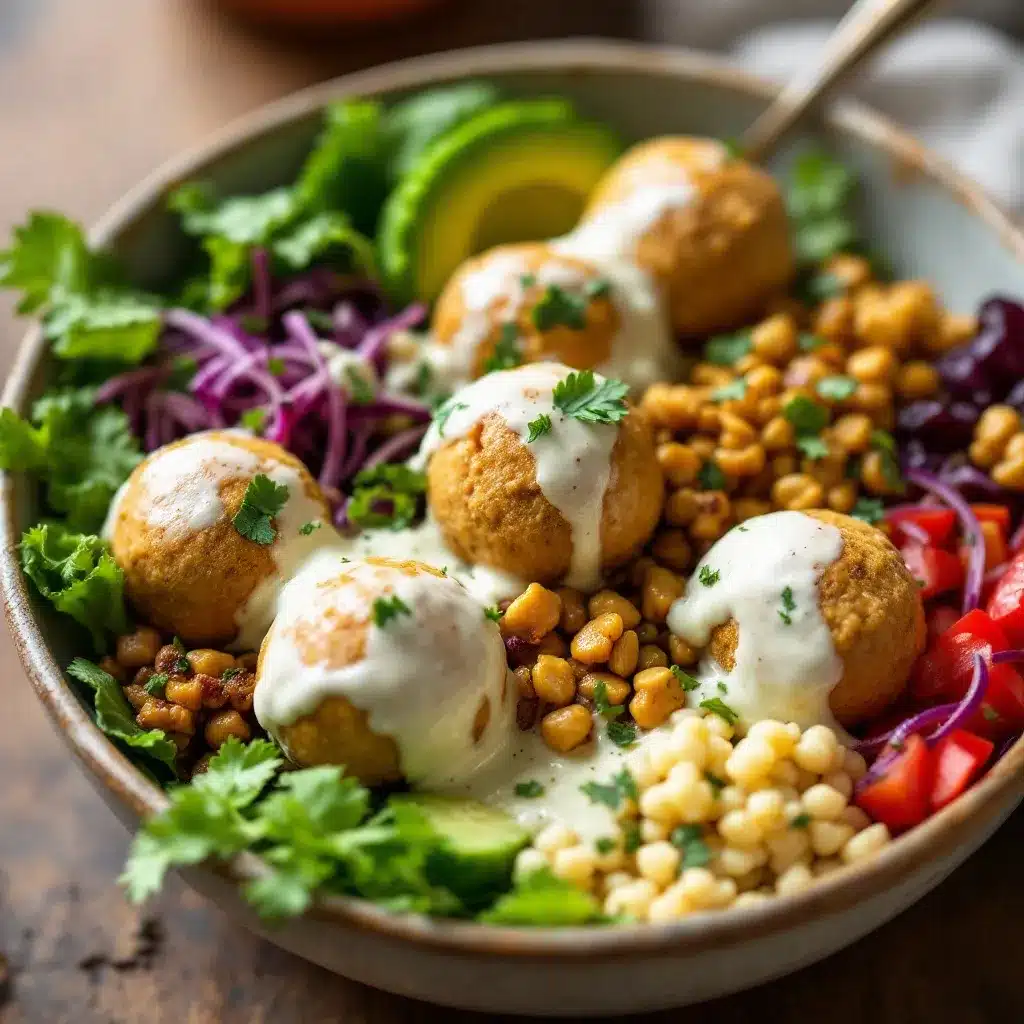
This is where the magic happens. Follow these steps, and you’ll have perfect protein balls every time.
- Combine the dry ingredients. In a medium mixing bowl, add 1 cup rolled oats, 2 tablespoons ground flaxseed, and a pinch of salt (if using). Give it a quick stir with your spatula to distribute everything evenly.
- Add the wet ingredients. Scoop ½ cup creamy peanut butter, ¼ cup honey, and 1 teaspoon vanilla extract into the bowl with the dry ingredients. Don’t dump them all in one spot—try to distribute them a bit so mixing is easier.
- Mix until fully combined. Use your spatula or a wooden spoon to stir everything together. At first, it will look like a crumbly mess. Keep mixing. Press the mixture against the sides of the bowl to help it come together. This takes about 1-2 minutes of firm mixing. The mixture should be thick, slightly sticky, and hold together when you squeeze a bit in your hand. If it’s too dry, add a teaspoon of honey or peanut butter. If it’s too wet, add a tablespoon of oats.
- Fold in the chocolate chips. Add ¼ cup chocolate chips to the mixture and fold them in gently until evenly distributed. Don’t overmix at this point, or the chips might start to melt from the warmth of your hands.
- Chill the mixture (optional but helpful). If the mixture feels too sticky to handle, pop the bowl in the fridge for 10-15 minutes. This makes rolling much easier, especially if your kitchen is warm. I usually skip this step in winter but find it helpful in summer.
- Roll into balls. Using your hands, scoop about 1 tablespoon of the mixture and roll it between your palms to form a smooth ball. You should get about 14-16 balls, depending on how big you make them. Place each ball on a parchment-lined baking sheet or plate as you go. If the mixture sticks to your hands, lightly wet your palms with water.
- Chill to set. Place the baking sheet or plate in the refrigerator for at least 30 minutes. This allows the balls to firm up and hold their shape. If you’re in a hurry, you can pop them in the freezer for 15 minutes instead.
- Enjoy! Once chilled, they’re ready to eat. Store any leftovers in an airtight container in the fridge.
Sensory cues: At step 3, the mixture should feel like a thick, slightly sticky dough. It shouldn’t be wet or greasy. When you squeeze a bit in your hand, it should hold together without crumbling. If it crumbles, you need more wet ingredients. If it’s too sticky to handle, you need more oats.
Pro tip: If you’re making a double batch, mix everything in a large bowl with your hands. It’s faster and you can feel when the texture is right. Just wash your hands thoroughly first.
Cooking Tips & Techniques
I’ve made these protein balls more times than I can count, and I’ve learned a few things along the way—mostly from my own mistakes.
The peanut butter matters more than you think. I once used a natural peanut butter that had separated, and I didn’t stir it well enough before measuring. The balls were greasy and didn’t hold together. Always use a well-stirred, creamy peanut butter. The no-stir varieties work best because they have a consistent texture. If you use a natural peanut butter that’s prone to separation, stir it thoroughly before measuring.
Don’t overmix the chocolate chips. I learned this the hard way when I made a batch on a hot summer day. The warmth from my hands and the mixing caused the chocolate chips to melt slightly, creating streaks throughout the mixture. It still tasted fine, but it didn’t look as pretty. Fold the chips in gently at the end.
Use a cookie scoop for uniform balls. This isn’t just about presentation—it’s about even chilling and consistent texture. If some balls are bigger than others, the larger ones will take longer to firm up in the fridge. A small cookie scoop (about 1 tablespoon) makes quick work of portioning.
Wet your hands if the mixture sticks. This is my number one tip for easy rolling. Keep a small bowl of water nearby and dip your fingertips in before rolling each ball. The water creates a barrier between the sticky mixture and your hands. It doesn’t affect the flavor or texture of the balls.
Let them chill completely before storing. If you pack them in a container while they’re still warm or room temperature, they’ll stick together and lose their shape. Give them the full 30 minutes in the fridge, or even an hour if you have the time.
Timing strategy: I like to make these while I’m waiting for something else to cook or while I’m cleaning up the kitchen after dinner. They come together so quickly that they’re easy to fit into any downtime. Plus, by the time you’re done with your other tasks, they’re ready to eat.
Variations & Adaptations
One of the best things about this recipe is how easy it is to customize. Here are some of my favorite variations:
- Chocolate Peanut Butter: Add 1 tablespoon of unsweetened cocoa powder to the dry ingredients. You might need an extra teaspoon of honey to balance the bitterness. This version tastes like a healthier version of a peanut butter cup.
- Crunchy Peanut Butter: Use crunchy peanut butter instead of creamy for added texture. You can also add 2 tablespoons of chopped peanuts for extra crunch. This is my husband’s favorite version.
- Add-ins: Swap the chocolate chips for dried cranberries, raisins, chopped dates, or shredded coconut. You can also add 2 tablespoons of chia seeds, hemp seeds, or sunflower seeds for extra nutrition.
- Protein Powder Version: Add 1 scoop (about 30g) of vanilla or chocolate protein powder. You’ll need to increase the wet ingredients slightly—add an extra tablespoon of peanut butter and an extra tablespoon of honey to keep the mixture from getting too dry. This version is more filling and great post-workout.
- Vegan Option: Use maple syrup instead of honey and dairy-free chocolate chips. The texture will be slightly softer, so you might need to add an extra tablespoon of oats.
- Low-Sugar Option: Use a sugar-free syrup like Lakanto or ChocZero instead of honey. The balls will be less sweet but still delicious. You can also use sugar-free chocolate chips.
- Seasonal Twist: In the fall, add ½ teaspoon of pumpkin pie spice and swap the chocolate chips for white chocolate chips. In the summer, add 1 tablespoon of freeze-dried strawberry powder for a fruity twist.
I once made a batch with dark chocolate chips and a pinch of sea salt on top—they were gone within an hour. Sometimes the simplest changes make the biggest difference.
Serving & Storage Suggestions
These protein balls are best served cold, straight from the fridge. The texture is firmer, the peanut butter flavor is more pronounced, and they just feel more satisfying. That said, they’re perfectly fine at room temperature if you’re taking them on the go—they just won’t be as firm.
Storage: Keep the balls in an airtight container in the refrigerator for up to 2 weeks. I like to layer them between sheets of parchment paper to prevent them from sticking together. If you’re stacking them, make sure they’re fully chilled first.
Freezer: These freeze beautifully. Place the rolled balls on a baking sheet and freeze until solid (about 1-2 hours), then transfer to a freezer-safe bag or container. They’ll keep for up to 3 months. You can eat them straight from the freezer—they’re like little frozen peanut butter treats. Perfect for hot summer days.
Reheating: You don’t need to reheat these. Just pull them out of the fridge or freezer and let them sit at room temperature for 5 minutes if you prefer a softer texture. I like them cold, so I usually eat them straight from the fridge.
How flavors develop: Honestly, these taste best after they’ve been in the fridge for a few hours or overnight. The flavors meld together, the oats soften slightly, and the texture becomes perfectly chewy. If you can resist eating them right away, you’ll be rewarded.
Serving suggestions: These are great on their own, but you can also crumble them over yogurt, slice them into a bowl of oatmeal, or pack them in a lunchbox alongside a piece of fruit. They’re also perfect for road trips, hiking, or post-workout snacks.
Nutritional Information & Benefits
Here’s the approximate nutritional breakdown for one ball (based on 16 balls per batch):
| Nutrient | Amount per ball |
|---|---|
| Calories | 120 |
| Protein | 4g |
| Carbohydrates | 14g |
| Fiber | 2g |
| Sugar | 8g |
| Fat | 6g |
These numbers will vary based on the specific brands and ingredients you use. If you add protein powder, the protein content will increase significantly.
Health benefits: These protein balls are packed with good-for-you ingredients. Oats provide complex carbohydrates and fiber for sustained energy. Peanut butter offers healthy fats and protein to keep you full. Flaxseed adds omega-3 fatty acids and extra fiber. And the honey provides natural sweetness without refined sugar.
Dietary considerations: This recipe is naturally vegetarian and can easily be made vegan (use maple syrup) and gluten-free (use certified gluten-free oats). It’s also dairy-free if you use dairy-free chocolate chips. The main allergen is peanuts, so be mindful if you’re serving these to someone with a nut allergy.
I love that I can feel good about eating these as a snack. They’re not a health food in the strictest sense, but they’re a much better choice than a candy bar or a bag of chips. And honestly, they taste better too.
Conclusion
These Easy No-Bake Peanut Butter Protein Balls have become my go-to snack for good reason. They’re quick, they’re simple, and they actually taste like something you’d want to eat. No dry, sad energy balls here—just soft, peanut buttery, chocolate-studded little bites of goodness that come together in under 10 minutes.
The best part? You can make them your own. Add what you love, skip what you don’t, and tweak the recipe until it’s perfect for you. That’s the beauty of a simple recipe like this—it’s a starting point, not a rulebook.
I’d love to hear how these turn out for you. Did you add something unexpected? Swap an ingredient? Make a mess in the kitchen and eat half the batch before they made it to the fridge? (No judgment here—I’ve been there.) Drop a comment below and let me know. And if you share a photo on social media, tag me so I can see your creations. Happy snacking!
Frequently Asked Questions
Can I use quick oats instead of rolled oats?
Yes, you can. Quick oats will give you a softer, less chewy texture. The balls will be a bit more delicate, so handle them gently. If you only have quick oats, go ahead and use them—they’ll still taste great.
How long do these protein balls last in the fridge?
They’ll stay fresh in an airtight container in the refrigerator for up to 2 weeks. I’ve kept them for longer, but they start to dry out after about 10 days. If you notice them getting dry, you can add a tiny splash of milk or water and re-roll them.
Can I freeze these protein balls?
Absolutely. Freeze them on a baking sheet first, then transfer to a freezer bag or container. They’ll keep for up to 3 months. Eat them straight from the freezer or let them thaw for a few minutes at room temperature.
My mixture is too dry. What should I do?
Add a little more peanut butter or honey, one teaspoon at a time, until the mixture holds together when squeezed. If it’s still too dry after adding a tablespoon of extra wet ingredients, you might have used oats that are too large or a peanut butter that’s too thick.
Can I make these without chocolate chips?
Of course. You can leave them out entirely, or swap them for dried fruit, coconut flakes, chopped nuts, or seeds. The recipe is very forgiving, so feel free to experiment with whatever you have on hand.
Pin This Recipe!
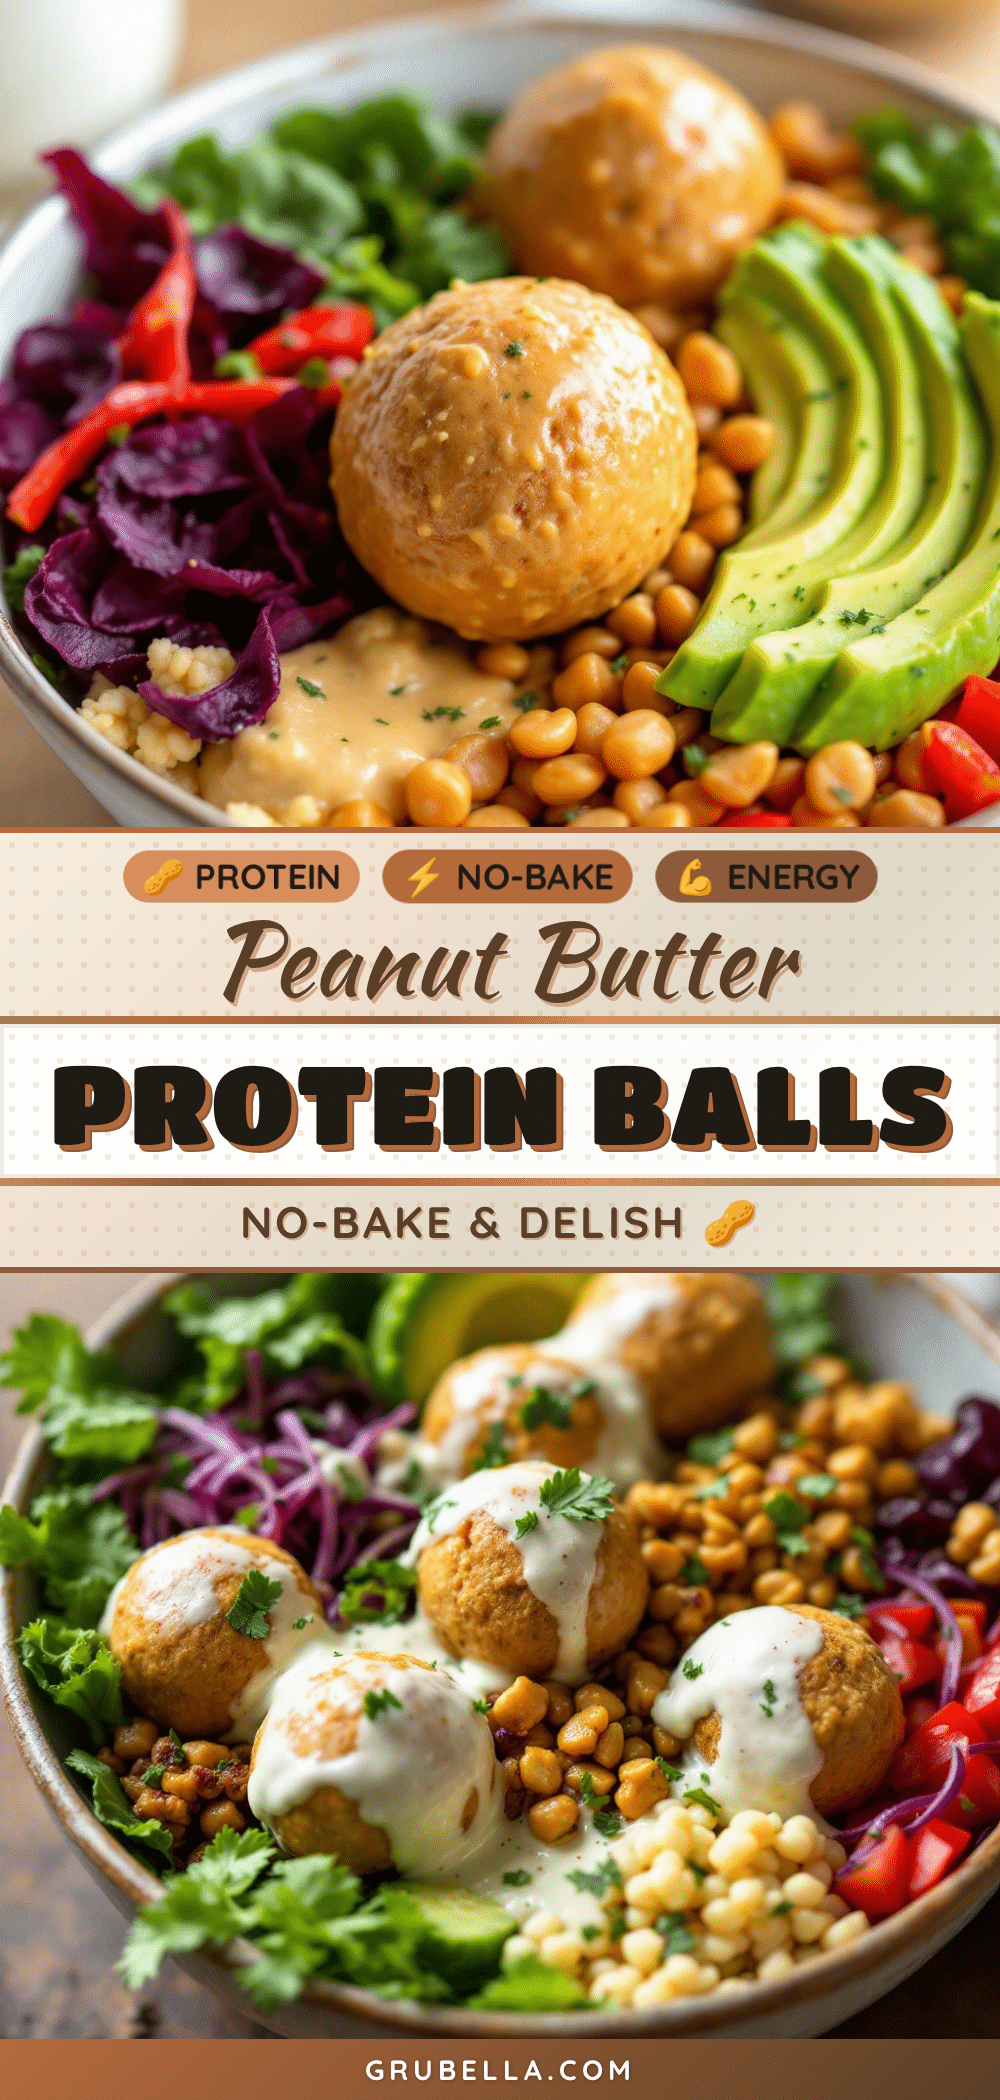
Best Easy No-Bake Peanut Butter Protein Balls
These soft, peanut buttery protein balls come together in under 10 minutes with simple pantry ingredients. No baking, no fuss—just a delicious, healthy snack that actually tastes like a treat.
- Prep Time: 10 minutes
- Cook Time: 0 minutes
- Total Time: 40 minutes (includes chilling)
- Yield: 14-16 balls 1x
- Category: Snack
- Cuisine: American
Ingredients
- 1 cup rolled oats (100g)
- ½ cup creamy peanut butter (130g)
- ¼ cup honey (85g)
- ¼ cup chocolate chips (45g)
- 2 tablespoons ground flaxseed (14g)
- 1 teaspoon vanilla extract
- Pinch of salt (if peanut butter is unsalted)
Instructions
- Combine the dry ingredients: In a medium mixing bowl, add 1 cup rolled oats, 2 tablespoons ground flaxseed, and a pinch of salt (if using). Stir to distribute evenly.
- Add the wet ingredients: Scoop ½ cup creamy peanut butter, ¼ cup honey, and 1 teaspoon vanilla extract into the bowl with the dry ingredients. Distribute them a bit for easier mixing.
- Mix until fully combined: Use a spatula or wooden spoon to stir everything together. At first it will look crumbly; keep mixing and press the mixture against the sides of the bowl. It should take 1-2 minutes. The mixture should be thick, slightly sticky, and hold together when squeezed. If too dry, add a teaspoon of honey or peanut butter; if too wet, add a tablespoon of oats.
- Fold in the chocolate chips: Add ¼ cup chocolate chips and fold gently until evenly distributed. Do not overmix to avoid melting the chips.
- Chill the mixture (optional but helpful): If the mixture feels too sticky, refrigerate for 10-15 minutes. This step is helpful in warm weather.
- Roll into balls: Scoop about 1 tablespoon of mixture and roll between your palms to form smooth balls. You should get 14-16 balls. Place on a parchment-lined baking sheet or plate. If sticky, lightly wet your palms with water.
- Chill to set: Refrigerate for at least 30 minutes (or freeze for 15 minutes) to firm up.
- Enjoy: Once chilled, they are ready to eat. Store leftovers in an airtight container in the fridge.
Notes
Use a well-stirred, creamy no-stir peanut butter for best results. If the mixture is too sticky, chill before rolling. For uniform balls, use a small cookie scoop. These taste best after a few hours or overnight in the fridge.
Nutrition
- Serving Size: 1 ball
- Calories: 120
- Sugar: 8
- Sodium: 50
- Fat: 6
- Saturated Fat: 1.5
- Carbohydrates: 14
- Fiber: 2
- Protein: 4
Keywords: no-bake protein balls, peanut butter protein balls, healthy snack, energy balls, gluten-free snack, easy snack recipe



