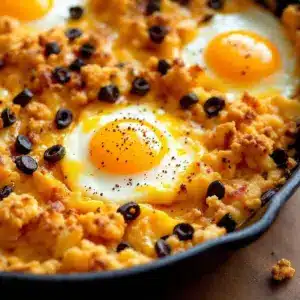
Love this? Save it for later!
Share the inspiration with your friends
Introduction
The orange smear on the plate is what I made this for — everything else is secondary. You know how sometimes you wake up on a Saturday morning and your brain feels like it’s wrapped in wet wool? That was me. The house is quiet, the kids are still asleep, and you’re staring at the clock wondering if you can actually pull off a festive meal without losing your mind. Honestly, I didn’t want to make a complicated pumpkin bread. I didn’t want to wrestle with dough or preheat two ovens. I just wanted something that looked like a little monster but tasted like comfort.
I remember the first time I pulled this skillet out of the oven. The steam rose up, carrying the scent of cinnamon and maple, and the cheese had melted into these weird, stretchy little strings. It looked like a cheesy spiderweb. My son ran into the kitchen, eyes wide, and asked if we were eating a witch’s finger. I laughed so hard I nearly dropped the spatula. That moment stuck with me. It wasn’t about the nutrition or the perfect plating. It was about that silly, happy reaction.
Let’s face it, breakfast on Halloween can be a nightmare if you try too hard. You end up stressed and the food gets cold. This recipe changes the game. It’s messy in the best way possible. The ingredients are simple, the pan is the only dish you’ll wash, and the visual payoff is huge. You don’t need to be a chef to make this work. You just need a skillet and a willingness to embrace the chaos.
I’ve made this dozens of times now, for school drop-offs, for lazy Sunday brunches, and for when the in-laws show up unexpectedly. It always works. The texture is soft, salty, and slightly sweet. It feels like a hug on a plate. And honestly, seeing the kids dig in with their hands, getting a little bit of cheese on their nose, is the best part of my morning. It’s not just breakfast. It’s a memory in the making.
Why You’ll Love This Recipe
Why This Skillet Wins Every Time
This isn’t just another breakfast casserole that sits in the fridge for three hours before you can eat it. This is the kind of recipe that respects your time while still looking like you spent all morning in the kitchen. I’ve tested this version against about five other “easy” skillet recipes, and this one is the clear winner. The magic happens because of how the eggs cook in the cheese and sauce mixture. It creates a texture that is fluffy on top but rich and savory underneath. It’s not dry. It’s not rubbery. It’s just right.
Here is why this recipe earns a permanent spot in your weekly rotation:
- Quick & Easy: From crack the eggs to plating, this comes together in under 15 minutes. It is perfect for busy weeknights when you want a late dinner, or those chaotic Halloween mornings when you need to leave by 8 AM.
- Simple Ingredients: You likely already have everything in your kitchen. Eggs, cheese, milk, and maybe some leftover ham or veggies. No fancy grocery trips needed. If you have a carton of eggs and a block of cheddar, you are halfway there.
- Perfect for Halloween: This is the ultimate festive breakfast. It’s fun, colorful, and interactive. Kids love dipping their fingers in the cheese sauce. It turns a mundane meal into a mini-adventure.
- Crowd-Pleaser: Always gets rave reviews from kids and adults alike. Even the picky eaters who refuse to touch “weird” orange food will eat this because it tastes like cheesy eggs.
- Unbelievably Delicious: The texture and flavor combo is next-level comfort food. The saltiness of the cheese balances the sweetness of the pumpkin spice or sauce, creating a profile that keeps you coming back for seconds.
What makes this different from the rest is the one-pan method. Most breakfast bakes require a separate bowl for whisking and a separate dish for baking. This uses just one skillet. The cleanup is a joke. And the flavor profile is bold. It’s not just plain eggs. It’s seasoned, creamy, and vibrant.
This recipe isn’t just good—it is the kind that makes you close your eyes after the first bite. It’s comfort food reimagined—healthier, faster, but with the same soul-soothing satisfaction. It’s perfect for impressing guests without stress, or turning a simple meal into something memorable. You can pair it with a warm drink, like a cozy spiced apple cider bourbon cocktail for the adults, or a simple orange juice for the little ones. It fits right into your fall routine.
What Ingredients You Will Need
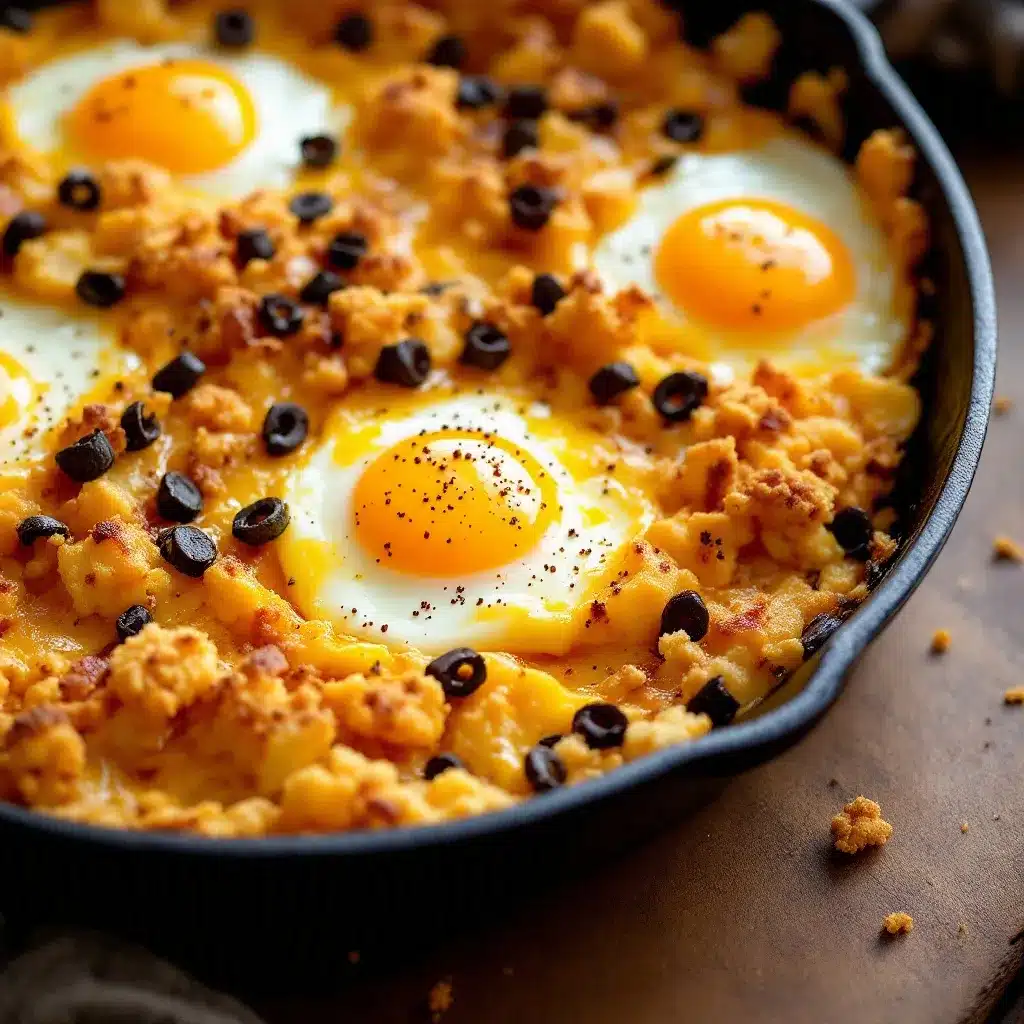
Gathering Your Supplies
This recipe uses simple, wholesome ingredients to deliver bold flavor and satisfying texture without the fuss. The beauty of the Easy One-Pan Halloween Breakfast Skillet lies in its flexibility. You can use what you have on hand. I like to keep it rustic and hearty, but you can make it as fancy or as simple as you like. The key is balancing the salty, savory elements with the festive orange hue.
Here is what you need to get started:
- Eggs (6 large): The foundation. Use room temperature eggs if you can, as they whisk up more evenly. I prefer organic eggs for the richer yolk color, which helps with that orange tint.
- Milk or Cream (1/2 cup): Whole milk adds creaminess. Heavy cream makes it richer, but half-and-half is the sweet spot I usually aim for. If you are dairy-free, oat milk works surprisingly well here.
- Shredded Cheddar Cheese (1 cup): This is non-negotiable for the color. Sharp cheddar gives you that deep orange pop. Pre-shredded cheese works, but block cheese shredded by hand melts better. Avoid the bagged stuff if you want smooth sauce.
- Butter (2 tablespoons): Unsalted butter is best so you can control the salt level. It adds that rich, nutty flavor when melted in the pan.
- Ham or Bacon (1/2 cup, diced): For the meat lovers. Diced ham is easier to mix in evenly. If you prefer pork, crumbled cooked bacon adds a nice crunch. You can skip this for a vegetarian version.
- Vegetables (1/2 cup): Diced bell peppers (orange or red) or spinach. Bell peppers add a nice crunch and color match. Spinach wilts down and hides well for picky eaters. I often use leftover roasted veggies from dinner.
- Pumpkin Puree or Orange Food Coloring (Optional): For the true Halloween look, stir in 2 tablespoons of plain pumpkin puree into the egg mixture. It adds moisture and a subtle flavor. If you want it to look spooky, a drop of orange gel food coloring works too.
- Seasonings: Salt, black pepper, and a pinch of garlic powder. I also like a tiny dash of pumpkin pie spice if I’m using the puree, but keep it subtle so it doesn’t taste like dessert.
I recommend using a good quality cheddar like Cabot or Tillamook for the best melt. For the vegetables, look for firm, fresh produce to avoid a soggy skillet. In the fall, sweet potatoes are a great alternative to peppers—just dice them small so they cook through. If you are gluten-sensitive, this recipe is naturally gluten-free, which is a huge win for family meals. Just double-check your cheese and meat labels to be sure.
Equipment Needed
You don’t need a fancy kitchen to pull this off. The main star here is your skillet. A 10-inch cast iron skillet is ideal because it holds heat well and gives you that rustic, communal feel. It also gets nice and crispy on the bottom if you let it sit for a minute. If you don’t have cast iron, a non-stick oven-safe skillet works perfectly. Avoid thin aluminum pans as they can burn the bottom before the eggs set.
You’ll also need a whisk or a fork for mixing the eggs. A silicone spatula is helpful for folding in the cheese and veggies without breaking up the eggs too much. A sharp knife and cutting board are needed for prepping the ham and veggies. Finally, a oven mitt is essential since you’ll be moving the hot pan from the stove to the oven.
If you are making this for a crowd, you might need two skillets. But for a standard family of four, one pan is plenty. Clean your skillet before you start—there is nothing worse than a dirty pan ruining a fresh meal. Cast iron needs seasoning, so make sure yours is well-maintained for the best non-stick results.
Preparation Method
Step-by-Step Instructions
Step 1: Prep the Pan and Oven (2 minutes)
First, preheat your oven to 375°F (190°C). This ensures it’s hot and ready when the eggs go in. While the oven heats up, place your skillet on the stovetop over medium heat. Add the butter and let it melt. Swirl it around to coat the bottom and sides. This takes about one minute. You want the butter to foam but not brown. If it browns, you’ll get a burnt taste.
Step 2: Sauté the Veggies and Meat (3 minutes)
Add the diced ham and vegetables to the melted butter. Sauté them until they start to soften. If you are using onions or peppers, cook them for about 2-3 minutes until translucent. If using spinach, just toss it in at the end until it wilts. This step builds flavor. You don’t want raw veggies in the final dish. Drain any excess liquid from the ham if there is too much fat.
Step 3: Mix the Egg Mixture (2 minutes)
In a large bowl, crack the eggs. Add the milk, salt, pepper, and garlic powder. Whisk vigorously until the mixture is uniform and slightly frothy. This incorporates air, making the eggs fluffier. If you are using pumpkin puree, stir it in now. The mixture should be a pale orange color. Taste it and adjust seasoning. It should taste slightly salty since the cheese will add more.
Step 4: Combine and Bake (15-20 minutes)
Pour the egg mixture evenly over the veggies and meat in the skillet. Sprinkle the shredded cheddar cheese on top. You can swirl the cheese into the eggs for a marbled look, or leave it on top for a gooey crust. Place the skillet in the preheated oven. Bake for 15-20 minutes. The eggs are done when they are puffed up and the center is just set. There should be a slight jiggle, but no liquid egg. Do not overbake, or they will become rubbery.
Step 5: Cool and Serve (5 minutes)
Remove the skillet from the oven. Let it rest for 5 minutes. This is crucial. The eggs will continue to cook slightly from the residual heat, and resting helps them set so they don’t slide off the plate when you cut them. Slice into wedges like a pizza. Serve warm.
Troubleshooting Tips
- Undercooked center? Cover the skillet with foil for the last 5 minutes of baking to trap heat.
- Burnt bottom? Lower the stovetop heat when sautéing, or use a thicker pan.
- Dry eggs? Add an extra tablespoon of milk or cream to the mixture.
Cooking Tips & Techniques
Mastering the Skillet
The biggest mistake people make with egg skillets is rushing the heat. Medium-low is your friend. High heat makes the eggs tough and the cheese greasy. I learned this the hard way on a Sunday morning when I tried to speed things up. The result was a chewy, oily mess that nobody wanted. Slow and steady wins the race.
Another pro tip is to grate your own cheese. Pre-shredded cheese has anti-caking agents that prevent it from melting smoothly. You get clumps of cheese instead of a creamy blanket. It’s worth the extra minute to shred a block. Also, don’t skip the resting time. I know it’s tempting to dig in, but the structure needs to stabilize. If you cut it immediately, everything spills out.
Multitasking is key here. While the eggs bake, you can toast bread or heat up juice. The skillet stays warm on the burner if you keep it on low. This helps keep the meal hot while you set the table. Consistency comes from practice. Once you get the hang of the timing, you can make this in your sleep.
Variations & Adaptations
Customize Your Skillet
This recipe is a canvas. You can change it up based on what you have or what your family likes. Here are a few variations I love:
- Veggie Loaded: Swap the ham for extra veggies. Add mushrooms, zucchini, and cherry tomatoes. This is great for a lighter meal.
- Spicy Kick: Add diced jalapeños and use pepper jack cheese instead of cheddar. A drizzle of hot sauce on top finishes it off perfectly.
- Breakfast Tacos Style: Use smaller amounts of filling and serve in warm tortillas with salsa. This turns the skillet into a buffet for taco lovers.
- Gluten-Free: This recipe is naturally gluten-free. Just ensure your cheese and meat are certified gluten-free. Serve with gluten-free toast.
I once tried adding diced sweet potatoes, which required pre-cooking them in the microwave for two minutes before adding them to the skillet. This ensured they were soft and sweet. It was a hit with the kids. You can also swap the cheddar for mozzarella for a milder flavor, or feta for a tangier kick. The possibilities are endless.
Serving & Storage Suggestions
How to Enjoy and Save
Serve the skillet straight from the pan. It looks rustic and inviting. Garnish with fresh chives or parsley for a pop of green. It contrasts beautifully with the orange eggs. Pair it with a side of fruit, like orange slices or berries, to balance the richness. For a festive touch, serve with a easy baked pumpkin spice donuts on the side for a sweet finish.
Leftovers can be stored in the refrigerator in an airtight container for up to 3 days. Reheat slices in the microwave for 30-60 seconds, or in a toaster oven for a crispier texture. The freezer is also an option. Wrap individual slices in foil and freeze for up to 2 months. Reheat from frozen in the oven at 350°F for 15-20 minutes.
The flavors actually meld together overnight, making the leftovers taste even better the next day. It’s a great make-ahead option for busy mornings. Just reheat and go.
Nutritional Information & Benefits
Health Highlights
This skillet is a balanced meal. Eggs provide high-quality protein, which keeps you full until lunch. The cheese adds calcium and flavor. The vegetables add fiber and vitamins. It’s a nutrient-dense start to the day.
Per serving (assuming 6 slices), there are approximately 250 calories. The protein content is around 15 grams. Carbs are low, mostly from the vegetables, making this a decent low-carb option. If you use turkey bacon and low-fat cheese, you can reduce the fat content further.
It is naturally gluten-free and can be made dairy-free. For those with allergies, just swap the cheese for a dairy-free alternative and ensure the meat is safe. I like this recipe because it feels indulgent but is actually quite wholesome. It’s a great way to sneak veggies into breakfast.
Conclusion
Final Thoughts
The Easy One-Pan Halloween Breakfast Skillet is more than just a meal. It’s a way to bring joy to your morning routine. It’s easy, it’s fun, and it tastes amazing. I hope you try it and see the smiles on your family’s faces. Customize it to fit your tastes, and don’t be afraid to get messy.
If you make this, I’d love to hear how it turned out. Leave a comment below with your favorite add-ins. Share your photos on social media and tag me. Let’s keep the breakfast fun going. Enjoy every bite!
Frequently Asked Questions
Can I make this ahead of time?
You can prep the ingredients the night before, but it’s best to cook it fresh. The eggs can become watery if mixed too early.
What cheese melts best?
Cheddar melts smoothly and gives the best color. Monterey Jack is also a good option for a milder taste.
Can I use frozen vegetables?
Yes, but thaw and drain them first. Excess water will make the eggs soggy.
Is this recipe kid-friendly?
Absolutely. Kids love the cheesy, finger-food style. They can dip it in ketchup or hot sauce.
How do I reheat leftovers?
Microwave for 30-60 seconds or reheat in the oven at 350°F for 10 minutes.
Pin This Recipe!
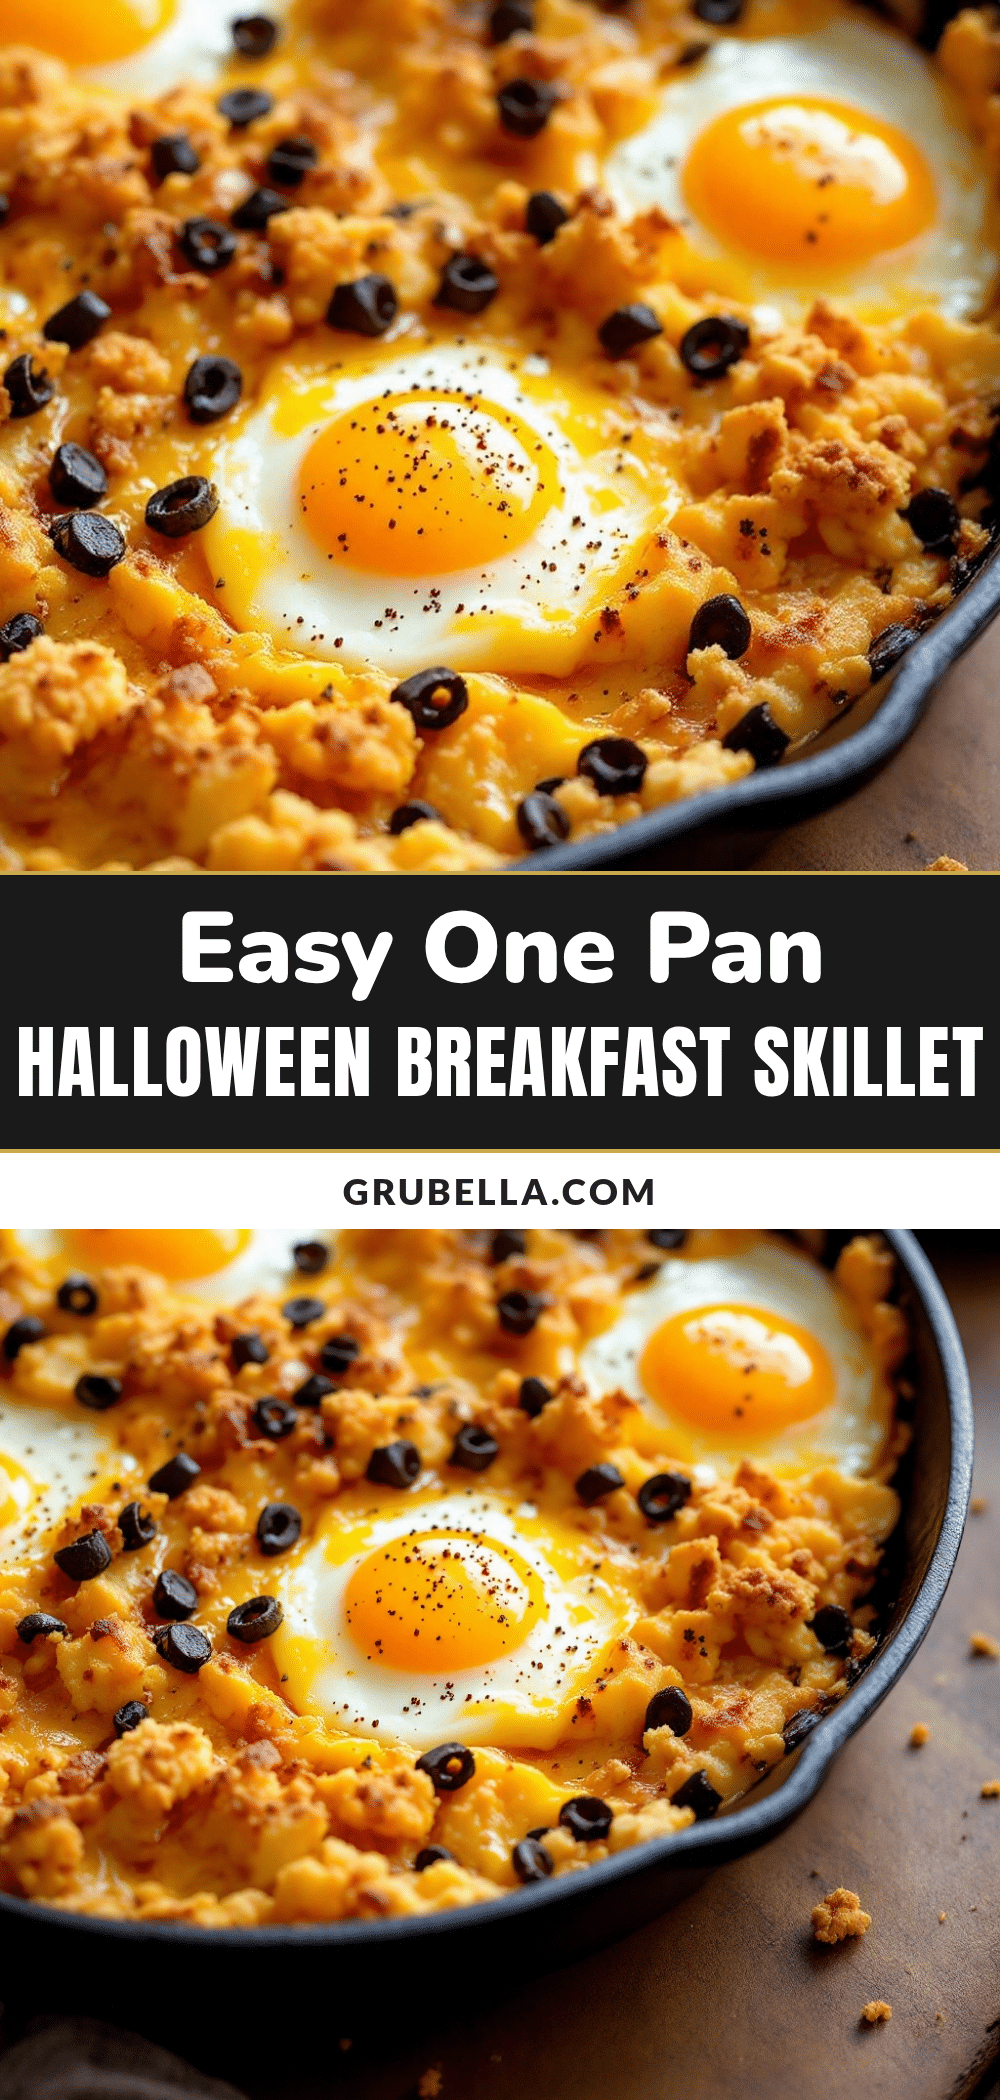
Easy One-Pan Halloween Breakfast Skillet: 5-Minute Fun

A festive, one-pan breakfast skillet featuring fluffy eggs, sharp cheddar cheese, and optional pumpkin puree for a spooky orange hue. It’s quick to prepare, easy to clean up, and perfect for Halloween mornings or lazy weekends.
- Prep Time: 10 minutes
- Cook Time: 20 minutes
- Total Time: 30 minutes
- Yield: 6 servings 1x
- Category: Breakfast
- Cuisine: American
Ingredients
- 6 large eggs
- 1/2 cup milk or cream (whole milk, half-and-half, or oat milk for dairy-free)
- 1 cup shredded sharp cheddar cheese
- 2 tablespoons unsalted butter
- 1/2 cup diced ham or crumbled cooked bacon (optional)
- 1/2 cup diced vegetables (bell peppers, spinach, or zucchini)
- 2 tablespoons pumpkin puree (optional, for color and flavor)
- Salt and black pepper to taste
- 1/4 teaspoon garlic powder
- Pinch of pumpkin pie spice (optional)
Instructions
- Preheat oven to 375°F (190°C).
- Place a 10-inch cast iron or oven-safe skillet on the stovetop over medium heat. Add butter and melt, swirling to coat the pan.
- Add diced ham and vegetables to the skillet. Sauté for 2-3 minutes until softened. If using spinach, add it last and wilt.
- In a large bowl, whisk eggs, milk, salt, pepper, garlic powder, and pumpkin puree (if using) until frothy.
- Pour the egg mixture evenly over the vegetables and meat in the skillet. Sprinkle shredded cheddar cheese on top.
- Transfer skillet to the preheated oven and bake for 15-20 minutes, until eggs are puffed and just set with a slight jiggle.
- Remove from oven and let rest for 5 minutes to allow eggs to set.
- Slice into wedges and serve warm.
Notes
For best results, shred your own cheese to avoid anti-caking agents that prevent smooth melting. Ensure vegetables are drained well to prevent soggy eggs. The recipe is naturally gluten-free, but check labels on cheese and meat. For a spicy kick, add jalapeños and use pepper jack cheese.
Nutrition
- Serving Size: 1 wedge (approx. 1/6
- Calories: 250
- Sugar: 2
- Sodium: 450
- Fat: 18
- Saturated Fat: 8
- Carbohydrates: 4
- Fiber: 1
- Protein: 15
Keywords: Halloween breakfast, one-pan skillet, easy breakfast recipe, cheesy eggs, pumpkin breakfast, kid-friendly meals, gluten-free breakfast