Love this? Save it for later!
Share the inspiration with your friends
Introduction
Three summers ago, I found myself stuck in a sticky situation—literally. The power had gone out just as I was about to bake a cheesecake for a friend’s birthday. No oven, no mixer, and honestly, no clue what to do next. I rummaged through my pantry, hoping for a sign, and that’s when I spotted a sleeve of Oreo cookies and some cream cheese that was about to expire. With a bit of improvisation (and a fair amount of hope), I whipped up what I now call my Creamy No-Bake Oreo Cheesecake Cups. It was messy, a bit chaotic, and I forgot to chill them long enough the first time, causing a slight meltdown—but the taste? Oh, it was worth every crumb and every sticky finger.
You know that feeling when a dessert just hits all the right notes—creamy, crunchy, sweet, and a little bit indulgent? That’s what these cheesecake cups deliver without any oven hassle or complicated steps. Honestly, I keep making them when I need a quick treat that impresses without the stress. Maybe you’ve been there too—wanting something delicious but short on time or equipment. Well, these no-bake Oreo cheesecake cups have got your back. Plus, they’re perfect for hot days when the last thing you want is to heat up your kitchen.
Let me tell you, this recipe has stuck around because it’s foolproof, fun to make, and brings back that unexpected joy of a dessert born from a kitchen mishap. So, grab your spoons and let’s get to the good stuff.
Why You’ll Love This Recipe
- Quick & Easy: Comes together in under 5 minutes—ideal for those last-minute dessert cravings or busy weeknights.
- Simple Ingredients: No fancy or hard-to-find items; most likely you already have everything in your pantry or fridge.
- Perfect for Any Occasion: Whether it’s a casual get-together, a holiday party, or just a cozy night in, these cups fit right in.
- Crowd-Pleaser: Kids and adults alike rave about the creamy texture and Oreo crunch combo—always a hit.
- Unbelievably Delicious: The balance of rich cream cheese with crushed Oreos and a hint of vanilla is seriously addictive.
This recipe isn’t just another cheesecake cup; it’s the kind where the cream cheese is whipped to a velvety smoothness, blending perfectly with crushed Oreos for texture without overpowering the flavor. The magic happens in the layering—each spoonful delivers a little bit of cookie crunch and creamy sweetness. Honestly, I’ve tested many no-bake cheesecakes, and this one stands out because it’s fuss-free yet feels special.
Plus, it’s one of those desserts that feels like a treat but doesn’t require hours in the kitchen or a long ingredient list. You get that classic Oreo cheesecake vibe without the oven, the wait, or the mess. If you want a quick dessert that tastes like you put in way more effort than you did, this recipe is your new best friend.
What Ingredients You Will Need
This recipe uses simple, wholesome ingredients to deliver bold flavor and satisfying texture without the fuss. Most of these are pantry staples, and if you’re out of something, there are easy substitutions to keep you covered.
- Oreo Cookies (about 20 whole cookies, crushed) – The star of the show! I prefer the classic Oreos for that perfect balance of chocolate and cream.
- Cream Cheese (8 oz / 225 g, softened) – Use full-fat for the creamiest texture; I like Philadelphia brand for consistency.
- Heavy Whipping Cream (1 cup / 240 ml, cold) – Whipped to soft peaks to lighten the filling.
- Powdered Sugar (1/2 cup / 60 g) – Adds subtle sweetness without graininess.
- Vanilla Extract (1 teaspoon) – Brings warmth and depth to the cheesecake flavor.
- Butter (2 tablespoons / 28 g, melted) – Used to bind the Oreo crumbs for the crust; unsalted preferred.
Optional:
- Mini chocolate chips or chocolate shavings for garnish (adds texture and looks pretty)
- Fresh berries, like raspberries or strawberries (great for a fresh contrast)
If you want a dairy-free version, swap cream cheese with a vegan alternative and use coconut cream instead of heavy cream. For a gluten-free option, look for gluten-free sandwich cookies similar to Oreos. Seasonal twist? In summer, toss in some fresh strawberries between layers for a fruity pop.
Equipment Needed
- Mixing Bowls: At least two—a large one for the cream cheese mixture and another for whipping the cream.
- Electric Hand Mixer or Stand Mixer: Essential for whipping the cream and cream cheese smoothly. If you don’t have one, a sturdy whisk and some elbow grease can work, but it’ll take longer.
- Food Processor or Plastic Bag & Rolling Pin: To crush the Oreos finely. The food processor is faster, but the bag and rolling pin method is budget-friendly.
- Spoons or Small Cups: For assembling the cheesecake cups. Mason jars, small ramekins, or clear plastic cups all work great.
- Spatula: For folding ingredients gently without losing airiness.
I personally prefer using a stand mixer for the cream cheese and cream because it gets the texture just right—light and fluffy. But when I’m in a hurry or traveling, the hand mixer is a trusty companion. Also, crushing Oreos in a plastic bag is a satisfying little stress reliever, though it gets messy if you’re not careful. For cleanup, a silicone spatula does wonders to scrape every bit of that creamy goodness from the bowl.
Preparation Method
- Crush the Oreos. Place the Oreo cookies in a food processor and pulse until you get a mix of fine crumbs and small chunks. If you don’t have a processor, put them in a sealed plastic bag and crush with a rolling pin until coarse but not powdery. Reserve about 1/4 cup (30 g) of crumbs for topping later. Combine the rest with melted butter (2 tablespoons / 28 g) until evenly moistened. This will be your crust layer.
- Prepare the crust layer. Spoon the Oreo crust mixture evenly into your serving cups (about 4-6 small cups). Press down gently with the back of a spoon to create a firm base. Chill in the fridge while you prepare the filling (about 10 minutes).
- Whip the cream cheese. In a large bowl, beat the softened cream cheese (8 oz / 225 g) with powdered sugar (1/2 cup / 60 g) and vanilla extract (1 teaspoon) using an electric mixer on medium speed. Beat until smooth and creamy, about 2-3 minutes. Scrape down the sides as needed to avoid lumps.
- Whip the heavy cream. In a separate chilled bowl, whip the cold heavy cream (1 cup / 240 ml) on high speed until soft peaks form (about 3-4 minutes). Be careful not to overwhip—it should hold shape but still be soft and fluffy.
- Fold the whipped cream into the cream cheese mixture. Using a spatula, gently fold a third of the whipped cream into the cream cheese mix to lighten it. Then fold in the remaining whipped cream until fully combined. This keeps the filling airy and light.
- Assemble the cheesecake cups. Spoon or pipe half of the cream cheese filling over the Oreo crust in each cup. Sprinkle a few reserved Oreo crumbs on top for texture. Add the rest of the filling, smoothing the top with the back of a spoon or a small offset spatula. Finish with a sprinkle of crumbs or optional chocolate shavings.
- Chill for at least 1 hour. Though these cups are no-bake, chilling helps them set properly and intensifies the flavor. If you’re impatient like me, 30 minutes can work, but an hour is best.
- Serve and enjoy! Grab a small spoon and dig in. The contrast between creamy filling and crunchy Oreo bits makes each bite a delight.
Pro tip: If you notice the filling seems a bit loose, whipping the cream a bit longer next time or chilling the cream cheese longer before mixing can help. Also, don’t rush the chilling step—it really makes a difference.
Cooking Tips & Techniques
Whipping cream and cream cheese properly is key here. If the cream cheese is too cold, it won’t blend smoothly and you’ll get lumps. Let it sit out for about 30 minutes to soften before mixing.
When whipping the cream, keep your bowl and beaters cold—pop them in the fridge or freezer for 10 minutes beforehand. This helps the cream whip faster and hold its shape better.
Folding is a gentle technique that preserves airiness. Use a spatula and lift the mixture from the bottom over the top rather than stirring vigorously. This keeps the filling light and fluffy instead of dense.
Don’t skimp on chilling time. Even though this cheesecake is no-bake, the fridge gives it time to firm up and develop richer flavor.
One mistake I made early on was overmixing the filling after adding the whipped cream. It turned dense and less creamy. So, folding gently and stopping as soon as it’s combined is a golden rule.
Multitasking tip: While the crust chills, whip your cream cheese and cream to save time. It’s a nice little rhythm that makes the whole process quicker.
Variations & Adaptations
- Peanut Butter Oreo Cups: Add 1/4 cup (60 g) of creamy peanut butter to the cream cheese mixture for a nutty twist that pairs perfectly with the chocolate cookies.
- Berry Swirl: Fold in 1/2 cup (75 g) of fresh raspberries or strawberries (lightly mashed) into the cream cheese filling for a fruity burst. Great for spring and summer.
- Mint Oreo Cheesecake: Use mint-flavored Oreos and add 1/2 teaspoon peppermint extract to the filling for a refreshing holiday treat.
- Dairy-Free Version: Swap cream cheese with vegan cream cheese and use coconut cream instead of heavy cream—works surprisingly well with the Oreo crumbs.
- Mini Cheesecake Bites: Pour the filling into mini silicone muffin cups and freeze for bite-sized frozen treats perfect for hot days.
I once tried adding a thin layer of melted chocolate between the crust and filling. It was an extra step but so worth it for chocolate lovers. Feel free to customize these cups to suit your taste or occasion!
Serving & Storage Suggestions
These cheesecake cups are best served chilled, straight from the fridge. The creamy texture is at its peak when cold, with the Oreo crust providing a satisfying crunch.
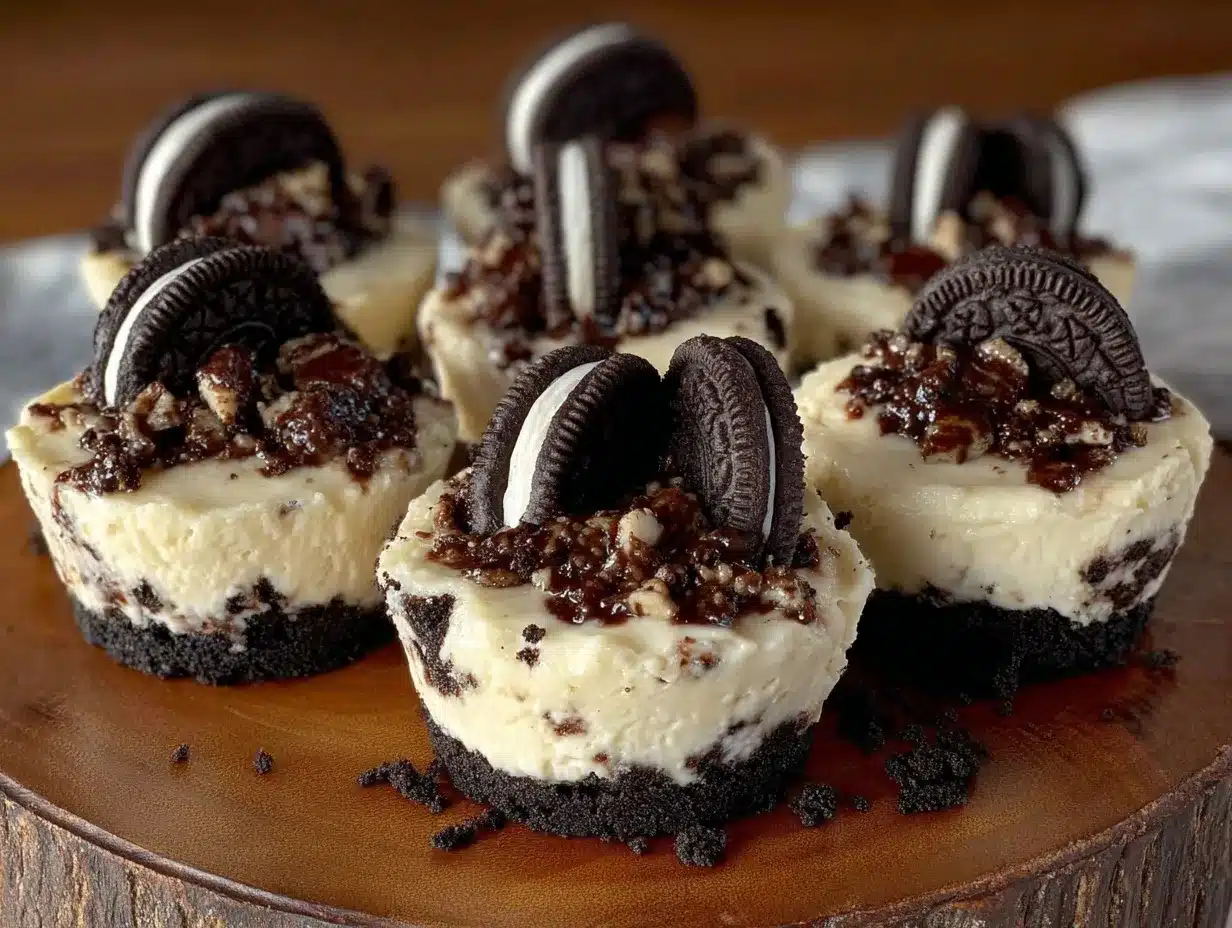
For presentation, garnish with a whole Oreo cookie on top or a few fresh berries and a dusting of cocoa powder. They shine on dessert tables or as individual treats for guests.
Store leftovers covered in the refrigerator for up to 3 days. The flavors meld beautifully overnight, making the dessert even tastier the next day.
To reheat slightly, let the cups sit at room temperature for 10 minutes before serving—warm cheesecake isn’t the goal here, but a slight tempering can soften the chill.
If you want to freeze them, do so without garnish and thaw in the fridge overnight before serving. The texture may be a touch denser but still delicious.
Nutritional Information & Benefits
Approximate nutrition per serving (based on 6 servings):
| Calories | 320 |
|---|---|
| Fat | 22g |
| Carbohydrates | 28g |
| Protein | 5g |
| Sugar | 22g |
Key benefits come from the protein and calcium in cream cheese and cream, while Oreos provide a sweet crunch. This dessert is rich and indulgent, so it’s best enjoyed as an occasional treat.
For those with dietary concerns, swapping to low-fat cream cheese or using sugar substitutes can lighten the recipe. Just remember, the creamy texture depends on the fat content, so some richness is part of the charm.
Personally, I see this dessert as a joyful occasional indulgence—comfort food with a nostalgic twist that brings happiness with every bite.
Conclusion
The Creamy No-Bake Oreo Cheesecake Cups recipe is a lifesaver when you want a luscious dessert without the oven drama. It’s easy, fast, and hits all those classic dessert notes that make you smile. I encourage you to tweak the flavors or toppings to fit your mood or occasion—this recipe is a blank canvas for creativity.
I keep coming back to these cups because they remind me that sometimes, the best recipes come from improvisation and a pinch of kitchen chaos. So, grab your Oreos, soften that cream cheese, and make yourself a little dessert magic that’s as simple as it is delicious.
If you try it, I’d love to hear how you made it your own—leave a comment below or share your favorite twist. Happy no-baking!
FAQs
Can I use a different cookie instead of Oreos?
Absolutely! Chocolate wafer cookies or even graham crackers can work, but Oreos give the signature flavor and texture that makes this dessert special.
How long do these cheesecake cups need to chill?
At least 1 hour in the refrigerator for the best texture and flavor. If you’re in a hurry, 30 minutes can do, but longer chilling always helps.
Can I prepare these cheesecake cups ahead of time?
Yes! They keep well in the fridge for up to 3 days, making them perfect for prepping before parties or gatherings.
Is there a way to make these gluten-free?
Use gluten-free sandwich cookies similar to Oreos. Just make sure to check the labels for hidden gluten ingredients.
Can I double or triple this recipe?
Definitely. Just keep the same ratios and assemble in larger containers or more cups. It’s great for feeding a crowd.
Pin This Recipe!
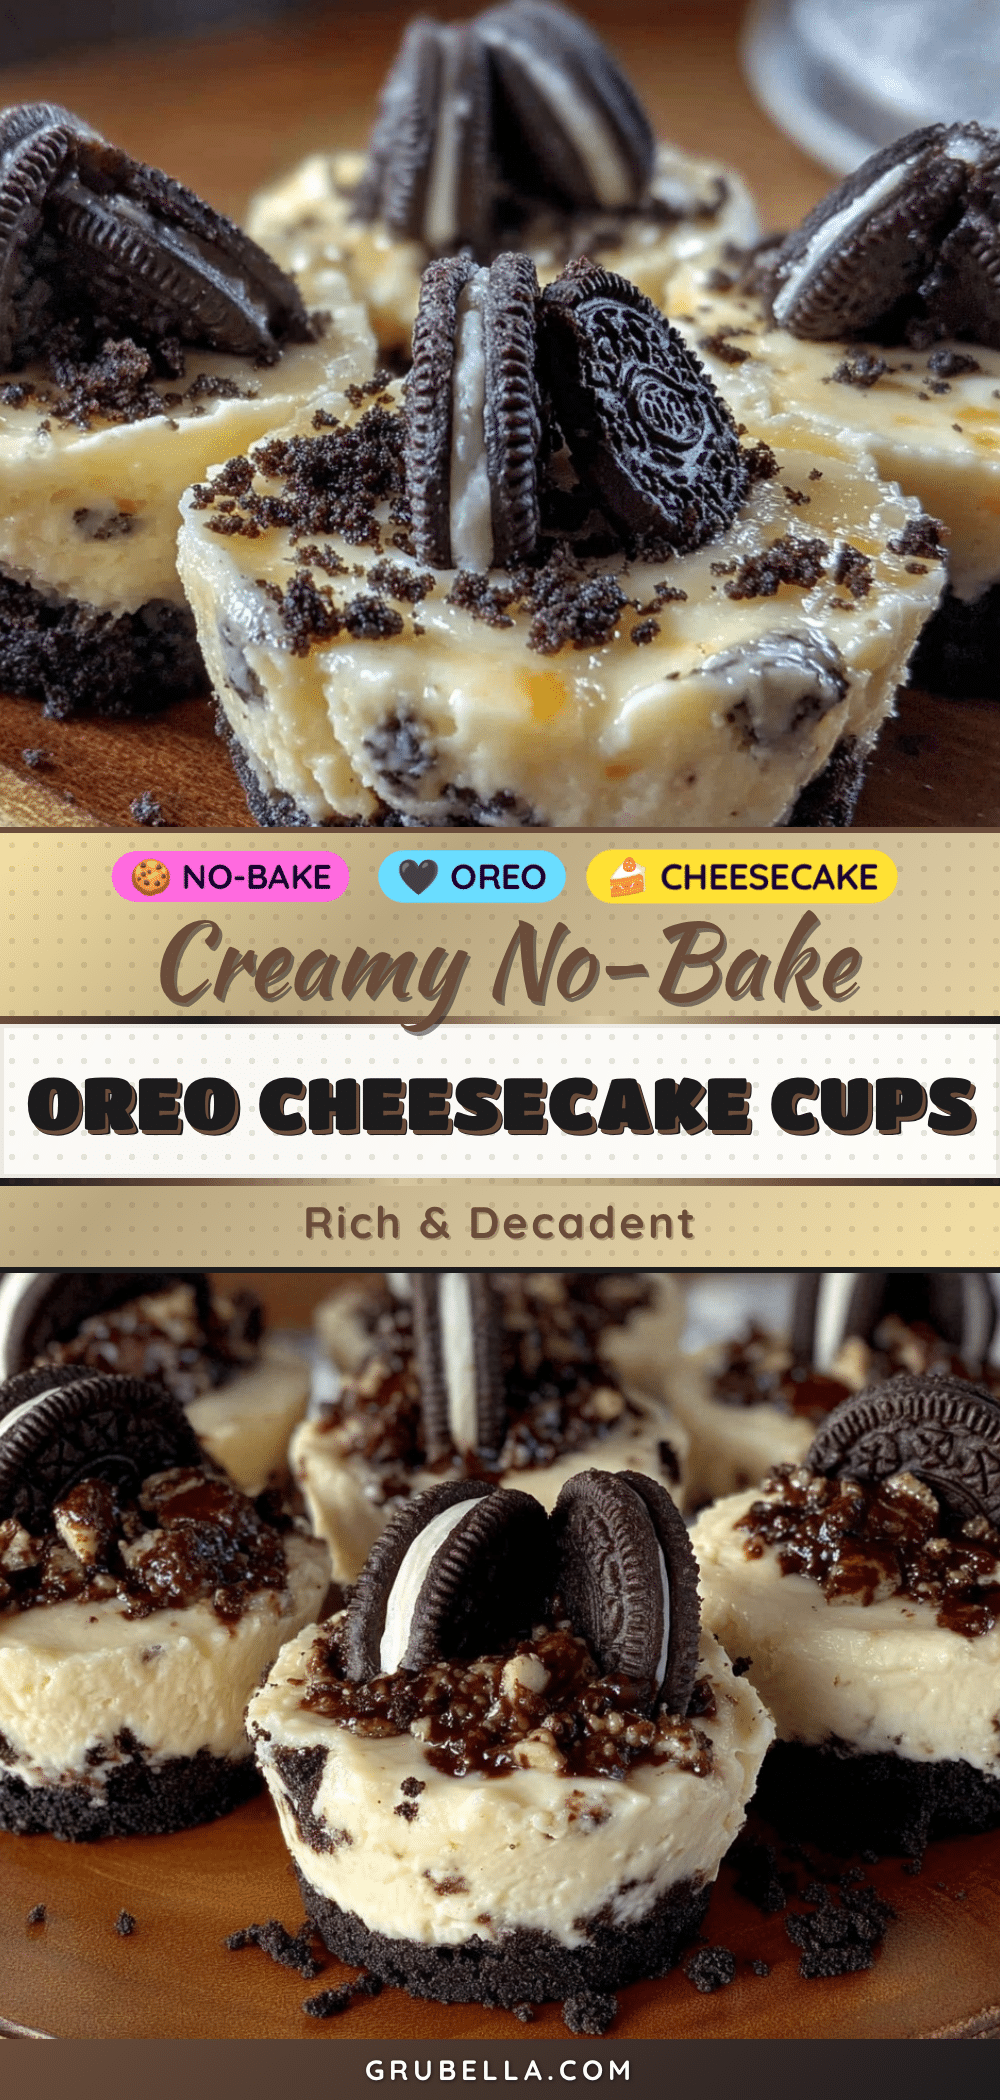
Creamy No-Bake Oreo Cheesecake Cups
A quick and easy no-bake dessert featuring creamy whipped cream cheese and crushed Oreo cookies layered in cups. Perfect for last-minute treats without oven hassle.
- Prep Time: 10 minutes
- Cook Time: 0 minutes
- Total Time: 1 hour 10 minutes
- Yield: 4-6 servings 1x
- Category: Dessert
- Cuisine: American
Ingredients
- 20 whole Oreo cookies, crushed
- 8 oz (225 g) cream cheese, softened
- 1 cup (240 ml) heavy whipping cream, cold
- 1/2 cup (60 g) powdered sugar
- 1 teaspoon vanilla extract
- 2 tablespoons (28 g) unsalted butter, melted
- Optional: mini chocolate chips or chocolate shavings for garnish
- Optional: fresh berries like raspberries or strawberries
Instructions
- Crush the Oreos using a food processor or place in a sealed plastic bag and crush with a rolling pin until coarse but not powdery. Reserve 1/4 cup (30 g) of crumbs for topping.
- Combine the remaining Oreo crumbs with melted butter until evenly moistened to form the crust.
- Spoon the Oreo crust mixture evenly into 4-6 small serving cups and press down gently to create a firm base. Chill in the fridge for about 10 minutes.
- In a large bowl, beat the softened cream cheese with powdered sugar and vanilla extract using an electric mixer on medium speed until smooth and creamy, about 2-3 minutes.
- In a separate chilled bowl, whip the cold heavy cream on high speed until soft peaks form, about 3-4 minutes.
- Gently fold one-third of the whipped cream into the cream cheese mixture to lighten it, then fold in the remaining whipped cream until fully combined.
- Spoon or pipe half of the cream cheese filling over the Oreo crust in each cup. Sprinkle a few reserved Oreo crumbs on top.
- Add the remaining filling, smoothing the top, and finish with a sprinkle of crumbs or optional chocolate shavings.
- Chill the assembled cups for at least 1 hour before serving.
- Serve chilled and enjoy.
Notes
Let cream cheese soften for about 30 minutes before mixing to avoid lumps. Keep bowl and beaters cold when whipping cream for better results. Fold whipped cream gently to keep filling light and airy. Chill at least 1 hour for best texture and flavor. Can substitute vegan cream cheese and coconut cream for dairy-free version. Use gluten-free sandwich cookies for gluten-free option.
Nutrition
- Serving Size: 1 cheesecake cup
- Calories: 320
- Sugar: 22
- Fat: 22
- Carbohydrates: 28
- Protein: 5
Keywords: no-bake, Oreo, cheesecake, dessert, quick dessert, easy recipe, creamy, no oven, Oreo cheesecake cups



