Love this? Save it for later!
Share the inspiration with your friends
The doorbell rang at 5:45 PM on a Tuesday, and I froze. I was supposed to be hosting my in-laws for a casual dinner, but the only thing in my fridge was a limp bag of green beans, a block of cheddar cheese, and half a bag of those crispy fried onions my husband loves. I had planned to make that one-pot creamy chicken and wild rice bake, but the chicken wasn’t thawed. Panic set in.
I looked at the green beans. They were sad, grayish-green stalks that needed serious cheering up. Then I looked at the fried onions. They were golden, crunchy, and smelled like comfort food from a can. Why not combine them? It felt like a desperate hack, the kind of thing you’d make when you’ve forgotten to shop for three days.
I dumped the beans in boiling water, drained them while they were still a bit crisp, and tossed them in a sauce made from cream cheese, milk, and that cheddar. I topped it with the onions and popped it in the oven. The smell that came out was incredible—savory, salty, and deeply nostalgic.
My in-laws loved it. They didn’t know I had panicked. They just thought I was a genius who planned this spontaneous “deconstructed casserole” night. Honestly, it became a tradition. Now, every time I see a bag of fried onions, I think of that chaotic Tuesday and the joy of turning pantry scraps into a crowd-pleaser.
Why You’ll Love This Crispy Fried Onion Green Bean Casserole
Let’s face it, holiday sides can be stressful. You want something that tastes homemade but doesn’t require three hours of prep time. This recipe is your answer. It’s not just another green bean dish; it’s a texture dream. The contrast between the tender, creamy beans and the crunchy, savory onion topping is what makes this recipe stand out from the rest.
Here is why this recipe earns its spot on your table:
* **Quick & Easy**: From start to finish, this takes about 45 minutes. You can prep it while your main dish cooks, making it perfect for busy weeknights or last-minute holiday gatherings.
* **Simple Ingredients**: You likely have most of these items in your pantry right now. No fancy grocery trips needed. It relies on pantry staples to deliver bold flavor.
* **Perfect for Holiday Mornings**: While often associated with Thanksgiving, this works great for Christmas or even a cozy Sunday brunch side.
* **Crowd-Pleaser**: Kids love the crunch, and adults love the nostalgia. It always gets rave reviews, even from the pickiest eaters.
* **Unbelievably Delicious**: The texture and flavor combo is next-level comfort food. It’s rich, savory, and satisfying without being overly heavy.
What makes this different? Most green bean casseroles rely on canned soup and lack depth. This version uses a roux-based cream sauce with sharp cheddar and garlic, giving it a gourmet twist. It’s comfort food reimagined—healthier in spirit, faster in practice, but with the same soul-soothing satisfaction. It’s the kind of dish that makes you close your eyes after the first bite.
What Ingredients You Will Need
This recipe uses simple, wholesome ingredients to deliver bold flavor and satisfying texture without the fuss. The magic lies in the balance of fresh greens and pantry staples. You don’t need exotic spices or hard-to-find items.
Here is what you need to gather:
**For the Green Beans:**
* **Fresh Green Beans (1.5 lbs)**: Look for beans that are bright green and snap easily. Avoid limp or yellowed ones. Fresh beans have a better texture than frozen, though frozen works in a pinch.
* **Salt (1 tsp)**: For seasoning the boiling water.
* **Ice Water (1 bowl)**: Essential for the ice bath to stop the cooking process and keep the beans vibrant.
**For the Creamy Sauce:**
* **Unsalted Butter (3 tbsp)**: I recommend using high-quality butter like Kerrygold for the best flavor. It adds richness to the sauce.
* **All-Purpose Flour (3 tbsp)**: To thicken the sauce. Use a standard brand; it doesn’t matter much here.
* **Garlic (3 cloves)**: Freshly minced. Do not use jarred garlic if you can help it; the flavor difference is significant.
* **Heavy Cream (1 cup)**: This gives the sauce its luxurious body. Half-and-half works too, but it will be thinner.
* **Chicken Broth (1/2 cup)**: Low-sodium is best so you can control the saltiness.
* **Sharp Cheddar Cheese (1 cup)**: Shred it yourself. Pre-shredded cheese has anti-caking agents that prevent it from melting smoothly. Use a block of extra-sharp cheddar for the best bite.
* **Dijon Mustard (1 tsp)**: Adds a subtle tang that cuts through the richness.
* **Salt and Black Pepper (to taste)**: Start with 1/2 tsp salt and adjust after adding the cheese.
**For the Topping:**
* **Crispy Fried Onions (2 cups)**: The classic topping. You can use the canned kind or homemade if you’re feeling fancy.
* **Fresh Parsley (2 tbsp)**: Chopped. This adds a pop of color and freshness to balance the heavy flavors.
Equipment Needed
You don’t need a fancy kitchen to make this. Here is what you’ll need:
* **Large Pot**: For blanching the green beans. Make sure it’s big enough to hold the beans in a single layer if possible.
* **Large Bowl**: For the ice bath.
* **Dutch Oven or Large Skillet**: This is where you make the sauce. A heavy-bottomed pot prevents scorching.
* **Colander**: To drain the beans quickly.
* **Grater**: If you buy block cheese, a box grater is essential.
* **Baking Dish**: A 9×13 inch casserole dish is standard, but a smaller 2-quart dish works if you’re feeding fewer people.
If you don’t have a Dutch oven, a large deep skillet works fine. Just be careful not to overfill it when transferring the beans. Also, having a timer is helpful so you don’t forget the beans in the boiling water.
Preparation Method
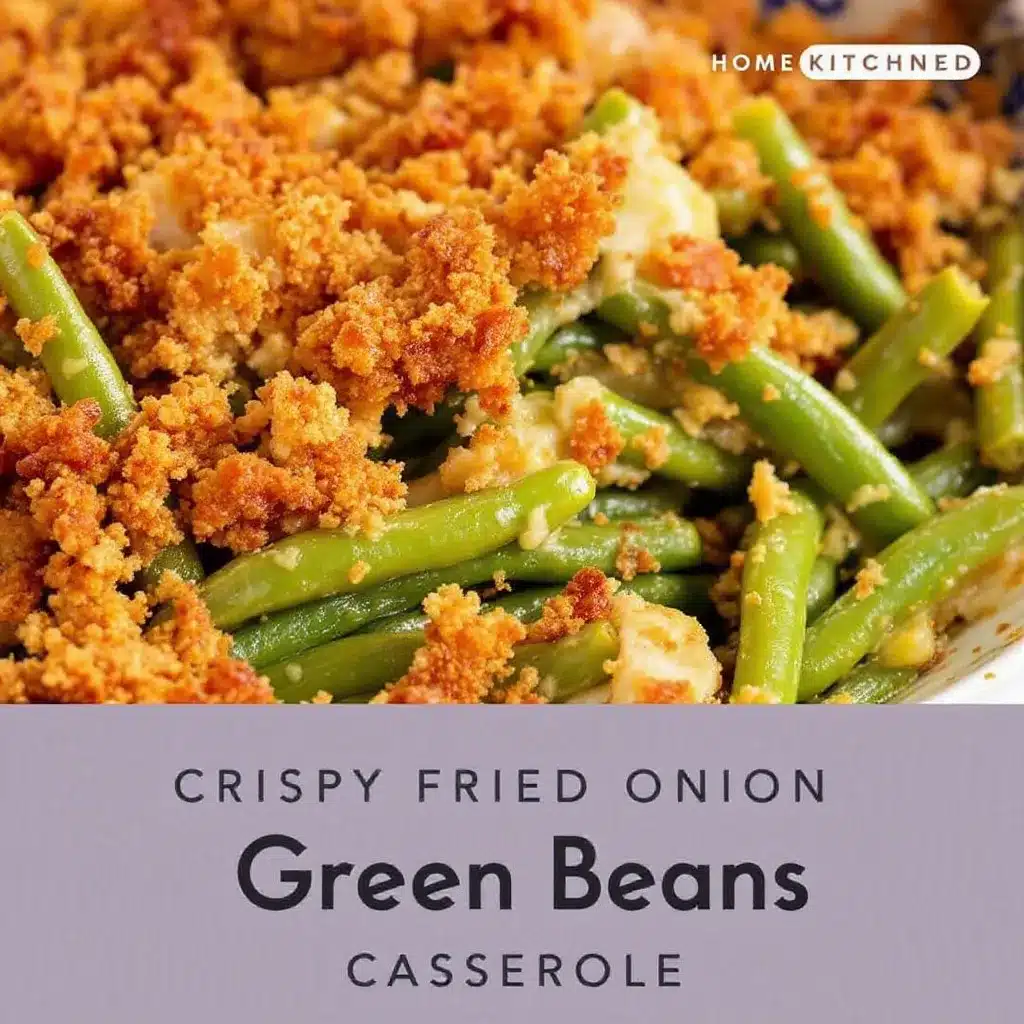
Let’s get cooking. This process is straightforward, but timing is key to getting that perfect texture.
**Step 1: Blanch the Green Beans (10 minutes)**
Bring a large pot of salted water to a rolling boil. While that heats up, trim the ends off the green beans. Once the water is boiling, add the beans. Cook them for 3-4 minutes. They should be bright green but still crisp-tender. Do not overcook them, or they will turn mushy later.
**Step 2: Ice Bath (2 minutes)**
While the beans boil, prepare a bowl of ice water. As soon as the beans are done, use a slotted spoon to transfer them immediately into the ice bath. This stops the cooking process and locks in that vibrant green color. Let them sit for about 2 minutes, then drain well and pat dry with paper towels. Excess water will dilute your sauce.
**Step 3: Make the Roux (5 minutes)**
In your Dutch oven or large skillet, melt the butter over medium heat. Once foamy, add the minced garlic and cook for 30 seconds until fragrant. Be careful not to burn the garlic. Sprinkle the flour over the butter and whisk constantly for 1-2 minutes. You want a light blonde color. This cooks out the raw flour taste.
**Step 4: Create the Sauce (5 minutes)**
Slowly pour in the chicken broth while whisking to prevent lumps. Then, add the heavy cream. Continue to whisk and cook until the mixture thickens slightly, about 2-3 minutes. Stir in the Dijon mustard, salt, and pepper.
**Step 5: Melt the Cheese (2 minutes)**
Remove the pan from heat. Stir in the shredded cheddar cheese until completely melted and smooth. If the sauce is too thick, add a splash more milk or broth. Taste and adjust seasoning. It should be creamy and savory.
**Step 6: Combine and Bake (20 minutes)**
Preheat your oven to 375°F (190°C). Add the blanched green beans to the cheese sauce and gently fold them in until coated. Pour the mixture into your greased baking dish. Sprinkle the crispy fried onions evenly over the top. Bake for 15-20 minutes, or until the sauce is bubbly and the onions are golden brown.
**Step 7: Garnish and Serve**
Remove from the oven and let it sit for 5 minutes before serving. This allows the sauce to set slightly. Sprinkle with fresh chopped parsley for a nice touch.
Cooking Tips & Techniques
I’ve made this casserole dozens of times, and I’ve learned a few things the hard way. Here is how to avoid common pitfalls.
* **Don’t Skip the Ice Bath**: If you skip this step, the green beans will continue to cook from their own heat. They will become soft and lose their color. The ice bath keeps them crisp and pretty.
* **Shred Your Own Cheese**: This is non-negotiable if you want a smooth sauce. Pre-shredded cheese contains cellulose, which prevents clumping but also prevents smooth melting. You’ll end up with a grainy sauce.
* **Watch the Heat**: When making the roux, keep the heat at medium. If it’s too high, the flour will burn before it thickens. If it’s too low, it will take forever. Medium is the sweet spot.
* **Pat Dry the Beans**: Wet beans mean a watery sauce. After draining from the ice bath, use paper towels to remove as much moisture as possible.
* **Add Onions at the End**: Some people mix onions into the sauce. I don’t recommend it. You want the crunch on top. If you mix them in, they get soggy. Keep them separate for maximum texture contrast.
Variations & Adaptations
This recipe is flexible. Here are some ways to tweak it to fit your needs.
* **Gluten-Free Option**: Swap the all-purpose flour for a 1:1 gluten-free flour blend. Make sure your chicken broth and fried onions are certified gluten-free, as some brands contain wheat.
* **Dairy-Free Version**: Use vegan butter and a plant-based heavy cream alternative. For the cheese, use a high-quality vegan cheddar shreds. It won’t melt exactly the same, but it will still taste good.
* **Protein Boost**: Add cooked bacon bits or shredded rotisserie chicken to the mixture. This turns the side dish into a main course.
* **Spicy Kick**: Add a pinch of cayenne pepper or red pepper flakes to the sauce. The heat pairs surprisingly well with the creamy cheese.
* **Different Cheese**: Try swapping cheddar for Gruyère or Swiss for a more nutty, sophisticated flavor profile.
I once tried making this with broccoli instead of green beans. It worked well, but the broccoli absorbed more sauce, so I added a little extra cream. It’s a good option if you’re tired of beans.
Serving & Storage Suggestions
This casserole is best served warm, straight from the oven. The contrast between the hot, creamy interior and the crunchy topping is at its peak right after baking.
**Serving Ideas**:
Pair this with roasted meats like ham, turkey, or roast chicken. It also goes well with grilled pork chops. A simple green salad with a vinaigrette balances the richness of the casserole.
**Storage**:
Leftovers can be stored in an airtight container in the refrigerator for up to 3 days. The sauce will thicken as it cools, which is normal.
**Reheating**:
Reheat in the oven at 350°F for 15-20 minutes to restore the crunch. If you use the microwave, the topping will get soft. To fix this, you can sprinkle a few fresh fried onions on top after microwaving.
**Freezing**:
This casserole does not freeze well. The green beans become mushy, and the sauce may separate. It’s best enjoyed fresh.
Nutritional Information & Benefits
While this is a comfort food, it does have some nutritional merits. Green beans are a good source of Vitamin C, Vitamin K, and fiber. They support bone health and digestion. The cheddar cheese provides calcium and protein.
However, it is also high in saturated fat and sodium due to the cream, cheese, and fried onions. Enjoy this as an occasional treat rather than a daily staple. For those watching their carb intake, the green beans are low-carb, but the flour in the roux and the onions add some carbohydrates.
I always try to balance this dish with lighter sides, like a simple arugula salad, to keep the meal balanced. It’s all about moderation and enjoying the flavors.
Conclusion
This Crispy Fried Onion Green Bean Casserole is more than just a side dish. It’s a memory maker. It’s the dish that turns a stressful evening into a memorable meal. It’s easy, delicious, and guaranteed to please.
I encourage you to try it and make it your own. Add some bacon, swap the cheese, or use fresh onions if you have the time. The beauty of this recipe is its flexibility.
If you make this, I’d love to hear how it turned out. Leave a comment below with your variations or tips. Share your photos on social media and tag me. Let’s keep the conversation going in the kitchen.
Happy cooking, and enjoy every crunchy, creamy bite!
Frequently Asked Questions
Can I use frozen green beans for this recipe?
Yes, you can. Use about 2-3 bags of frozen green beans. You don’t need to blanch them since they are usually pre-blanched, but you should steam or boil them briefly to heat them through before adding them to the sauce. Make sure to drain them well to avoid a watery casserole.
How do I keep the fried onions crunchy?
The key is to add the onions only at the very end, right before baking. Also, avoid stirring them into the sauce. Let them sit on top. If you are meal prepping, store the topping separately and add it just before serving.
Can I make this ahead of time?
You can prepare the sauce and blanch the beans up to 24 hours in advance. Store them separately in the fridge. When you’re ready to bake, combine them, add the topping, and bake as directed. You may need to add a few extra minutes to the baking time since the ingredients will be cold.
What can I substitute for heavy cream?
You can use half-and-half for a lighter version, though the sauce will be less thick. You can also use whole milk, but you may need to add a little more flour to thicken it. For a dairy-free option, use a plant-based heavy cream alternative.
Is this recipe gluten-free?
Not in its original form, as it uses all-purpose flour and standard fried onions. To make it gluten-free, use a gluten-free flour blend and ensure your fried onions are certified gluten-free. Many brands now offer gluten-free crispy onions.
Pin This Recipe!
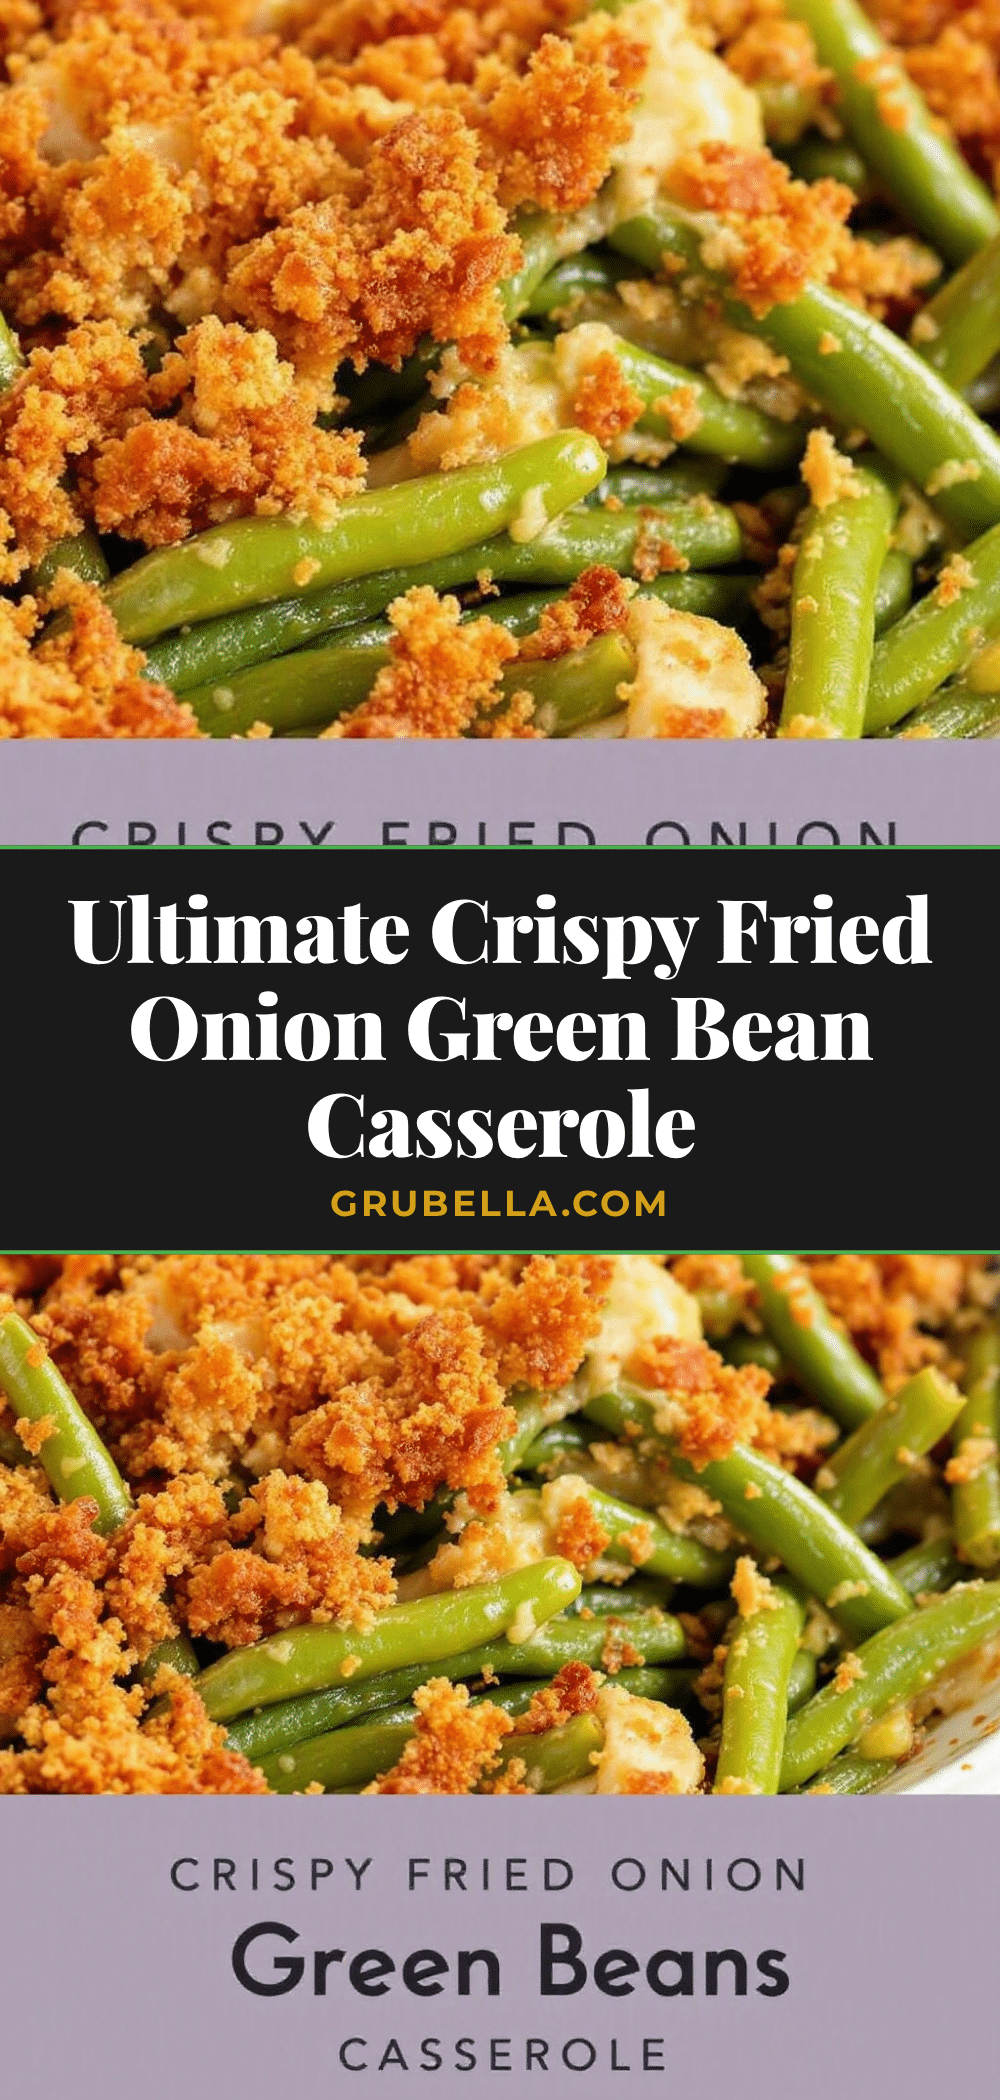
Crispy Fried Onion Green Bean Casserole: Easy Holiday Side

A quick and easy holiday side dish featuring tender green beans in a rich cheddar cream sauce, topped with crispy fried onions for a perfect texture contrast.
- Prep Time: 15 minutes
- Cook Time: 30 minutes
- Total Time: 45 minutes
- Yield: 6 servings 1x
- Category: Side Dish
- Cuisine: American
Ingredients
- 1.5 lbs fresh green beans
- 1 tsp salt (for boiling water)
- 1 bowl ice water
- 3 tbsp unsalted butter
- 3 tbsp all-purpose flour
- 3 cloves garlic, minced
- 1 cup heavy cream
- 1/2 cup low-sodium chicken broth
- 1 cup sharp cheddar cheese, shredded
- 1 tsp Dijon mustard
- 1/2 tsp salt (for sauce)
- Black pepper to taste
- 2 cups crispy fried onions
- 2 tbsp fresh parsley, chopped
Instructions
- Bring a large pot of salted water to a rolling boil. Trim the ends off the green beans and cook them for 3-4 minutes until bright green and crisp-tender.
- Prepare a bowl of ice water. Transfer the blanched beans immediately to the ice bath for 2 minutes to stop cooking, then drain and pat dry thoroughly.
- In a Dutch oven or large skillet, melt butter over medium heat. Add minced garlic and cook for 30 seconds until fragrant.
- Sprinkle flour over the butter and whisk constantly for 1-2 minutes until the mixture is a light blonde color.
- Slowly whisk in chicken broth, then add heavy cream. Cook until the mixture thickens slightly, about 2-3 minutes.
- Stir in Dijon mustard, salt, and pepper. Remove from heat and stir in shredded cheddar cheese until melted and smooth.
- Preheat oven to 375°F (190°C). Fold the blanched green beans into the cheese sauce until coated.
- Pour the mixture into a greased 9×13 inch baking dish. Sprinkle crispy fried onions evenly over the top.
- Bake for 15-20 minutes until the sauce is bubbly and onions are golden brown.
- Let sit for 5 minutes before serving. Garnish with fresh chopped parsley.
Notes
Do not skip the ice bath to keep beans vibrant and crisp. Shred your own cheese for a smooth sauce. Pat beans dry to prevent a watery sauce. Add onions only at the end to maintain crunch. This recipe is not suitable for freezing.
Nutrition
- Serving Size: 1 cup
- Calories: 350
- Sugar: 4
- Sodium: 450
- Fat: 24
- Saturated Fat: 12
- Carbohydrates: 18
- Fiber: 3
- Protein: 10
Keywords: green bean casserole, holiday side dish, crispy fried onions, cheddar cheese sauce, easy dinner, Thanksgiving side, comfort food



