Love this? Save it for later!
Share the inspiration with your friends
That sharp, savory crunch — the kind that echoes in a quiet kitchen at midnight — still takes me straight to the last weekend of October. I remember standing over the oven, not really looking at the clock, just waiting for the air to change. It wasn’t the sweet scent of the ultimate spiced pumpkin bundt cake baking downstairs that drew me in. It was something sharper. Something that smelled like roasted nuts and umami bombs waiting to happen. My husband was upstairs, probably thinking I’d forgotten him, but I was locked in on the transformation of something most people throw away.
People toss pumpkin guts without a second thought. Honestly, let’s face it, scraping out the slimy strings feels like a chore, not a gift. But there is this one specific memory where I decided to stop wasting them. I tossed them with oil, salt, and a heap of garlic powder. The smell that hit me when I pulled the tray out was intoxicating. It wasn’t just a snack; it was a flavor profile shift. Suddenly, the house didn’t smell like pumpkin pie. It smelled like a gourmet bar snack. I sat on the floor, eating them straight from the baking sheet, realizing I had accidentally stumbled onto the best part of the pumpkin.
That night changed how I view the hollowed-out shells. They aren’t waste. They are potential. Now, every time I carve a jack-o-lantern or prep a pie, my eyes go straight to the seeds. I know you might be skeptical about getting them crispy, but trust me, it is easier than you think. I kept making this batch because it became my quiet moment. It was the only thing I could control while the rest of the holiday chaos unfolded. It stuck with me because it turned a messy cleanup task into a delicious reward. And honestly, once you try them, you’ll never go back to store-bought pretzels again.
Why You’ll Love This Recipe
I have spent years perfecting this method, testing dozens of batches to get the texture just right. You know how it is; you want a snack that is savory and satisfying, not just another sweet treat. This recipe stands out because it uses a technique that ensures every single seed is coated and crisp, avoiding that common pitfall of soggy, clumpy seeds. I’ve tried blending methods and boiling tricks, but roasting them dry with a light oil coat is the winner for maximum crunch. This isn’t just another pumpkin seed recipe—it is the one that finally fixed my snacking habits.
- Quick & Easy: Comes together in under 30 minutes from clean to crispy, perfect for busy weeknights or last-minute cravings when you need something fast.
- Simple Ingredients: No fancy grocery trips needed; you likely already have pumpkin seeds, parmesan, and garlic in your kitchen right now.
- Perfect for Game Day: Great for football Sundays, movie nights, or holiday parties where you need a savory bite that isn’t heavy like chips.
- Crowd-Pleaser: Always gets rave reviews from kids and adults alike, especially when they realize they are eating “veggie” snacks.
- Unbelievably Delicious: The texture and flavor combo is next-level comfort food, with the sharpness of cheese balancing the earthy seeds.
What makes this different is the addition of the parmesan and garlic. Most recipes just use salt, which gets boring fast. The cheese creates a savory crust that clings to the seed, giving you that addictive umami hit. It’s comfort food reimagined—healthier, faster, but with the same soul-soothing satisfaction. I also love that you can adjust the spice level, making it versatile for any palate. It’s perfect for impressing guests without stress, or turning a simple meal into something memorable.
What Ingredients You Will Need
This recipe uses simple, wholesome ingredients to deliver bold flavor and satisfying texture without the fuss. The magic lies in the ratio of oil to seasoning, ensuring you get that golden crunch without greasiness. You do not need specialty items here, just good quality basics. If you buy a pumpkin, you are already halfway there. For the cheese, I recommend using a hard, aged parmesan that grates easily, like the kind from a shaker or a block you grate yourself. Pre-shredded cheese often has anti-caking agents that prevent it from melting and crisping properly, so skip that if you can.
- Fresh Pumpkin Seeds: About 1 to 1.5 cups of cleaned, raw seeds (rinse well to remove all pulp)
- Unsalted Butter: 2 tablespoons, melted (adds a rich, nutty flavor that oil alone can’t match)
- Extra Virgin Olive Oil: 1 tablespoon (helps conduct heat evenly for crispiness)
- Grated Parmesan Cheese: ¼ cup, freshly grated (use a fine grater for best coating)
- Garlic Powder: 1 teaspoon (do not use fresh garlic, as it will burn in the oven)
- Onion Powder: ½ teaspoon (adds a subtle background sweetness)
- Sea Salt: ½ teaspoon, or to taste (adjust based on how salty your cheese is)
- Black Pepper: A pinch, freshly cracked (adds a little heat and depth)
- Red Pepper Flakes: Optional, for a little kick (use sparingly if you prefer mild flavors)
For the pumpkin seeds, try to get them from a sugar pumpkin or pie pumpkin rather than a large carving pumpkin, as the seeds tend to be plumper and tastier. If you are using seeds from a carving pumpkin, just be sure to soak them in warm water for 10 minutes to loosen the stringy bits. You can also swap the butter for avocado oil if you want a dairy-free option, though the flavor profile will change slightly. The garlic powder is non-negotiable for that specific savory punch, so don’t skip it.
Why use butter and oil together?
Using both butter and olive oil might seem redundant, but it serves a specific purpose. The butter provides the flavor compounds that make your mouth water, while the olive oil has a higher smoke point that helps crisp the seeds without burning the dairy solids. It is a balance I have tested many times. If you only use butter, the milk solids can brown too quickly. If you only use oil, you miss out on that rich, creamy taste. Together, they create the perfect medium for roasting.
Equipment Needed
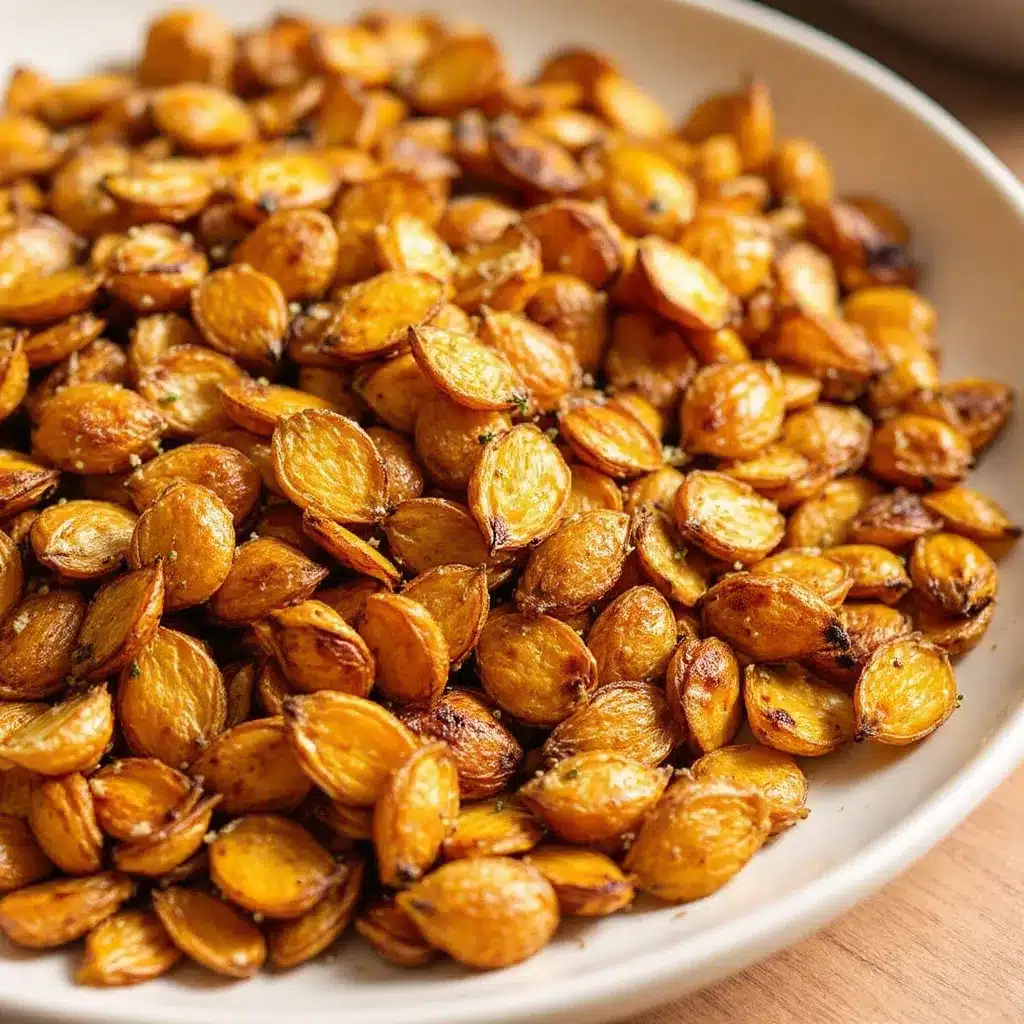
You do not need fancy gadgets for this. A standard rimmed baking sheet is your best friend here. I prefer a heavy-gauge metal sheet because it distributes heat evenly. If you use a thin, flimsy pan, your seeds might cook unevenly, leading to some burnt bits and some raw centers. A silicone baking mat is optional but helpful for easy cleanup, though I often just use parchment paper because it is easier to toss afterward.
- Rimmed Baking Sheet: Large enough to hold seeds in a single layer without overlapping
- Mixing Bowl: Medium-sized bowl for tossing seeds with oil and butter
- Whisk or Fork: To blend the butter and oil together smoothly
- Paper Towels: For drying the seeds thoroughly before seasoning
- Microplane or Fine Grater: For grating the parmesan cheese finely
If you do not have a baking sheet, a cast-iron skillet works well too, but you will need to stir them more frequently. I also recommend having a silicone spatula on hand to scrape the seeds off the pan if any cheese sticks. For maintenance, keep your baking sheets clean to prevent old grease from affecting the flavor of new batches. A budget-friendly option is to use aluminum foil to line your pan, which saves you from scrubbing later. Honestly, the less cleanup, the more likely you are to make this again.
Preparation Method
Start by preheating your oven to 325°F (165°C). This lower temperature is crucial. You want to dry out the seeds and toast them slowly, not burn them quickly. High heat will char the garlic and cheese before the inside of the seed is crunchy. While the oven heats, take your cleaned pumpkin seeds and spread them out on a clean kitchen towel or paper towels. Pat them dry. This step is non-negotiable. If the seeds are wet, they will steam instead of roast, and you will end up with chewy, sad seeds. Let them air dry for about 10-15 minutes if you can, or pat them aggressively with towels.
- Combine Fats: In a small microwave-safe bowl, melt the 2 tablespoons of butter with the 1 tablespoon of olive oil. Heat in 15-second intervals until fully liquid. Whisk them together until smooth. This ensures every seed gets an even coat of flavor.
- Toss Seeds: Place the dried seeds in your mixing bowl. Pour the butter-oil mixture over them. Toss thoroughly with a spoon or your hands until every single seed is shiny and coated. You want a thin layer, not a pool of oil.
- Add Seasonings: Sprinkle the garlic powder, onion powder, salt, pepper, and red pepper flakes over the oiled seeds. Toss again to distribute the spices evenly. If the mixture looks too dry, add a tiny splash more oil.
- Spread on Pan: Line your baking sheet with parchment paper. Spread the seeds in a single layer. Do not crowd them. If they overlap, they will stick together and cook unevenly. It might take two batches if you have a lot of seeds.
- Roast: Place the tray in the oven. Roast for 15 minutes. After 10 minutes, give the tray a shake or stir the seeds with a spatula to ensure even browning. You are looking for a golden color and a nutty aroma.
- Add Cheese: Remove the tray from the oven. Sprinkle the grated parmesan cheese evenly over the hot seeds. The residual heat will help the cheese melt slightly and stick to the seeds. Return to the oven for 3-5 minutes.
- Cool: Remove from the oven. The seeds will continue to crisp up as they cool. Let them sit on the pan for at least 10 minutes before handling. If you move them too soon, the cheese will slide off.
Watch them closely during the last few minutes. Every oven is different, and garlic burns fast. If you see dark spots, take them out immediately. They should look golden, not brown.
Troubleshooting Common Issues
If your seeds are sticking together in a clump, it is likely because the cheese melted too much and acted like glue. To avoid this, ensure you spread them out well after adding the cheese. If they taste bland, you probably did not dry them enough before roasting, which diluted the seasoning. Always taste a seed after it cools completely to check the salt level.
Cooking Tips & Techniques
Getting the texture right is all about moisture control. I learned this the hard way after a batch of soggy seeds ruined my afternoon. The key is to remove as much water as possible before they hit the oven. If you wash the seeds, do it thoroughly and then let them sit out for a while. I often leave them on the counter overnight if I am prepping for a party the next day. This drying step makes a huge difference in the final crunch.
Another tip is to use a light hand with the cheese. Parmesan is salty and flavorful, so you do not need a heavy blanket of it. A light dusting is enough to coat the seeds. If you add too much, it will burn in the oven and turn bitter. Stirring the seeds halfway through the first 15 minutes is also important. This prevents the ones on the edges from burning while the ones in the middle finish cooking. I usually shake the pan rather than stirring, which is faster and less likely to break the seeds.
Timing is everything. Do not walk away from the oven. Garlic and cheese have a very narrow window between “perfect” and “burnt.” Set a timer for 15 minutes, and another one for the final 5 minutes. When they are done, they should smell nutty and savory, not acrid. If you hear a popping sound, that is a good sign—it means they are drying out and crisping up. Listen for that. It is the sound of success.
Variations & Adaptations
While the garlic parmesan version is my favorite, these seeds are a blank canvas. You can easily adapt them to suit different tastes or dietary needs. For a spicy kick, add cayenne pepper or chili powder along with the garlic. This pairs well with a cold beer or a cocktail like the perfect caramel apple cider margarita for a game day spread. If you prefer sweeter snacks, skip the cheese and garlic, and toss the seeds with cinnamon and brown sugar after they come out of the oven. The residual heat will melt the sugar slightly, creating a candied effect.
- Herb Garden: Add dried rosemary, thyme, and a little lemon zest for a fresh, aromatic twist.
- Smoky BBQ: Use smoked paprika and a touch of brown sugar for a barbecue-style flavor.
- Everything Bagel: Sprinkle with everything bagel seasoning for a classic, savory crunch.
- Dairy-Free: Skip the parmesan and use nutritional yeast instead for a cheesy, vegan-friendly flavor.
I also tried making these with sunflower seeds once, and they worked just as well. The technique is universal. If you want to reduce sodium, omit the salt and rely on the parmesan for flavor. For a gluten-free option, just ensure your spices are certified gluten-free, as some blends contain anti-caking agents with wheat. These adaptations make the recipe versatile enough for any season or dietary preference.
Serving & Storage Suggestions
Serve these seeds warm or at room temperature. They are perfect as a standalone snack in a small bowl, or as a topping for salads and soups. I love sprinkling them over a bowl of cozy creamy butternut squash soup for added texture. They also pair beautifully with a charcuterie board, adding a savory element that complements the meats and cheeses. If you are serving them as a gift, put them in a clear cellophane bag with a ribbon and a tag. They make a thoughtful, homemade present.
For storage, let the seeds cool completely before placing them in an airtight container. They will stay crispy in the pantry for up to one week. If you live in a humid climate, store them in the refrigerator to maintain crunchiness. You can also freeze them for up to three months. To reheat, spread them on a baking sheet and warm in the oven at 300°F for 5 minutes. This restores the crispness if they have absorbed any moisture. Avoid the microwave, as it will make them chewy. The flavors actually meld and deepen over the first day, so they often taste better the next day.
Nutritional Information & Benefits
Pumpkin seeds are a nutritional powerhouse. They are packed with magnesium, zinc, and healthy fats, which are great for heart health and immune support. Unlike chips or crackers, these seeds provide protein and fiber, keeping you fuller longer. One serving of about a quarter cup contains roughly 150 calories, with a good balance of fats and protein. They are naturally gluten-free and can be made dairy-free or low-carb with simple substitutions. I appreciate that this snack feels indulgent but is actually good for you. It is a guilt-free way to satisfy a craving. The garlic and parmesan add flavor without excessive calories, making it a smart choice for mindful snacking.
Conclusion
These Crispy Roasted Garlic Parmesan Pumpkin Seeds are a game-changer for how you handle pumpkin guts. They are easy to make, incredibly delicious, and far superior to anything you can buy at the store. I encourage you to try this recipe and see how simple it is to turn waste into a gourmet snack. Feel free to experiment with different spices to find your perfect blend. This recipe has become a staple in my kitchen, and I hope it becomes one in yours too. Please leave a comment below and let me know how you liked them. Did you try a variation? Share your thoughts and inspire others to stop throwing away their seeds. Happy roasting!
Frequently Asked Questions
Can I use seeds from a carving pumpkin?
Yes, you can use seeds from any pumpkin. However, seeds from sugar or pie pumpkins are generally larger and tastier. If using carving pumpkin seeds, be sure to clean them thoroughly to remove all stringy pulp.
Why are my seeds soggy?
Sogginess usually comes from not drying the seeds enough before roasting. Make sure to pat them dry with paper towels and consider letting them air dry for a while. Crowding the pan can also cause steaming, so use a large pan.
Can I make these ahead of time?
Absolutely. They keep well in an airtight container for up to a week. In fact, they often taste better the next day as the flavors meld. You can also freeze them for longer storage.
How do I store them to keep them crispy?
Store them in an airtight container at room temperature. If you live in a humid area, keep them in the refrigerator. Avoid the microwave for reheating, as it will make them chewy.
Can I substitute the parmesan?
Yes. For a dairy-free option, use nutritional yeast. You can also try other hard cheeses like pecorino romano, which has a sharper flavor. Just ensure you grate it finely for the best coating.
Pin This Recipe!
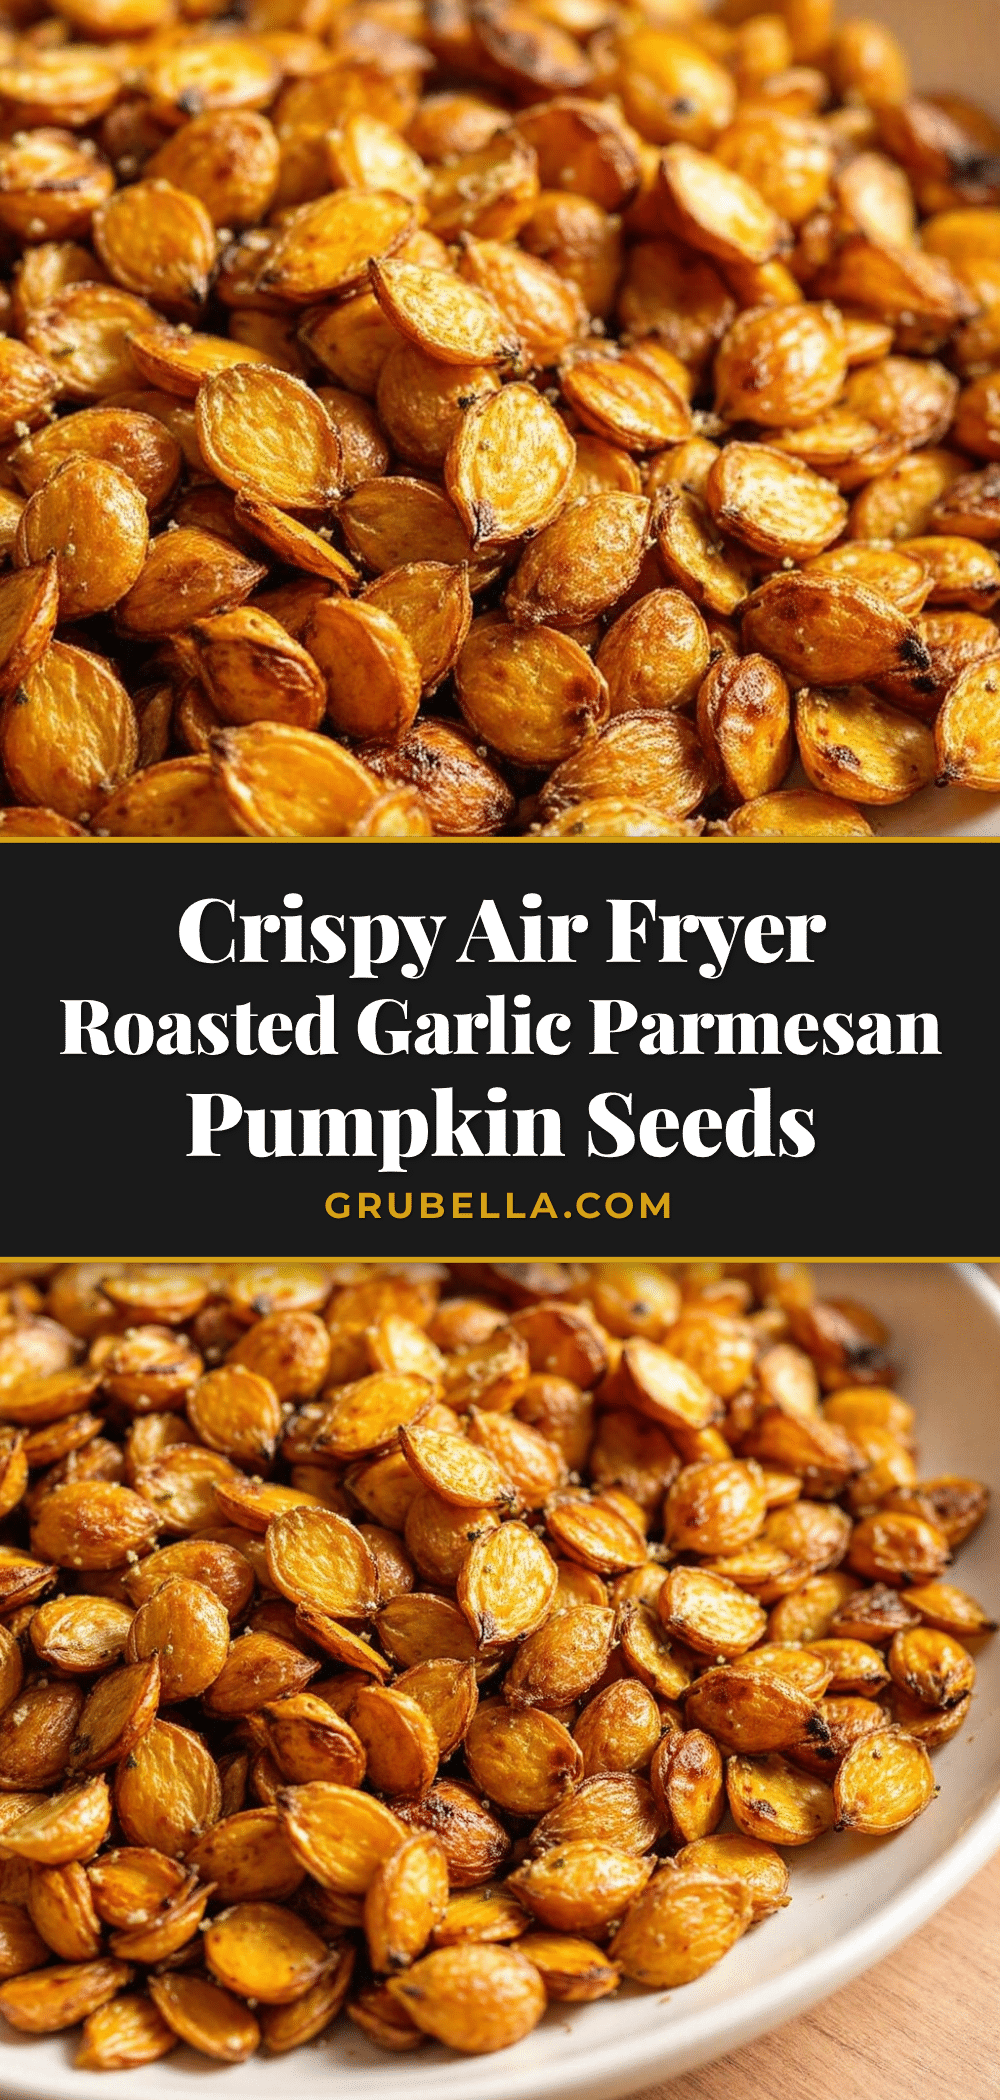
Crispy Roasted Garlic Parmesan Pumpkin Seeds
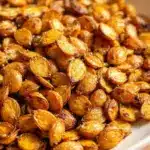
Transform pumpkin seeds into a gourmet, savory snack with this easy recipe featuring a crispy coating of parmesan cheese, garlic powder, and a blend of butter and olive oil.
- Prep Time: 15 minutes
- Cook Time: 20 minutes
- Total Time: 35 minutes
- Yield: 4 servings 1x
- Category: Snack
- Cuisine: American
Ingredients
- 1 to 1.5 cups fresh pumpkin seeds, cleaned and rinsed
- 2 tablespoons unsalted butter, melted
- 1 tablespoon extra virgin olive oil
- 1/4 cup freshly grated parmesan cheese
- 1 teaspoon garlic powder
- 1/2 teaspoon onion powder
- 1/2 teaspoon sea salt, or to taste
- 1 pinch black pepper, freshly cracked
- Red pepper flakes, optional for heat
Instructions
- Preheat oven to 325°F (165°C).
- Pat the cleaned pumpkin seeds dry thoroughly with paper towels or a kitchen towel to remove all moisture.
- In a small microwave-safe bowl, melt the butter and olive oil together. Whisk until smooth.
- Place the dried seeds in a mixing bowl and pour the butter-oil mixture over them. Toss thoroughly until every seed is evenly coated.
- Sprinkle garlic powder, onion powder, salt, pepper, and red pepper flakes over the seeds. Toss again to distribute seasonings evenly.
- Line a rimmed baking sheet with parchment paper. Spread the seeds in a single layer without overlapping.
- Roast in the preheated oven for 15 minutes, stirring or shaking the pan halfway through to ensure even browning.
- Remove the tray from the oven and sprinkle the grated parmesan cheese evenly over the hot seeds.
- Return to the oven for 3-5 minutes until the cheese is melted and slightly crisp.
- Remove from the oven and let the seeds cool on the pan for at least 10 minutes to crisp up before handling.
Notes
Ensure seeds are completely dry before roasting to prevent sogginess. Use a light hand with the cheese to avoid burning. Seeds can be stored in an airtight container for up to one week or frozen for three months. For a dairy-free version, substitute parmesan with nutritional yeast.
Nutrition
- Serving Size: 1/4 cup
- Calories: 150
- Sugar: 1
- Sodium: 250
- Fat: 12
- Saturated Fat: 5
- Carbohydrates: 5
- Fiber: 2
- Protein: 8
Keywords: pumpkin seeds, roasted pumpkin seeds, garlic parmesan seeds, healthy snack, game day snack, gluten-free snack, vegan option, easy recipe