Love this? Save it for later!
Share the inspiration with your friends
My grandmother handed me her pumpkin pie recipe on a stained index card, and I shoved it in a drawer for three years. I did not trust canned pumpkin in a pie. It felt like cheating—something you brought to the office potluck when you ran out of time, not something you served at Thanksgiving with any sense of pride. Then I spent a November afternoon at my friend Maria’s house, watching her pull a pie from the oven that smelled like browned butter and cloves, and she laughed when I asked if she’d roasted her own squash. “Nope,” she said, handing me a fork. “Libby’s. The trick is everything else.” That pie—with its silky filling that held its shape without being stiff, and a crust so flaky it shattered into buttery confetti—changed my mind completely. I went home, dug out that index card, and started testing. This perfect classic pumpkin pie is what came out of that stubborn, skeptical journey. It is the pie I now bring to every holiday table, and the one people text me about in November asking for the recipe again. The secret is not in the pumpkin. It is in the patience.
Why You’ll Love This Recipe
I have made this pie more times than I can count, and every single time, it delivers. Here is why this version stands apart from the dozens of pumpkin pie recipes floating around the internet.
- Foolproof Filling: This recipe uses a tested ratio of eggs to pumpkin to dairy that sets up perfectly every time—no cracking, no weeping, no soggy bottom.
- Deep, Spiced Flavor: We are not just dumping in pumpkin pie spice from a jar. You get to control the warmth of the cinnamon, the bite of the ginger, and the floral notes of the nutmeg yourself.
- The Crust Actually Stays Flaky: I spent two years perfecting a butter-and-shortening blend that holds its shape under a wet filling without turning into cardboard.
- Brown Sugar Whipped Cream: This is not a garnish. It is a second recipe that makes the whole thing sing. The molasses notes in brown sugar play off the spiced pumpkin in a way regular sugar just cannot match.
- Make-Ahead Friendly: You can blind-bake the crust a day ahead, make the filling the morning of, and assemble just before baking. This pie does not demand your entire attention on the busiest cooking day of the year.
Honestly, this is the pie that made my uncle—a man who claims he “doesn’t do dessert”—ask for seconds. It is comfort food that tastes like effort without requiring a culinary degree.
What Ingredients You Will Need
This recipe relies on simple, pantry-friendly ingredients doing their best work together. Nothing here is fussy or hard to find, but a few choices matter more than you might think.
For the Pie Crust
- 1 ¼ cups all-purpose flour (plus extra for dusting)
- ½ teaspoon salt
- 1 tablespoon granulated sugar (helps browning and adds a whisper of sweetness)
- 6 tablespoons cold unsalted butter, cut into small cubes (I use Kerrygold for the higher butterfat content—it makes a noticeably flakier crust)
- 3 tablespoons cold vegetable shortening (Crisco works fine; it prevents toughness)
- 3 to 4 tablespoons ice water
For the Pumpkin Filling
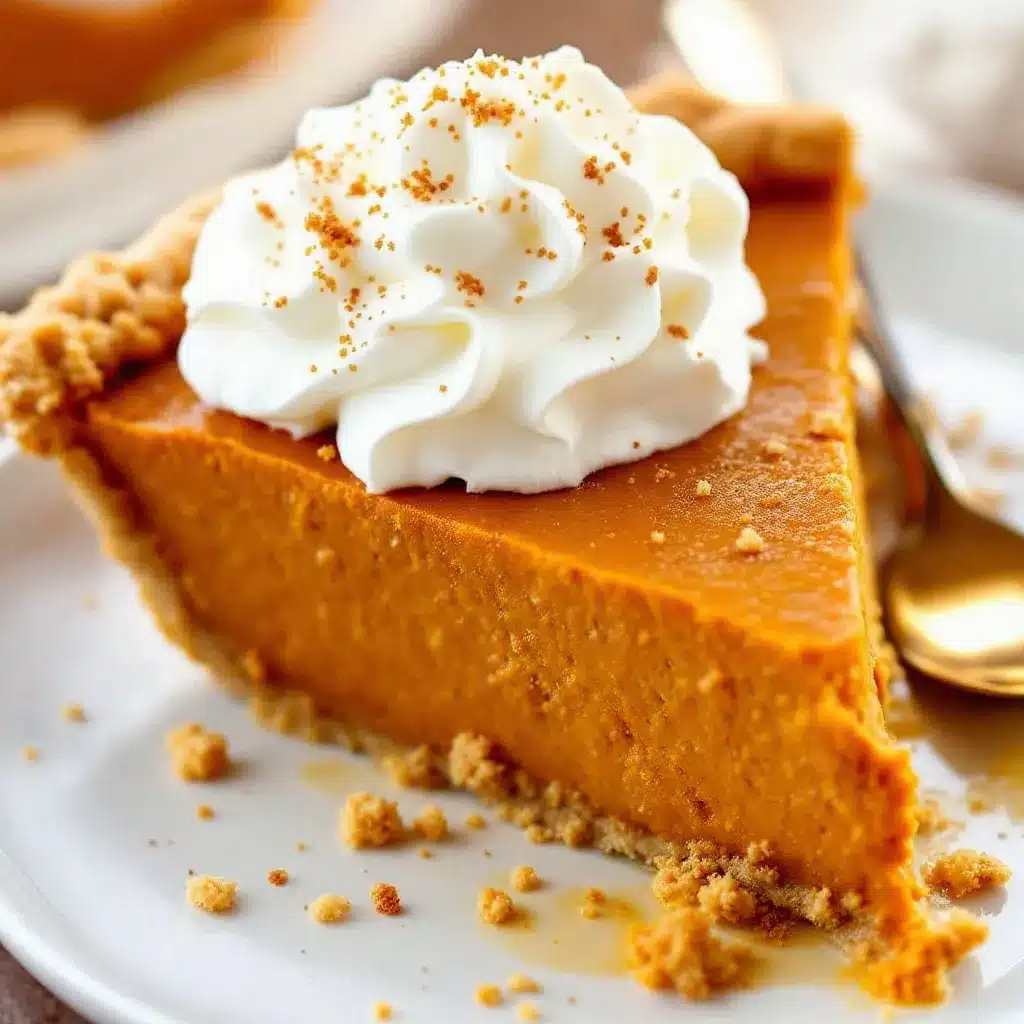
- 1 can (15 ounces) pure pumpkin purée (not pumpkin pie filling—Libby’s is my go-to for consistent texture and moisture content)
- ¾ cup packed light brown sugar
- 2 large eggs, room temperature
- 1 large egg yolk, room temperature (adds richness and helps the filling set without becoming rubbery)
- 1 cup heavy cream (do not substitute milk—you need the fat for that silky texture)
- 1 teaspoon vanilla extract
- 1 ½ teaspoons ground cinnamon
- ½ teaspoon ground ginger
- ¼ teaspoon ground nutmeg (freshly grated if you have it—the difference is real)
- ¼ teaspoon ground cloves
- ½ teaspoon salt
For the Brown Sugar Whipped Cream
- 1 cup heavy cream, very cold
- 3 tablespoons light brown sugar, packed
- ½ teaspoon vanilla extract
- Pinch of salt
Equipment Needed
You do not need a fancy kitchen to pull this off. Here is what you will actually use.
- 9-inch pie dish (glass or ceramic works best—metal can cause uneven browning on the crust)
- Rolling pin (a wine bottle works in a pinch, but a proper pin makes life easier)
- Large mixing bowls (one for the crust, one for the filling)
- Whisk
- Parchment paper and pie weights (or dried beans—I keep a bag of cheap beans in my pantry just for blind baking)
- Stand mixer or hand mixer (for the whipped cream; you can do it by hand with a whisk, but your arm will complain)
- Cooling rack
I have made this pie with a hand-me-down Pyrex dish and a wooden rolling pin that belonged to someone’s grandmother. It works. Do not overthink the gear.
Preparation Method
Take your time with the crust. It sets the stage for everything else.
Step 1: Make the Pie Crust
In a large bowl, whisk together the flour, salt, and sugar. Add the cold butter cubes and shortening. Using a pastry cutter or your fingertips, work the fat into the flour until the mixture looks like coarse meal with some pea-sized butter pieces remaining—those bits create flaky layers. Drizzle 3 tablespoons of ice water over the mixture and stir with a fork until the dough just comes together. If it feels dry, add the remaining tablespoon of water, one teaspoon at a time. Turn the dough onto a floured surface, shape it into a disk, wrap it in plastic, and refrigerate for at least 1 hour. (You can do this up to 3 days ahead.)
Step 2: Blind Bake the Crust
Preheat your oven to 375°F. On a floured surface, roll the chilled dough into a 12-inch circle, about ⅛-inch thick. Transfer it to your pie dish, gently pressing it into the corners. Trim the overhang to about ½ inch, then tuck it under and crimp the edges however you like—I use my thumb and forefinger for a classic fluted edge. Line the crust with parchment paper and fill it with pie weights or dried beans. Bake for 15 minutes, then remove the parchment and weights and bake for another 8 to 10 minutes, until the bottom looks dry and lightly golden. Set it aside to cool slightly while you make the filling. (If you are making this ahead, let the crust cool completely, then store it at room temperature for up to 24 hours.)
Step 3: Make the Filling
Reduce the oven temperature to 350°F. In a large bowl, whisk together the pumpkin purée and brown sugar until smooth. Add the eggs and egg yolk one at a time, whisking well after each addition. Whisk in the heavy cream and vanilla. In a small bowl, stir together the cinnamon, ginger, nutmeg, cloves, and salt, then whisk the spice mixture into the pumpkin base until fully incorporated. The filling will look thin and glossy—that is normal. Do not panic.
Step 4: Bake the Pie
Place the blind-baked crust on a baking sheet (this catches any drips and makes handling easier). Pour the filling into the warm crust—it should come almost to the rim. Carefully transfer the baking sheet to the oven and bake for 50 to 60 minutes. The pie is done when the edges are set and puffed slightly, but the center still jiggles like firm Jell-O when you gently shake the pan. A knife inserted an inch from the edge should come out clean. Do not overbake; the residual heat will finish setting the center as it cools.
Step 5: Cool Completely
Transfer the pie to a cooling rack and let it cool at room temperature for at least 2 hours. Do not refrigerate it while it is still warm—condensation will make the crust soggy. Once fully cool, you can cover it loosely and refrigerate for up to 2 days. The flavor actually improves after a day in the fridge.
Step 6: Make the Brown Sugar Whipped Cream
Just before serving, pour the cold heavy cream into a chilled bowl. Add the brown sugar, vanilla, and salt. Beat with a hand mixer on medium-high speed until soft peaks form—you want it billowy, not stiff. Taste it. Adjust the sugar if you like it sweeter, but I find 3 tablespoons hits the perfect balance between creamy and caramel-like. Spoon a generous dollop onto each slice.
Cooking Tips & Techniques
I have cracked, wept, and soggy-bottomed my way through more pumpkin pies than I care to admit. Here is what I learned so you do not have to.
- Keep everything cold for the crust: Butter and shortening must be refrigerator-cold when they go into the flour. Warm fat melts into the flour instead of creating steam pockets, and steam pockets are what make crust flaky. If your kitchen is warm, pop the flour bowl in the fridge for 10 minutes before you start.
- Do not skip blind baking: A wet pumpkin filling will turn an unbaked crust into a sad, doughy mess. Blind baking gives the crust a head start so it stays crisp underneath all that custard. I learned this the hard way after serving a pie with a bottom crust that peeled off like wet cardboard.
- Watch the edges: If the crust edges start browning too quickly during the final bake, tent them loosely with aluminum foil or use a silicone pie shield. I check at the 30-minute mark and add foil if needed.
- The jiggle test is your friend: Overbaked pumpkin pie cracks on the surface and turns grainy. Pull it when the center still wobbles. You want a 3-inch diameter of jiggle in the very center. It will continue cooking from residual heat as it cools.
- Chill the bowl for whipped cream: Cream whips faster and holds its shape better when everything is cold. I stick my mixing bowl and beaters in the freezer for 10 minutes before I start.
Variations & Adaptations
This recipe is sturdy enough to play with. Here are a few ways I have twisted it.
- Gluten-Free Crust: Substitute the all-purpose flour with a 1:1 gluten-free baking blend that contains xanthan gum (I like King Arthur Measure for Measure). The dough will be more delicate, so press it into the dish rather than rolling it. Everything else stays the same.
- Dairy-Free Version: Replace the butter in the crust with cold coconut oil or a plant-based butter stick. Use full-fat canned coconut milk instead of heavy cream in the filling. The texture will be slightly less rich, but it still sets beautifully. For the whipped cream, use a chilled can of full-fat coconut cream and whip it with the brown sugar—it works surprisingly well.
- Bourbon-Pumpkin Pie: Add 2 tablespoons of bourbon to the filling along with the vanilla. The alcohol mostly bakes off, leaving behind a warm, smoky note that pairs perfectly with the brown sugar whipped cream. I tried this one Thanksgiving when I was out of vanilla extract, and it accidentally became my favorite version.
- Spiced-Up Crust: Add ½ teaspoon of cinnamon and a pinch of nutmeg to the flour mixture when making the crust. It gives the whole pie a subtle warmth that ties everything together.
Serving & Storage Suggestions
This pie shines at room temperature. I let it sit out for about 20 minutes after coming out of the fridge before slicing. Serve each wedge with a generous cloud of brown sugar whipped cream and a light dusting of cinnamon on top. It pairs beautifully with a cup of black coffee or a mug of hot apple cider.
For storage, cover the cooled pie loosely with plastic wrap or foil and keep it in the refrigerator for up to 4 days. Do not leave it out at room temperature for more than 2 hours total—the custard filling is dairy-heavy and needs to stay cold. Leftover slices freeze surprisingly well: wrap each slice individually in plastic wrap, then foil, and freeze for up to 3 months. Thaw in the refrigerator overnight before serving. The whipped cream does not freeze well, so make that fresh.
I have also been known to tuck a slice into my lunchbox the next day for a cold, straight-from-the-fridge treat. The flavors settle and deepen overnight, and honestly, cold pumpkin pie with a dollop of leftover whipped cream might be my favorite way to eat it.
Nutritional Information & Benefits
One slice of this pie (with whipped cream) comes in at roughly 380 calories, 24 grams of fat, 38 grams of carbohydrates, and 5 grams of protein. The numbers shift depending on how generous you are with the whipped cream—and I am always generous.
Pumpkin itself is a nutritional powerhouse. It is packed with vitamin A (from beta-carotene), which supports eye health and immune function. It also provides fiber, potassium, and a decent dose of vitamin C. The eggs and cream add protein and calcium, while the spices—cinnamon, ginger, nutmeg, cloves—bring anti-inflammatory properties that make you feel slightly better about eating dessert. Is this a health food? No. But it is a dessert made from real ingredients, and that counts for something in my book.
If you are watching your sugar intake, you can reduce the brown sugar in the filling to ½ cup. The pie will be less sweet but still perfectly spiced. Just know the texture may be slightly less tender.
Conclusion
This pie is the one I bring to Friendsgiving, the one I make for my family on Thanksgiving morning, and the one I crave in the middle of October when the air turns cold and the leaves start to drop. It is not fancy. It does not require a trip to a specialty grocery store or a technique you have to practice for weeks. It just asks for a little patience and a few good ingredients. If you have ever been skeptical about pumpkin pie—if you thought it was a sad, wobbly afterthought on the dessert table—I hope this version changes your mind the way Maria’s pie changed mine. Make it for your people. Let them fight over the last slice. And whatever you do, do not skip the brown sugar whipped cream. That part is non-negotiable.
Have you made this pie? I would love to hear how it turned out. Drop a comment below and tell me your favorite fall dessert tradition—or if you tried any of the variations, let me know how they worked for you. And if you are looking for more cozy fall recipes to fill your kitchen with warmth, check out these creamy pumpkin cheesecake swirl muffins or this moist chocolate chip pumpkin bread for more pumpkin goodness. Happy baking!
Frequently Asked Questions
Can I use fresh pumpkin instead of canned?
You can, but I do not recommend it for this recipe. Fresh pumpkin purée has a much higher water content than canned, which can make the filling runny and prevent it from setting properly. If you insist on using fresh, roast and purée a sugar pumpkin (not a carving pumpkin), then strain the purée through cheesecloth overnight to remove excess liquid. Even then, the texture will be slightly different. Canned pumpkin is consistent, reliable, and honestly, just as delicious.
Why did my pumpkin pie crack on top?
Cracks happen when the pie is overbaked. The custard expands too much in the oven, then contracts as it cools, pulling apart at the surface. Pull the pie out when the center still has a slight jiggle—it should look set around the edges but wobble in the middle like firm Jell-O. If your pie cracks anyway, do not stress. Cover the cracks with whipped cream and nobody will ever know.
Can I make this pie ahead of time?
Absolutely. You can blind-bake the crust up to 2 days ahead and store it at room temperature. You can also bake the fully assembled pie 1 to 2 days in advance, cool it completely, and store it covered in the refrigerator. The flavor actually improves after a day in the fridge. Just add the whipped cream right before serving.
How do I prevent a soggy bottom crust?
Blind baking is your best defense. Bake the crust with pie weights until it is dry and lightly golden before adding the filling. Also, pour the filling into the crust while it is still warm from blind baking—the heat gives the bottom crust a head start on cooking. If you want extra insurance, brush the bottom of the blind-baked crust with a beaten egg white and bake for 2 more minutes before adding the filling. That creates a protein seal that blocks moisture.
Can I freeze pumpkin pie?
Yes, but with a caveat. Baked pumpkin pie freezes well for up to 3 months if you wrap it tightly in plastic wrap and then foil. Thaw it overnight in the refrigerator before serving. The texture will be slightly softer than fresh, but the flavor holds up beautifully. Do not freeze the whipped cream—make that fresh when you are ready to serve. I do not recommend freezing unbaked pie; the dairy in the filling can separate during thawing and lead to a grainy texture.
Pin This Recipe!
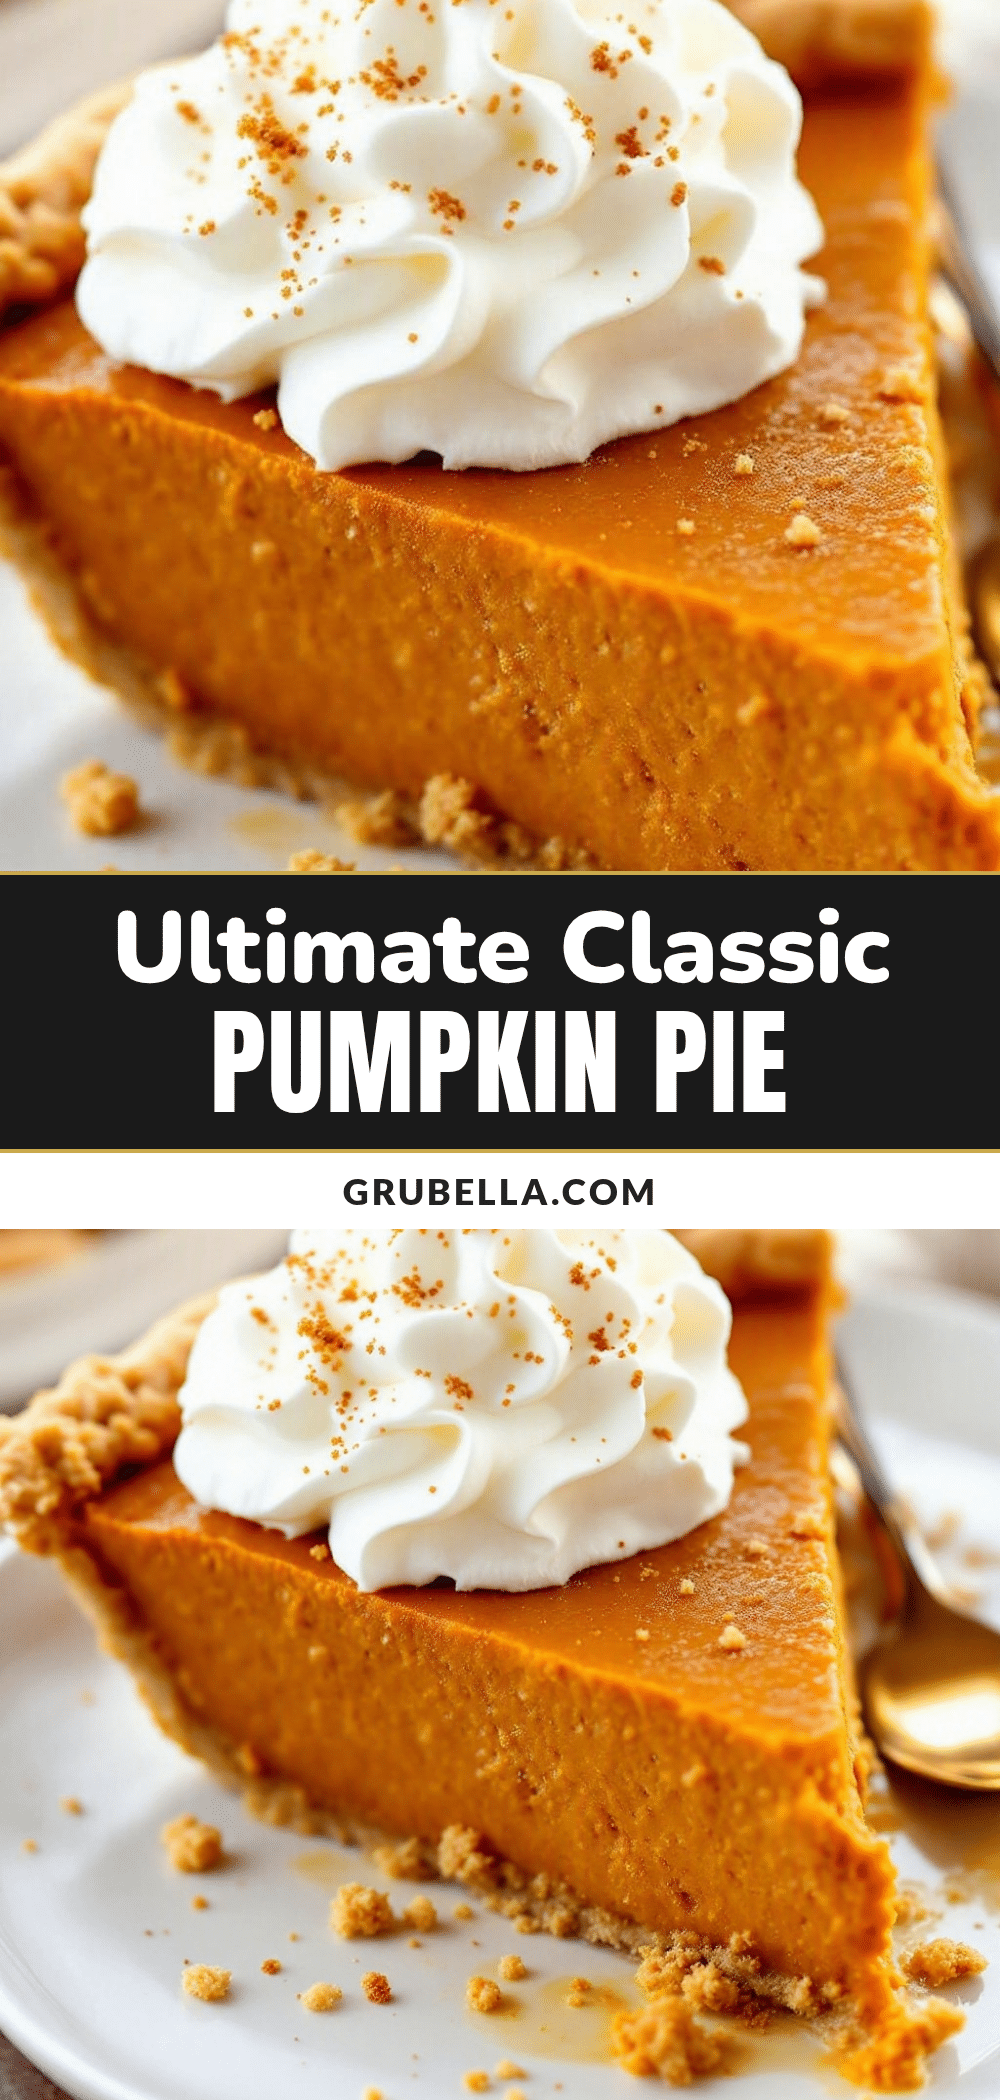
The Best Classic Pumpkin Pie with Brown Sugar Cream
A foolproof pumpkin pie with a flaky butter-and-shortening crust, silky spiced filling, and brown sugar whipped cream. This make-ahead friendly dessert delivers deep flavor and perfect texture every time.
- Prep Time: 30 minutes
- Cook Time: 60 minutes
- Total Time: 2 hours 30 minutes (includes cooling)
- Yield: 8 servings 1x
- Category: Dessert
- Cuisine: American
Ingredients
- 1 ¼ cups all-purpose flour (plus extra for dusting)
- ½ teaspoon salt
- 1 tablespoon granulated sugar
- 6 tablespoons cold unsalted butter, cut into small cubes
- 3 tablespoons cold vegetable shortening
- 3 to 4 tablespoons ice water
- 1 can (15 ounces) pure pumpkin purée (not pumpkin pie filling)
- ¾ cup packed light brown sugar
- 2 large eggs, room temperature
- 1 large egg yolk, room temperature
- 1 cup heavy cream
- 1 teaspoon vanilla extract
- 1 ½ teaspoons ground cinnamon
- ½ teaspoon ground ginger
- ¼ teaspoon ground nutmeg (freshly grated if possible)
- ¼ teaspoon ground cloves
- ½ teaspoon salt
- 1 cup heavy cream, very cold (for whipped cream)
- 3 tablespoons light brown sugar, packed (for whipped cream)
- ½ teaspoon vanilla extract (for whipped cream)
- Pinch of salt (for whipped cream)
Instructions
- Make the pie crust: In a large bowl, whisk together flour, salt, and sugar. Add cold butter cubes and shortening. Using a pastry cutter or fingertips, work the fat into the flour until the mixture looks like coarse meal with some pea-sized butter pieces remaining. Drizzle 3 tablespoons of ice water over the mixture and stir with a fork until the dough just comes together. If dry, add remaining water one teaspoon at a time. Turn dough onto a floured surface, shape into a disk, wrap in plastic, an…
- Blind bake the crust: Preheat oven to 375°F. On a floured surface, roll chilled dough into a 12-inch circle, about ⅛-inch thick. Transfer to a 9-inch pie dish, pressing into corners. Trim overhang to ½ inch, tuck under, and crimp edges. Line crust with parchment paper and fill with pie weights or dried beans. Bake for 15 minutes, then remove parchment and weights and bake for another 8 to 10 minutes until bottom looks dry and lightly golden. Set aside to cool slightly.
- Make the filling: Reduce oven temperature to 350°F. In a large bowl, whisk together pumpkin purée and brown sugar until smooth. Add eggs and egg yolk one at a time, whisking well after each. Whisk in heavy cream and vanilla. In a small bowl, stir together cinnamon, ginger, nutmeg, cloves, and salt, then whisk spice mixture into pumpkin base until fully incorporated.
- Bake the pie: Place blind-baked crust on a baking sheet. Pour filling into warm crust, almost to the rim. Carefully transfer to oven and bake for 50 to 60 minutes. Pie is done when edges are set and puffed slightly, but center still jiggles like firm Jell-O when gently shaken. A knife inserted an inch from the edge should come out clean. Do not overbake.
- Cool completely: Transfer pie to a cooling rack and cool at room temperature for at least 2 hours. Do not refrigerate while warm. Once fully cool, cover loosely and refrigerate for up to 2 days.
- Make the brown sugar whipped cream: Just before serving, pour cold heavy cream into a chilled bowl. Add brown sugar, vanilla, and salt. Beat with a hand mixer on medium-high speed until soft peaks form. Spoon onto each slice.
Notes
Keep everything cold for the crust. Do not skip blind baking. Watch the edges and tent with foil if browning too quickly. Use the jiggle test to avoid overbaking. Chill the bowl for whipped cream. The pie can be made 1-2 days ahead; flavor improves after a day in the fridge. Leftover slices freeze well for up to 3 months.
Nutrition
- Serving Size: 1 slice (with whippe
- Calories: 380
- Sugar: 24
- Sodium: 320
- Fat: 24
- Saturated Fat: 14
- Carbohydrates: 38
- Fiber: 3
- Protein: 5
Keywords: pumpkin pie, classic pumpkin pie, Thanksgiving dessert, brown sugar whipped cream, homemade pie crust, fall dessert, holiday baking



