Love this? Save it for later!
Share the inspiration with your friends
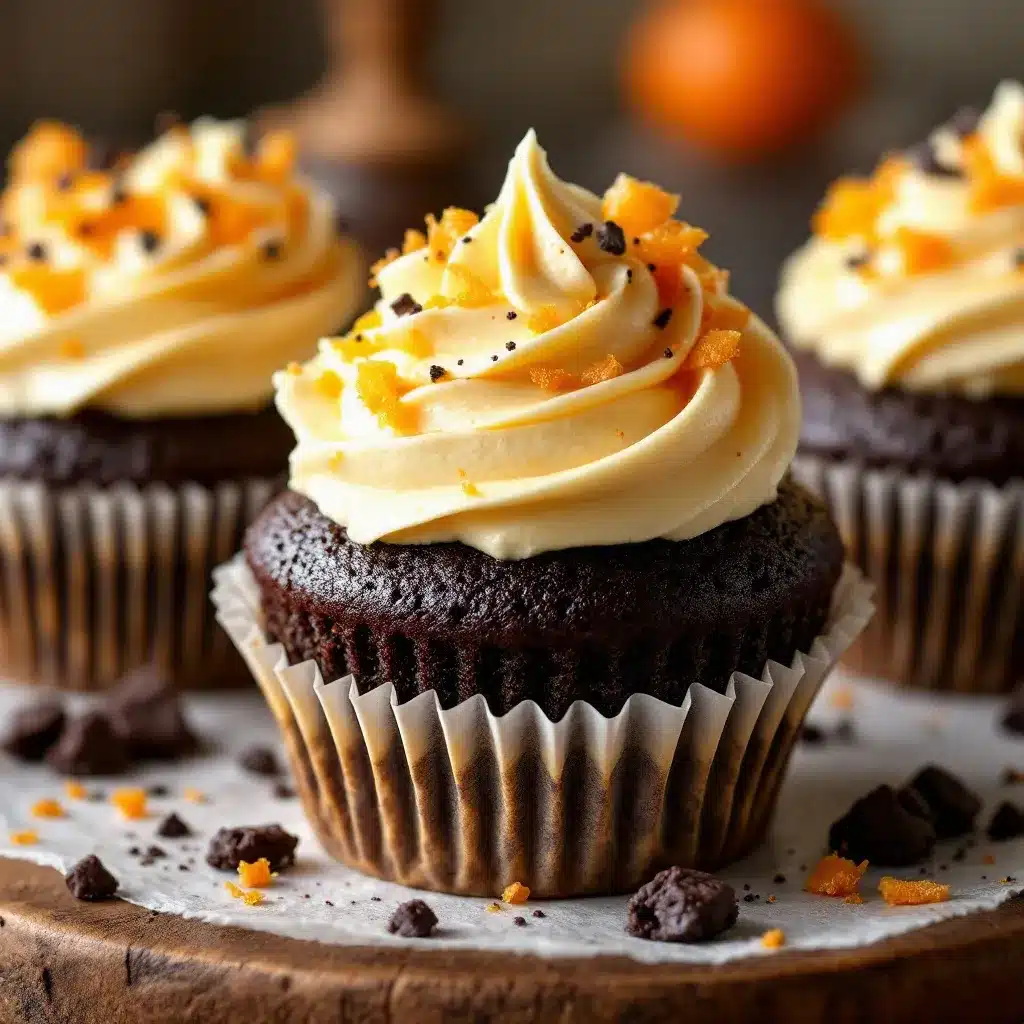
I figured black velvet cake was just chocolate cake with food coloring, a gimmick for Halloween parties and nothing more. It took about one bite of these perfect black velvet cupcakes with orange cream cheese frosting for that assumption to fall apart completely. The crumb is impossibly tender, almost velvety—there’s that word again—with a subtle cocoa flavor that doesn’t scream chocolate but whispers it. And that orange cream cheese frosting? It’s the kind of tangy, citrusy finish that makes you wonder why nobody pairs orange with chocolate more often.
Honestly, I stumbled into this combination by accident. I had a batch of cream cheese frosting left over from a batch of perfect pumpkin cream cheese muffins and a desperate need to use up some oranges before they went sad in the fridge. The black velvet base was already a favorite from my test kitchen days, but the orange twist turned it into something else entirely. It’s the kind of cupcake that makes people pause mid-bite and look at you funny, like you’ve just revealed a secret they didn’t know they needed.
The first time I served these at a friend’s Halloween gathering, they disappeared before the pumpkin spice anything. Someone actually asked if I’d bought them from a bakery, which is the highest compliment a home baker can get. These cupcakes have since become my go-to for fall birthdays, Thanksgiving dessert tables, and honestly, random Tuesdays when I need a little brightness. They’re unexpected, but that’s exactly what makes them perfect.
Why You’ll Love These Black Velvet Cupcakes
Let me tell you why these cupcakes have earned a permanent spot in my recipe rotation. I’ve tested this recipe at least seven times—my family is probably tired of black velvet by now—and every single tweak brought me closer to this version. Here’s what makes them special:
- Unbelievably Tender Crumb: The combination of buttermilk and a touch of oil gives these cupcakes a texture that’s soft, moist, and almost cloud-like. No dry, crumbly disasters here.
- Perfect Balance of Flavors: The cocoa is subtle enough that the orange cream cheese frosting gets to shine, but present enough that you know it’s there. It’s a delicate dance, and these cupcakes nail it.
- Simple Ingredients: You probably have most of these in your pantry already. No weird specialty flours or obscure extracts—just honest, accessible ingredients that work together beautifully.
- Crowd-Pleaser Status: I’ve served these to kids, adults, picky eaters, and self-proclaimed cupcake snobs. Every single person has asked for the recipe. That’s not bragging—that’s just the power of a really good cupcake.
- Perfect for Any Occasion: The black velvet base makes them dramatic enough for Halloween or a themed party, but the orange frosting keeps them elegant enough for a baby shower or afternoon tea. They’re versatile in the best way.
What sets these apart from every other black velvet recipe I’ve tried is the orange cream cheese frosting. Most versions go with a standard vanilla cream cheese frosting, which is fine, but fine isn’t what we’re after here. The orange zest and juice cut through the richness of the cream cheese in a way that feels bright and almost refreshing. It’s the kind of frosting that makes you close your eyes after the first bite—I’ve done it myself, more times than I’d like to admit.
These cupcakes aren’t just good. They’re the kind that makes you feel like you’ve pulled off something impressive without actually trying that hard. And honestly, isn’t that the best kind of recipe?
What Ingredients You Will Need
This recipe uses simple, wholesome ingredients to deliver that signature black velvet texture and the bright, tangy orange cream cheese frosting. Most of these are pantry staples, which makes these cupcakes perfect for spontaneous baking sessions.
For the Black Velvet Cupcakes
- 1 ½ cups (190g) all-purpose flour — Spoon and level for accuracy; don’t scoop directly from the bag or you’ll end up with dense cupcakes.
- 1 cup (200g) granulated sugar — Adds sweetness and helps with that tender crumb.
- ¼ cup (22g) unsweetened cocoa powder — I prefer Dutch-processed for a deeper color and smoother flavor, but natural works fine too.
- 1 teaspoon baking soda — Helps the cupcakes rise and creates that velvety texture.
- ½ teaspoon salt — Balances the sweetness and enhances the cocoa flavor.
- ½ cup (120ml) buttermilk — Room temperature is key here. The acidity reacts with the baking soda for a better rise. No buttermilk? Add 1 tablespoon of lemon juice or vinegar to regular milk and let it sit for 5 minutes.
- ½ cup (120ml) vegetable oil — Keeps the cupcakes moist for days. Canola or avocado oil work too.
- 1 large egg — Room temperature, please. Cold eggs can seize the batter.
- 1 teaspoon vanilla extract — Pure vanilla, not imitation. It makes a difference.
- 1 tablespoon black gel food coloring — Liquid coloring won’t give you that deep, dramatic black. Gel is non-negotiable here. I use Americolor Super Black.
- 1 teaspoon white vinegar — Sounds weird, but it reacts with the baking soda for extra lift and tenderness.
For the Orange Cream Cheese Frosting
- 8 ounces (226g) cream cheese — Full-fat, softened to room temperature. Low-fat cream cheese can make the frosting runny.
- ½ cup (113g) unsalted butter — Softened, but not too soft. You want it pliable, not greasy.
- 3 cups (360g) powdered sugar — Sifted if it’s lumpy, but honestly, I skip sifting most of the time and it turns out fine.
- 2 tablespoons fresh orange juice — About half a juicy orange. Fresh is crucial here; bottled juice won’t give you that bright flavor.
- 1 tablespoon orange zest — From the same orange. Make sure you only get the orange part, not the bitter white pith.
- 1 teaspoon vanilla extract — Rounds out the tanginess beautifully.
- Pinch of salt — Just a tiny one, to balance the sweetness.
Equipment Needed
You don’t need a professional bakery setup for these cupcakes, but a few key tools make the process smoother. Here’s what I use:
- Standard 12-cup muffin tin — Non-stick or regular, both work. If yours is prone to sticking, use paper liners.
- Paper cupcake liners — I like white or black for the dramatic contrast, but any color works.
- Two mixing bowls — One medium, one large. Glass or stainless steel is fine.
- Whisk — For combining dry ingredients and smoothing out the batter.
- Electric hand mixer or stand mixer — For the frosting. You can whisk it by hand, but your arm will hate you. I’ve been there.
- Rubber spatula — For scraping down the bowl and folding ingredients gently.
- Cookie scoop or measuring cup — For evenly portioning the batter. A 2-tablespoon scoop works perfectly.
- Cooling rack — Essential for letting cupcakes cool completely before frosting. Patience is hard, but necessary.
- Piping bag with star tip — Optional, but it makes the frosting look bakery-worthy. I use a Wilton 1M tip for that classic swirl.
If you don’t have a piping bag, a zip-top bag with the corner snipped off works in a pinch. I’ve done it more times than I care to admit.
Preparation Method
Step 1: Preheat and Prep
Preheat your oven to 350°F (175°C). Line your muffin tin with paper liners—this recipe makes exactly 12 cupcakes, so no need to grease anything extra. Set the tin aside while you mix the batter.
Step 2: Mix the Dry Ingredients
In a medium bowl, whisk together the flour, sugar, cocoa powder, baking soda, and salt. Make sure there are no lumps of cocoa—those little dark spots won’t disappear during baking. Whisk until everything looks uniform and slightly darker from the cocoa. Set this bowl aside.
Step 3: Combine the Wet Ingredients
In a large bowl, whisk together the buttermilk, vegetable oil, egg, vanilla extract, and black gel food coloring. This is where things get dramatic—the batter will look like black ink, and that’s exactly what you want. Whisk until the color is evenly distributed and the mixture looks smooth. Don’t worry if it seems thin; it’s supposed to be.
Step 4: Bring It All Together
Pour the dry ingredients into the wet ingredients and whisk gently until just combined. A few streaks of flour are okay—overmixing will make the cupcakes tough, and we want velvety, not rubbery. Add the white vinegar and fold it in with a rubber spatula. You’ll see the batter bubble slightly as the vinegar reacts with the baking soda. That’s good. That means lift.
Step 5: Fill and Bake
Divide the batter evenly among the 12 liners, filling each about ⅔ full. A cookie scoop makes this mess-free. Bake for 18 to 22 minutes, or until a toothpick inserted in the center comes out clean or with a few moist crumbs. The tops should spring back when lightly touched. My oven runs hot, so I check at 18 minutes and go from there.
Let the cupcakes cool in the tin for 5 minutes, then transfer them to a wire rack to cool completely. And I mean completely—warm cupcakes will melt your frosting into a sad puddle. I’ve learned this the hard way, twice.
Step 6: Make the Orange Cream Cheese Frosting
In a large bowl, beat the softened cream cheese and butter together with an electric mixer on medium speed until smooth and creamy, about 2 minutes. Scrape down the sides of the bowl with a rubber spatula. Add the powdered sugar, orange juice, orange zest, vanilla extract, and a pinch of salt. Start mixing on low speed so the sugar doesn’t fly everywhere—trust me on this—then increase to medium-high and beat for 2 to 3 minutes until the frosting is light, fluffy, and spreadable.
Taste it. Seriously, taste it. If you want more orange flavor, add another teaspoon of zest. If it’s too tangy, add a tablespoon more powdered sugar. This is your frosting, and you should love it.
Step 7: Frost and Finish
Once the cupcakes are completely cool, frost them however you like. I pipe mine with a star tip for that dramatic swirl, but a simple knife spread works too. If you’re piping, fill your piping bag halfway, twist the top, and apply even pressure while swirling from the outside in. Top with a pinch of orange zest or a tiny chocolate curl if you’re feeling fancy.
Cooking Tips & Techniques
I’ve made these cupcakes enough times to know where things can go wrong. Here are the lessons I learned the hard way, so you don’t have to:
- Room temperature ingredients matter: Cold buttermilk and eggs can make the batter seize up, leading to dense cupcakes. Take them out of the fridge 30 minutes before you start. I set everything on the counter while I preheat, and by the time I’m ready to mix, they’re perfect.
- Don’t skip the vinegar: I know it sounds weird, but the vinegar reacts with the baking soda to create extra lift. Without it, your cupcakes will be flatter and denser. I once forgot it and ended up with sad little pucks. Never again.
- Gel food coloring is non-negotiable: Liquid food coloring won’t give you that deep, dramatic black. You’ll end up with grayish-brown cupcakes that look more “mud velvet” than black velvet. Americolor Super Black is my go-to, and one tablespoon is all you need.
- Cool completely before frosting: I cannot stress this enough. Warm cupcakes will turn your beautiful orange cream cheese frosting into a runny mess. I’ve ruined an entire batch this way. Give them at least an hour on the cooling rack, or pop them in the fridge for 20 minutes if you’re impatient like me.
- Frosting consistency check: If your frosting seems too soft, refrigerate it for 10 to 15 minutes before piping. If it’s too stiff, add a teaspoon of orange juice at a time until it loosens up. The perfect consistency should hold its shape but still be spreadable.
Variations & Adaptations
One of the best things about this recipe is how adaptable it is. Here are a few variations I’ve tried and loved:
- Gluten-Free Version: Swap the all-purpose flour with a 1:1 gluten-free baking flour blend. I’ve used Bob’s Red Mill and King Arthur with great results. The texture is slightly more delicate, but the flavor is spot on.
- Dairy-Free Adaptation: Use dairy-free cream cheese (I like Miyoko’s) and substitute the buttermilk with ½ cup of almond milk mixed with 1 tablespoon of lemon juice. The cupcakes will be a tad less tender, but still delicious.
- Lemon Cream Cheese Frosting: Replace the orange juice and zest with lemon juice and zest for a brighter, tarter twist. This version is incredible in spring and pairs beautifully with the black velvet base.
- Spiced Black Velvet: Add 1 teaspoon of cinnamon and ½ teaspoon of nutmeg to the dry ingredients for a warm, cozy fall version. I made these for Thanksgiving last year, and they were a hit alongside the creamy pumpkin cheesecake swirl muffins.
- Cupcake to Cake: Double the recipe and bake in two 8-inch round cake pans for 25 to 30 minutes. The orange cream cheese frosting makes an incredible layer cake filling and topping.
Serving & Storage Suggestions
These cupcakes are best served at room temperature, which lets the frosting soften slightly and the cake crumb shine. If you’ve refrigerated them, let them sit out for 20 to 30 minutes before serving. I like to arrange them on a cake stand with a few orange slices or fresh mint sprigs for color—it makes the presentation pop.
For storage, place unfrosted cupcakes in an airtight container at room temperature for up to 3 days. Frosted cupcakes should be refrigerated in a single layer (or layered with parchment paper between them) for up to 5 days. The frosting firms up beautifully in the fridge, almost like a chilled cheesecake.
You can freeze unfrosted cupcakes for up to 3 months. Wrap each one tightly in plastic wrap, then place them in a freezer-safe bag. Thaw at room temperature for about an hour before frosting. Frosted cupcakes can also be frozen, but the texture of the cream cheese frosting may change slightly upon thawing. I usually freeze them unfrosted and make fresh frosting when I’m ready to serve.
The flavors actually develop over time—the orange zest becomes more pronounced after a day in the fridge. These are one of those rare baked goods that taste even better the next day.
Nutritional Information & Benefits
Per cupcake (based on 12 servings): approximately 380 calories, 18g fat, 52g carbohydrates, 4g protein, 38g sugar, and 1g fiber. These are indulgent, no doubt, but they’re made with real ingredients you can feel good about.
The cocoa powder is rich in antioxidants called flavonoids, which can support heart health and reduce inflammation. Oranges provide a solid dose of vitamin C, which supports immune function and helps your body absorb iron. Cream cheese adds a bit of calcium and protein, though let’s be honest—we’re here for the taste, not the health benefits.
For those with dietary restrictions, this recipe contains gluten, dairy, and eggs. I’ve included gluten-free and dairy-free variations above, and an egg substitute like flax eggs might work, though I haven’t tested it personally.
Conclusion
These perfect black velvet cupcakes with orange cream cheese frosting are everything I want in a dessert—dramatic, delicious, and surprisingly easy to pull off. The tender crumb, the subtle cocoa flavor, and that bright, tangy frosting come together in a way that feels special without requiring a culinary degree. Whether you’re making them for Halloween, a birthday, or just because it’s Tuesday and you deserve something beautiful, these cupcakes deliver every single time.
I’d love to hear how yours turn out. Did you try a variation? Add extra zest? Turn them into a cake? Drop a comment below and let me know—I read every single one, and your tweaks might inspire my next batch. And if you’re looking for more cozy fall baking, check out my perfect chewy brown sugar pumpkin spice blondies for another seasonal favorite.
Happy baking, friends. You’ve got this.
Frequently Asked Questions
Can I use regular food coloring instead of gel?
You can, but you’ll need a lot more to achieve a true black color, and that much liquid can throw off the batter’s consistency. Gel food coloring is concentrated, so one tablespoon does the job without altering the texture. I really recommend sticking with gel for the best results.
Why did my cupcakes turn out dry?
Dry cupcakes usually mean they were overbaked or overmixed. Check your oven temperature with an oven thermometer—mine runs 25 degrees hot, so I always set it lower. Also, mix the batter just until the flour disappears; overmixing develops gluten and makes the crumb tough.
Can I make these cupcakes ahead of time?
Absolutely. Bake the cupcakes up to 2 days in advance and store them unfrosted in an airtight container at room temperature. Make the frosting the day you plan to serve them for the freshest flavor. You can also freeze the unfrosted cupcakes for up to 3 months.
My frosting is too runny. What went wrong?
Runny frosting usually means the cream cheese or butter was too soft, or you added too much orange juice. Pop the frosting in the fridge for 15 to 20 minutes to firm it up, then try again. If it’s still too soft, beat in a tablespoon of powdered sugar at a time until it reaches the right consistency.
Can I use this frosting on other desserts?
Yes, and you absolutely should. This orange cream cheese frosting is incredible on moist chocolate chip pumpkin bread, carrot cake, or even as a dip for fresh fruit. I’ve also spread it on graham crackers for a quick, indulgent snack. It’s versatile enough to become your new go-to frosting recipe.
Pin This Recipe!
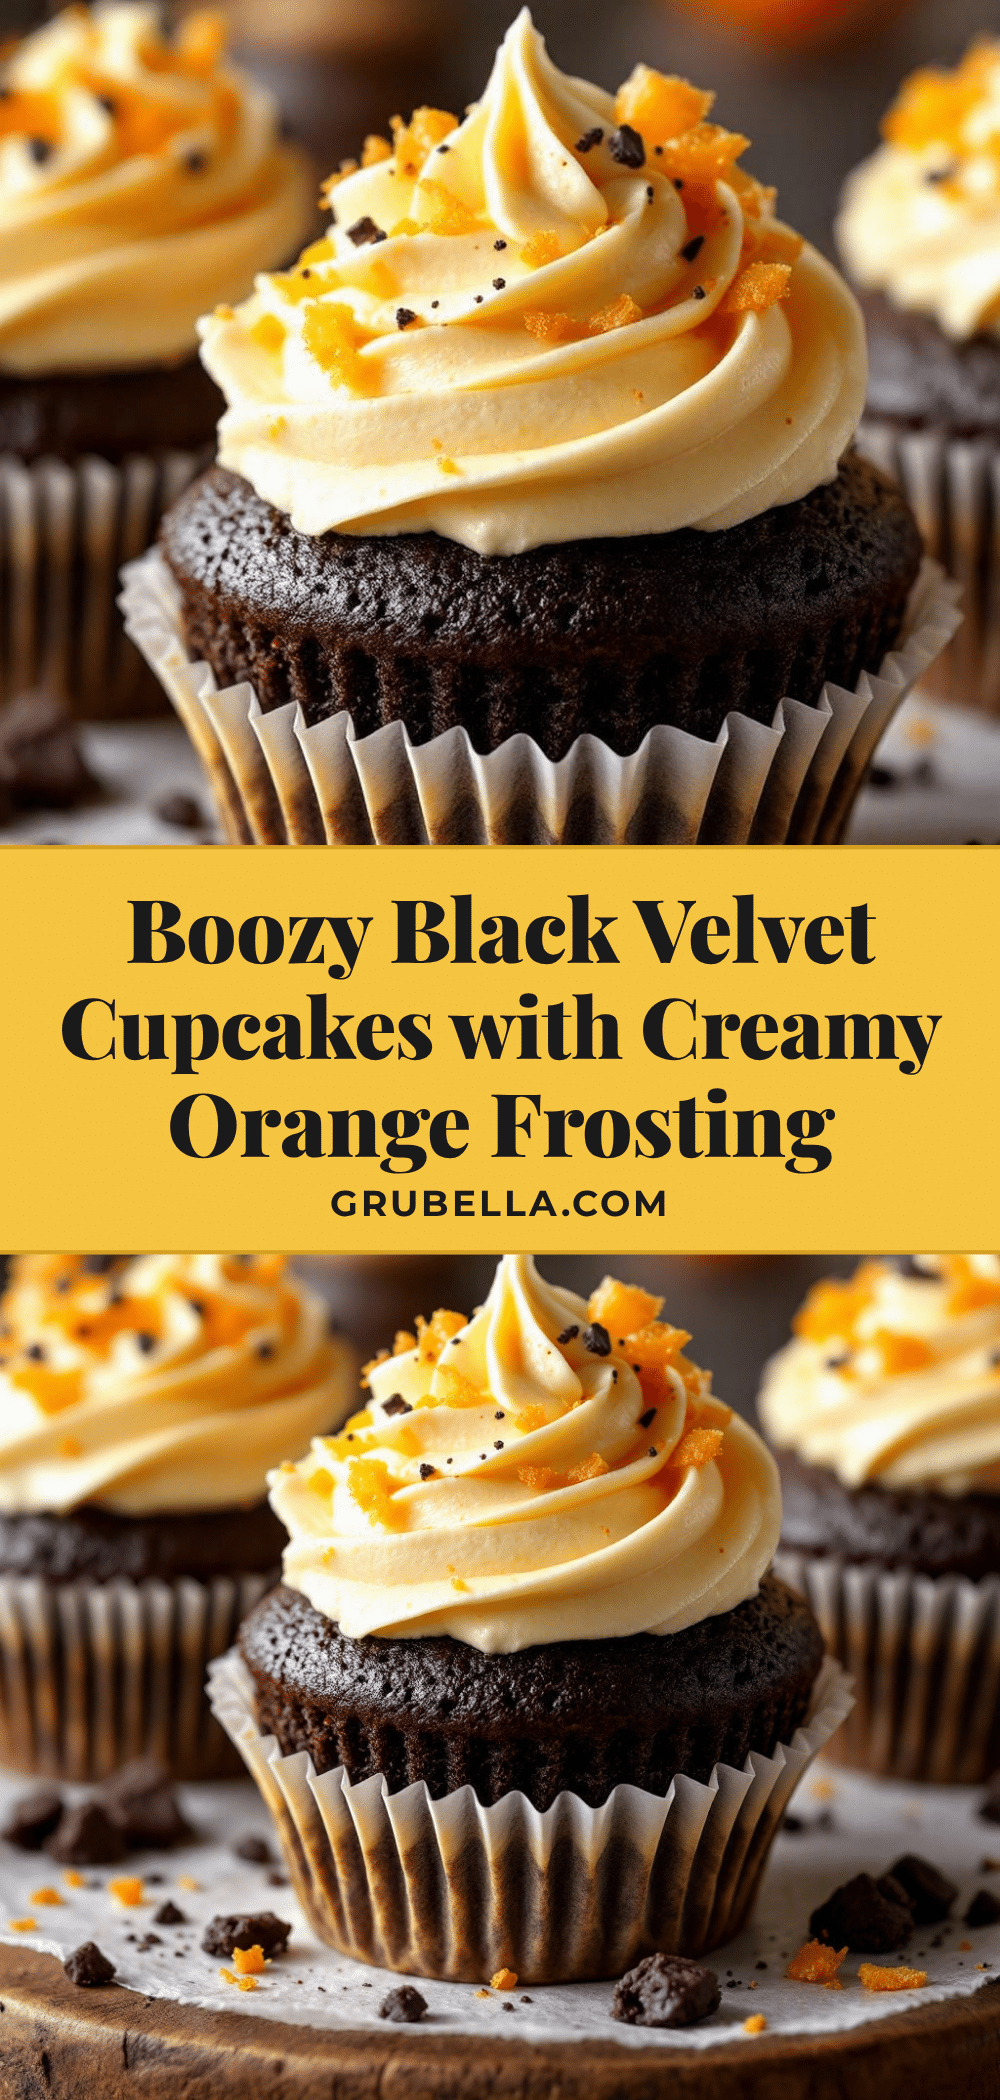
Perfect Black Velvet Cupcakes with Orange Cream Cheese Frosting
These black velvet cupcakes feature an impossibly tender crumb with subtle cocoa flavor, topped with a bright, tangy orange cream cheese frosting. Perfect for Halloween, fall birthdays, or any occasion that calls for a dramatic and delicious dessert.
- Prep Time: 20 minutes
- Cook Time: 20 minutes
- Total Time: 40 minutes
- Yield: 12 cupcakes 1x
- Category: Dessert
- Cuisine: American
Ingredients
- 1 ½ cups (190g) all-purpose flour
- 1 cup (200g) granulated sugar
- ¼ cup (22g) unsweetened cocoa powder (Dutch-processed preferred)
- 1 teaspoon baking soda
- ½ teaspoon salt
- ½ cup (120ml) buttermilk, room temperature
- ½ cup (120ml) vegetable oil
- 1 large egg, room temperature
- 1 teaspoon vanilla extract
- 1 tablespoon black gel food coloring
- 1 teaspoon white vinegar
- 8 ounces (226g) cream cheese, softened
- ½ cup (113g) unsalted butter, softened
- 3 cups (360g) powdered sugar
- 2 tablespoons fresh orange juice
- 1 tablespoon orange zest
- 1 teaspoon vanilla extract
- Pinch of salt
Instructions
- Preheat oven to 350°F (175°C). Line a 12-cup muffin tin with paper liners.
- In a medium bowl, whisk together flour, sugar, cocoa powder, baking soda, and salt until uniform.
- In a large bowl, whisk together buttermilk, vegetable oil, egg, vanilla extract, and black gel food coloring until smooth and evenly colored.
- Pour dry ingredients into wet ingredients and whisk gently until just combined. Add white vinegar and fold in with a rubber spatula until batter bubbles slightly.
- Divide batter evenly among the 12 liners, filling each about ⅔ full.
- Bake for 18 to 22 minutes, or until a toothpick inserted in the center comes out clean or with a few moist crumbs. Cool in tin for 5 minutes, then transfer to a wire rack to cool completely.
- For the frosting: In a large bowl, beat cream cheese and butter with an electric mixer on medium speed until smooth and creamy, about 2 minutes. Add powdered sugar, orange juice, orange zest, vanilla extract, and salt. Mix on low speed until combined, then increase to medium-high and beat for 2 to 3 minutes until light and fluffy.
- Once cupcakes are completely cool, frost with the orange cream cheese frosting using a piping bag or knife. Garnish with extra orange zest if desired.
Notes
Room temperature ingredients are crucial for best texture. Gel food coloring is non-negotiable for deep black color. Cool cupcakes completely before frosting to prevent melting. Frosting can be refrigerated for 10-15 minutes if too soft. Unfrosted cupcakes can be stored at room temperature for up to 3 days; frosted cupcakes refrigerated for up to 5 days. Unfrosted cupcakes can be frozen for up to 3 months.
Nutrition
- Serving Size: 1 cupcake
- Calories: 380
- Sugar: 38
- Sodium: 220
- Fat: 18
- Saturated Fat: 8
- Carbohydrates: 52
- Fiber: 1
- Protein: 4
Keywords: black velvet cupcakes, orange cream cheese frosting, Halloween cupcakes, chocolate orange cupcakes, fall dessert



