Love this? Save it for later!
Share the inspiration with your friends
I burned these mummy hot dogs three times before I finally figured out how to keep the crescent dough from turning into a charred mess while the hot dog stayed cold in the middle. The first batch came out looking like crispy little fire victims instead of cute Halloween mummies. My kids stared at me like I’d ruined October forever. And honestly, they weren’t wrong.
The problem was simple — I was following the logic of regular pigs in a blanket, where the dough and the meat cook at the same speed. But mummy hot dogs are different. You’re wrapping the dough in thin strips that cook way faster than a solid blanket of dough. So the outside gets golden and the inside stays cold, and you end up overbaking everything trying to fix it. It took me three tries and one very sad-looking mummy with a melted candy eye to realize I needed to start with room-temperature hot dogs and space the dough strips just right.
This recipe is the result of that trial and error. No burned faces, no cold centers, just crispy golden wrappers wrapped around juicy beef hot dogs with little mustard eyes staring back at you. It’s the kind of Halloween food that actually works — simple enough for kids to help with, but cute enough that adults grab them off the platter before the kids get a chance.
Why You’ll Love This Recipe
These mummy hot dogs are the Halloween recipe that keeps things fun without keeping you stuck in the kitchen. Here’s why they work so well:
- Ready in Under 30 Minutes — From fridge to table in about 25 minutes flat. That’s faster than most Halloween candy runs.
- Simple Ingredients — Crescent dough sheets, beef hot dogs, and mustard. That’s it. No weird specialty items you’ll never use again.
- Perfect for Halloween Parties — Whether it’s a classroom party, a trunk-or-treat event, or just a spooky dinner before trick-or-treating, these fit right in.
- Kid-Approved — My kids fought over the last one last year. And they’re picky eaters who usually only want the candy.
- Customizable — Swap the hot dogs for cheese sticks, chicken sausages, or even veggie dogs. The mummy look works with anything.
What makes this recipe different from the hundreds of other mummy hot dog recipes out there? It’s the technique. Most recipes tell you to wrap the dough strips tightly, but that’s exactly what causes the undercooked center problem. I tested loose wraps versus tight wraps, cold hot dogs versus room temperature, and different oven temperatures until I got it right. The result is a mummy that looks wrapped but cooks evenly all the way through.
There’s something genuinely satisfying about pulling a tray of these out of the oven. The golden dough, the little mustard eyes, the way they look like tiny wrapped-up creatures sitting on your serving platter. It’s the kind of Halloween food that makes people smile before they even take a bite.
What Ingredients You Will Need
This recipe uses three main ingredients, plus a couple of optional extras for decorating. The beauty of mummy hot dogs is that they don’t need a complicated shopping list.
- 1 can (8 oz) refrigerated crescent dough sheets — Not the perforated crescent roll triangles. You want the seamless sheets. Brands like Pillsbury make them, and they’re usually right next to the regular crescent rolls in the refrigerated section. The sheets give you clean, even strips without weird seams. If you can only find the perforated kind, just pinch the seams together and roll them out flat.
- 8 beef hot dogs — I use all-beef hot dogs because they have better flavor and hold up better during baking. Oscar Mayer and Hebrew National both work well. Avoid the extra-long hot dogs unless you want to cut them in half. Standard-size hot dogs are perfect for mummy wrapping. Let them sit out on the counter for 10 minutes before wrapping — this is the trick that prevents cold centers.
- Mustard for eyes — Yellow mustard works best because it’s thick enough to hold its shape and the color pops against the golden dough. You can also use Dijon or honey mustard if that’s what you have. Squeeze a tiny dot onto each mummy’s face for eyes. If you want a less tangy option, ketchup works too, but it doesn’t show up as well visually.
- Optional: Cooking spray or olive oil — If you want extra golden tops, a light spray of cooking oil or a brush of melted butter before baking makes a difference. Not required, but it gives that glossy bakery finish.
- Optional: Everything bagel seasoning or sesame seeds — Sprinkle a little on top for extra texture and flavor. My kids think this makes them look like fancy mummies.
That’s it. Three core ingredients, two optional extras. Everything you need for a crowd-pleasing Halloween appetizer that looks way harder than it actually is.
Equipment Needed
You don’t need a lot of fancy tools for this recipe. Here’s what you’ll need:
- Baking sheet — A standard half-sheet pan works perfectly. Line it with parchment paper for easy cleanup. I’ve used both aluminum foil and silicone baking mats, and parchment is the winner — nothing sticks, and you don’t have to scrub afterward.
- Pizza cutter or sharp knife — For cutting the crescent dough into strips. A pizza cutter gives you cleaner edges, but a sharp knife works just fine. A dull knife will drag through the dough and create ragged edges.
- Ruler (optional but helpful) — If you want consistent strip widths. I eyeball it now, but when I first started making these, I used a ruler to keep the strips even. About 1/2 inch wide is the sweet spot.
- Pastry brush (optional) — For brushing butter or oil on top. A silicone brush works better than a bristle brush for this — less cleanup and no bristles falling off into your food.
- Small bowl for mustard — If you’re piping mustard eyes, a tiny bowl makes it easier to dip a toothpick or squeeze directly.
Budget-friendly tip: If you don’t have a pizza cutter, a butter knife works perfectly. And if you don’t have parchment paper, a well-greased baking sheet works too — just keep an eye on the bottoms so they don’t burn.
Preparation Method
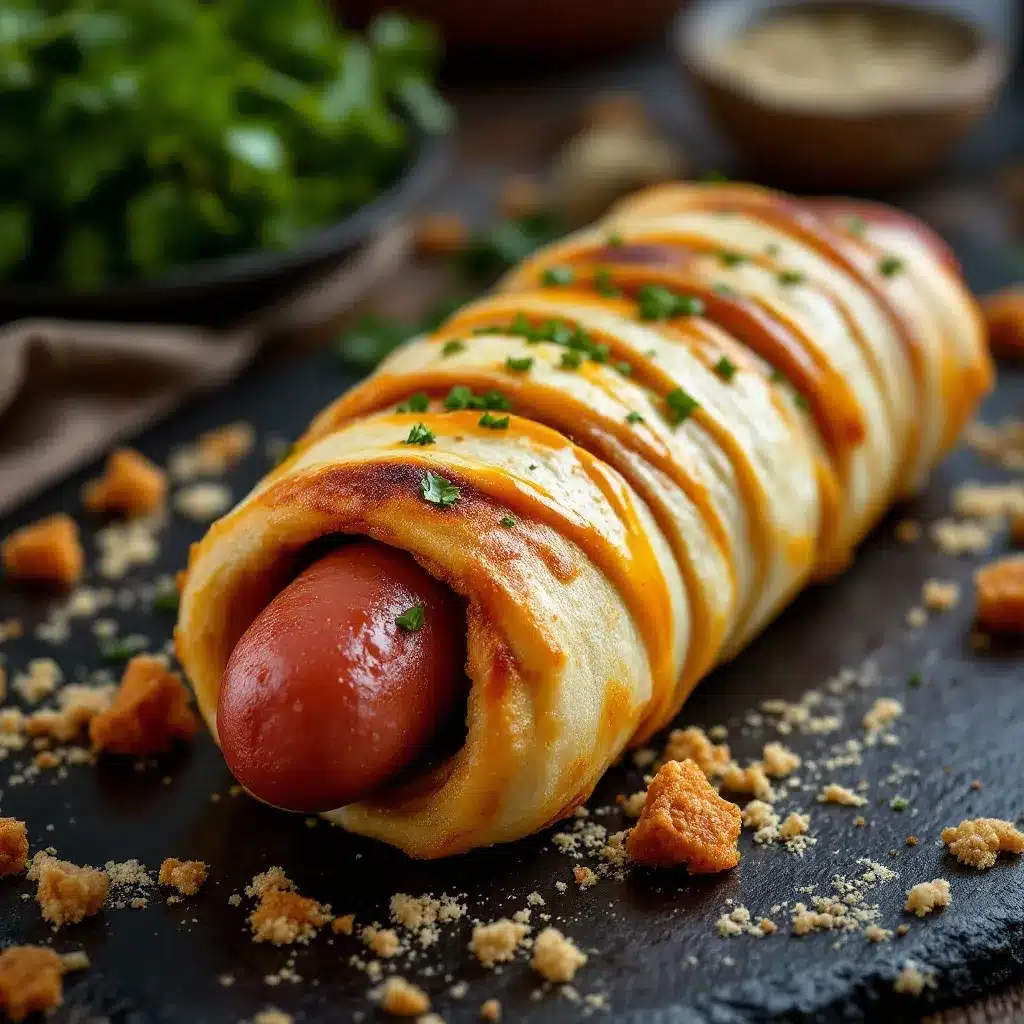
Let me walk you through this step by step. Trust me on the room-temperature hot dog thing — it makes a bigger difference than you think.
- Preheat your oven to 375°F (190°C). Line a baking sheet with parchment paper. If you’re using a convection oven, drop the temperature to 350°F (175°C) — the air circulation cooks the thin dough strips faster, and you don’t want them browning too quickly.
- Take your hot dogs out of the fridge and let them sit on the counter for 10 minutes. This is the step I skipped the first three times, and it’s the one that fixes everything. Cold hot dogs from the fridge will keep the dough around them undercooked while the exposed dough burns. Room-temperature hot dogs cook evenly from the inside out.
- Unroll the crescent dough sheet onto a clean cutting board. If you’re using the perforated kind, pinch all the seams together and gently roll it out with a rolling pin until it’s smooth. You want a flat, even rectangle about 1/8 inch thick.
- Cut the dough into strips about 1/2 inch wide. A pizza cutter makes this easy. You should get about 12 to 14 strips from one sheet, depending on how straight you cut. Don’t stress about perfection — mummies look better when they’re a little uneven anyway. It gives them that wrapped-in-a-hurry look.
- Take one room-temperature hot dog and start wrapping. Lay one strip of dough at the top of the hot dog, leaving about 1/2 inch of the hot dog exposed at the top for the face. Wrap the strip around the hot dog at a slight angle, overlapping slightly as you go down. Leave about 1/2 inch exposed at the bottom too. You want the ends of the hot dog to show so it looks like a mummy’s little feet and head poking out.
- Space the strips about 1/4 inch apart as you wrap. This is the other key trick. If you wrap the strips too close together, the dough doesn’t cook evenly and you get a doughy mess. Small gaps let the heat reach the hot dog and cook everything at the same speed. Plus, it looks more like a real mummy with gaps in the wrapping.
- Place the wrapped hot dog on the prepared baking sheet. Repeat with the remaining hot dogs. You should get about 8 mummies from one can of crescent dough. If you run out of dough strips, just cut a few more from the scraps — they don’t have to be perfect.
- Brush the tops lightly with melted butter or spray with cooking oil. This step is optional but highly recommended. It gives the dough a golden, glossy finish that looks professional. If you’re using everything bagel seasoning or sesame seeds, sprinkle them on now.
- Bake for 12 to 15 minutes, or until the dough is golden brown and the hot dogs are heated through. Start checking at 12 minutes. You want the dough to be golden, not dark brown. If the edges of the dough strips are browning faster than the centers, tent the baking sheet loosely with foil for the last 3 minutes.
- Let them cool on the baking sheet for 2 minutes. This is important — the dough is fragile right out of the oven, and moving them too soon can cause the strips to slide off. After 2 minutes, transfer them to a serving platter.
- Add the mustard eyes. Squeeze a tiny dot of yellow mustard onto each mummy’s exposed hot dog face. Two dots per mummy. You can use a toothpick to make them perfectly round, or just squeeze directly from the bottle for a more rustic look. My kids prefer the rustic look — they say it makes the mummies look scared.
The whole process takes about 25 minutes from start to finish, including baking time. That’s faster than ordering pizza, and way more fun.
Cooking Tips & Techniques
I learned most of these the hard way, so you don’t have to. Here are the things I wish someone had told me before my first burnt mummy incident.
Don’t overwork the dough. Crescent dough gets tough if you handle it too much. Cut your strips quickly and wrap gently. If the dough starts getting sticky or warm, pop it in the fridge for 5 minutes to firm up. Warm dough stretches too thin and tears easily.
Leave the ends exposed on purpose. I know it’s tempting to wrap the whole thing like a burrito, but the exposed ends serve two purposes: they let the hot dog cook properly, and they make the mummy look recognizable. A fully wrapped hot dog just looks like a lumpy breadstick.
Watch the oven like a hawk at the 10-minute mark. Every oven runs differently. My old oven took 14 minutes, my current one takes 12. The difference between golden and burnt is about 30 seconds with these thin dough strips. Set a timer for 10 minutes and check visually from there.
If you’re making a big batch, work in batches. Don’t crowd the baking sheet. The mummies need about an inch of space between them for the heat to circulate. If they’re too close together, the dough steams instead of bakes, and you lose that crispy texture.
Multitasking tip: While the first batch bakes, wrap the second batch. By the time the first batch comes out, the second batch is ready to go in. This keeps everything hot and fresh without any sitting around.
One more thing — if you’re making these for a Halloween party and want to prep ahead, wrap the hot dogs up to 24 hours in advance and keep them covered in the fridge. Add the mustard eyes right before serving, not before baking. The mustard dries out and looks weird if it goes through the oven.
Variations & Adaptations
These mummy hot dogs are surprisingly flexible. Here are some variations I’ve tried and loved:
Cheese Mummies — Instead of hot dogs, wrap the dough strips around mozzarella cheese sticks. Cut the cheese sticks in half crosswise so they’re shorter and fatter. Bake at 375°F for 10 to 12 minutes — cheese melts faster than hot dogs, so keep an eye on them. The cheese gets gooey and stretchy inside, like a mummy that’s melting.
Spicy Mummies — Use spicy beef or chicken sausages instead of regular hot dogs. Brush the dough with a mixture of melted butter and hot sauce before baking. Use sriracha or chipotle mustard for the eyes. These are great for adult Halloween parties where the kids aren’t watching.
Veggie Mummies — Swap the beef hot dogs for plant-based hot dogs or veggie sausages. The cooking time stays the same. I’ve tried this with both Beyond and Impossible brands, and they work perfectly. The dough wrapping keeps them from drying out, which is a common problem with plant-based hot dogs.
Breakfast Mummies — Use breakfast sausages instead of hot dogs and serve them at a Halloween morning brunch. The smaller sausages cook faster — check them at 10 minutes. Dip them in maple syrup for a sweet-and-savory combo. My kids think breakfast mummies are the best thing that’s ever happened to Halloween morning.
Gluten-Free Option — Use gluten-free crescent dough sheets. They’re a little more delicate to work with, so handle them gently and don’t over-wrap. The baking time stays the same. I’ve found that the gluten-free version browns a little faster, so start checking at 10 minutes.
If you’re looking for more Halloween treats to round out your spread, check out my Easy Candy Corn Popcorn Halloween Party Mix for a sweet snack that balances out the savory mummies. And if you want something spooky for dessert, these Spiderweb Halloween Cookie Cakes are always a hit at our house.
Serving & Storage Suggestions
These mummy hot dogs are best served warm, right after the mustard eyes go on. The contrast between the warm, flaky dough and the cool mustard is part of the magic.
Serving temperature: Serve them within 15 minutes of baking for the best texture. If you’re serving them at a party and need them to stay warm, keep them on a baking sheet in a 200°F oven with the door cracked open. They’ll stay warm for about 30 minutes without drying out.
What to serve with them: These pair beautifully with ketchup, honey mustard, or ranch dressing for dipping. For a full Halloween spread, serve them alongside 30-Minute Easy Mummy Hot Dog Bites for bite-sized versions that disappear even faster. Add some Black Cat Halloween Sugar Cookies for dessert and you’ve got a complete Halloween menu.
Storage: Leftover mummy hot dogs (if there are any) can be stored in an airtight container in the fridge for up to 3 days. The dough will soften a bit, but they’re still delicious.
Reheating: The best way to reheat them is in the oven or air fryer. Bake at 350°F for 5 to 7 minutes, or air fry at 350°F for 3 to 4 minutes. The microwave works in a pinch, but the dough gets soggy. I don’t recommend it unless you’re desperate.
Freezing: You can freeze the wrapped but unbaked mummy hot dogs. Place them on a baking sheet in the freezer until solid, then transfer to a freezer bag. They’ll keep for up to 2 months. Bake from frozen, adding 3 to 5 minutes to the baking time. Don’t add the mustard eyes until after baking.
The flavors don’t really develop or change over time with these — they’re best fresh. But I’ve never had leftovers last long enough to worry about it.
Nutritional Information & Benefits
Here’s the approximate nutritional breakdown for one mummy hot dog (based on standard beef hot dogs and crescent dough):
- Calories: 220
- Protein: 8g
- Carbohydrates: 18g
- Fat: 13g
- Sodium: 620mg
Health considerations: These are a treat, not a health food. But you can make them slightly better for you by using turkey hot dogs or low-sodium options. The portion size is naturally controlled — one or two mummies is usually enough for most people.
Allergen notes: Crescent dough contains wheat, milk, and soy. Hot dogs typically contain soy as well. If you’re serving a crowd with allergies, check your labels carefully. The gluten-free dough option mentioned earlier works well for wheat allergies.
Dietary considerations: Not suitable for vegan or vegetarian diets as written, but the veggie sausage swap works beautifully. Not keto-friendly due to the crescent dough, but you could try wrapping the hot dogs in cheese slices instead for a low-carb version.
I’m not a nutritionist, and these numbers are estimates. But honestly? Halloween is one night a year. Let yourself enjoy the mummy hot dogs.
Conclusion
These easy mummy wrapped beef hot dogs are the Halloween recipe that keeps things simple without sacrificing the fun. No complicated techniques, no weird ingredients, no stress. Just golden, crispy dough wrapped around juicy hot dogs with little mustard eyes that make everyone smile.
Whether you’re making them for a classroom party, a Halloween dinner before trick-or-treating, or just because your kids begged you for something spooky, these deliver every time. And the best part? They actually taste good. Not just cute — actually delicious.
I’d love to hear how yours turn out. Did your kids help with the wrapping? Did you try any of the variations? Drop a comment below and let me know. And if you come up with a fun twist I haven’t tried, share that too — I’m always looking for new ideas to test in my kitchen.
Happy Halloween, and may your mummies come out golden, not burnt.
Frequently Asked Questions
Can I make these ahead of time for a party?
Yes! Wrap the hot dogs up to 24 hours in advance and keep them covered in the fridge. Bake them right before serving, and add the mustard eyes after baking. The dough stays fresh and the hot dogs stay safe.
Why are my mummy hot dogs burning on the outside but cold in the middle?
This is the most common problem, and the fix is simple: let your hot dogs sit at room temperature for 10 minutes before wrapping. Cold hot dogs take longer to heat through, and the thin dough strips burn before the center catches up. Room-temperature hot dogs cook evenly.
Can I use puff pastry instead of crescent dough?
Absolutely. Puff pastry gives a flakier, more buttery result. Cut it into strips the same way, but note that puff pastry takes a few minutes longer to bake — check at 15 minutes instead of 12. The texture is different but just as delicious.
How do I keep the mustard eyes from smearing?
Let the mummies cool for 2 to 3 minutes before adding the mustard. If the hot dog surface is too hot, the mustard will melt and smear. A slightly cool surface holds the mustard dots perfectly. Use a toothpick to place them if you want precise control.
Can I make these in an air fryer?
Yes! Air fry at 350°F for 8 to 10 minutes, flipping halfway through. The air fryer gives an even crispier result than the oven. Don’t overcrowd the basket — work in batches if needed. Check at 8 minutes and add time in 1-minute increments from there.
Pin This Recipe!
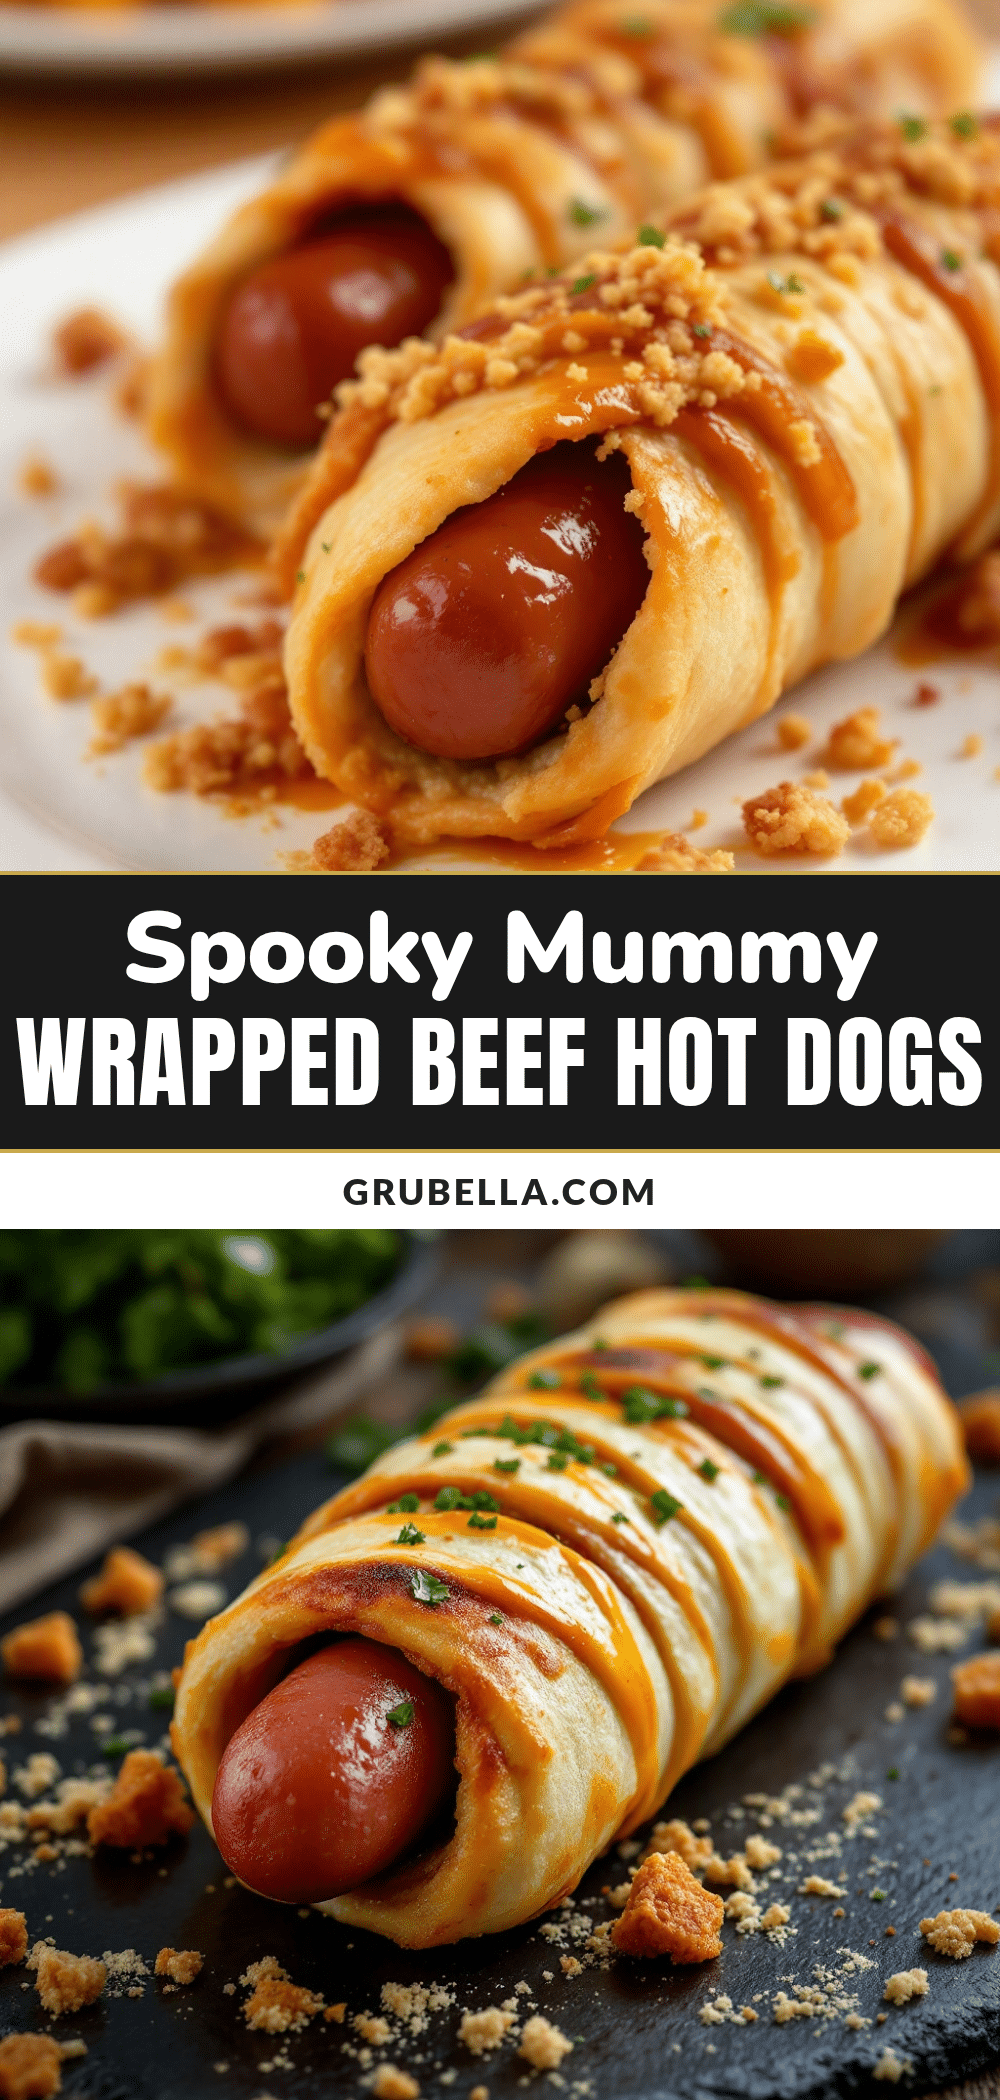
Easy Mummy Hot Dogs: Best Halloween Recipe

These mummy hot dogs are the Halloween recipe that keeps things fun without keeping you stuck in the kitchen. Ready in under 30 minutes with simple ingredients, they’re perfect for Halloween parties and kid-approved.
- Prep Time: 10 minutes
- Cook Time: 15 minutes
- Total Time: 25 minutes
- Yield: 8 servings 1x
- Category: Appetizer
- Cuisine: American
Ingredients
- 1 can (8 oz) refrigerated crescent dough sheets
- 8 beef hot dogs
- Mustard for eyes (yellow mustard recommended)
- Optional: Cooking spray or olive oil
- Optional: Everything bagel seasoning or sesame seeds
Instructions
- Preheat your oven to 375°F (190°C). Line a baking sheet with parchment paper. If using a convection oven, drop the temperature to 350°F (175°C).
- Take your hot dogs out of the fridge and let them sit on the counter for 10 minutes to reach room temperature.
- Unroll the crescent dough sheet onto a clean cutting board. If using perforated dough, pinch all seams together and gently roll out until smooth, about 1/8 inch thick.
- Cut the dough into strips about 1/2 inch wide using a pizza cutter or sharp knife. You should get about 12 to 14 strips.
- Take one room-temperature hot dog and start wrapping. Lay one strip of dough at the top, leaving about 1/2 inch of the hot dog exposed at the top for the face. Wrap the strip around at a slight angle, overlapping slightly as you go down. Leave about 1/2 inch exposed at the bottom.
- Space the strips about 1/4 inch apart as you wrap to allow heat to reach the hot dog and cook evenly.
- Place the wrapped hot dog on the prepared baking sheet. Repeat with remaining hot dogs.
- Brush the tops lightly with melted butter or spray with cooking oil (optional). Sprinkle with everything bagel seasoning or sesame seeds if desired.
- Bake for 12 to 15 minutes, or until the dough is golden brown and the hot dogs are heated through. Start checking at 12 minutes.
- Let them cool on the baking sheet for 2 minutes before transferring to a serving platter.
- Add the mustard eyes: Squeeze a tiny dot of yellow mustard onto each mummy’s exposed hot dog face. Two dots per mummy.
Notes
Let hot dogs sit at room temperature for 10 minutes before wrapping to prevent cold centers. Space dough strips about 1/4 inch apart for even cooking. Add mustard eyes after baking, not before. For best results, serve within 15 minutes of baking.
Nutrition
- Serving Size: 1 mummy hot dog
- Calories: 220
- Sugar: 3
- Sodium: 620
- Fat: 13
- Saturated Fat: 4
- Carbohydrates: 18
- Protein: 8
Keywords: mummy hot dogs, Halloween recipe, easy Halloween appetizer, pigs in a blanket, crescent dough hot dogs, spooky snacks, kid-friendly Halloween



