Love this? Save it for later!
Share the inspiration with your friends
It was 10:47 PM on a random Tuesday in mid-October, and I was supposed to be meal-prepping for the week. Instead, I found myself staring at a package of hot dogs and a can of crescent rolls, wondering if I could make something that would justify the mess I was about to make. The Halloween party was in two days, and I had promised to bring something “fun and festive.” I didn’t have any fancy Halloween cookie cutters or specialty baking supplies, but I had those two ingredients and a sudden, slightly ridiculous idea that arrived like a bolt of lightning: what if I wrapped them up like little mummies?
Honestly, I almost talked myself out of it. I mean, hot dogs wrapped in dough—how original, right? But there was something about the late hour and the quiet kitchen that made me throw caution to the wind. I cut the dough into thin strips, wrapped them haphazardly around the hot dogs, leaving little gaps for the “eyes,” and popped them in the oven. When they came out golden and slightly lopsided, I added tiny dots of mustard for eyes and laughed out loud. They looked ridiculous. They looked perfect. And let me tell you, they tasted way better than they had any right to.
That first batch of easy mummy hot dog bites for Halloween was a total accident, but it became the thing I’m now known for at every fall gathering. Maybe you’ve been there—staring down a party invitation with zero ideas and even less time. These little guys are the answer. They’re silly, they’re simple, and they save you from showing up with a store-bought veggie tray. I’ve been making them every year since that late-night experiment, and they never fail to get the biggest reaction from kids and adults alike. There’s just something about a food that looks back at you.
Why You’ll Love This Recipe
Let me tell you why these easy mummy hot dog bites for Halloween have earned a permanent spot in my recipe rotation. After years of testing different doughs, cooking times, and eye placements (yes, I’ve become a bit of a mummy hot dog connoisseur), I can confidently say this version is the one you’ll come back to year after year.
- Quick & Easy: These come together in under 30 minutes from start to finish. Perfect for those last-minute Halloween party invites or when you need a classroom treat that won’t take all afternoon.
- Simple Ingredients: You only need three main ingredients—hot dogs, crescent roll dough, and mustard or candy eyes. No fancy grocery store trips required. You probably already have everything in your kitchen right now.
- Perfect for Halloween Parties: These are the ultimate Halloween appetizer. They’re great for potlucks, classroom parties, Halloween movie nights, or even as a fun after-school snack during the spooky season.
- Crowd-Pleaser: I’ve served these to everyone from picky toddlers to skeptical adults, and they always disappear first. There’s something about the combination of salty hot dog and flaky, buttery dough that appeals to every age group.
- Unbelievably Delicious: The texture is what gets me every time—crispy, golden dough wrapped around a juicy hot dog, with just a hint of tang from the mustard eyes. It’s comfort food dressed up in a Halloween costume.
What makes this recipe different from the dozens of other mummy hot dog recipes out there? It’s the technique. I’ve experimented with different wrapping methods and found that leaving small gaps for the “eyes” isn’t just about appearance—it allows the steam to escape, keeping the dough perfectly flaky instead of soggy. Plus, using crescent roll dough instead of puff pastry or pizza dough gives you that buttery, layered texture that makes these taste like a treat rather than just a hot dog.
This recipe isn’t just good—it’s the kind that makes you smile after the first bite. It’s Halloween fun without the stress, and it turns a simple hot dog into something memorable. Perfect for impressing other parents at the class party or making your own kids giggle at the dinner table.
What Ingredients You Will Need
This recipe uses simple, everyday ingredients to create something that feels special. Here’s what you’ll need to grab from your pantry and fridge:
For the Mummy Hot Dogs
- 1 package (8-count) hot dogs — I prefer using beef hot dogs for richer flavor, but any variety works. You can also use turkey or chicken hot dogs for a lighter option. Look for standard-sized hot dogs, not the jumbo ones, as they’re easier to wrap and cook more evenly.
- 1 can (8 oz) refrigerated crescent roll dough — This is my go-to for the perfect texture. Pillsbury is the classic choice, but store brands work just as well. The key is getting the thin, flaky sheets that come in the tube. I’ve tried using homemade dough, but honestly, the convenience and consistent results of the canned stuff make it the winner for this recipe.
- Mustard or candy eyes for decoration — Yellow mustard creates those classic “mummy eyes” with a slightly tangy flavor that pairs surprisingly well with the hot dog. If you want a sweeter look, use candy eyeballs (the kind you’d find at a baking supply store). You can also use dots of ketchup, sriracha, or even cream cheese for different looks.
Optional Add-Ons and Substitutions
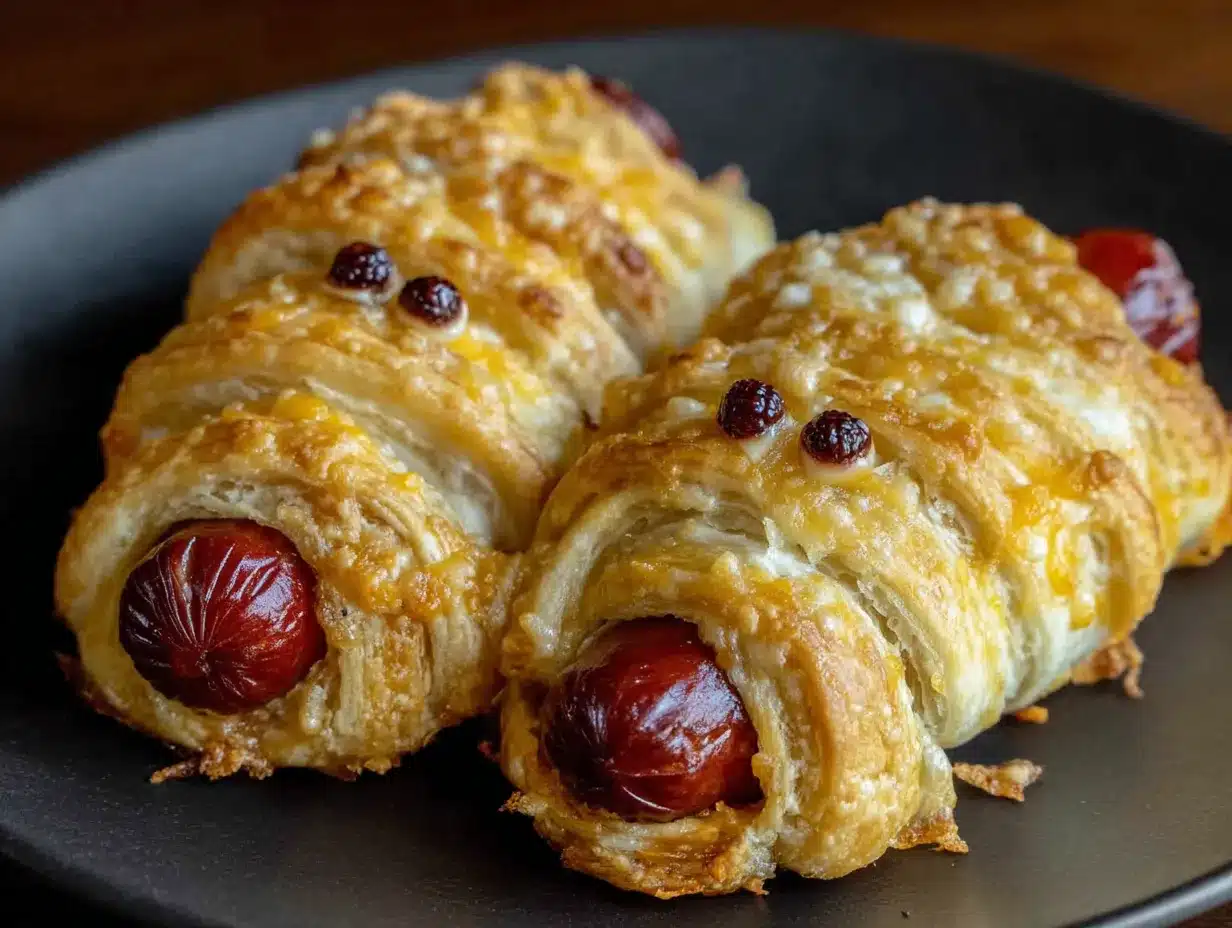
- 1 large egg + 1 tablespoon water — For an egg wash that gives the dough a beautiful golden-brown finish. This is optional but highly recommended for that bakery-style look.
- Sesame seeds or everything bagel seasoning — Sprinkle these on before baking for extra texture and flavor. It adds a nice crunch that contrasts with the soft dough.
- Shredded cheese — You can add a thin strip of cheddar or mozzarella under the dough for a cheesy surprise inside. Just make sure to seal the dough well so the cheese doesn’t leak out.
- Gluten-free crescent roll dough — If you need a gluten-free option, look for gluten-free crescent roll dough at your local grocery store. It bakes up slightly differently but still works beautifully for this recipe.
- Vegan hot dogs and dairy-free dough — For a plant-based version, use vegan hot dogs and check the label on your crescent roll dough (some varieties contain butter). There are several brands that make vegan-friendly options.
Ingredient Selection Tips: When choosing hot dogs, look for ones that are uniform in size so they cook evenly. If you’re using candy eyes, make sure they’re heat-safe if you plan to bake them on (I find it’s easier to add them after baking with a small dot of frosting). For the mustard, I recommend classic yellow mustard for the most recognizable “mummy” look—it’s the right color and consistency for making those little dots.
Equipment Needed
You don’t need any fancy equipment to make these easy mummy hot dog bites for Halloween. Here’s what you’ll want to have on hand:
- Baking sheet — A standard half-sheet pan works perfectly. Line it with parchment paper or a silicone baking mat for easy cleanup. I’ve made these on a foil-lined pan in a pinch, and they still turn out great.
- Sharp knife or pizza cutter — You’ll need this to cut the crescent roll dough into thin strips. A pizza cutter makes the job faster and gives you straighter lines, but a sharp knife works just fine. I’ve used both, and honestly, the slightly imperfect strips from a knife give the mummies a more handmade, charming look.
- Pastry brush (optional) — For applying the egg wash. If you don’t have one, you can use a clean finger or a paper towel. No need to buy something special for this.
- Small bowl — For whisking the egg wash if you’re using it.
- Toothpicks — Handy for adjusting the dough strips or for holding the eyes in place if you’re using candy eyes. I usually keep a few nearby just in case.
- Cooling rack — While not essential, a cooling rack helps the mummy hot dogs stay crispy on the bottom. If you don’t have one, just let them cool on the baking sheet for a few minutes before transferring them to a plate.
Budget-Friendly Tip: You don’t need to buy a special Halloween-themed baking sheet or any seasonal gadgets. This recipe is designed to work with basic kitchen equipment you already own. The only thing I’d recommend splurging on is good parchment paper—it makes cleanup so much easier and prevents sticking without adding extra fat.
Preparation Method
Let’s get to the fun part—making these adorable mummy hot dog bites! Follow these steps carefully, and you’ll have a batch of Halloween treats that look like they came from a professional bakery (but took you almost no effort).
- Preheat your oven to 375°F (190°C). This is important—you want the oven fully heated before the mummies go in so the dough starts cooking immediately and gets that beautiful golden color. While the oven is heating, line your baking sheet with parchment paper or a silicone mat.
- Prepare your hot dogs. Pat the hot dogs dry with a paper towel. This helps the dough stick better and prevents the hot dogs from releasing too much moisture during baking. If your hot dogs are very long, you can cut them in half to make smaller, bite-sized mummies. I usually leave mine whole for a more dramatic presentation, but both ways work great.
- Open the crescent roll dough carefully. Unroll the dough on a clean cutting board. You’ll notice it’s perforated into triangles. Press the seams together gently to create a solid rectangle of dough. Don’t press too hard—you just want to seal the perforations without compressing the dough too much.
- Cut the dough into thin strips. Using a sharp knife or pizza cutter, slice the dough lengthwise into strips about 1/4-inch to 1/2-inch wide. You should get about 8 to 10 strips per rectangle. The strips don’t have to be perfectly even—in fact, slightly uneven strips give the mummies a more authentic, wrapped-up look. I’ve made the mistake of cutting them too thick, and the mummies end up looking more like burritos, so keep those strips thin!
- Wrap the hot dogs like mummies. Take one hot dog and start wrapping a dough strip around it, starting at one end and working your way to the other. Leave a small gap near the top of the hot dog for the “face” where the eyes will go. Overlap the dough slightly as you wrap to create that mummy-bandage look. Don’t wrap too tightly—the dough will expand as it bakes, and you want there to be some visible hot dog peeking through. Tuck the end of the dough strip underneath the hot dog to secure it.
- Place the wrapped mummies on the baking sheet. Arrange them about 2 inches apart to allow for even baking and air circulation. If you’re making a large batch, use two baking sheets or work in batches. Crowding the pan will make the dough steam instead of crisp up.
- Apply the egg wash (optional but recommended). In a small bowl, whisk together 1 egg and 1 tablespoon of water. Using a pastry brush, lightly brush the egg wash over the dough strips. This gives the mummies that gorgeous golden-brown color and a slight sheen. If you’re skipping the egg wash, you can brush them with a little melted butter or milk for a similar effect.
- Bake for 12-15 minutes. Place the baking sheet in the preheated oven and bake until the dough is golden brown and the hot dogs are heated through. The exact time will depend on your oven and how thick your dough strips are. Start checking at 12 minutes—the dough should be puffed up and lightly browned. I’ve learned the hard way that over-baking makes the dough too hard, so watch them carefully during the last few minutes.
- Let them cool slightly. Remove the baking sheet from the oven and let the mummy hot dogs cool on the pan for 2-3 minutes. This allows the dough to set and makes them easier to handle. If you try to add the eyes while they’re too hot, the mustard might spread or the candy eyes might melt.
- Add the eyes. Using a toothpick or the tip of a knife, add two small dots of mustard to the exposed hot dog area for the eyes. If you’re using candy eyes, apply a tiny dab of mustard or frosting to the back of each eye and press it gently onto the hot dog. I’ve found that adding the eyes after baking gives you much more control over the placement and prevents the eyes from sliding around during baking.
- Serve immediately. These are best enjoyed warm, when the dough is still flaky and the hot dog is juicy. Arrange them on a platter with some Halloween-themed decorations or serve them alongside a bowl of ketchup and mustard for dipping.
Sensory Cue: When the mummy hot dogs are done, your kitchen should smell like buttery, baked dough with a hint of savory hot dog. The dough should be golden brown with visible layers, and the exposed hot dog should look plump and slightly glistening. If you tap the dough gently, it should sound hollow and feel crisp to the touch.
Cooking Tips & Techniques
After making these easy mummy hot dog bites for Halloween at least two dozen times (yes, I’ve become a bit obsessed), I’ve picked up some tricks that make the process smoother and the results more consistent.
The Dough Temperature Trick: Cold dough is easier to work with. If your crescent roll dough feels too sticky or soft, pop it in the fridge for 5-10 minutes before cutting it into strips. This makes the strips cleaner and prevents the dough from tearing as you wrap. I learned this after a particularly warm day when my dough turned into a sticky mess—now I always chill it first if my kitchen is warm.
Don’t Overlap the Dough Too Much: I know it’s tempting to wrap the hot dogs completely, but leaving some gaps is actually better. The exposed hot dog gets slightly caramelized in the oven, adding flavor and giving you that perfect spot for the eyes. Plus, the gaps allow steam to escape, keeping the dough crispy rather than soggy. My first batch was completely covered in dough, and they came out pale and doughy—not the look I was going for.
Use a Pizza Cutter for Faster Prep: If you’re making a large batch for a party, a pizza cutter will save you so much time. You can cut all the dough strips in one motion instead of making individual cuts with a knife. I bought a cheap pizza cutter specifically for this recipe, and it’s been a game-changer for Halloween prep.
The Mustard Eye Dilemma: I’ve tried both adding mustard eyes before baking and after baking. Adding them before baking makes the mustard bake into the hot dog and can look a bit messy. Adding them after gives you clean, defined dots. The only downside is that the mustard might not stick as well if the hot dog is still greasy. A quick pat with a paper towel solves this problem.
Make-Ahead Strategy: You can assemble these up to 24 hours in advance. Just wrap the hot dogs, place them on the baking sheet, cover with plastic wrap, and refrigerate. When you’re ready to bake, add a few extra minutes to the cooking time since they’ll be starting from cold. This is a lifesaver for Halloween parties when you’re already juggling a million things.
Common Mistake to Avoid: Don’t skip the parchment paper! I once tried baking these directly on a greased baking sheet, and the dough stuck to the pan, ruining the mummy effect. Parchment paper or a silicone mat ensures they release easily and look perfect.
Variations & Adaptations
One of the best things about this recipe is how easily you can adapt it to different tastes, dietary needs, and occasions. Here are some variations I’ve tried and loved:
Spicy Mummy Bites: For a grown-up version, use spicy Italian sausages or chorizo instead of regular hot dogs. Add a thin slice of jalapeño under the dough for an extra kick. I made these for a Halloween party last year, and they were a hit with the adults who wanted something with more flavor.
Cheesy Mummies: Before wrapping the hot dog, place a thin strip of cheddar or mozzarella cheese along the length of the hot dog. Wrap the dough as usual, making sure to seal the edges well so the cheese doesn’t leak out during baking. The cheese melts into the hot dog and creates a gooey, delicious center. My kids absolutely love this version.
Vegetarian Mummy Bites: Use vegetarian hot dogs or even carrot sticks (blanched until tender) as the base. The dough wrapping works the same way, and the mustard eyes look just as cute on a carrot. I’ve made these for vegetarian friends, and they always appreciate having a Halloween treat they can enjoy too.
Breakfast Mummies: Swap the hot dogs for breakfast sausages and use pancake batter instead of crescent roll dough. Cook the wrapped sausages on a griddle until the pancake is golden brown. Add maple syrup eyes instead of mustard for a sweet twist. This is a fun Halloween morning surprise for the kids.
Dessert Mummies: For a sweet version, use chocolate chip cookie dough (refrigerated or homemade) wrapped around a banana piece or a marshmallow. Bake until the cookie dough is golden, then add frosting eyes. These are more like a dessert than an appetizer, but they’re just as fun and festive.
Gluten-Free and Dairy-Free Options: As mentioned earlier, gluten-free crescent roll dough works beautifully. For dairy-free, check the label on your dough and use dairy-free hot dogs. The egg wash can be replaced with a milk wash (using dairy-free milk) or skipped entirely. I’ve tested both versions, and they hold up well.
Serving & Storage Suggestions
These easy mummy hot dog bites for Halloween are best served warm, right out of the oven, when the dough is at its flakiest and the hot dog is perfectly juicy. Here’s how to serve and store them like a pro:
Serving Temperature and Presentation: Arrange the mummies on a large platter with the eyes facing outward so everyone can see their cute faces. You can create a “graveyard” scene by adding some pretzel sticks as tombstones and a small bowl of ketchup as “blood” for dipping. For a classroom party, place them on a bed of green lettuce to look like grass, or arrange them around a small pumpkin centerpiece.
Complementary Dishes and Beverages: These mummy hot dogs pair beautifully with other Halloween-themed snacks. Try serving them alongside spider web dip for a complete Halloween spread. For drinks, a pitcher of witches’ brew punch adds to the spooky atmosphere. If you’re serving adults, a crisp apple cider or a light beer complements the savory flavor of the hot dogs.
Storage Instructions: If you have leftovers (which rarely happens in my house), store them in an airtight container in the refrigerator for up to 3 days. The dough will soften slightly, but they’ll still taste great. To reheat, place them on a baking sheet in a 350°F oven for 5-7 minutes, or until warmed through. Avoid microwaving, as it makes the dough soggy and rubbery.
Freezer-Friendly: You can freeze these either before or after baking. To freeze before baking, assemble the mummies on a baking sheet and freeze until solid, then transfer to a freezer bag. Bake from frozen, adding 5-7 minutes to the cooking time. To freeze after baking, let them cool completely, then freeze in a single layer on a baking sheet before transferring to a freezer bag. Reheat in the oven as directed above.
Flavor Development: Interestingly, these mummy hot dogs actually taste better the next day if you reheat them properly. The flavors meld together, and the dough absorbs a bit of the hot dog’s smoky flavor. I’ve been known to make a double batch just so I can have leftovers for lunch the next day.
Nutritional Information & Benefits
While these mummy hot dog bites are definitely a treat, they do offer some nutritional value. Here’s what you need to know:
Estimated Nutritional Values (per serving, based on 2 mummy bites):
- Calories: 280-320
- Protein: 10-12g
- Carbohydrates: 22-26g
- Fat: 16-20g
- Fiber: 0-1g
- Sodium: 700-900mg
Health Benefits of Key Ingredients: Hot dogs are a source of protein, which helps keep you full and satisfied. The crescent roll dough provides carbohydrates for energy, making these a good option for active kids at a Halloween party. If you use turkey or chicken hot dogs, you’ll reduce the fat and calorie content while still getting a good amount of protein.
Dietary Considerations: This recipe can be adapted for various dietary needs. For gluten-free, use gluten-free crescent roll dough. For dairy-free, check the dough ingredients and use dairy-free hot dogs. For lower sodium, opt for low-sodium hot dogs. For a lower-carb version, you can wrap the hot dogs in thin slices of cheese instead of dough (though they won’t be traditional mummies).
Potential Allergens: This recipe contains wheat (gluten), dairy (in the dough and hot dogs), and eggs (if using the egg wash). Always check labels on your ingredients if you’re serving guests with allergies. The mustard eyes are generally allergen-free, but candy eyes may contain gelatin or other allergens.
Personal Wellness Perspective: I believe in balance, especially during the holidays. These mummy hot dog bites are a fun, occasional treat that brings joy to Halloween celebrations. They’re not meant to be a daily food, but as part of a festive spread, they add a playful element that makes the holiday special. Pair them with fresh veggies and fruit for a more balanced party menu.
Conclusion
These easy mummy hot dog bites for Halloween have become a tradition in my household, and I hope they become one in yours too. They’re proof that you don’t need fancy ingredients or hours in the kitchen to create something that feels special and brings people together. Whether you’re making them for a classroom party, a Halloween potluck, or just a fun family dinner, these little mummies are guaranteed to get smiles and giggles.
I love how customizable this recipe is—you can make them spicy, cheesy, vegetarian, or even sweet, depending on your mood and who you’re serving. The best part is watching people’s faces light up when they see those little mustard eyes staring back at them. It’s a simple joy that makes the Halloween season feel magical.
So go ahead and give these a try! Experiment with different fillings, get creative with the eye placements, and don’t worry if they’re not perfect—the slightly imperfect ones have the most character. I’d love to hear how yours turn out. Drop a comment below and share your mummy creations, or tag me in your photos on social media. Happy Halloween, and happy snacking!
Frequently Asked Questions
Can I make these mummy hot dog bites ahead of time?
Absolutely! You can assemble them up to 24 hours in advance and store them in the refrigerator. When you’re ready to serve, just bake them as directed, adding a few extra minutes since they’ll be starting from cold. You can also freeze them either before or after baking for longer storage.
What can I use instead of crescent roll dough?
If you don’t have crescent roll dough, you can use puff pastry cut into strips, pizza dough rolled thin, or even refrigerated biscuit dough flattened out. Each option will give a slightly different texture—puff pastry is flakier, pizza dough is chewier, and biscuit dough is softer. I’ve tried all three, and they all work!
How do I keep the dough from unraveling during baking?
The key is to tuck the end of the dough strip underneath the hot dog before baking. As the dough bakes, it expands and seals itself. If you’re still worried, you can press the end gently against the hot dog to help it stick. Avoid wrapping too tightly, as this can cause the dough to tear as it expands.
Can I use candy eyes instead of mustard?
Yes! Candy eyes are a great alternative and give the mummies a more playful look. If you’re using candy eyes, add them after baking with a small dab of frosting or mustard to hold them in place. Avoid baking candy eyes, as they can melt or become discolored in the oven.
What dipping sauces go well with these mummy hot dogs?
Ketchup and mustard are the classics, but you can get creative! Try barbecue sauce, ranch dressing, honey mustard, or even sriracha mayo for a spicy kick. For a Halloween-themed presentation, serve “blood” (ketchup) and “slime” (green salsa or guacamole) for dipping.
Pin This Recipe!
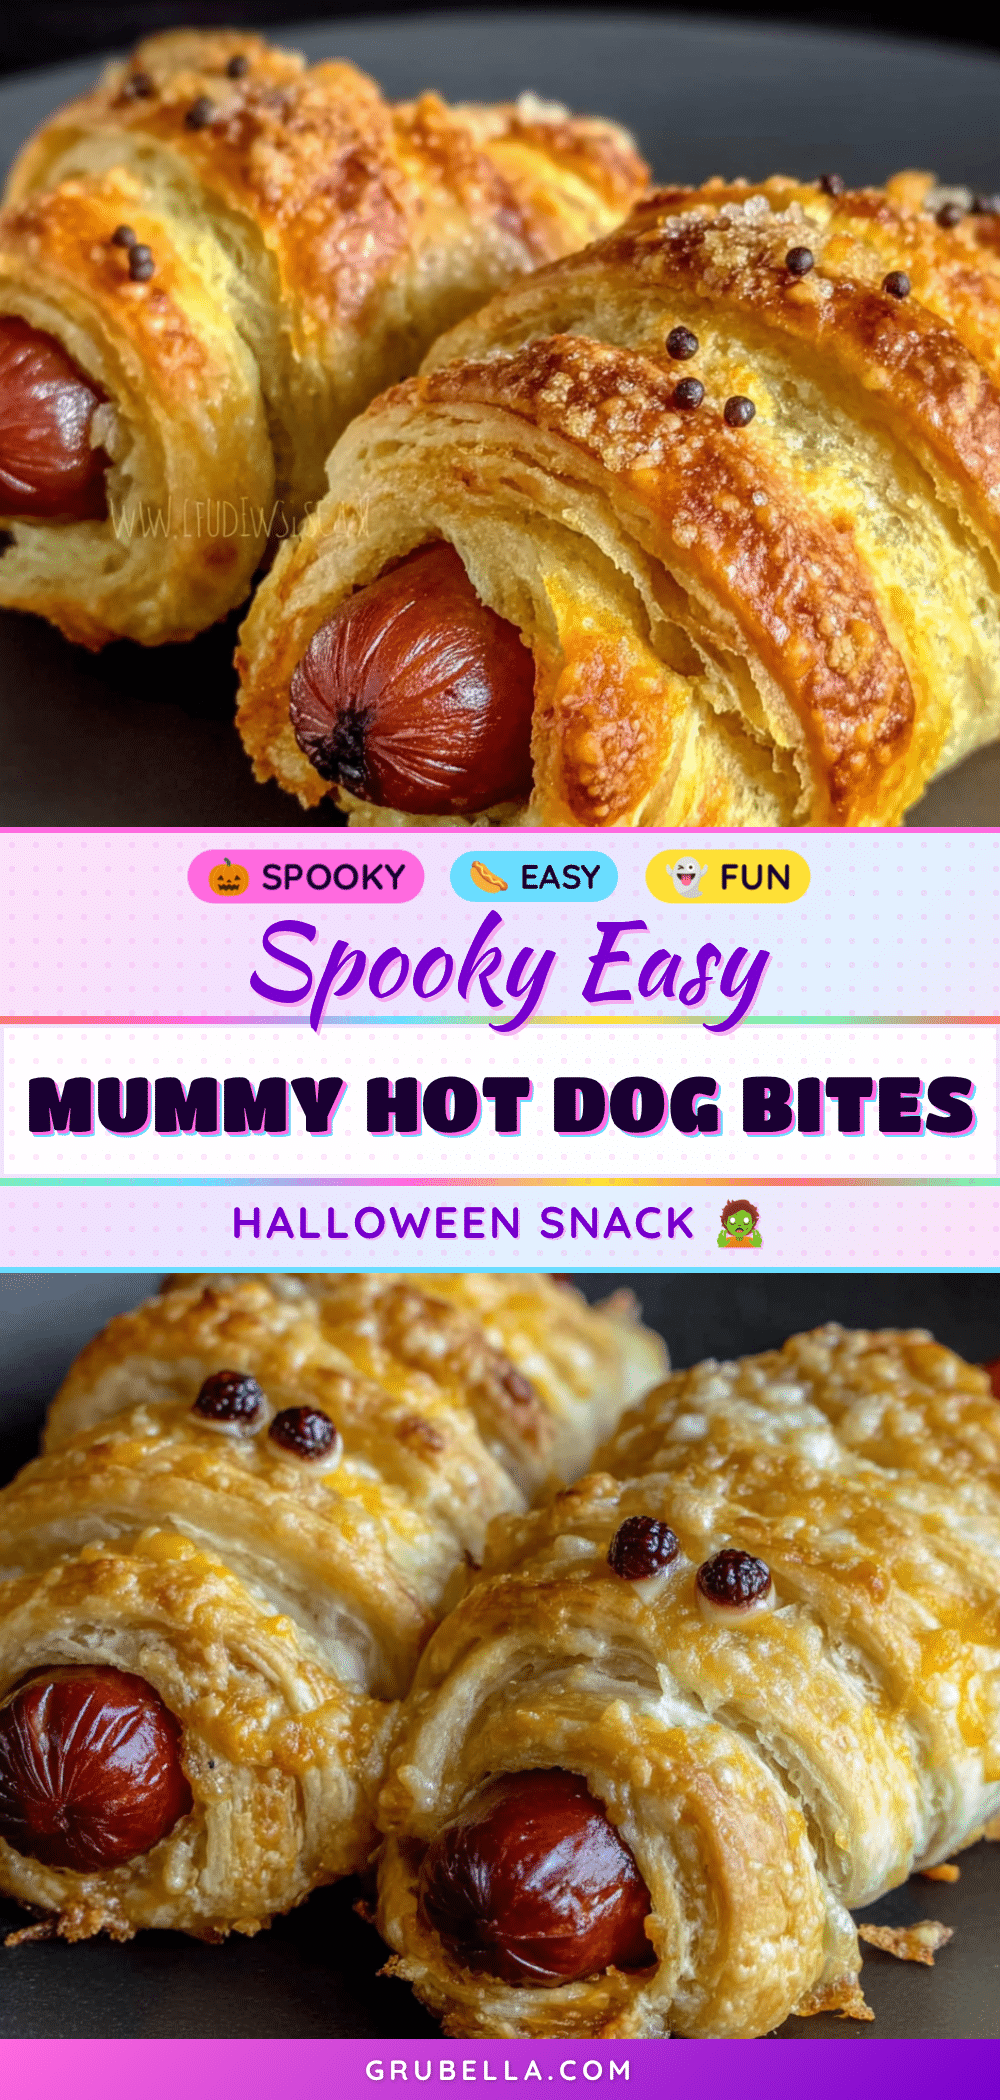
30-Minute Easy Mummy Hot Dog Bites for Halloween

These adorable mummy hot dog bites are a quick and easy Halloween appetizer made with just hot dogs, crescent roll dough, and mustard or candy eyes. Perfect for parties, they come together in under 30 minutes and are always a crowd-pleaser.
- Prep Time: 15 minutes
- Cook Time: 15 minutes
- Total Time: 30 minutes
- Yield: 8 servings 1x
- Category: Appetizer
- Cuisine: American
Ingredients
- 1 package (8-count) hot dogs
- 1 can (8 oz) refrigerated crescent roll dough
- Mustard or candy eyes for decoration
- 1 large egg + 1 tablespoon water (optional, for egg wash)
- Sesame seeds or everything bagel seasoning (optional)
- Shredded cheese (optional)
- Gluten-free crescent roll dough (optional)
- Vegan hot dogs and dairy-free dough (optional)
Instructions
- Preheat your oven to 375°F (190°C). Line a baking sheet with parchment paper or a silicone mat.
- Pat the hot dogs dry with a paper towel. If desired, cut them in half to make bite-sized mummies.
- Unroll the crescent roll dough on a clean cutting board. Press the seams together gently to create a solid rectangle.
- Using a sharp knife or pizza cutter, slice the dough lengthwise into strips about 1/4-inch to 1/2-inch wide.
- Take one hot dog and start wrapping a dough strip around it, starting at one end and working to the other. Leave a small gap near the top for the face. Overlap the dough slightly and tuck the end underneath.
- Place the wrapped mummies on the prepared baking sheet, about 2 inches apart.
- If using, whisk together the egg and water and brush lightly over the dough strips.
- Bake for 12-15 minutes, until the dough is golden brown and the hot dogs are heated through.
- Let cool on the pan for 2-3 minutes.
- Add two small dots of mustard to the exposed hot dog area for eyes, or attach candy eyes with a dab of mustard or frosting.
- Serve immediately.
Notes
For best results, use cold dough and don’t overlap too much. Add eyes after baking for clean placement. Can be assembled up to 24 hours in advance and refrigerated. Freeze before or after baking for longer storage.
Nutrition
- Serving Size: 2 mummy bites
- Calories: 300
- Sugar: 4
- Sodium: 800
- Fat: 18
- Saturated Fat: 6
- Carbohydrates: 24
- Protein: 11
Keywords: Halloween, mummy hot dogs, hot dog bites, crescent roll, easy appetizer, party food, spooky snacks



