Love this? Save it for later!
Share the inspiration with your friends
The lady at the craft store checkout watched me pile way too many piping bags onto the counter and didn’t say anything at first. Then she just smiled and said, “You’re making spiderwebs, aren’t you?” I laughed because, honestly, my cart was a dead giveaway—gel food coloring in three different blacks, a tiny offset spatula, and enough sprinkles to decorate a small parade. She told me her daughter used to make spiderweb cakes every October, and she still had the old recipe card tucked somewhere in a drawer. I almost asked for it, but something about the moment felt better left alone.
So I went home and made my own version instead. And let me tell you—this Perfect Spiderweb Halloween Cookie Cake is the result of that night, plus about four more attempts where I learned what not to do. The first one looked like a spider had a meltdown. The second one was too dry. The third one? That was the one where my kid walked into the kitchen and said, “Whoa, Mom, that actually looks scary.” High praise from a nine-year-old.
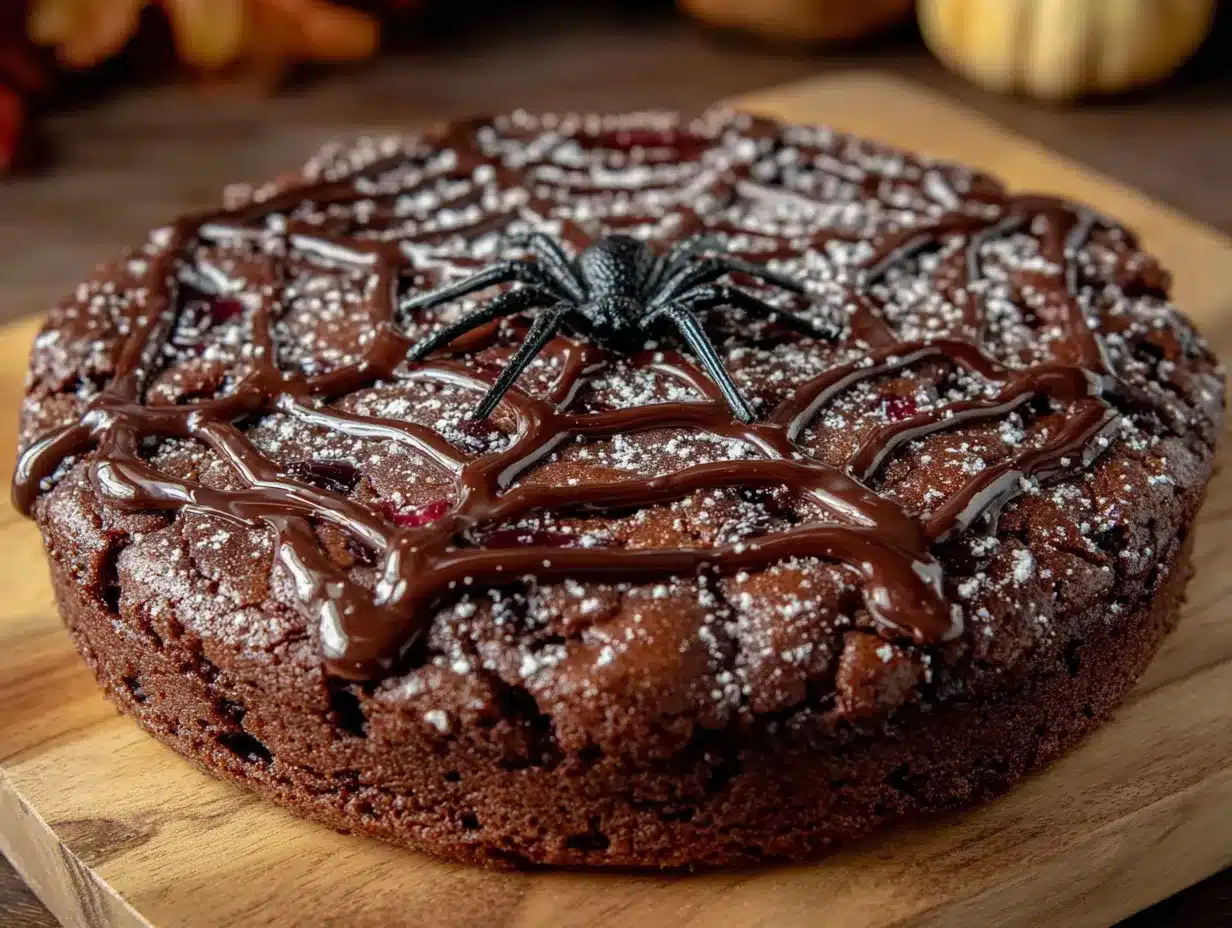
This recipe is basically a giant chocolate chip cookie dressed up for Halloween—thick, chewy, and covered in a glossy spiderweb design that sounds way harder than it actually is. You don’t need to be a pastry chef or own a fancy turntable. You just need a little patience and a steady-ish hand. I mean, I hold my breath every time I drag that toothpick through the icing, and I’ve made this thing like a dozen times.
Maybe you’ve been there—staring at a Pinterest-perfect Halloween dessert and thinking, “Yeah, that’s not happening in my kitchen.” But this one is different. It’s the kind of recipe that looks like you spent hours on it when really, you pulled it together in under 30 minutes. And honestly? That’s my favorite kind of baking.
Why You’ll Love This Recipe
Let me be real with you for a second. I’ve tested a lot of Halloween desserts over the years—some were amazing, some were total flops, and a few ended up in the trash before anyone even saw them. This Spiderweb Halloween Cookie Cake is the one I keep coming back to, and here’s why it’s different from every other spooky dessert out there.
- Quick & Easy: From start to finish, you’re looking at about 30 minutes. No chilling the dough overnight, no complicated layering, no special equipment. Mix, bake, cool, decorate. That’s it.
- Simple Ingredients: You probably already have everything in your pantry right now. Butter, sugar, eggs, flour, chocolate chips—the usual suspects. No weird extracts or hard-to-find decorations.
- Perfect for Halloween Parties: Whether you’re hosting a spooky gathering, sending treats to school, or just want something fun for your family movie night, this cookie cake is a showstopper. It feeds a crowd, and everyone wants a slice.
- Crowd-Pleaser: Kids love the spiderweb design, adults love the nostalgic chocolate chip cookie base, and nobody can resist that gooey center. I’ve brought this to three different Halloween events and watched it disappear every single time.
- Unbelievably Delicious: This isn’t one of those Halloween treats that looks good but tastes like cardboard. The cookie itself is soft, buttery, and loaded with chocolate chips. The spiderweb is made from a simple powdered sugar glaze that adds just the right amount of sweetness.
What makes this recipe stand out from the dozens of other spiderweb cookies out there? It’s the texture. I spent a lot of time figuring out how to get that perfect chewy center with slightly crisp edges—the kind of cookie that bends without breaking and stays soft for days. I also figured out a foolproof method for the spiderweb design that doesn’t require artistic talent. If I can do it, trust me, you can too.
This is the kind of dessert that makes you close your eyes after the first bite. It’s comfort food with a spooky twist—faster, easier, and way more satisfying than anything you’ll buy at the store. Perfect for impressing your Halloween guests without spending your whole afternoon in the kitchen.
What Ingredients You Will Need
This recipe uses simple, everyday ingredients to create something that looks way more complicated than it actually is. Most of these are pantry staples, which is exactly how I like my baking to work.
For the Cookie Cake Base
- Unsalted butter, softened (1 cup / 2 sticks) — I always use unsalted so I can control the salt level. Let it sit out for about 30 minutes before you start.
- Granulated sugar (¾ cup / 150g) — Adds sweetness and helps create those slightly crisp edges.
- Light brown sugar, packed (¾ cup / 150g) — This is the secret to a chewy cookie. The molasses in brown sugar keeps everything soft and tender.
- Large eggs (2, room temperature) — Room temperature eggs mix more evenly into the batter. If you forgot to take them out, place them in a bowl of warm water for 5 minutes.
- Vanilla extract (2 teaspoons) — Pure vanilla makes a difference here. I prefer Nielsen-Massey, but any good brand works.
- All-purpose flour (2½ cups / 312g) — Spoon and level your flour for the most accurate measurement. Scooping directly from the bag packs in too much.
- Baking soda (1 teaspoon) — Helps the cookie cake rise just enough without being cakey.
- Salt (½ teaspoon) — Balances the sweetness and enhances the chocolate flavor.
- Semi-sweet chocolate chips (2 cups / 340g) — I use Ghirardelli because they hold their shape and melt beautifully. You can also chop up a chocolate bar for bigger pockets of chocolate.
For the Spiderweb Glaze
- Powdered sugar (1 cup / 120g) — Sift it first to avoid lumps in your glaze.
- Milk (2-3 tablespoons) — Whole milk gives the creamiest result, but any milk works. Add it slowly—you might not need all of it.
- Vanilla extract (½ teaspoon) — Just a touch for flavor.
- Black gel food coloring — Americolor Super Black is my go-to. Liquid food coloring won’t give you that deep, dark color without making the glaze too runny.
Substitution Notes
If you’re gluten-free, swap the all-purpose flour with a good 1:1 gluten-free baking blend. I’ve had success with Bob’s Red Mill. For a dairy-free version, use vegan butter and your favorite plant-based milk in the glaze. The texture will be slightly different, but still delicious. And if you want to cut back on sugar, you can reduce the granulated sugar by ¼ cup—just know the cookie won’t spread quite as much.
Equipment Needed
You don’t need a lot of fancy tools for this recipe, which is honestly one of the reasons I love it so much. Here’s what you’ll need:
- 9-inch round cake pan or cast iron skillet — A cake pan works perfectly and gives you clean edges. A cast iron skillet creates a slightly thicker, more rustic cookie cake.
- Parchment paper — Line your pan with this so the cookie cake lifts out easily. I’ve learned this the hard way.
- Electric mixer (hand or stand) — You can mix by hand, but an electric mixer makes creaming the butter and sugar much easier and faster.
- Large mixing bowl — For the cookie dough.
- Medium mixing bowl — For whisking the dry ingredients.
- Toothpick or skewer — This is your spiderweb drawing tool. A toothpick is perfect for the thin lines.
- Small piping bag or zip-top bag — For the glaze. A zip-top bag with a tiny corner snipped off works just as well as a piping bag.
- Cooling rack — Essential for even cooling before you decorate.
If you don’t have a cake pan, you can use a 9-inch pie plate. The edges will be a little different, but it still works. And if you don’t have a piping bag, honestly, just use a spoon to drizzle the glaze in circles. It won’t be as precise, but it’ll still look great.
Preparation Method
Alright, let’s get to the fun part. Here’s how to make this Perfect Spiderweb Halloween Cookie Cake step by step.
- Preheat your oven to 350°F (175°C). Line your 9-inch round cake pan with parchment paper and lightly grease the sides. This is non-negotiable unless you want to spend 20 minutes chiseling your cookie cake out of the pan. Trust me on this one.
- Cream the butter and sugars together. In your large mixing bowl, beat the softened butter, granulated sugar, and brown sugar together on medium speed until light and fluffy. This takes about 3 minutes. Scrape down the sides of the bowl halfway through. You’ll know it’s ready when it looks pale and feels airy.
- Add the eggs and vanilla. Beat in the eggs one at a time, making sure each one is fully incorporated before adding the next. Then add the vanilla extract and mix until combined. The mixture might look a little curdled at this point—that’s totally normal.
- Whisk the dry ingredients. In your medium bowl, whisk together the flour, baking soda, and salt. This ensures everything is evenly distributed so you don’t end up with a pocket of baking soda in your cookie cake.
- Combine wet and dry ingredients. Gradually add the dry ingredients to the wet mixture, mixing on low speed until just combined. Be careful not to overmix—stop as soon as you don’t see any more streaks of flour. Overmixing leads to tough cookies, and nobody wants that.
- Fold in the chocolate chips. Use a rubber spatula to gently fold in the chocolate chips. Make sure they’re evenly distributed throughout the dough. If you want, reserve a handful to press onto the top of the cookie cake before baking for a prettier presentation.
- Press the dough into the pan. Transfer the dough to your prepared cake pan and press it into an even layer. Use your fingers or the back of a spoon. The dough will be thick and a little sticky—that’s exactly what you want.
- Bake for 18-22 minutes. Place the pan in the preheated oven and bake until the edges are golden brown and the center looks set but still soft. A toothpick inserted in the center should come out with a few moist crumbs, not wet batter. The center will continue to cook as it cools, so don’t overbake it.
- Cool completely. Let the cookie cake cool in the pan for 10 minutes, then transfer it to a cooling rack to cool completely. This is the hardest part of the whole recipe, I know. But if you try to decorate a warm cookie cake, the glaze will just melt and run everywhere. I say this from experience.
- Make the spiderweb glaze. While the cookie cake is cooling, whisk together the powdered sugar, 2 tablespoons of milk, and vanilla extract in a small bowl. Add more milk, one teaspoon at a time, until the glaze is thick but pourable. It should be the consistency of honey. Stir in the black gel food coloring until you reach your desired darkness.
- Create the spiderweb design. Transfer the black glaze to your piping bag or zip-top bag and snip off a tiny corner. Pipe a spiral starting from the center of the cookie cake, working your way outward in a continuous circle. Space each ring about ½ inch apart. Then, using a toothpick, drag lines from the center outward through the glaze, like you’re drawing spokes on a wheel. Wipe the toothpick clean between each line for the cleanest look.
- Let the glaze set. Allow the spiderweb design to set for about 15-20 minutes before slicing and serving. The glaze will harden slightly, creating that beautiful web effect.
Cooking Tips & Techniques
I’ve made this Spiderweb Halloween Cookie Cake more times than I care to admit, and I’ve picked up a few tricks along the way that make the process smoother and the results better.
Don’t overbake the cookie cake. This is the number one mistake I see people make. You want to pull it out of the oven when the center still looks slightly underdone. The residual heat will finish the cooking process as it cools. If you wait until the center looks fully baked, you’ll end up with a dry, crumbly cookie cake.
Use a light touch with the toothpick. When you’re creating the spiderweb design, drag the toothpick gently through the glaze. You don’t need to press hard—just let the toothpick glide through. And wipe it clean after each line. I learned this after my first attempt looked like a muddy mess because I didn’t wipe the toothpick.
Work quickly with the glaze. The black glaze starts to set pretty fast, so once you pipe the spiral, immediately start dragging your toothpick lines. If you wait too long, the glaze will be too firm to create clean webs.
Room temperature ingredients matter. I know it’s tempting to use cold eggs straight from the fridge, but room temperature ingredients emulsify better and create a smoother, more even dough. If you’re in a rush, place your eggs in a bowl of warm water for 5 minutes and microwave your butter for about 10 seconds (not melted, just softened).
Press extra chocolate chips on top. Before baking, press a handful of chocolate chips onto the surface of the dough. This gives the cookie cake a more polished, bakery-style look. Plus, who doesn’t want extra chocolate in every bite?
Variations & Adaptations
One of the best things about this recipe is how easy it is to customize. Here are some of my favorite variations:
- White Chocolate Spiderweb: Swap the semi-sweet chocolate chips for white chocolate chips and use white gel food coloring for the spiderweb instead of black. It gives the cookie cake a ghostly, ethereal look that’s perfect for a more elegant Halloween party.
- Gluten-Free Version: Use a 1:1 gluten-free baking flour blend. I’ve tested this with Bob’s Red Mill and King Arthur Measure for Measure, and both work great. The texture is slightly more tender, but the flavor is spot on.
- Peanut Butter Twist: Replace ¼ cup of the butter with creamy peanut butter. You’ll get a subtle peanut butter flavor that pairs beautifully with the chocolate. Just make sure your peanut butter is well-stirred before using.
- Spooky Sprinkle Edition: Before baking, press Halloween-themed sprinkles into the top of the dough. Orange, black, and purple sprinkles add a fun pop of color and crunch. My kids go crazy for this version.
- Mini Cookie Cakes: Instead of one large cookie cake, divide the dough between 4-6 mini cake pans or ramekins. Reduce the baking time to 12-15 minutes. These are perfect for Halloween treat bags or party favors.
I once tried a version with dark chocolate chips and a hint of cinnamon in the dough. It was surprisingly good—the cinnamon added a warm, cozy note that felt perfect for a crisp October evening. Just a quarter teaspoon was enough to make a difference.
Serving & Storage Suggestions
This Spiderweb Halloween Cookie Cake is best served at room temperature, sliced into wedges like a pizza. The contrast between the soft, chewy cookie and the slightly firm spiderweb glaze is pure magic.
For the ultimate Halloween dessert experience, serve each slice with a scoop of vanilla ice cream and a drizzle of chocolate sauce. The warm cookie paired with cold ice cream is absolutely irresistible. You could also add a sprinkle of flaky sea salt on top for that sweet-salty thing we all love.
If you’re serving this at a party, slice it before guests arrive and arrange the wedges on a platter. The spiderweb design looks even more impressive when you can see the individual slices with their web patterns intact.
Storage: Store leftover cookie cake in an airtight container at room temperature for up to 4 days. The cookie stays soft and the glaze holds its design surprisingly well. If you stack slices, place a piece of parchment paper between them to prevent the glaze from smudging.
Freezer Instructions: You can freeze the undecorated cookie cake for up to 3 months. Wrap it tightly in plastic wrap, then aluminum foil. When you’re ready to serve, thaw it at room temperature, then make the spiderweb glaze fresh. I don’t recommend freezing the decorated cookie cake because the glaze can get sticky and lose its definition.
Reheating: If you want that just-baked warmth, pop individual slices in the microwave for 10-15 seconds. The chocolate chips will get all melty and gooey again. Or place the whole cookie cake in a 300°F oven for 5-7 minutes.
The flavors actually develop nicely over the first 24 hours. The cookie becomes slightly more tender, and the chocolate chips seem to meld into the dough more. Honestly, I sometimes think day-old cookie cake is even better than fresh.
Nutritional Information & Benefits
Let’s be honest—this is a treat, not a health food. But here’s what you should know if you’re keeping track.
Per serving (1/8 of the cookie cake):
- Calories: approximately 420
- Total Fat: 22g
- Saturated Fat: 13g
- Cholesterol: 65mg
- Sodium: 220mg
- Total Carbohydrates: 54g
- Dietary Fiber: 2g
- Sugars: 36g
- Protein: 5g
Health Highlights: Dark chocolate (which is what semi-sweet chips are made from) contains antioxidants called flavonoids that may support heart health. The butter provides vitamin A, and eggs offer a good dose of protein and choline. Of course, these benefits come in the context of a dessert, so moderation is key.
Dietary Considerations: This recipe contains gluten, dairy, and eggs. For a gluten-free version, see the variations section above. For a dairy-free version, use vegan butter and plant-based milk in the glaze. This recipe is not suitable for vegans as written, but you can try using a flax egg substitute if you’re adventurous.
Allergen Note: This cookie cake contains wheat, dairy, and eggs. It may also contain traces of soy and tree nuts depending on your chocolate chip brand. Always check labels if you’re serving someone with allergies.
Personally, I think a balanced approach to treats is the healthiest way to live. Enjoy a slice of this cookie cake, savor every bite, and don’t feel guilty about it. Life’s too short for boring desserts.
Conclusion
This Perfect Spiderweb Halloween Cookie Cake is everything I want in a holiday dessert—it’s impressive without being complicated, delicious without being fussy, and fun without taking over my whole afternoon. The first time I made it, I couldn’t believe how easy the spiderweb design was. And every time since, it’s been the first thing to disappear at any Halloween gathering.
I love that this recipe gives you room to play around. Use different colored glazes, add sprinkles, swap the chocolate chips for candy corn—make it your own. That’s the beauty of a simple, solid base recipe. It’s forgiving, it’s flexible, and it always delivers.
So go ahead and give it a try. Pull out that cake pan, grab your toothpick, and channel your inner Halloween baker. I promise you’ll surprise yourself with how good it turns out. And when your family or friends take that first bite and their eyes go wide, you’ll know exactly why I keep coming back to this recipe year after year.
I’d love to hear how yours turns out! Drop a comment below and let me know if you tried any fun variations. Did you use a different color for the web? Add any extra decorations? Share your photos and tag me—I can’t wait to see your spooky creations. Happy Halloween baking, friends!
Frequently Asked Questions
Can I make this Spiderweb Cookie Cake ahead of time?
Absolutely! You can bake the cookie cake up to 2 days in advance. Store it in an airtight container at room temperature, then decorate it with the spiderweb glaze on the day you plan to serve it. The glaze is best applied fresh for the cleanest design.
Why did my spiderweb glaze turn out too runny?
This usually happens when you add too much milk. Start with 2 tablespoons and add more one teaspoon at a time until the glaze is thick but pourable—like honey or thick syrup. If it’s already too runny, whisk in a little more powdered sugar to thicken it up.
Can I use regular food coloring instead of gel?
You can, but I don’t recommend it. Liquid food coloring will make your glaze too thin, and you’ll need a ton of it to get a true black color. Gel food coloring is much more concentrated and won’t affect the consistency of your glaze. You can find it at most craft stores or online.
How do I get clean spiderweb lines?
The key is wiping your toothpick clean after each line you drag through the glaze. If you don’t wipe it, the black glaze builds up on the toothpick and creates messy, muddy lines. Also, work quickly—the glaze starts to set after a few minutes, and dragging through set glaze will ruin the design.
Can I use a different pan size?
Yes, but you’ll need to adjust the baking time. A 9-inch pan gives you a thick, chewy cookie cake. If you use an 8-inch pan, the cookie will be thicker and will need about 5 extra minutes of baking. If you use a 10-inch pan, it will be thinner and will bake faster—check it at 15 minutes.
Pin This Recipe!
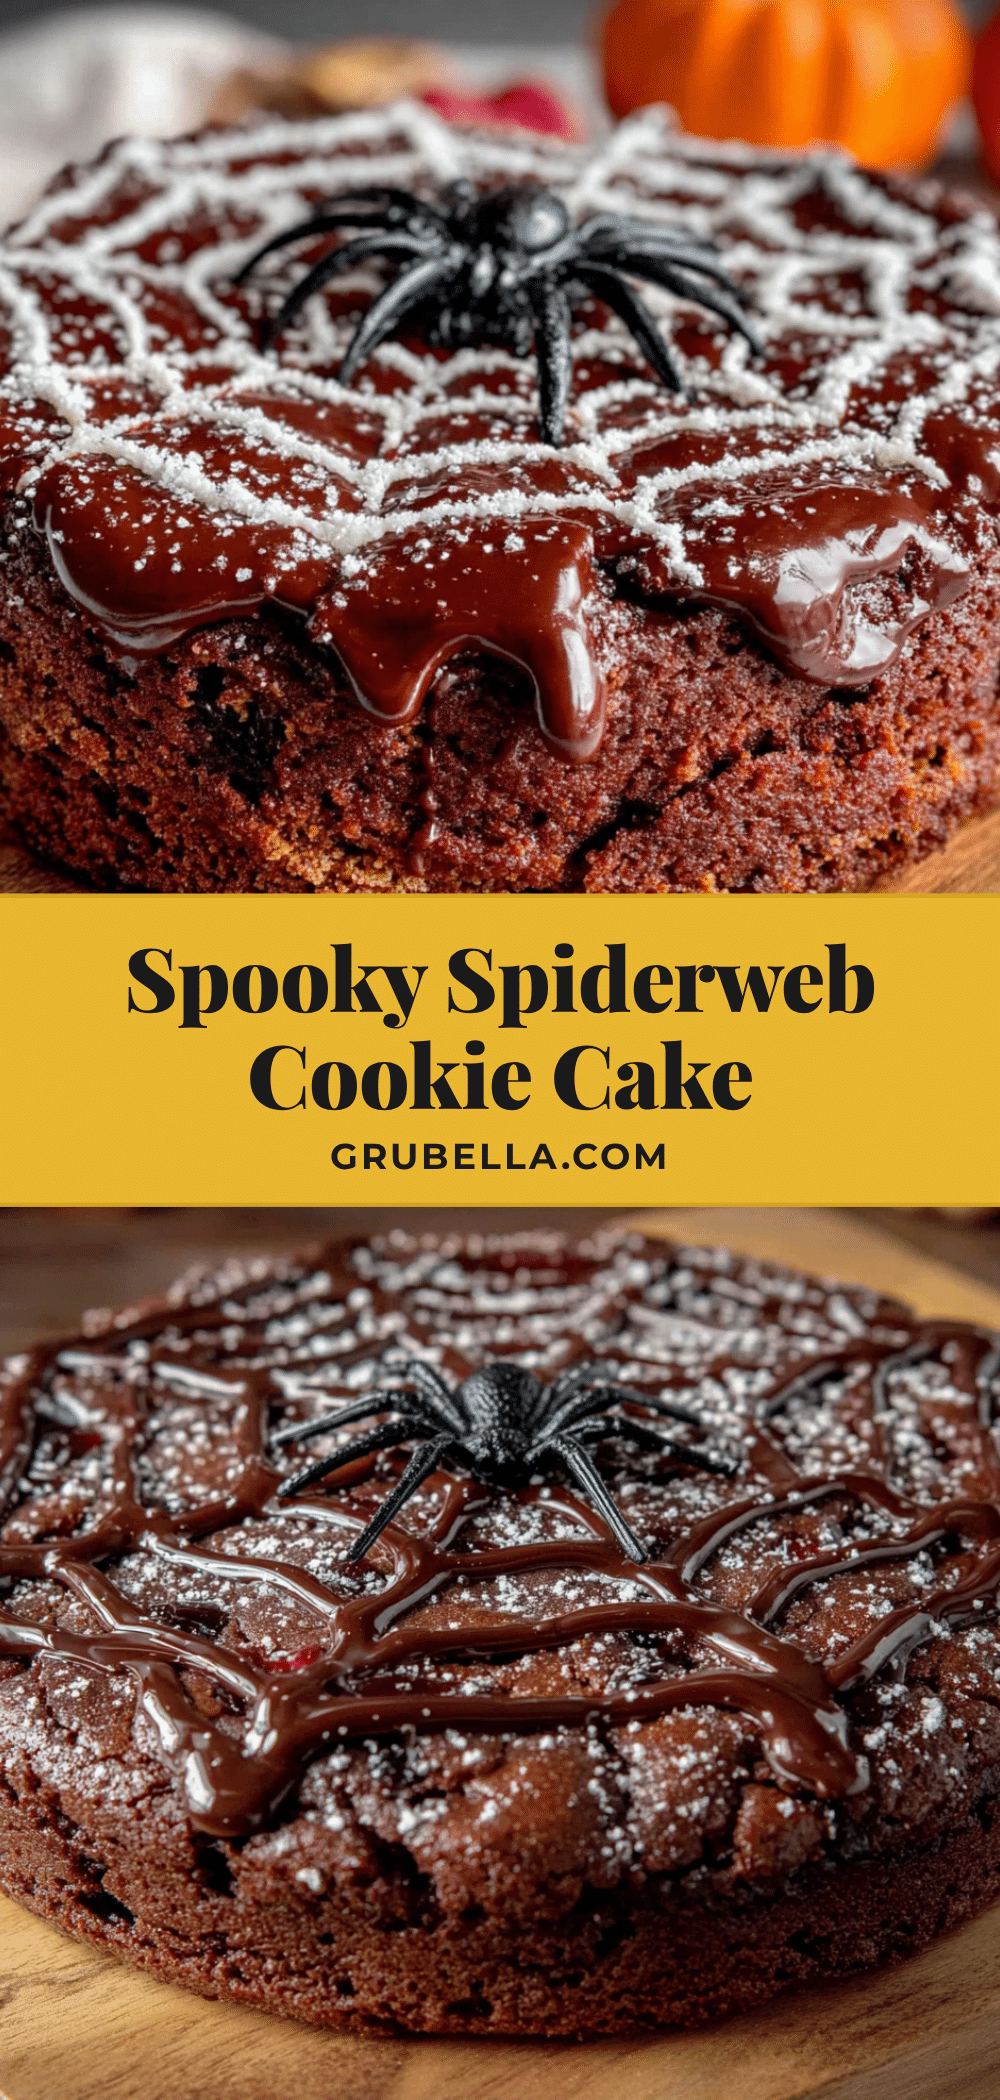
Perfect Spiderweb Halloween Cookie Cake
A giant chocolate chip cookie dressed up for Halloween—thick, chewy, and covered in a glossy spiderweb design that looks way harder than it actually is. Ready in under 30 minutes, this easy recipe is perfect for Halloween parties and family movie nights.
- Prep Time: 10 minutes
- Cook Time: 20 minutes
- Total Time: 30 minutes
- Yield: 8 servings 1x
- Category: Dessert
- Cuisine: American
Ingredients
- 1 cup (2 sticks) unsalted butter, softened
- ¾ cup (150g) granulated sugar
- ¾ cup (150g) light brown sugar, packed
- 2 large eggs, room temperature
- 2 teaspoons vanilla extract
- 2½ cups (312g) all-purpose flour
- 1 teaspoon baking soda
- ½ teaspoon salt
- 2 cups (340g) semi-sweet chocolate chips
- 1 cup (120g) powdered sugar
- 2–3 tablespoons milk
- ½ teaspoon vanilla extract
- Black gel food coloring
Instructions
- Preheat oven to 350°F (175°C). Line a 9-inch round cake pan with parchment paper and lightly grease the sides.
- In a large mixing bowl, beat softened butter, granulated sugar, and brown sugar together on medium speed until light and fluffy, about 3 minutes. Scrape down the sides halfway through.
- Beat in eggs one at a time, ensuring each is fully incorporated. Add vanilla extract and mix until combined.
- In a medium bowl, whisk together flour, baking soda, and salt.
- Gradually add dry ingredients to wet mixture, mixing on low speed until just combined. Do not overmix.
- Fold in chocolate chips with a rubber spatula until evenly distributed. Reserve a handful to press on top if desired.
- Transfer dough to prepared pan and press into an even layer.
- Bake for 18-22 minutes, until edges are golden brown and center is set but still soft. A toothpick inserted in center should come out with moist crumbs.
- Cool in pan for 10 minutes, then transfer to a cooling rack to cool completely.
- For the glaze: whisk together powdered sugar, 2 tablespoons milk, and ½ teaspoon vanilla extract. Add more milk, 1 teaspoon at a time, until thick but pourable (like honey). Stir in black gel food coloring until desired darkness.
- Transfer glaze to a piping bag or zip-top bag with a tiny corner snipped off. Pipe a spiral from center outward, spacing rings about ½ inch apart.
- Using a toothpick, drag lines from center outward through the glaze like spokes on a wheel. Wipe toothpick clean between each line.
- Let glaze set for 15-20 minutes before slicing and serving.
Notes
Don’t overbake—pull out when center still looks slightly underdone. Use a light touch with the toothpick for clean spiderweb lines. Work quickly with the glaze as it sets fast. Room temperature ingredients ensure a smoother dough. Press extra chocolate chips on top before baking for a bakery-style look.
Nutrition
- Serving Size: 1 slice (1/8 of cook
- Calories: 420
- Sugar: 36
- Sodium: 220
- Fat: 22
- Saturated Fat: 13
- Carbohydrates: 54
- Fiber: 2
- Protein: 5
Keywords: Halloween cookie cake, spiderweb cookie, chocolate chip cookie cake, easy Halloween dessert, 30-minute recipe



