Love this? Save it for later!
Share the inspiration with your friends
“You really think you can make salami at home?” my friend Jake asked, eyebrows raised as I unpacked my curious collection of spices and curing salts on his cluttered kitchen counter. It was a random Saturday afternoon, and honestly, I wasn’t expecting much—this was just supposed to be a fun experiment. But here I was, attempting the perfect dry-cured salami recipe for gourmet charcuterie, inspired by a dusty little book I found wedged behind some old tins at a neighborhood flea market.
That book wasn’t just any cookbook—it was handwritten, the pages yellowed and smelling faintly of smoked paprika and old leather. I flipped through it, captivated by the way the author described curing meats not just as a culinary act, but as a ritual passed down through generations. I figured, why not? After all, homemade charcuterie boards have been stealing the spotlight lately, and I wanted a piece of that magic in my own kitchen.
Now, let me tell you, this wasn’t a quick fix. Dry-cured salami demands patience, attention, and a bit of love. But the first time I sliced into my own creation, the aroma—the perfect blend of spices, the rich, tangy smell of cured meat—filled my tiny apartment, and I knew I’d stumbled onto something special. Maybe you’ve been there—standing over a bubbling pot or a curing rack, heart pounding with a mix of hope and anxiety. It’s that moment when you realize this simple recipe isn’t just food; it’s a story, a memory, a craft.
So here’s my take on the perfect dry-cured salami recipe for gourmet charcuterie. It’s straightforward enough to follow, but rich and nuanced enough to impress. And yes, I may have made a mess in the process (who knew pork fat could be so slippery?), but you’ll find the results worth every little slip. Let’s get curing!
Why You’ll Love This Recipe
Having tested this dry-cured salami recipe multiple times, I can confidently say it’s a winner for both beginners and seasoned charcuterie fans. Here’s why this recipe stands out:
- Time-Tested Flavor: The seasoning blend is carefully balanced to provide a classic salami profile with just the right amount of tang and spice.
- Simple Ingredients: No need for exotic or hard-to-find items; most are pantry staples or easily sourced from your local butcher.
- Authentic Texture: Thanks to precise curing times and temperature control, you get that firm yet tender bite that’s essential for gourmet salami.
- Perfect for Entertaining: This recipe turns your charcuterie board into a showstopper, impressing guests with homemade craftsmanship.
- Flexible Curing: Whether you have a dedicated curing fridge or a cool, dry corner, the instructions adapt to your setup.
This recipe isn’t just about mixing meat and spices; it’s about understanding the curing process so your salami develops depth and complexity. I personally love how the subtle hint of garlic and black pepper peeks through after the curing period—honestly, it’s the kind of bite that makes you close your eyes and savor every slice.
What Ingredients You Will Need
This recipe uses straightforward, wholesome ingredients that play crucial roles in flavor, preservation, and texture. You probably have many of these in your kitchen already, and the rest are easy to find.
- Pork shoulder, coarsely ground (2.5 lbs / 1.13 kg): The main protein base; choose fresh, high-quality meat with a good fat ratio.
- Pork back fat, finely diced (0.5 lbs / 225 g): Adds richness and the classic marbled texture.
- Kosher salt (2.5% of meat weight): Essential for curing and flavor.
- Curing salt (Prague Powder #2, 0.25% of meat weight): This specialized salt prevents harmful bacteria; don’t skip it!
- Fresh garlic, minced (3 cloves): For aromatic depth.
- Black pepper, freshly ground (2 tsp): Adds warmth and subtle spice.
- Dextrose or sugar (1 tsp): Feeds the beneficial bacteria during fermentation.
- Fennel seeds (1 tsp): Provides that classic Italian salami flavor.
- Red wine (2 tbsp): Adds moisture and a hint of acidity.
- Natural hog casings (about 5 feet / 1.5 meters): Soak in warm water before use; these are the traditional casings for authentic salami.
If you want to try a slightly different flavor profile, you can swap the fennel seeds for crushed coriander or smoked paprika. For those with dietary restrictions, turkey or beef can substitute pork, but the texture will vary slightly.
Equipment Needed
- Meat grinder or food processor: For grinding the pork shoulder and fat. I use a manual grinder, but an electric one works great too.
- Mixing bowl: Large enough to hold all the meat and spices comfortably.
- Kitchen scale: Accuracy here is key, especially for curing salts.
- Sausage stuffer or piping bag: To fill the casings evenly without air pockets. I’ve used a simple sausage stuffer attachment for my stand mixer with excellent results.
- String or twine: To tie the salami into manageable links.
- Temperature and humidity-controlled curing chamber or dedicated fridge: Ideally set between 55°F–65°F (13°C–18°C) and 70–80% humidity.
- Digital hygrometer and thermometer: To monitor curing conditions closely.
Don’t worry if you don’t have a fancy curing chamber — a wine fridge or a cool basement corner can work in a pinch. Just remember that consistent temperature and humidity are the real keys to success here.
Preparation Method
- Prepare the Meat: Start by trimming any silver skin or tough connective tissue from the pork shoulder and fat. Cut the pork shoulder into 1-inch cubes and the fat into smaller pieces. Chill both in the freezer for about 30 minutes to make grinding easier and maintain texture.
- Grind the Meat: Using your meat grinder or food processor, grind the pork shoulder through a coarse plate, then the pork fat through a finer plate. This contrast helps achieve the characteristic salami texture. Keep the meat cold during this process to avoid smearing.
- Mix Ingredients: Transfer the ground meat and fat into a large bowl. Add kosher salt, curing salt, minced garlic, black pepper, fennel seeds, dextrose, and red wine. Using clean hands (wear gloves if preferred), mix everything thoroughly until the mixture feels sticky and cohesive—this usually takes about 5 minutes.
- Test the Seasoning: Fry a small patty of the mixture in a pan and taste for seasoning. Adjust if necessary, but remember the flavors will mellow during curing.
- Prepare Casings: Soak the natural hog casings in warm water for at least 30 minutes. Rinse them inside and out to remove excess salt.
- Stuff the Casings: Fit your sausage stuffer with the soaked casing and gently fill it with the meat mixture. Avoid air pockets by applying steady pressure and pricking any bubbles with a pin.
- Shape and Tie: Twist the filled casing into 12-inch (30 cm) links and tie the ends securely with kitchen twine. Remember, a loose tie can cause the salami to unravel during drying.
- Fermentation: Hang the salami in a warm, humid place at about 70°F (21°C) for 24 to 48 hours to encourage beneficial bacteria growth. Use a fan to circulate air gently if possible.
- Curing: Move the salami to a cooler environment around 55°F–60°F (13°C–16°C) with 75–80% humidity. Hang for 4 to 6 weeks, checking regularly for firmness and mold development. White mold is normal and protects the salami; if you see any green or black mold, wipe it off with a vinegar solution.
- Ready to Slice: The salami should lose about 30% of its weight and feel firm but slightly springy. Refrigerate before slicing thinly to serve.
Pro tip: Patience is your best friend here. Rushing the curing process can lead to uneven flavor or texture. If your kitchen is too warm, try curing at night when temperatures drop.
Cooking Tips & Techniques
Making dry-cured salami at home can feel intimidating, but a few key insights can make all the difference:
- Keep Everything Cold: The fat in salami can smear if it warms up during grinding or mixing, ruining texture. Chilling your meat and equipment helps maintain the perfect bite.
- Measure Curing Salt Precisely: Too little risks spoilage; too much affects taste and safety. I always double-check with a kitchen scale and follow recommended ratios closely.
- Airflow Matters: Proper ventilation during curing prevents unwanted mold and promotes even drying. Avoid cramped spaces without circulation.
- Watch the Humidity: Too dry and your salami will harden on the outside but stay soft inside; too moist and it might spoil. I use a digital hygrometer to keep tabs.
- Don’t Skip the Fermentation: This step is critical for flavor and safety. If your space is too cold for fermentation, consider using a proofing box or a warm spot near a radiator.
- Personal Lesson: The first batch I made collapsed in the middle because I stuffed the casings too tightly. Looser packing lets the meat breathe and cures evenly—lesson learned the hard way!
- Multitasking Tip: While your salami is curing, it’s a great time to prep other charcuterie board components—cheeses, pickles, and crackers—to have everything ready for your next gathering.
Variations & Adaptations
This perfect dry-cured salami recipe is a great canvas for experimenting with flavors and dietary needs:
- Spice it Up: Add crushed red pepper flakes or smoked paprika for a spicy, smoky kick.
- Herbal Twist: Incorporate fresh or dried rosemary and thyme for an earthy, aromatic note.
- Seasonal Variation: Swap fennel seeds for anise or coriander in spring and summer for a lighter flavor profile.
- Dietary Adjustments: Use turkey instead of pork for a leaner, lower-fat option. Just be mindful that curing times and texture will vary.
- Gluten-Free: This recipe is naturally gluten-free, but always double-check spice blends and curing salts for additives.
- My Favorite Variation: Once, I added a splash of apple cider vinegar and a pinch of allspice, which gave the salami a subtle tang and warmth—unexpected but delicious!
Serving & Storage Suggestions
Once your salami reaches perfection, serving it is a joy:
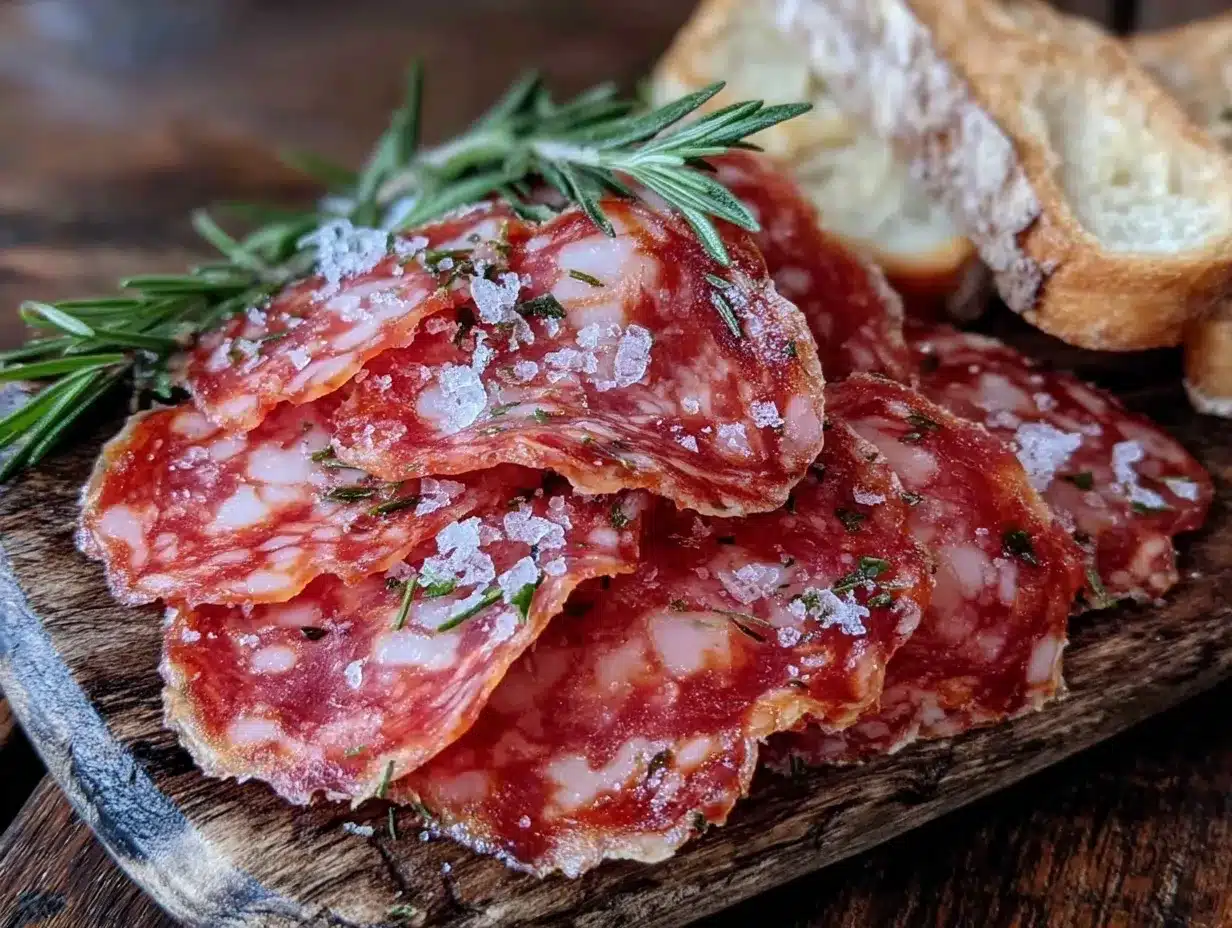
- Slice thinly and serve at room temperature to unlock full flavor and aroma.
- Pair with crusty bread, mild cheeses like manchego or gouda, and a drizzle of honey or grainy mustard.
- Complement your charcuterie board with olives, roasted nuts, and fresh fruit for balance.
- Store cured salami wrapped in breathable butcher paper in the refrigerator for up to 4 weeks.
- For longer storage, vacuum-seal slices and freeze for up to 3 months—thaw slowly in the fridge before serving.
- Reheating isn’t necessary, but if you want to warm slices, a gentle pan sear or grill adds a nice touch.
- Flavors deepen over time, so if you’re patient, your salami will develop even more complex notes after a few weeks.
Nutritional Information & Benefits
A typical serving (about 1 oz / 28 g) of this dry-cured salami provides roughly 110 calories, 9 grams of protein, 8 grams of fat (with 3 g saturated), and minimal carbohydrates. It’s a rich source of protein and contains essential vitamins like B12 and zinc.
The curing process preserves the meat naturally, avoiding additives found in many commercial products. Choosing high-quality pork ensures you get healthy fats important for brain and heart health.
This recipe is gluten-free and can be adapted for low-carb diets, making it a versatile option for many dietary preferences. However, it does contain curing salts and should be enjoyed in moderation.
Conclusion
Making the perfect dry-cured salami at home might seem like a challenge, but with careful steps and a bit of patience, you’ll be rewarded with a savory masterpiece that turns any charcuterie board into a gourmet experience. This recipe is flexible and approachable, inviting you to experiment and make it your own.
I keep coming back to this recipe not just because of its flavor, but because of the satisfaction that comes from crafting something traditionally artisanal right in my kitchen. Honestly, it’s the kind of project that feels worth every minute of waiting.
Give it a try, tweak it to your taste, and let me know how your salami journey unfolds. I’d love to hear your adaptations and stories!
FAQs About Perfect Dry-Cured Salami Recipe
How long does it take to cure salami at home?
Typically, the curing process takes 4 to 6 weeks, depending on temperature and humidity. The salami should lose about 30% of its weight and feel firm before it’s ready.
Can I use frozen meat for this recipe?
It’s best to use fresh, chilled meat. Freezing can affect texture and the curing process, so if you must use frozen, thaw it slowly in the refrigerator and keep it cold while working.
What if I don’t have a curing chamber?
You can use a wine fridge or a cool, humid basement spot. The key is maintaining consistent temperature (55°F–65°F) and humidity (70–80%). Monitoring with a hygrometer helps.
Is it safe to make dry-cured salami at home?
Yes, if you follow the recipe carefully, especially measuring curing salts accurately and maintaining proper curing conditions. Using Prague Powder #2 is essential for safety.
Can I add other meats or flavors?
Definitely! You can mix pork with beef or turkey, and add herbs or spices like rosemary, coriander, or chili flakes to customize the flavor to your liking.
For those interested in more homemade charcuterie inspiration, crispy garlic chicken pairs beautifully with a slice of dry-cured salami, and you might enjoy my homemade soft cheese recipe for a creamy contrast on your charcuterie board.
Pin This Recipe!
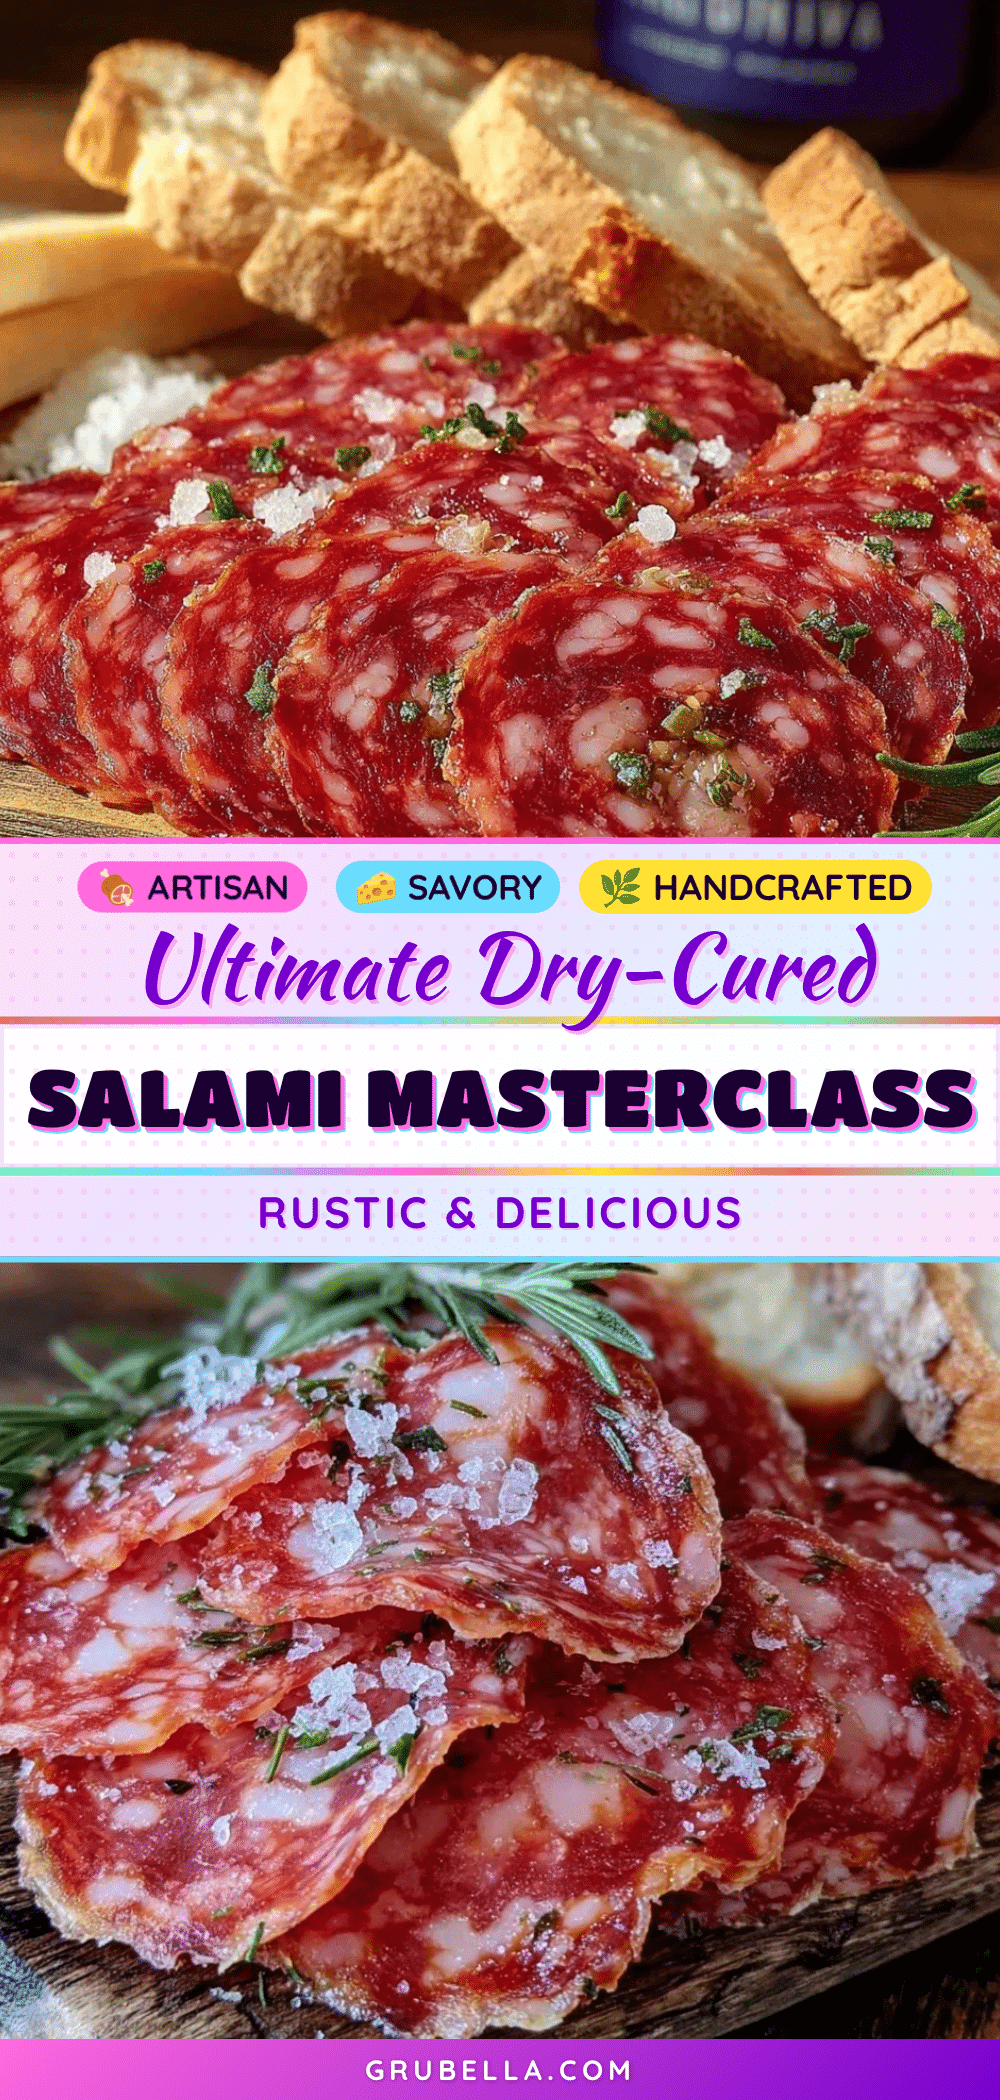
Perfect Dry-Cured Salami Recipe Easy Homemade Charcuterie Guide

This recipe guides you through making authentic dry-cured salami at home with a balanced seasoning blend and precise curing for a firm yet tender texture. Perfect for beginners and seasoned charcuterie fans alike.
- Prep Time: 45 minutes
- Cook Time: 4 to 6 weeks (curing time)
- Total Time: 4 to 6 weeks and 45 minutes
- Yield: About 5 to 6 servings (based on 1 oz slices per serving) 1x
- Category: Charcuterie, Main Course
- Cuisine: Italian-inspired
Ingredients
- 2.5 lbs (1.13 kg) pork shoulder, coarsely ground
- 0.5 lbs (225 g) pork back fat, finely diced
- Kosher salt (2.5% of meat weight)
- Curing salt (Prague Powder #2, 0.25% of meat weight)
- 3 cloves fresh garlic, minced
- 2 tsp black pepper, freshly ground
- 1 tsp dextrose or sugar
- 1 tsp fennel seeds
- 2 tbsp red wine
- About 5 feet (1.5 meters) natural hog casings, soaked in warm water
Instructions
- Trim any silver skin or tough connective tissue from the pork shoulder and fat. Cut pork shoulder into 1-inch cubes and fat into smaller pieces. Chill both in the freezer for about 30 minutes.
- Grind the pork shoulder through a coarse plate and the pork fat through a finer plate using a meat grinder or food processor. Keep meat cold during grinding.
- Transfer ground meat and fat into a large bowl. Add kosher salt, curing salt, minced garlic, black pepper, fennel seeds, dextrose, and red wine. Mix thoroughly by hand until sticky and cohesive, about 5 minutes.
- Fry a small patty of the mixture and taste for seasoning. Adjust if necessary.
- Soak natural hog casings in warm water for at least 30 minutes. Rinse inside and out to remove excess salt.
- Fit sausage stuffer with soaked casing and gently fill with meat mixture, avoiding air pockets. Prick any bubbles with a pin.
- Twist filled casing into 12-inch (30 cm) links and tie ends securely with kitchen twine.
- Hang salami in a warm, humid place at about 70°F (21°C) for 24 to 48 hours to ferment.
- Move salami to a cooler environment at 55°F–60°F (13°C–16°C) with 75–80% humidity. Hang for 4 to 6 weeks, checking regularly for firmness and mold development. Wipe off any green or black mold with vinegar solution.
- Salami is ready when it loses about 30% of its weight and feels firm but slightly springy. Refrigerate before slicing thinly to serve.
Notes
Keep meat and equipment cold to prevent fat smearing. Measure curing salts precisely for safety. Maintain proper airflow and humidity during curing. Fermentation step is critical for flavor and safety. Looser packing of casings prevents collapse. Patience is essential for best results.
Nutrition
- Serving Size: 1 oz (28 g) slice
- Calories: 110
- Fat: 8
- Saturated Fat: 3
- Protein: 9
Keywords: dry-cured salami, homemade salami, charcuterie, curing meat, salami recipe, pork salami, fermented sausage, artisanal salami